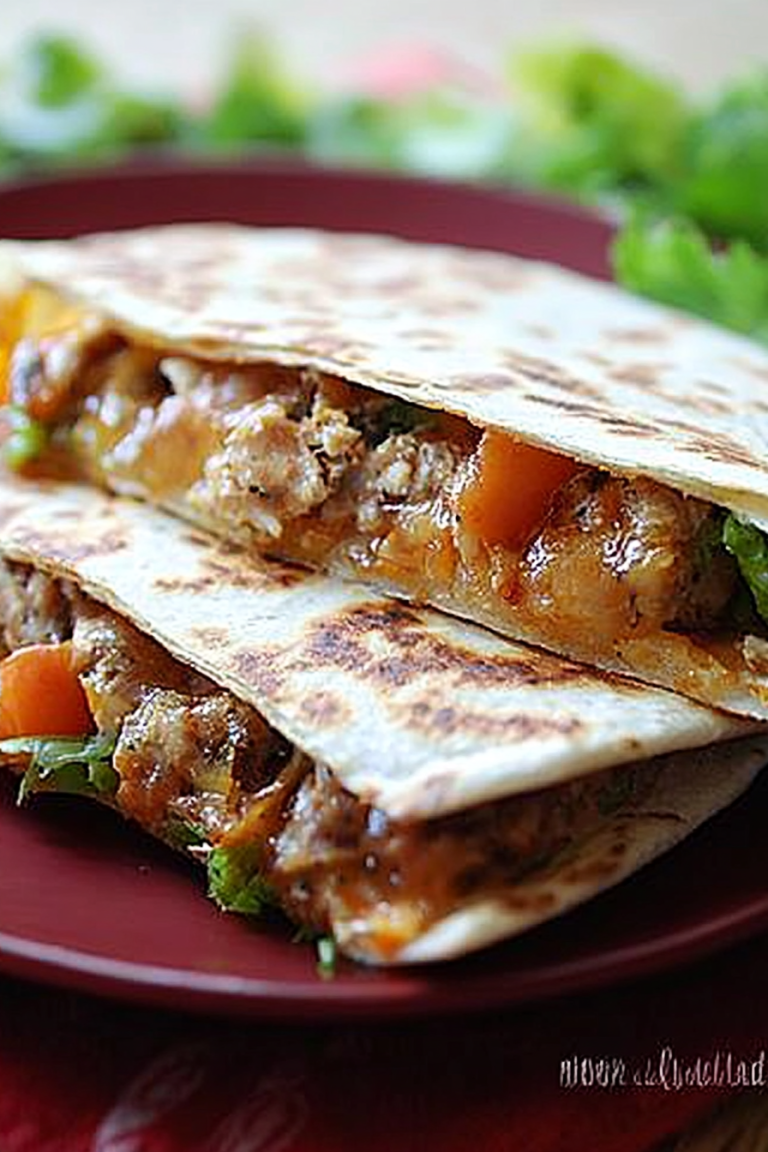
There’s something utterly comforting about the smell of cornbread wafting through the house, especially when it’s baked in a trusty cast iron skillet. It brings me back to those cozy Sunday afternoons at my grandma’s kitchen, where the skillet would sizzle gently on the stove before going into the oven. The edges get that perfect golden crust while the center bakes up tender and buttery — honestly, it’s magic. I always do this when I want a side that’s as hearty as it is nostalgic, and the cast iron makes all the difference. It’s a world apart from boxed mixes or muffins; this cornbread is soulful, with a rustic charm that pairs just right with chili or a fresh green salad. If you’re used to your typical quick breads, give this a shot — it’s an experience you’ll want to return to again and again.
What is Rustic Cast Iron Skillet Cornbread?
Think of this as classic Southern cornbread elevated by the way it’s baked. Essentially, it’s a simple batter of cornmeal, flour, eggs, and buttermilk poured into a heated cast iron skillet. The skillet does all the hard work, creating a crispy, golden crust that crackles when you break it apart, while the inside stays moist and fluffy. The cast iron helps the cornbread cook evenly and develop a rich, toasted flavor you just don’t get from glass or non-stick pans. It’s called “rustic” because it’s intentionally a bit rough around the edges — no frills, just honest comfort food, perfect for dipping into soups or steaming chili. So easy, but you’ll swear it’s homemade magic every time.
Why you’ll love this recipe?
What I love most about this cornbread is how it brings out the warm, toasty flavors of cornmeal in the best possible way — thanks entirely to the cast iron skillet. The edges get delightfully crunchy while the inside is soft and tender, almost buttery from the melted butter sizzling at the bottom. It’s incredibly simple to make, with real pantry staples you likely already have, so it’s a lifesaver on busy nights or when you want to impress without fuss.
Besides being tasty and straightforward, this cornbread is incredibly versatile. You can enjoy it plain, slathered with honey butter, or even toss some jalapeños or cheddar into the batter for a little extra kick. It stretches easily to feed a crowd, which makes it ideal for family dinners or weekend potlucks. Plus, the cost-effectiveness is a huge bonus — just simple ingredients with a big payoff. If you ever loved a warm slice of corn casserole but wanted something crisper and handheld, this skillet cornbread will totally win your heart. I often compare it to muffins, but honestly, that crust just can’t be beat.
How do you make a rustic cast iron skillet cornbread?
Quick Overview
Making this cornbread is as straightforward as it gets, but the key secret lies in how you treat your cast iron skillet. Heating it until it’s piping hot before adding the batter ensures that glorious crust forms. You mix your dry and wet ingredients separately, then combine quickly to avoid overmixing — nobody needs dense cornbread! The batter goes right into the preheated skillet, and you bake until golden and fragrant. Simple, yet the results feel like a special occasion every time.
Ingredients
For the Main Batter:
- 1 cup yellow cornmeal (stone-ground preferred for texture)
- 1 cup all-purpose flour (sifted for lightness)
- 1/4 cup sugar (adjust based on sweetness preference)
- 1 tablespoon baking powder (for just right lift)
- 1/2 teaspoon salt (balances flavors perfectly)
- 1 cup buttermilk (or plain yogurt as a substitute for tang)
- 2 large eggs (room temperature works best)
- 1/4 cup unsalted butter, melted + more for skillet
For the Optional Add-Ins:
- 1/2 cup shredded sharp cheddar cheese (for cheesy richness)
- 1-2 jalapeños, seeded and finely chopped (adds a nice heat)
- 2 tablespoons honey (if you like a touch more sweetness)
For the Glaze:
- 2 tablespoons unsalted butter, melted (to brush warm cornbread)
- Optional honey or maple syrup drizzle (adds sweetness and shine)
Step-by-Step Instructions
Step 1: Preheat & Prep Pan
Set your oven to 425°F (220°C). Place your cast iron skillet in the oven as it preheats — you want it scorching hot before the batter goes in. This can feel intimidating, but trust me, the hot skillet is what creates that signature crust. Once hot, carefully remove the skillet (using thick oven mitts!) and add a couple tablespoons of butter, swirling it to melt and coat the surface evenly.
Step 2: Mix Dry Ingredients
In a large bowl, whisk together cornmeal, flour, sugar, baking powder, and salt until well combined. This makes sure your rising agents and seasonings are distributed evenly, helping with an even crumb. I always take a moment here to break up any lumps—smooth dry mix means lighter cornbread.
Step 3: Mix Wet Ingredients
In a separate bowl, whisk the eggs until frothy, then stir in the buttermilk and melted butter. The temperature balance here is important — too hot butter will scramble eggs; too cool and your batter won’t combine smoothly. Aim for warm—not hot—melted butter to get the best mix.
Step 4: Combine
Pour the wet ingredients into the dry, stirring gently with a spatula just until combined. There will be a few small lumps—that’s okay. Overmixing can make the cornbread tough, so stop as soon as you don’t see dry streaks. If you’re adding cheese or jalapeños, fold them in now, folding gently to keep the batter airy.
Step 5: Prepare Filling
This recipe’s beauty is its simplicity, but if you want a filling, think of dolloping something creamy like a sour cream and herb blend or even a drizzle of honeyed cream cheese before baking. Personally, I keep it straightforward to let the cornbread shine, but don’t hesitate to get creative!
Step 6: Layer & Swirl
Pour the batter into the sizzling skillet. You’ll hear a slight sizzle, which is music to my ears. Use an offset spatula or the back of a spoon to smooth the top evenly. If swirling in a filling or mix-ins, a quick swirl with a knife sets up nice marbling — just don’t overdo it to keep the crust intact.
Step 7: Bake
Pop your skillet back into the oven and bake for 20-25 minutes. You want a golden top with that crackly crust. A toothpick inserted in the center should come out clean or with just a few moist crumbs. Ovens vary, so keep an eye the last five minutes. The smell alone will pull you into the kitchen.
Step 8: Cool & Glaze
Let your cornbread rest for 10 minutes right in the skillet after baking. This helps stabilize the crumb and keeps it moist when slicing. Brush the top with melted butter while still warm — it adds shine and richness. If you’re feeling indulgent, drizzle honey or maple syrup at this stage for that extra cozy touch.
Step 9: Slice & Serve
Use a sharp serrated knife to cut wedges straight in the skillet for the most rustic look. Don’t wait too long to slice or the cornbread cools and can get a bit dense. Serve warm, ideally slathered with butter or alongside your favorite chili or stew. This is the kind of cornbread that disappears before anyone’s had a chance to say “seconds.”
What to Serve It With
For Breakfast: Nothing beats a thick slice of warm skillet cornbread with a pat of honey butter and a strong cup of coffee—black or with milk. It’s filling and energizing, and the crispy edges add just enough texture to wake up your taste buds.
For Brunch: Serve alongside a colorful tomato and avocado salad with a drizzle of lemon vinaigrette, plus a sparkling mimosa or freshly squeezed orange juice. The cornbread adds a delightful textural counterpoint, especially if you throw in some jalapeños for a little kick.
As Dessert: Try it smeared with cinnamon butter or a dollop of whipped cream and fresh berries. A drizzle of maple syrup seals the deal for those nights when you want a sweet but not overly indulgent treat. I once brought this to a potluck dessert table and it vanished faster than the chocolate cake!
For Cozy Snacks: Pair with a bowl of spicy chili, hearty stew, or smoked greens. Spoon some savory butter or cheese on each slice for a quick, comforting snack. I often do this on lazy Sunday afternoons when the skies are gray and all I want is a warm, simple bite.
Top Tips for Perfecting Your Rustic Cast Iron Skillet Cornbread
Cast Iron Prep: Make sure your skillet is well-seasoned — a sticky or rusty pan will wreck your crust. Heat it slowly as the oven preheats to avoid warping or cracking. If you don’t have a cast iron skillet, try an oven-safe heavy pan, but know the edges won’t get quite as lovingly crisp.
Mixing Advice: Resist the urge to overmix your batter. Lumps are okay and actually preferred to keep crumb light. I learned after countless batches that stirring just until moistened produces the fluffiest cornbread.
Swirl Customization: If you’re adding swirls of cream cheese or preserves, use a butter knife or toothpick and move in gentle circular motions, just enough to marble. Over-swizzling can deflate your batter or create runny spots, so less is more.
Ingredient Swaps: Tried almond milk in place of buttermilk and it gave a subtle nuttiness that I loved. Coconut oil works for butter if you want dairy-free, but results differ slightly on texture. Just keep the ratios close, and expect a bit more dense crumb.
Baking Tips: Baking in the center rack helps even heat distribution. If your oven runs hot, reduce baking temp to 400°F and add a couple extra minutes to prevent burnt edges. Using a thermometer to check for 205°F internal temp is a professional trick to nail doneness.
Glaze Variations: Try mixing honey with a splash of lemon juice for a tangy glaze. Or brush with a maple bourbon glaze if you want a grown-up touch. Always apply glaze while cornbread is warm so it soaks in better and doesn’t make the crust soggy.
Pro tip: I once skipped preheating the skillet and ended up with a cornbread that was pale and soggy on the bottom. Trust me on this one—the hot pan is a game-changer.
Storing and Reheating Tips
Room Temperature: Keep leftover cornbread covered loosely with foil or a cloth on the counter. It stays fresh for about 1-2 days but is best eaten the same day for that perfect crisp crust.
Refrigerator Storage: Wrap cornbread tightly in plastic wrap or store in an airtight container. It’ll last up to 4 days but the crust softens — reheating helps bring back some crunch.
Freezer Instructions: Wrap cornbread tightly in plastic, then foil to avoid freezer burn. Freeze for up to 3 months. Thaw overnight in the fridge or on the counter, then warm slices in a 350°F oven for 10 minutes wrapped in foil to revive moisture.
Glaze Timing Advice: If you plan to store the cornbread, wait to add glaze until just before serving — it keeps the top from becoming sticky or soggy during storage. You can always melt some butter and honey for a quick fresh glaze when you reheat.
Frequently Asked Questions
Final Thoughts
Honestly, this cornbread has become a little kitchen tradition at my house — the kind of food that brings everyone to the table without fanfare but with huge smiles. It pairs beautifully with almost everything, and the cast iron skillet magic can’t be overstated. I hope you take a moment to enjoy the crispy edges and tender crumb that only a skillet can deliver. It’s a recipe I come back to when I want something warm, simple, and utterly satisfying.
If you’re inspired, try pairing it with soups or experimenting with add-ins. And please, share your tweaks or stories — I live for hearing how these recipes become part of your own family traditions. Happy baking, and can’t wait to hear how yours turns out!
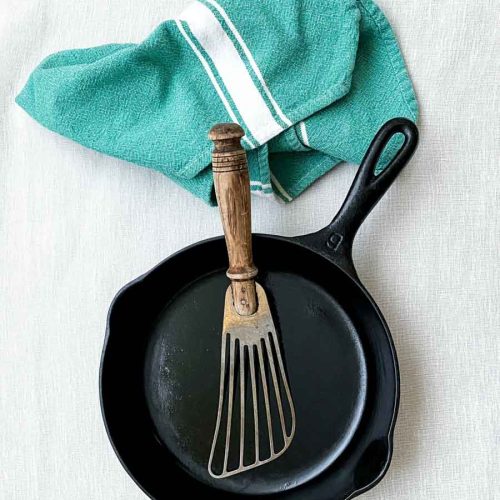
How to Clean and Re-Season a Cast Iron Skillet
Ingredients
Main Ingredients
- 1 pan Cast Iron Skillet
- 2 tablespoons Vegetable Oil for seasoning
- 1 piece Scrubber or Steel Wool
- 1 cup Hot Soapy Water
- 1 sheet Aluminum Foil to catch drips in oven
Instructions
Preparation Steps
- Wash the cast iron skillet thoroughly in hot soapy water using the scrubber or steel wool to remove any old grease, rust, or residue.
- Rinse the skillet well and pat it dry completely with a clean dish towel or paper towels.
- Use a paper towel to evenly coat the inside and outside of the skillet with a thin layer of vegetable oil. It should look darker but not be dripping.
- Preheat your oven to 325 degrees Fahrenheit. Place a sheet of aluminum foil on the bottom rack to catch any oil drips.
- Place the skillet upside down on the oven rack above the foil and bake for 1 hour. Expect some smoke during this process.
- Turn off the oven and allow the skillet to cool inside the oven for several hours before removing it.
- Your cast iron skillet is now clean, seasoned, and ready for use.