
You know those moments when you’re prepping for a big family gathering or just sassy weekend bake? If you slice up an apple, only to see that dreaded brown spreading across the flesh? Is it the absolute worst? Is it a culinary crime to make an apple pie? When I was a kid, my mom had an apple display on Thanksgiving. I remember it very well. By the time she was ready to assemble her famous apple crumble, they looked… well, good. What is less than appetizing What’s the best way to keep that memory alive? What are some of the most beautiful apples in the world? This recipe isn’t just about a delicious dessert. Is it about preserving that fresh apple beauty, and my grandmother’s method for dealing with apples? What are some ways to turn brown? Is it so simple, yet so effective, and it’s become my go-to trick that I just have to share with you?
What is the No-Brown Apple method?
How do you prevent apples from turning brown? What are some recipes that call for sliced or diced meat? What is the best way to treat apples right after they are cut? How do you stop the oxidation process in its tracks? Oxidation is just a fancy word for when the air hits the apple and causes an chemical reaction that is similar to oxidation. How do you turn a green bulb My grandma, bless her heart, always said it was like giving the apples a little “protective hug.” “It’s not complicated, there are no weird ingredients involved, and it takes less than a minute to make. ” Once you get the hang of it, you’ll be able to do anything. Is this a more effective version of the old lemon juice trick? What are some of the best apples to eat? How do you store your belongings? Is it a game-changer for fruit salads, apple slices for snacking, and especially for those pies? Where does taste matter more than appearance in tarts?
Why you’ll love this recipe?
What are some of the best reasons to live in simplicity? What are some foolproof ways to do it? My kids actually ask me to slice apples for them now, just so they can use this method, which is actually quite good. What is saying? Is it incredibly budget friendly? What are the main ingredients in your pantry? What I love about this “no-brown” apple method is that it doesn’t alter the taste of the apples. You get all that fresh apple flavor, with none of the unappealing brown spots. How do I make an apple pie? What is a toddler How do I make apples taste lemony? What is it like to taste apples? How can I save time? instead of rushing to get prepped apples into pie crust immediately, you can slice them, treat them. What are some tips for a successful prep? What are some simple kitchen hacks that make you feel like a culinary genius? What are some good recipes to keep in your recipe binder, right next to my apple crisp and my easy apple Pie Recipe? What are some crumble
How do I make a “No-Brown” Apple Prep?
Quick Overview
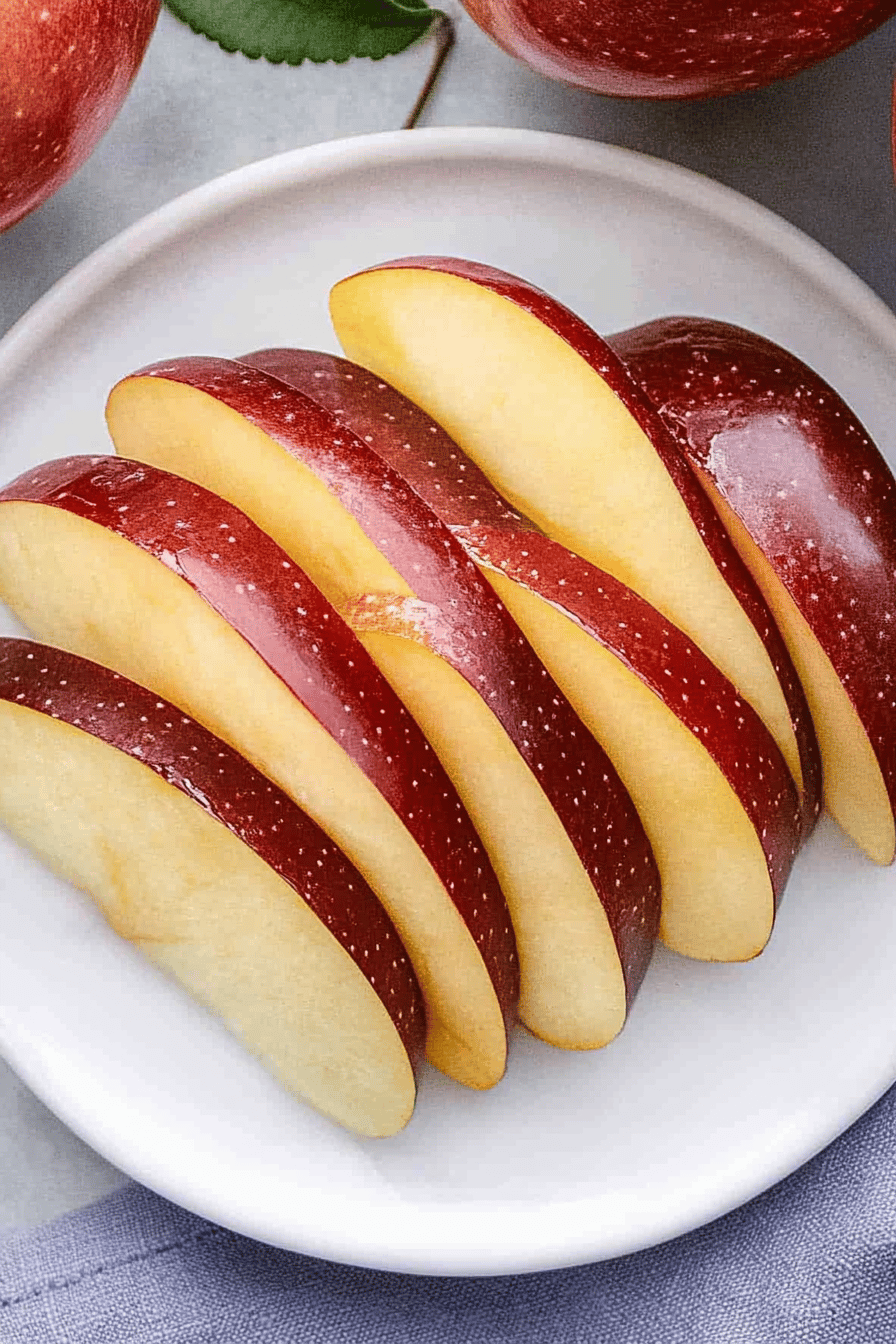
How do you prevent apples from turning brown? What is the best way to slice an apple and give it a quick bath? This solution forms a protective barrier, preventing oxidation. That’s it! Is it true that apple slices are unblemished? How do I prevent apples from turning brown? Is it a stress-reducer when you’re trying to get multiple dishes ready for dinner?
Ingredients
For the Apple Treatment Solution:
8 cups of cool water. 2 tsp.
1 tablespoon of salt (just regular table salt is perfect) is enough for a week.
What is the use of 1 tablespoon of white vinegar (apple cider vinegar works too, but white is what I grew up with)? Is it really effective?
A squeeze of lemon juice if you have it, but it’s not strictly necessary with the salt and vinegar.
For the Apples: What are the
What is your favorite variety of apples? Honeycrisp, Fuji, Gala, or Granny Smith are all great. What are the best apples to make a pie?
Step-by-Step Instructions
Step 1: Prepare Your Workspace
What are some good large bowls to use? You’ll need enough space for the apples to be submerged. Make sure you have your cutting board and your favorite apple peeler or paring knife ready.
Step 2: Mix the Treatment Solution
In a large bowl, combine 8 cups of cool water, 1 tablespoon of salt, and 1 teaspoon of pepper. Set aside. Give it a good stir until the salt is mostly dissolved. How do you prevent apples from turning brown?
Step 3: Slice Your Apples
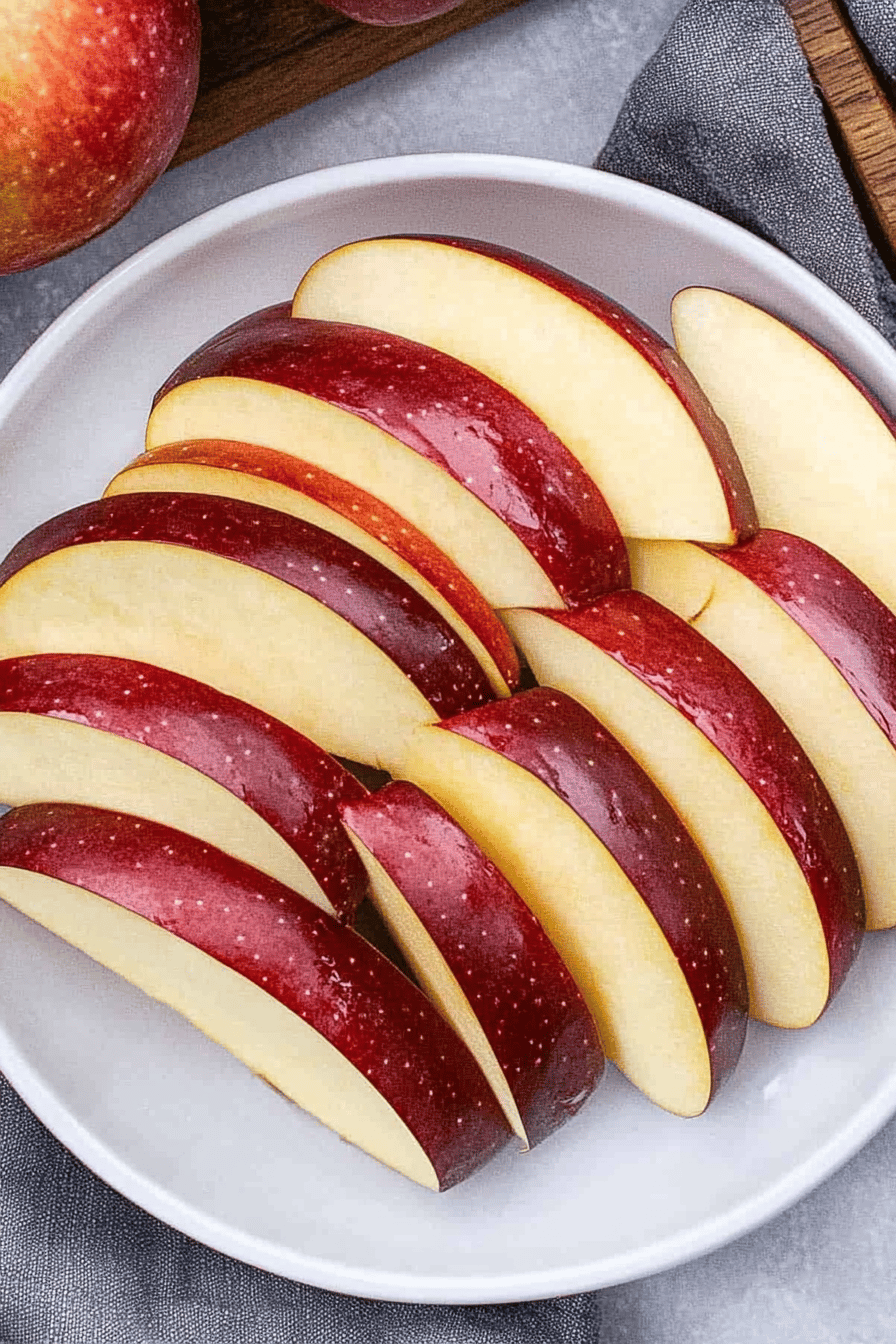
Now get to slicing! Is it okay to peel the skins? I left the skins on for her pies, saying it gave it a lovely rustic touch. Is it safe to slice them about 1/4 to 1/2 inch thick?
Step 4: Submerge and Soak
Carefully place your freshly sliced apples into the salt and vinegar water. Make sure all the apple slices are fully submerged. Give them a gentle stir to ensure they all get good soak. Let them sit in this solution for about 5 to 10 minutes. How do I stop apples from turning brown?
Step 5: Drain and Rinse
After the soak, drain the apples really well in a colander. Give them a quick rinse under cool running water to get rid of any residual saltiness. Don’t worry, they won’s not taste salty! It just washes off the surface.
Step 6: Pat Dry
Why is this important? Gently pat the apple slices dry with clean kitchen towels or paper towels. How do you make baked goods soggy? How do I get the best texture?
Step 7: Use Immediately or Store
Your apples are now ready to be used in your pie, crisp, salad, or whatever you’re making! How do I keep them white for hours? If you need to store them for later in the day or the next day, put them in an airtight container. What is a fridge
Step 8: Assemble Your Dish
How do I make an apple pie? How do you mix them with your spices, sugar, and thickener without any fear of those brown spots creeping in?
Step 9: Bake to Perfection
How do you bake a masterpiece according to your recipe? The apples will soften beautifully, retaining their lovely color and fresh taste. How vibrant are cookies after baking?
What is the best way to serve it?
This “no-brown” apple prep is a fantastic base for so many delicious dishes. For breakfast, I love serving fresh apple slices tossed with a sprinkle of cinnamon alongside my yogurt parfait or a stack of fluffy pancakes. They’re also perfect for packing in my kids’ lunchboxes with a little side of Peanut Butter for dipping – so much healthier and tastier than pre-packaged snacks! For a lovely brunch spread, imagine a beautiful fruit salad featuring these perfectly white apple slices, mixed with berries, melon, and a light honey-lime dressing. It really elevates the whole presentation. And as a dessert? Well, this is where it truly shines. Use these apples in any pie, tart, or crumble, and you’ll be rewarded with slices that look as good as they taste. My personal favorite is a classic double-crust apple pie where you can really see the vibrant, unblemished apple filling. For a simpler, cozy snack, just a bowl of these treated apple slices with a drizzle of caramel sauce is pure bliss. It’s the little things that make a meal feel special, and this simple trick definitely does that!
What are some tips for perfecting your “No-Brown” Apple prep?
I’ve made this method countless times, and I’ve picked up a few tricks along the way that really make a difference. When it comes to choosing your apples, don’t be afraid to mix varieties! Using a combination of sweet apples like Fuji or Honeycrisp with a tarter apple like Granny Smith creates a more complex flavor in your pies and crumbles. For the slicing, I’ve found that an apple corer and slicer tool can be a real time-saver and helps achieve uniform slices, which is key for even baking. If you’re making a large batch of apples for a party, you can absolutely double or triple the salt and vinegar solution. Just make sure you use a big enough bowl or multiple bowls. I’ve also learned that over-soaking isn’t necessary; 5-10 minutes is plenty to do its job. Any longer and you might start to notice a slight change in apple texture, which isn’t ideal. When you’re patting them dry, be gentle! You don’t want to mash them, just wick away the surface moisture. For ingredient swaps, while salt and vinegar are my absolute go-to, I’ve experimented with adding a tiny bit of crushed vitamin C (ascorbic acid) to the water, which also works wonders, though it’s not as readily available. If you’re making muffins or quick breads, this method is a lifesaver for keeping the apple pieces visible and bright throughout the batter. Trust me on this one – it’s a game-changer for apple baking!
What are some Storing and Reheating Tips?
Storing these treated apples is super simple. If you’re using them within a few hours, just keep them in the colander or a loosely covered bowl at room temperature. For longer storage, place the thoroughly drained and patted-dry apple slices in an airtight container in the refrigerator. They’ll stay perfectly fresh and free of browning for up to 2-3 days. I’ve even kept them for up to 4 days, and they were still looking great, though I usually use them within a couple of days for the absolute best texture. If you’re making a big batch for later in the week, this is your best bet. For reheating, if you’ve already incorporated the apples into a baked dish, you can usually reheat the whole item according to its original instructions. If, by chance, you have leftover treated apple slices that you didn’t use, you can gently reheat them in a skillet with a tiny bit of butter and cinnamon for a quick, warm apple topping for ice cream or yogurt. The key is always to make sure they are well-drained and dried before storing or using them.
What are the most frequently asked questions on
Final Thoughts
So there you have it – my absolute favorite, foolproof way to tackle those pesky apples turning brown! It’s so incredibly simple, yet it makes such a huge difference in how your apple desserts look and taste. No more sad, brown apple slices peeking through your beautiful pie crust or fruit salad. This method has saved me from culinary embarrassment more times than I can count, and I’m so excited for you to try it too. It’s one of those small kitchen secrets that truly elevates your baking and makes everything feel a little more special. If you love this trick, I think you’ll also really enjoy my recipe for Spiced Apple Muffins and my super-easy Apple Crumble Bars. Give this “no-brown” apple prep a go the next time you’re working with apples, and I can’t wait to hear how it turns out for you! Please let me know in the comments below if you try it, and share any other apple-saving tips you might have! Happy baking!
How to Keep Apples from Turning Brown
Ingredients
Prevent Browning
- 1 tablespoon Lemon Juice
- 0.5 teaspoon Ascorbic Acid (Vitamin C) Optional, but highly effective
- 1 quart Cold Water For an ice bath
Instructions
Preparation Steps
- Prepare your apples: Wash, core, and slice apples as desired.
- Choose your method: You can either toss the apple slices directly with lemon juice or ascorbic acid solution, or use an ice bath.
- Method 1 (Direct Application): In a bowl, gently toss the apple slices with lemon juice or sprinkle with ascorbic acid. Ensure all surfaces are lightly coated.1 tablespoon Lemon Juice
- Method 2 (Ice Bath): Fill a large bowl with cold water and add ice cubes. Mix in lemon juice or ascorbic acid if using.1 tablespoon Lemon Juice
- Submerge the apple slices in the prepared ice bath for 3-5 minutes.1 tablespoon Lemon Juice
- Remove apples from the water and pat them dry gently with a clean towel.
- Serve or store: Apples treated with these methods can be served immediately or stored in an airtight container in the refrigerator.