Oh, these cookies. They’re practically magic in my kitchen. If there’s one thing that instantly transports me back to my Grandma’s sunny kitchen, it’s the scent of these toffee bits cookies baking. They’re not just cookies; they’re a hug in edible form, a sweet little escape on a Tuesday afternoon, or the star of any potluck they grace. You know how some people rave about chocolate chip or peanut butter cookies? Well, for me, it’s these. They have that irresistible crunch from the toffee bits, a tender chewiness in the center, and just the right amount of sweet and salty balance. Honestly, if you’re looking for that perfect sweet treat that’s surprisingly easy to whip up, you’ve found it. These toffee bits cookies are a lifesaver when unexpected guests pop over or when that late-night craving hits and you don’t want to spend hours in the kitchen.
What are Toffee Bits Cookies?
So, what exactly are these glorious little things? Think of them as your classic Chocolate Chip cookie’s more sophisticated, yet equally approachable, cousin. They’re a buttery, slightly chewy cookie base studded generously with crunchy toffee bits. The toffee bits are the real stars here, providing little pockets of caramel-y sweetness and a delightful textural contrast that keeps you reaching for more. They’re essentially the secret weapon that elevates a simple cookie into something truly special. Unlike cookies where you might chop up a toffee bar, using pre-made toffee bits (the kind you find in the baking aisle, often with Heath or Skor brands) is a game-changer for ease and consistency. They bake up perfectly, melting just enough to spread their glorious flavor without becoming a greasy mess. It’s that perfect balance of familiar comfort and exciting new crunch that makes them so addictive.
Why you’ll love this recipe?
Let me count the ways! First off, the flavor is just out of this world. You get that rich, buttery cookie dough base, which is delicious on its own, but then you hit those little nuggets of crunchy toffee. It’s a match made in heaven, I tell you. The combination of sweet, slightly salty, and deeply caramelized notes from the toffee is just divine. What I love most about this recipe, though, is its incredible simplicity. You don’t need any fancy equipment or ingredients. Everything is pretty standard pantry stuff, and the steps are straightforward enough that even a beginner baker can nail it. Plus, they’re ridiculously cost-effective – you can make a huge batch for way less than buying a dozen cookies from a bakery. And the versatility! Oh my goodness, you can eat these warm, fresh from the oven with a glass of milk, or let them cool and enjoy that perfect crisp-chewy texture. They’re fantastic for school lunches, office potlucks, or just a quiet moment with your favorite book. They’re just so adaptable. Compared to my classic chocolate chip cookies, these have that extra layer of caramelized flavor that I find myself craving more and more. Honestly, they’re just a winner all around.
How do I make Toffee Bits Cookies?
Quick Overview
This recipe is all about creating a wonderfully tender cookie dough that’s then loaded up with those irresistible toffee bits. We’ll cream butter and sugar, add eggs and vanilla, then gently mix in our dry ingredients. The key is to not overmix once the flour goes in. Finally, we fold in the toffee bits, scoop, and bake until golden brown. It’s a fuss-free process that guarantees delicious results every single time. Trust me, the smell that fills your kitchen as these bake is worth the effort alone!
Ingredients
For the Main Batter:
2 and 1/4 cups all-purpose flour: This is our base. I always use unbleached all-purpose flour for the best texture. Make sure it’s measured correctly by spooning it into your cup and leveling it off, not scooping directly from the bag, which can pack too much flour in.
1 teaspoon baking soda: This is what gives our cookies that lovely lift and tender crumb.
1/2 teaspoon salt: Don’t skip the salt! It balances the sweetness and really makes the flavors pop, especially the toffee.
1 cup (2 sticks) unsalted butter, softened: Make sure your butter is truly softened, not melted. It should give slightly when you press it. This is crucial for proper creaming.
3/4 cup granulated sugar: For sweetness and structure.
3/4 cup packed brown sugar: This adds moisture, chewiness, and a lovely caramel undertone. Dark brown sugar will give even more depth.
2 large eggs: At room temperature is best. They bind everything together and add richness.
1 teaspoon vanilla extract: Pure vanilla extract, always! It’s a flavor enhancer. You can even use a mix of vanilla and a tiny bit of almond extract for an extra twist.
For the Toffee Bits:
1 to 1 and 1/2 cups toffee bits: These are the magic! You can find them in the baking aisle. The amount is really up to your preference – I usually go for the full cup and a half because I love a really toffee-forward cookie. Brands like Heath or Skor work wonderfully.
Step-by-Step Instructions
Step 1: Preheat & Prep Pan
Start by preheating your oven to 375 degrees Fahrenheit (190 degrees Celsius). This is the perfect temperature for getting that golden-brown exterior and chewy center. While the oven heats up, grab your baking sheets and line them with parchment paper or silicone baking mats. This is a lifesaver for easy cleanup and ensures your cookies won’t stick. If you don’t have parchment, you can lightly grease your baking sheets, but parchment is truly the way to go.
Step 2: Mix Dry Ingredients
In a medium-sized bowl, whisk together the all-purpose flour, baking soda, and salt. Give it a good whisk until everything is evenly distributed. This ensures that your leavening and salt are spread throughout the dough, leading to consistent cookies. I always do this first to make sure it’s all combined before it even meets the wet ingredients.
Step 3: Mix Wet Ingredients
In a large bowl, or the bowl of your stand mixer fitted with the paddle attachment, cream together the softened butter, granulated sugar, and packed brown sugar. Beat them on medium speed until the mixture is light, fluffy, and pale in color. This usually takes about 2-3 minutes. This creaming process is super important because it incorporates air into the dough, which helps give the cookies their texture. Next, beat in the eggs one at a time, mixing well after each addition. Stir in the vanilla extract. Make sure everything is thoroughly combined.
Step 4: Combine
Gradually add the dry ingredients to the wet ingredients. Mix on low speed until just combined. Be careful not to overmix! As soon as you don’t see any streaks of flour, stop mixing. Overmixing can develop the gluten too much, resulting in tough cookies. A few gentle folds with a spatula at the end can ensure everything is incorporated without overworking the dough.
Step 5: Prepare Filling
This step is super simple! Just have your toffee bits ready to go. If they’ve been sitting out for a while, you might want to give the bag a little shake to distribute them evenly. You’re basically just adding these delicious crunchy bits to your dough.
Step 6: Layer & Swirl
Now for the best part! Gently fold in the toffee bits into the cookie dough using a spatula or wooden spoon. Stir just until they’re evenly distributed throughout the dough. Again, avoid overmixing. You want little pockets of toffee goodness, not a uniform brown mass.
Step 7: Bake
Drop rounded tablespoons of dough onto your prepared baking sheets, spacing them about 2 inches apart. I usually use a cookie scoop for uniform size, which helps them bake evenly. Bake for 9-11 minutes, or until the edges are golden brown and the centers are still slightly soft. They’ll continue to bake a little on the hot baking sheet after you remove them from the oven. For a chewier cookie, err on the side of less baking time. If you prefer them crispier, bake a minute or two longer.
Step 8: Cool & Glaze
Let the cookies cool on the baking sheets for about 5 minutes before transferring them to a wire rack to cool completely. This is crucial for them to set up properly. If you try to move them too soon, they might fall apart. Honestly, I usually can’t resist trying one when they’re still a bit warm – the toffee is just so melty and amazing!
Step 9: Slice & Serve
Once cooled, they’re ready to be enjoyed! You can serve them as is, or with a tall glass of cold milk. They’re also fantastic with a cup of coffee. If you like a little extra flair, a dusting of powdered sugar can look pretty, but honestly, these cookies are perfect just the way they are.
What to Serve It With
These toffee bits cookies are wonderfully versatile, fitting in perfectly wherever a sweet treat is needed. For a cozy breakfast, I love pairing a couple of them with my morning coffee. They’re not overly sweet, so they don’t feel like a dessert first thing. My kids sometimes sneak one with their cereal if they’re lucky! For a more elegant brunch spread, I’ll arrange them on a nice platter alongside pastries and fruit. They add a lovely textural contrast and a pop of caramel flavor that complements lighter fare beautifully. Imagine serving them with a fresh fruit salad or a creamy yogurt parfait – it’s just delightful. As a dessert, they’re fantastic on their own, of course, but they’re also amazing served warm with a scoop of vanilla bean ice cream. The warm cookie and cold ice cream with those crunchy toffee bits? Pure bliss. And for those truly cozy snack moments, nothing beats curling up on the sofa with a few of these and a good book. They’re my go-to when I need a little comfort food without being too decadent. I’ve also found they pair surprisingly well with a slightly salted caramel drizzle if you’re feeling extra indulgent!
Top Tips for Perfecting Your Toffee Bits Cookies
I’ve made these cookies more times than I can count, and over the years, I’ve picked up a few tricks that really make a difference. Firstly, for the butter, it absolutely needs to be softened, not melted. If it’s melted, your cookies will spread way too much and become thin and crispy, which isn’t the texture we’re going for here. Softened butter creates that wonderful fluffy creamed mixture that gives the cookies structure. When it comes to mixing the dry and wet ingredients, my biggest piece of advice is: do NOT overmix once the flour is added. Seriously, mix until *just* combined. You can even leave a tiny bit of flour visible and let it incorporate as you fold in the toffee bits. Overmixing develops the gluten, and that’s the enemy of tender cookies. Speaking of toffee bits, I always use a full cup and a half. I know some recipes call for less, but I love that intense toffee flavor and crunch in every bite. If you find your toffee bits are clumping together in the bag, just give it a good shake before adding them. For baking, ensure your oven is accurately preheated. I’ve learned the hard way that an oven that’s not quite hot enough leads to excessive spreading. I also recommend rotating your baking sheets halfway through the baking time, especially if you bake more than one sheet at a time, to ensure even browning. If you don’t have parchment paper, greasing your pan well is key, but parchment is just so much easier and gives you perfect edges every time. And for that perfectly chewy center, pull the cookies out when the edges are golden brown but the center still looks a little soft and underdone. They’ll continue to bake on the hot pan. I’ve tested this recipe with both light and dark brown sugar; dark brown sugar gives a deeper, chewier result, while light brown sugar is a bit lighter in color and texture, but both are delicious. If you’re in a pinch and don’t have toffee bits, you could roughly chop up a Heath bar, but the texture won’t be quite the same, and you might end up with a bit more melted toffee goo, which, while tasty, is a different experience than the distinct crunch of the bits.
Storing and Reheating Tips
Proper storage is key to keeping these toffee bits cookies delicious. Once they’ve cooled completely on a wire rack, you can store them in an airtight container at room temperature for up to 3-4 days. I usually layer them between sheets of wax paper or parchment paper to prevent them from sticking together, especially if they’re still a little soft in the center. If you live in a warm or humid climate, storing them in the refrigerator might be a better option to prevent them from getting too soft or greasy, though they can sometimes dry out a bit in the fridge. They’ll last about 5-7 days this way. For longer storage, these cookies freeze beautifully! You can freeze them in a single layer on a baking sheet until firm, then transfer them to a freezer-safe bag or container. They’ll keep well in the freezer for up to 2-3 months. To reheat them, you can pop them in a 300-degree Fahrenheit oven for about 5-10 minutes, or until warmed through. This is especially nice if you want that fresh-from-the-oven taste and texture. If you’re reheating from frozen, you might need an extra few minutes. I usually don’t add glaze to these cookies, but if you were to add one, I’d recommend doing it just before serving, especially if they’re stored at room temperature, as the glaze can get sticky. For refrigeration or freezing, I’d always add any glaze after thawing and warming.
Frequently Asked Questions
Final Thoughts
So there you have it – my absolute favorite toffee bits cookies! I really hope you give them a try. They’re more than just a recipe to me; they’re memories, comfort, and pure, unadulterated joy in cookie form. They strike that perfect balance between being wonderfully easy to make and incredibly impressive to taste. The crunch of the toffee, the chewiness of the cookie… it’s just a match made in heaven that I can’t get enough of. If you love the sound of these, you might also enjoy my recipe for Chewy Oatmeal Raisin Cookies or my Classic Sugar Cookies. They’re all family favorites for a reason! I would absolutely love to hear how yours turn out, so please leave a comment below and share your experience, or even any fun variations you’ve tried! Happy baking, everyone!
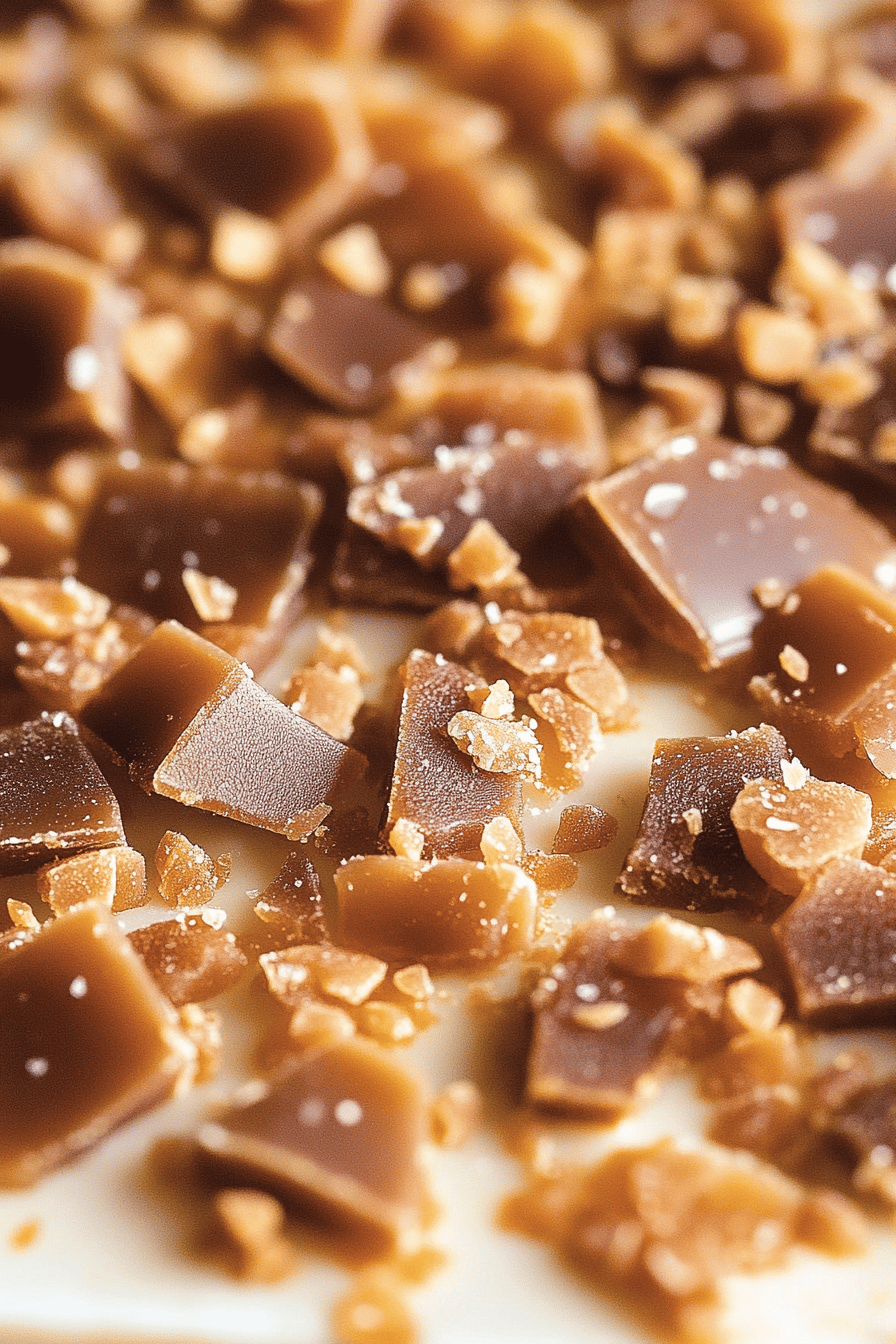
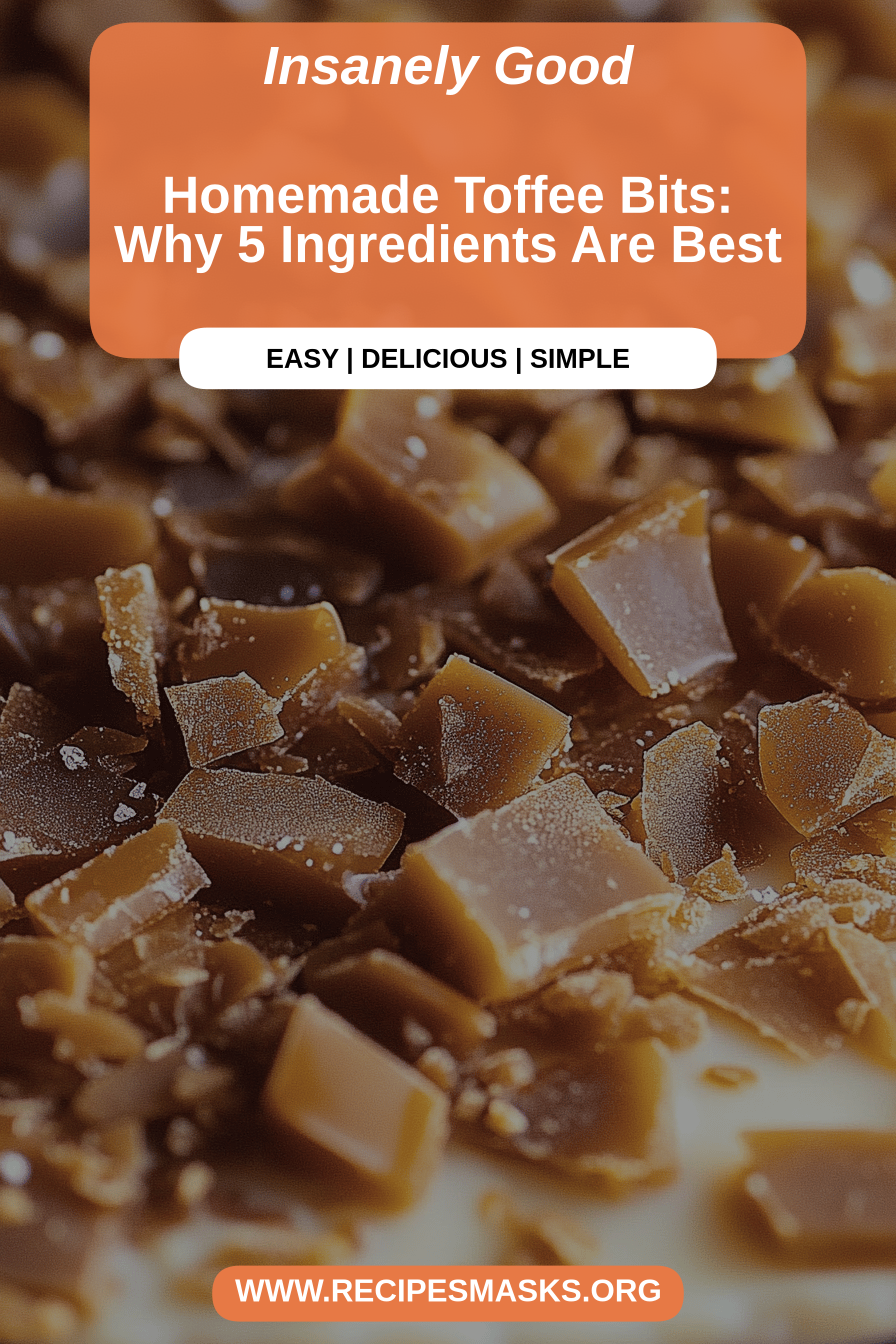
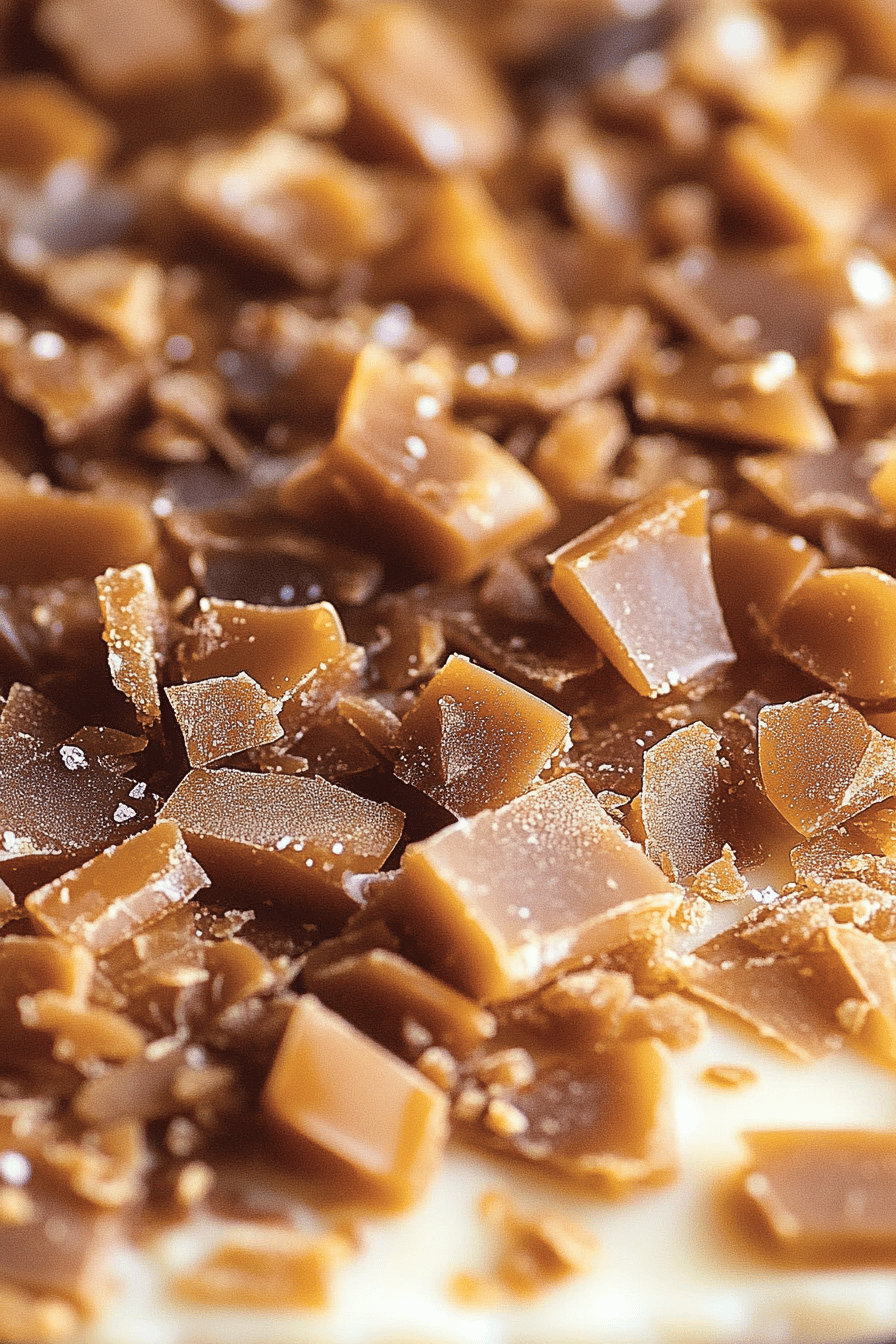
Toffee Bits
Ingredients
Main Ingredients
- 1 cup granulated sugar
- 0.25 cup water
- 0.5 cup unsalted butter, cut into cubes
- 1 teaspoon vanilla extract
- 0.5 teaspoon salt
Instructions
Preparation Steps
- In a medium saucepan, combine the granulated sugar and water. Stir until the sugar is dissolved.
- Add the butter to the saucepan and melt it over medium heat, stirring occasionally. Bring the mixture to a boil.
- Cook, stirring constantly, until the mixture reaches a deep amber color, about 8-10 minutes. Be careful not to burn it.
- Remove from heat and stir in the vanilla extract and salt. The mixture will bubble up vigorously.
- Pour the toffee mixture onto a baking sheet lined with parchment paper or a silicone mat. Spread it thinly.
- Let the toffee cool completely until hardened, then break it into small pieces.