You know that feeling when a craving hits, a deep, primal urge for something utterly decadent, something that whispers promises of pure comfort and joy? That’s how I feel about red Velvet Cake. It’s not just a cake; it’s a feeling. For me, it’s tied to childhood birthdays, the excited anticipation as Mom pulled a perfectly frosted, ruby-red creation from the oven, its sweet, slightly tangy aroma filling the whole house. This red velvet cake recipe is my absolute go-to, the one I’ve tinkered with over the years, refining it until it’s just right – moist, tender, with that signature subtle cocoa flavor and a hint of tang that makes it utterly addictive. It’s miles away from those dry, overly sweet imposters you sometimes encounter. This is the real deal, and honestly, it’s surprisingly simple to whip up, which is a huge bonus when you’re short on time but big on dessert dreams. It’s the kind of cake that makes people ooh and aah, and you can proudly say, “Yep, I made that!”
What is red velvet cake?
So, what exactly is this magical thing called red velvet cake? Think of it as a very sophisticated, slightly more grown-up Chocolate Cake, but with a personality all its own. It gets its distinctive name and stunning color from a combination of cocoa powder and an acidic ingredient, traditionally buttermilk and vinegar, which react to create that beautiful crimson hue. Unlike a rich, dark chocolate cake, red velvet has a much more delicate cocoa flavor. The real magic, though, comes from that subtle tang, a delightful counterpoint that balances the sweetness and gives it a unique character. The texture is famously velvety smooth and incredibly tender, almost melt-in-your-mouth. It’s traditionally paired with a dreamy, cream cheese frosting, which is honestly the only way to go in my book. It’s a classic for a reason, folks!
Why you’ll love this recipe?
I’ve made a lot of cakes in my life, and believe me, not all recipes are created equal. This red velvet Cake Recipe is a standout for so many reasons. Firstly, the flavor is just sublime. It hits that perfect sweet spot with a gentle, nuanced cocoa presence and that essential tangy note from the buttermilk and a touch of vinegar – it’s complex without being overwhelming. It’s not just sweet; it has a depth that keeps you coming back for more. Secondly, and this is a big one for me, it’s genuinely easy to make. I know some fancy cakes can be intimidating, but this one is pretty foolproof. The steps are straightforward, and the ingredients are readily available at any grocery store. You don’t need any fancy equipment, just your mixing bowls and a whisk. And let’s talk about cost-efficiency! Most of the ingredients are pantry staples, making this a wonderfully budget-friendly way to create something truly special. Plus, it’s so versatile. While I adore it with cream cheese frosting, it’s also fantastic with a simple vanilla buttercream or even just a dusting of powdered sugar. What I love most about this particular red velvet cake recipe is that it consistently delivers. I’ve made it countless times for holidays, birthdays, and just because, and it always turns out perfectly moist and delicious. It’s that reliable recipe you can count on to impress without stressing.
How do I make a Red Velvet Cake?
Quick Overview
Whipping up this gorgeous Red Velvet cake is a breeze. You’ll whisk together your dry ingredients, then combine your wet ingredients, and then bring them together until just combined. A little vinegar and baking soda magic helps create that signature rise and tender crumb. Once baked and cooled, it’s ready for its crowning glory: a luscious cream cheese frosting. It’s a simple process that yields spectacular results, perfect for bakers of all levels.
Ingredients
For the Main Batter:
This is where the magic starts. You’ll need all-purpose flour – I usually go for unbleached for a slightly better texture. Make sure it’s fresh! A good quality unsweetened cocoa powder is key here; it’s not a chocolate cake, so you don’t need a ton, just enough for that subtle depth. Granulated sugar for sweetness, of course. Baking soda and baking powder for that perfect lift. A pinch of salt to balance everything out. Then for the wet ingredients: buttermilk is non-negotiable for that tang and tenderness, so if you don’t have any, a quick DIY version is just milk with a tablespoon of lemon juice or vinegar left to sit for 5 minutes. Vegetable oil is my preference for moisture; it keeps the cake incredibly tender. Eggs, at room temperature, are essential for structure. Vanilla extract for that classic bakery flavor. And the star of the show, red food coloring – gel paste gives the most vibrant color without adding too much liquid. A splash of white vinegar helps activate the baking soda for that lovely rise and tender crumb.
For the Filling:
For the classic cream cheese frosting, you’ll need softened cream cheese (don’t use it straight from the fridge, or you’ll get lumps!). Unsalted butter, also softened, provides richness and stability. Powdered sugar, sifted to avoid any grittiness, is crucial for sweetness and that silky texture. A little bit of vanilla extract adds that lovely aroma and flavor. If you want it a bit tangier, you can add a tiny splash of lemon juice, but I usually find the cream cheese is enough.
For the Glaze:
While the cream cheese frosting is my absolute favorite, some people prefer a simpler glaze. For that, you’ll just need powdered sugar and a liquid. Milk or water works fine, but for an extra kick, a little bit of buttermilk can add a lovely subtle tang. Start with a little liquid and add more until you reach your desired drizzling consistency. You can also add a drop of vanilla extract here too.
Step-by-Step Instructions
Step 1: Preheat & Prep Pan
First things first, get that oven preheating to 350°F (175°C). This is crucial for even baking. While it’s heating up, grease and flour two 8-inch round cake pans. I like to line the bottoms with parchment paper too, just for extra insurance against sticking. A well-greased and floured pan ensures your beautiful cake comes out in one piece!
Step 2: Mix Dry Ingredients
In a large bowl, whisk together your all-purpose flour, unsweetened cocoa powder, granulated sugar, baking soda, baking powder, and salt. Whisking them thoroughly ensures everything is evenly distributed, which means your cake will rise evenly and have a consistent texture. No one wants a pocket of unincorporated baking soda!
Step 3: Mix Wet Ingredients
In a separate medium bowl, whisk together your buttermilk, vegetable oil, eggs, vanilla extract, and red food coloring. Make sure the eggs are fully incorporated and the mixture is a uniform, vibrant red color. This is where the visual magic begins!
Step 4: Combine
Now, pour the wet ingredients into the bowl with the dry ingredients. Mix on low speed with an electric mixer, or by hand with a whisk, until *just* combined. Be careful not to overmix! Overmixing develops the gluten in the flour, which can lead to a tough cake. Stop as soon as you no longer see streaks of dry flour. Then, in a small bowl, combine the white vinegar and a teaspoon of baking soda – it will fizz up! Immediately pour this fizzing mixture into the batter and gently fold it in. This is a key step for that tender crumb and perfect rise.
Step 5: Prepare Filling
While the cake layers are cooling, let’s whip up that dreamy cream cheese frosting. In a large bowl, beat the softened cream cheese and softened butter together until light and fluffy. Gradually add the sifted powdered sugar, beating until smooth and creamy. Stir in the vanilla extract. If it seems too thick, you can add a tablespoon of milk or cream at a time until it reaches your desired spreading consistency. Taste it – it should be sweet but with that lovely tang!
Step 6: Layer & Swirl
Once your cake layers are completely cool – and I mean completely, or the frosting will melt! – place one layer on your serving plate. Spread a generous amount of cream cheese frosting over the top. Then, carefully place the second cake layer on top. Frost the top and sides of the entire cake. You can make it super smooth, or create pretty swirls with your spatula for a more rustic look. It’s all about how you want it to look!
Step 7: Bake
Pour the batter evenly into your prepared cake pans. Bake for 30-35 minutes, or until a wooden skewer or toothpick inserted into the center comes out clean. Oven temperatures can vary, so start checking around the 30-minute mark. If it’s browning too quickly on top, you can loosely tent it with foil.
Step 8: Cool & Glaze
Let the cakes cool in their pans on a wire rack for about 10-15 minutes before inverting them onto the rack to cool completely. Seriously, let them cool *all the way*. Trying to frost a warm cake is a recipe for disaster! Once cooled, frost as directed in Step 6. If you opt for a glaze, whisk together powdered sugar and your liquid of choice until smooth and drizzling consistency, then drizzle over the top of the cake.
Step 9: Slice & Serve
Once frosted, your beautiful red velvet cake is ready to be sliced and enjoyed! I usually let it set for at least 15-20 minutes after frosting, especially if it’s warm out, to allow the frosting to firm up slightly. Slice with a sharp knife for clean cuts. Serve at room temperature for the best flavor and texture. Enjoy every delicious bite!
What to Serve It With
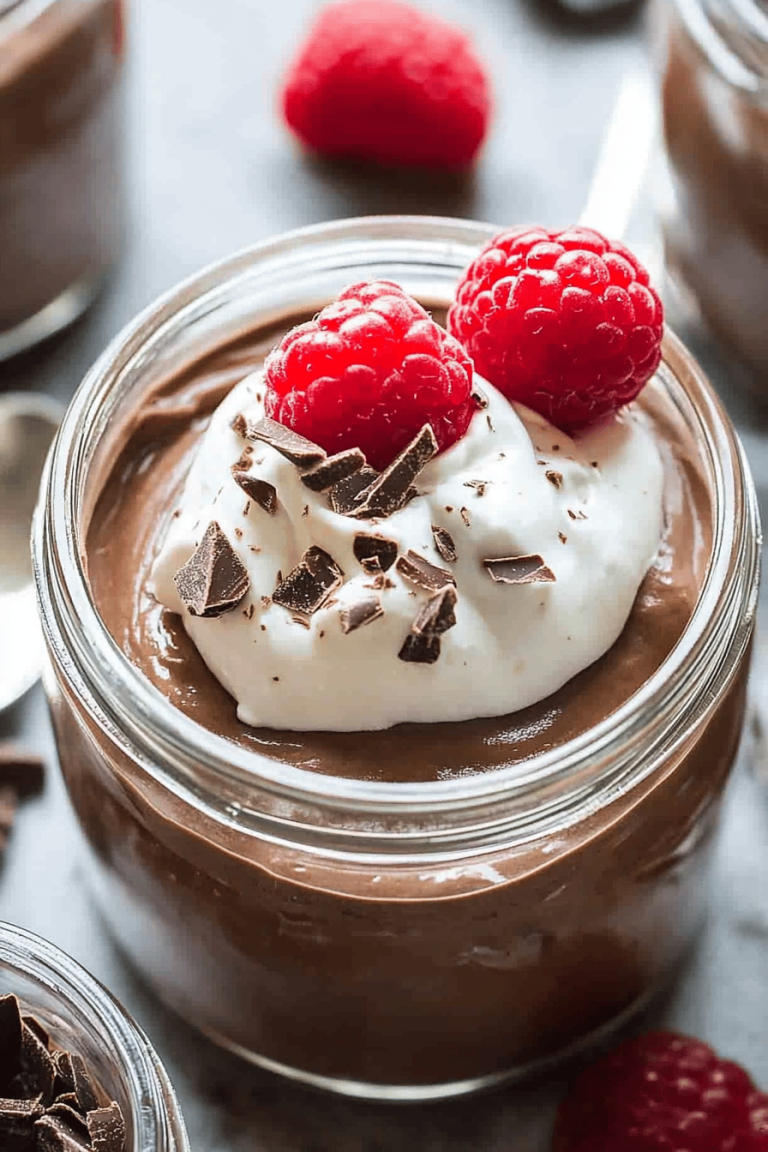
This stunning red velvet cake is a star on its own, but pairing it with the right accompaniments can elevate it even further. For breakfast, while it might seem indulgent, a small slice with a strong cup of black coffee is pure bliss. The richness of the cake is wonderfully cut by the bitterness of the coffee. For a more elegant brunch, I love serving it with fresh berries – raspberries or strawberries are fantastic, their tartness playing beautifully with the sweet cake. A dollop of lightly sweetened whipped cream alongside is always a winner. As a dessert, it’s a showstopper. It pairs wonderfully with a scoop of vanilla bean ice cream or a raspberry coulis. For cozy, casual snacks, it’s perfect with a glass of cold milk, a true nostalgic pairing that never gets old. My family also loves it with a warm caramel sauce drizzled over the top, especially during the fall. It’s a versatile cake that can truly suit any occasion, from a simple weeknight treat to a grand celebration.
Top Tips for Perfecting Your Red Velvet Cake
Over the years, I’ve learned a few tricks that really make this red velvet cake recipe sing. First, room temperature ingredients are your best friend. This applies to your eggs, buttermilk, and butter for the frosting. They emulsify better, leading to a smoother batter and a lighter cake. When it comes to mixing the batter, the golden rule is: don’t overmix! As soon as the dry and wet ingredients are just combined, stop. Overmixing develops gluten, which can make your cake tough and dense. Trust me, I’ve been there! For that gorgeous swirl and vibrant color, use a good quality gel food coloring. It gives you intense color without adding too much extra liquid, which can throw off the batter’s consistency. If you can’t find buttermilk, the milk-plus-acid trick (1 cup milk + 1 tbsp lemon juice or white vinegar, let sit for 5 mins) is a lifesaver and works beautifully. For the cream cheese frosting, make sure your cream cheese and butter are truly softened, not melted. Beat them until they’re light and fluffy *before* adding the powdered sugar. This makes for a much smoother, lump-free frosting. When it comes to baking, know your oven. If it runs hot, you might need to reduce the temperature slightly or bake for a few minutes less. The toothpick test is your best guide. And if your cake layers ever seem a little uneven, don’t panic! A bit of clever frosting can hide a multitude of sins. Lastly, for the glaze, start with less liquid than you think you need. You can always add more to thin it out, but it’s much harder to thicken it up if you add too much!
Storing and Reheating Tips
Proper storage is key to keeping your red velvet cake tasting its absolute best. If you have any leftovers (which is rare at my house!), I usually store the frosted cake in an airtight container at room temperature for up to 2 days. The cream cheese frosting can handle it, especially if your kitchen isn’t too warm. Beyond that, or if you live in a very hot climate, the refrigerator is your best bet. Wrap the cake tightly in plastic wrap and then place it in an airtight container for refrigerator storage, where it will keep well for 3-4 days. Make sure to let it come back to room temperature for about 30 minutes before serving for the best texture and flavor. If you want to make this cake ahead of time and freeze it, un-frosted layers freeze beautifully. Wrap each cooled layer tightly in plastic wrap, then in a layer of foil, and freeze for up to 2-3 months. Thaw them overnight at room temperature before frosting. If you’re freezing a fully frosted cake, the plastic wrap and foil method works well too, but be gentle. For reheating, I generally don’t recommend it for cake unless it’s been refrigerated. Letting it sit out at room temperature is usually enough to revive its deliciousness. If you must reheat a slice, you can try a few seconds in the microwave, but be very careful not to dry it out.
Frequently Asked Questions
Final Thoughts
There you have it – my absolute favorite red velvet cake recipe! It’s a recipe that’s stood the test of time in my kitchen, bringing smiles and satisfied sighs every single time. It’s that perfect balance of comforting nostalgia and decadent indulgence. The rich color, the tender crumb, the subtle tang, all crowned with that dreamy cream cheese frosting – it’s truly a masterpiece that’s surprisingly achievable for any home baker. If you love this recipe, you might also enjoy my classic chocolate chip cookie recipe or my fluffy vanilla pound cake for more baking inspiration. Give this red velvet cake a try, and I promise, it might just become your new go-to too. I can’t wait to hear how your cake turns out – don’t forget to share your photos and any fun variations you try in the comments below!
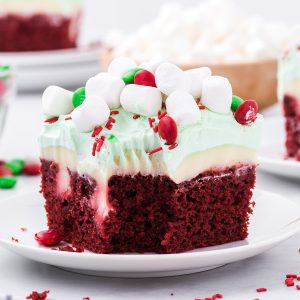
Christmas Red Velvet Poke Cake
Ingredients
Cake Ingredients
- 15.25 ounce red velvet cake mix
- 1.25 cup water
- 0.5 cup vegetable oil
- 3 large eggs
Filling & Topping
- 3.75 cup cold whole milk
- 6.8 ounce cheesecake flavored instant pudding mix
- 16 ounce (2 tub) whipped topping (thawed)
- 10 drops green food color Adjust to preferred shade
- 3 cup mini marshmallows
- 0.25 cup red M&M’s
- 0.25 cup green M&M’s
- 0.25 cup red sprinkles
Instructions
Red Velvet Cake Preparation
- Preheat the oven to 350°F. Spray a 9x13 inch pan with baker's spray (like Baker's Joy or generic version). Set it aside.
- Using a medium size mixing bowl and a handheld mixer on medium speed, prepare the cake mix according to the box directions (using water, oil, and eggs).
- Bake for 25 minutes.
- Using a rounded handle of a wooden spoon, poke holes into the cake about 0.5 inch apart immediately after removing from the oven. Set it aside to cool slightly.
Cheesecake Flavored Pudding Layer
- Using a medium size mixing bowl, whisk together the cheesecake pudding mix and the cold milk for 1 - 1.5 minutes, just until the pudding starts to thicken.
- Evenly pour the pudding over the prepared cake. Use a spatula to smooth the pudding over the prepared cake.
- Tightly cover the cake and chill in the refrigerator for at least 4 hours.
Whipped Topping and Decoration
- Using a spoon, stir in the green food color into the thawed whipped topping until the color is uniform.
- Remove the cake from the refrigerator. Evenly spread the tinted whipped topping over the pudding layer.
- Evenly sprinkle the mini marshmallows over the tinted whipped topping layer.
- Evenly sprinkle the red and green M&M’s and the red sprinkles on top.
- Cut into 12 servings (approximately 3 inch x 3 inch squares).