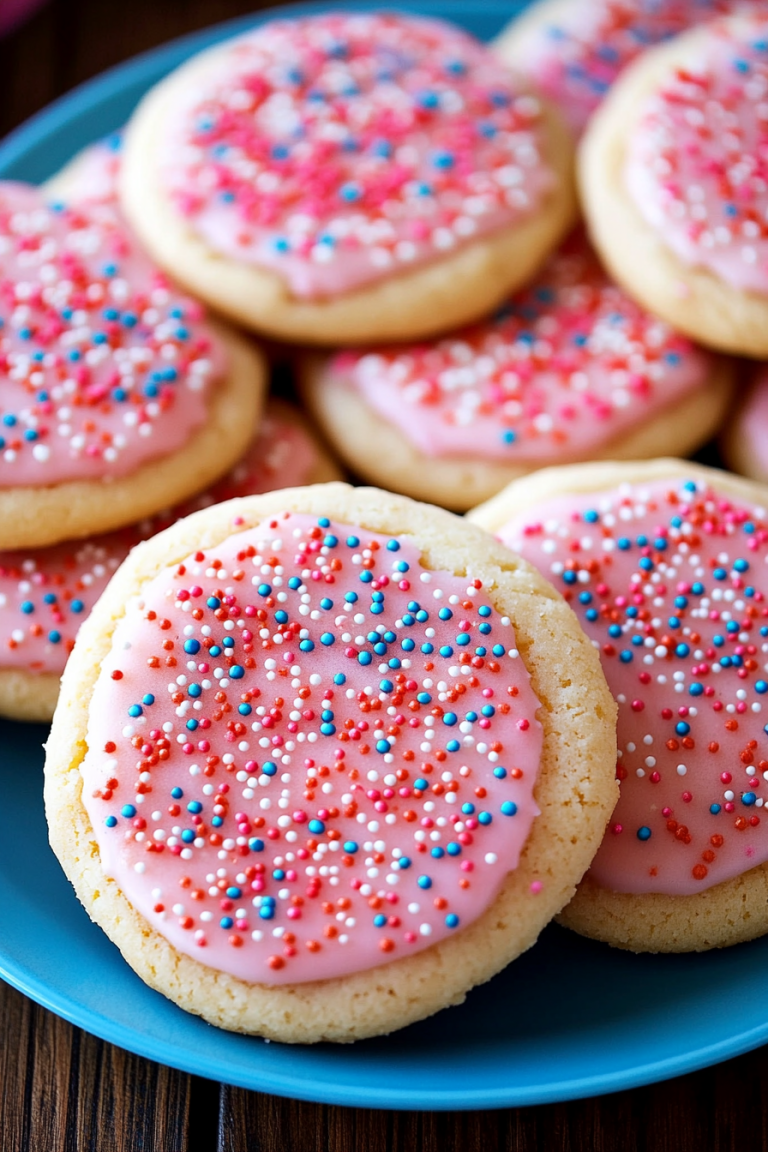
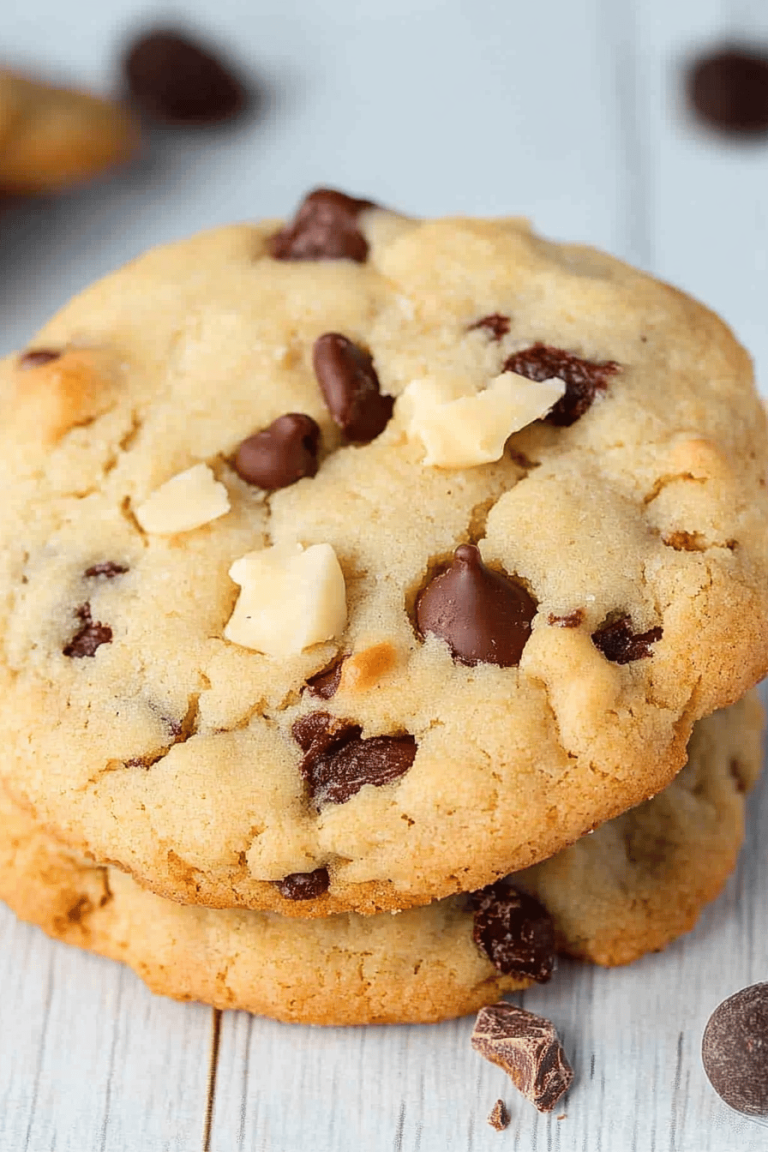
Oh, these butterbeer cookies! They’re like a little hug from your favorite wizarding world, all wrapped up in a soft, chewy bite. I remember the first time I tried to recreate that iconic, frothy drink in cookie form. My kitchen was a disaster zone, flour everywhere, and I was convinced it was a lost cause. But then, after a bit of tweaking and a whole lot of tasting (tough job, I know!), I landed on *this* recipe. It’s become a staple in my house, especially during movie nights or when the weather outside is just begging for something warm and comforting. Honestly, if you’re a fan of those dreamy butterbeer flavors, you’re going to be obsessed. They’re somehow just as good, if not better, than a traditional Chocolate Chip cookie, and that’s saying a lot coming from me!
What are Butterbe
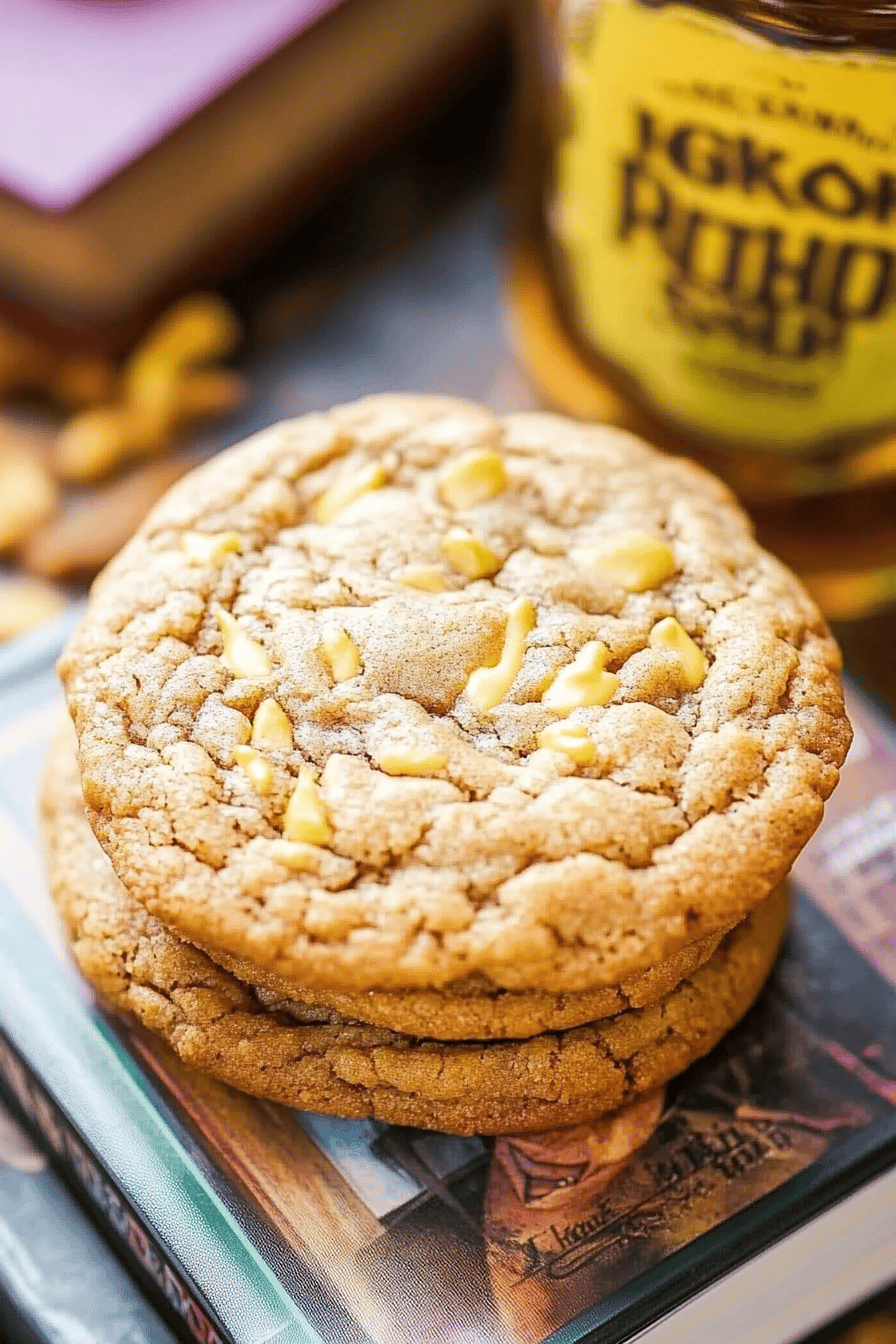
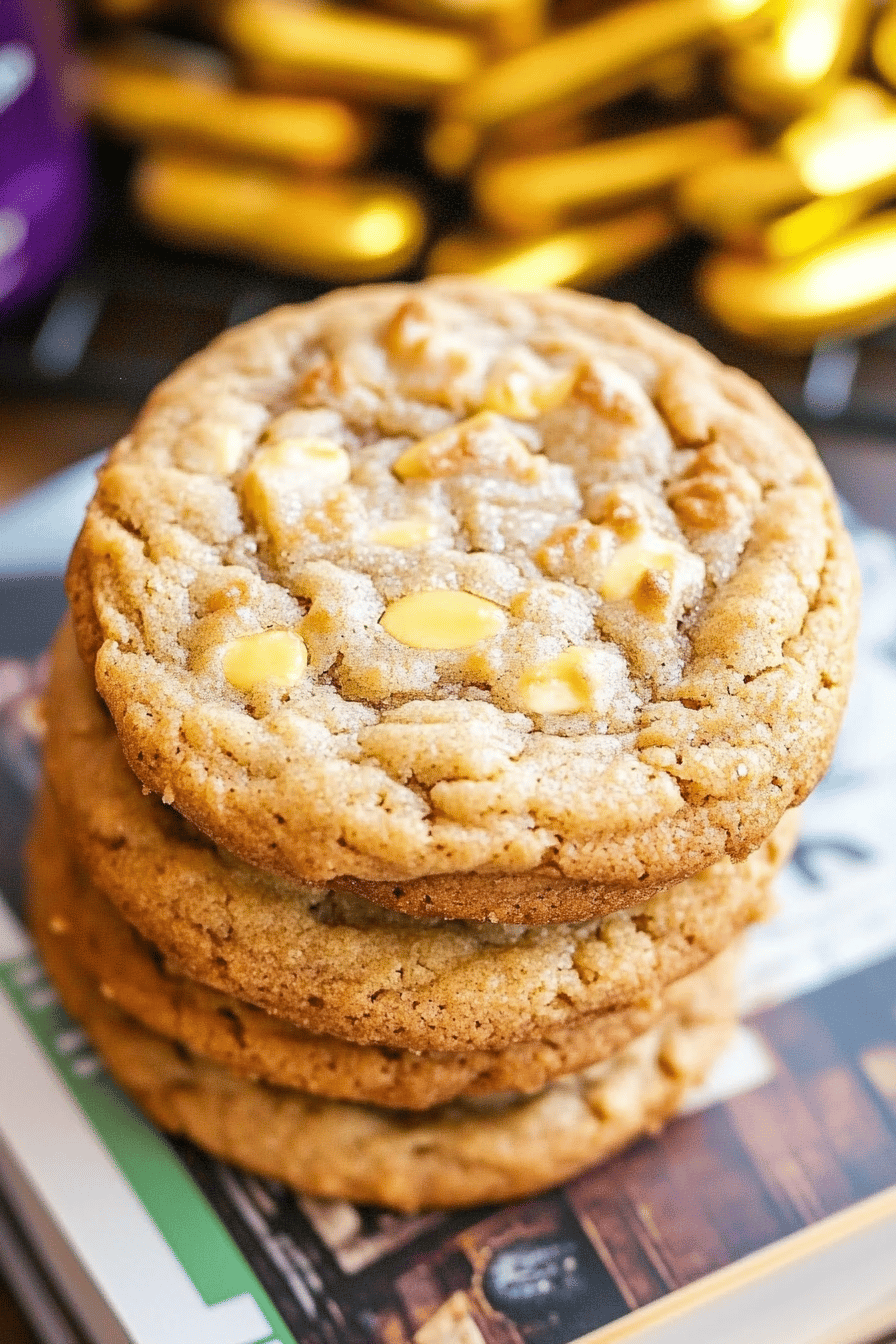
So, what exactly *are* these magical little treats? Think of them as your favorite cozy, vanilla-scented sugar cookie, but with a secret ingredient that infuses them with that unmistakable, caramel-butterscotch-y goodness of butterbeer. It’s not just one flavor, you know? It’s that complex, sweet, slightly rich taste that makes you want to close your eyes and savor every moment. We achieve this by using a combination of brown sugar, a touch of butterscotch flavoring (or even a bit of melted butterscotch chips if you’re feeling extra decadent!), and a hint of cream soda extract. It’s essentially capturing the essence of that beloved wizarding beverage and turning it into a portable, irresistible cookie. It’s not a heavy cookie, either; it’s got that perfect soft center with just a hint of crispness around the edges. Pure bliss!
Why you’ll love this
There are so many reasons why this butterbeer cookie recipe has become my absolute go-to, and I just know you’re going to fall in love with it too. First off, the flavor is out of this world. That signature butterbeer taste comes through so beautifully, it’s like a sweet, comforting memory in every bite. It’s not cloyingly sweet, though; it has this lovely depth from the brown sugar and the butterscotch notes. Then there’s the texture – oh, the texture! They’re perfectly soft and chewy in the middle with those delightful little crispy edges that make you want to grab another one (or three). And the best part? They are surprisingly simple to make! You don’t need any fancy equipment or ingredients you can’t find at your local grocery store. I’ve whipped these up on busy weeknights when I needed a quick dessert, and they always disappear in minutes. They’re also incredibly budget-friendly, which is a huge win these days. Plus, they’re so versatile! They’re fantastic on their own, but they’re also amazing with a dusting of powdered sugar or even a simple drizzle of vanilla glaze. What I love most, though, is the reaction they get. Every time I make them, people rave about them and ask for the recipe. They just have that special, “wow” factor that makes them feel like a real treat. They’re definitely a step up from a basic sugar cookie, but without all the fuss.
How do I make Butterbeer
Quick Overview
This recipe is all about creating that magical butterbeer flavor in a soft, chewy cookie. We’ll mix our dry and wet ingredients separately, combine them gently, then bake until they’re golden around the edges and perfectly soft in the center. A simple glaze can be added for an extra touch of sweetness and visual appeal, but they’re delicious either way. It’s a straightforward process that delivers maximum flavor with minimal effort, making them perfect for any occasion or just because!
Ingredients
For the Main Batter
You’ll need all-purpose flour (about 2 ½ cups), baking soda (1 teaspoon), and a pinch of salt (½ teaspoon) for our dry base. Make sure your baking soda is fresh; it really makes a difference in how well they spread and bake! For the wet ingredients, grab unsalted butter (1 cup, softened – this is key for creaming!), granulated sugar (½ cup), and packed light brown sugar (1 cup) for that lovely caramel undertone. Then, we’ll add an egg (1 large), a splash of vanilla extract (2 teaspoons – use the good stuff if you can!), and the secret weapon: cream soda extract (1 teaspoon) and butterscotch flavoring (½ teaspoon). If you can’t find cream soda extract, you can use a tiny bit of vanilla and maybe a drop of root beer extract, but the cream soda extract is truly the magic maker here. The butterscotch flavoring can be found in most baking aisles; it adds that warm, toasty note.
For the Glaze (Optional but highly recommended!):
This is super simple: powdered sugar (about 1 ½ cups), milk or cream (2-3 tablespoons, just enough to get the right consistency), and a tiny splash of vanilla extract (½ teaspoon). You want it to be pourable but not too thin, so add the liquid a little at a time.
Step-by-Step Instructions
Step 1: Preheat & Prep Pan
First things first, let’s get our oven preheated to 375 degrees Fahrenheit (190 degrees Celsius). I like to line my baking sheets with parchment paper. It makes cleanup a breeze and ensures the cookies don’t stick, giving us those nice, clean edges we want. If you don’t have parchment, a lightly greased baking sheet will do, but parchment is my secret weapon for stress-free baking.
Step 2: Mix Dry Ingredients
In a medium bowl, whisk together the flour, baking soda, and salt. Just a good whisking is all you need to make sure everything is evenly distributed. You don’t want any pockets of baking soda or salt in your cookies, trust me! The goal here is a light, fluffy mixture.
Step 3: Mix Wet Ingredients
In a large bowl, cream together the softened butter, granulated sugar, and brown sugar until light and fluffy. This is where you really want to get some air into the batter – about 2-3 minutes with an electric mixer. Then, beat in the egg and stir in the vanilla extract, cream soda extract, and butterscotch flavoring. Make sure everything is well combined and smells absolutely divine!
Step 4: Combine
Gradually add the dry ingredients to the wet ingredients, mixing on low speed or by hand until just combined. Be careful not to overmix! Overmixing develops the gluten in the flour, which can lead to tough cookies. Stop as soon as you don’t see any dry streaks of flour. The dough should be soft and slightly sticky.
Step 5: Prepare Filling
We don’t really have a separate filling for these, but the “filling” is really the flavor profile we’ve built into the batter! The magic comes from the combination of sugars, extracts, and butter. If you wanted to add an extra punch, you could stir in a few melted butterscotch chips or even a teaspoon of caramel sauce right before baking, but this base recipe is already so fantastic.
Step 6: Layer & Swirl
This step is more about shaping the cookies. Drop rounded tablespoons of dough onto the prepared baking sheets, leaving about 2 inches between them. You can use a cookie scoop for even portions. I sometimes like to gently flatten them a tiny bit with my palm or the bottom of a glass, but they spread nicely on their own. If you want a more swirled look, you could even marble in a bit of caramel sauce onto the top of each cookie dough ball before baking, but that’s totally optional.
Step 7: Bake
Bake for 9-12 minutes, or until the edges are lightly golden brown and the centers look set but still slightly soft. They’ll continue to cook a little on the baking sheet after you take them out, so you don’t want to overbake them. Keep an eye on them! Ovens can vary, so the first batch is always a bit of a learning experience. If they’re spreading too much, your butter might have been too soft. If they’re not spreading enough, your oven might be running cool.
Step 8: Cool & Glaze
Let the cookies cool on the baking sheets for about 5 minutes before transferring them to a wire rack to cool completely. This is crucial for them to set up properly. Once they’re completely cool, you can whip up the glaze. Whisk together the powdered sugar, vanilla, and milk until smooth and pourable. Drizzle it over the cooled cookies. If you want thicker lines, use less milk; for a thinner glaze, add a tiny bit more.
Step 9: Slice & Serve
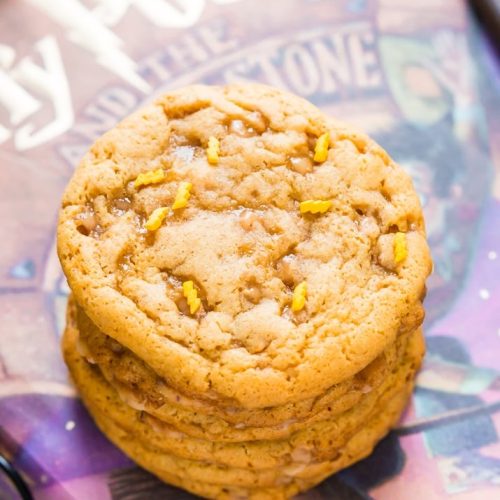
Once the glaze has set (or if you skipped the glaze!), these butterbeer cookies are ready to be devoured! They’re best served at room temperature. You can stack them up high and watch them disappear, or carefully arrange them on a platter for a magical treat.
What to Serve It With
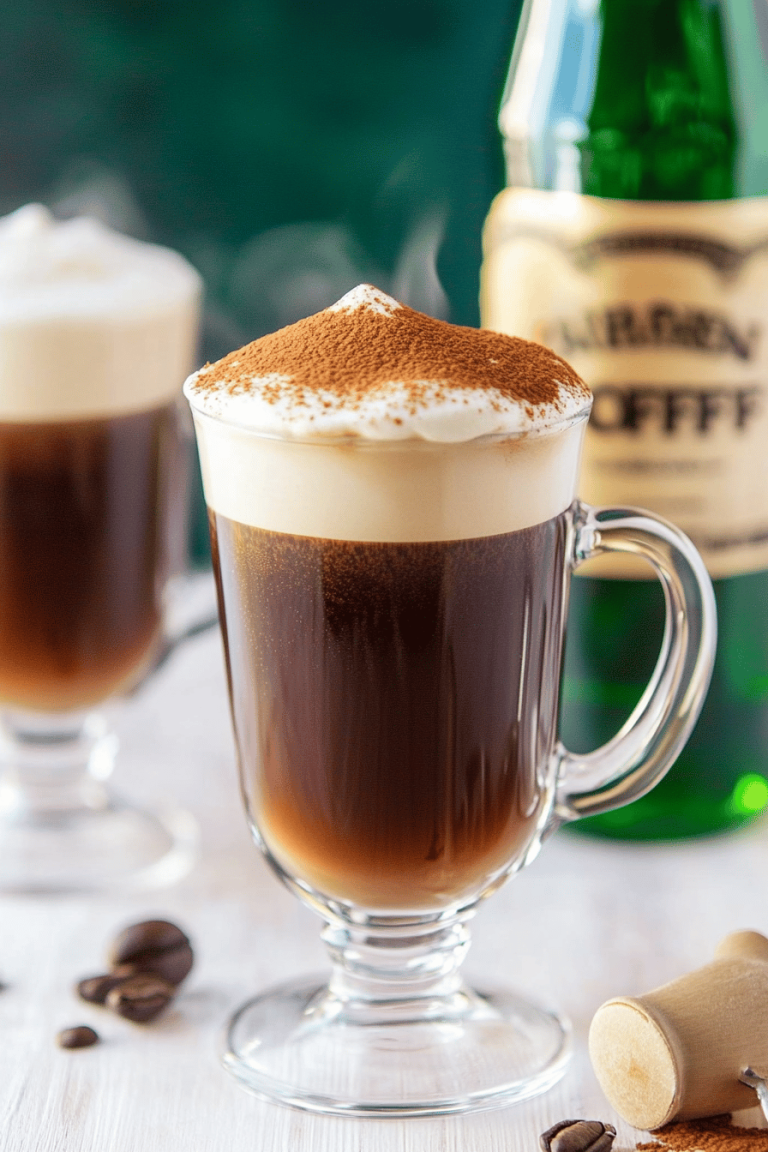
These butterbeer cookies are so wonderfully versatile, they fit in perfectly wherever you need a little touch of magic. For breakfast, I love them with a strong cup of coffee – the sweetness of the cookie cuts through the bitterness beautifully. They’re also fantastic with a glass of cold milk, which is how my kids always insist on having them. For brunch, imagine these nestled on a platter alongside some fruit salad and pastries; they add a fun, unexpected element that guests always rave about. As a dessert, they’re a dream served with a scoop of vanilla bean ice cream, creating an instant ice cream sandwich that’s simply heavenly. Or, for those cozy snack moments when you just need something sweet, they’re perfect with a cup of hot chocolate or even a warm mug of spiced cider. I’ve even seen them dipped into a warm caramel sauce, which is incredibly decadent and delicious. My family tradition is to have them with mugs of hot tea after reading a chapter of our current book – it just feels so cozy and special.
Top Tips for Perfecting Your Butterbeer Cookies
Over the years, I’ve learned a thing or two about making these butterbeer cookies absolutely perfect, and I’m happy to share those little secrets with you! For the butter, make sure it’s truly softened, not melted. You want it to be pliable, like a cream cheese consistency. If it’s too soft, your cookies will spread too much. I learned this the hard way when I tried to rush the softening process in the microwave – ended up with flat, greasy cookies! When you’re creaming the butter and sugars, really take your time. Getting that mixture light and fluffy incorporates air, which is key for that chewy texture. Don’t skimp on the extracts! The cream soda and butterscotch flavorings are what give these their signature taste. If you can’t find cream soda extract, you can try a mix of vanilla and a tiny bit of root beer extract, but it won’t be quite the same. For the flour, I always measure mine by spooning it into the cup and leveling it off with a knife, rather than scooping directly from the bag. This prevents you from packing too much flour in, which can lead to dry, cakey cookies. When mixing the wet and dry ingredients, stop as soon as they’re combined. A few streaks of flour are okay; they’ll disappear when you form the dough balls. Overmixing at this stage is the quickest way to tough cookies! For that perfect chewy center, you want to bake them until the edges are just set and lightly golden, but the center still looks a little underdone. They will firm up as they cool. If you prefer a crispier cookie, bake them for a minute or two longer. For the glaze, start with less liquid and add more a teaspoon at a time until you reach your desired consistency. It’s much easier to thin out a thick glaze than to thicken a runny one. And remember, these cookies are best when they’re still a little bit soft, so don’t be afraid to pull them out of the oven when they seem almost done. Trust me on this one!
Storing and Reheating Tips
These butterbeer cookies are pretty forgiving when it comes to storage, which is always a bonus in my book! For best results, I like to store them in an airtight container at room temperature. They’ll stay delightfully soft and chewy for about 3-4 days. Just make sure they’re completely cool before you stash them away, otherwise, you might get condensation, which can make them soggy. If you’ve glazed them, let the glaze set completely before sealing the container. If you know you won’t get through them in a few days, or if you want to save some for a special occasion, these cookies freeze beautifully. I usually wrap them individually in plastic wrap, then pop them into a freezer-safe bag or container. They can last in the freezer for up to 2-3 months. When you’re ready to enjoy them, the best way to thaw them is to just leave them on the counter at room temperature for an hour or two. They’ll come back to life and taste almost as fresh as when you first baked them. If you want to reheat them slightly, you can pop one or two in a low oven (around 300°F or 150°C) for about 5 minutes, but honestly, I find they’re just perfect at room temperature. If they’ve been frozen without glaze, you can add a fresh glaze once they’re thawed and cooled. For refrigerated cookies, they’ll also last about a week in an airtight container. Just bring them to room temperature before serving for the best texture.
Frequently Asked Questions
Final Thoughts
Honestly, baking these butterbeer cookies is such a joy. They smell incredible while they’re baking, filling your home with that sweet, familiar scent that just makes everything feel cozier. And the taste? Pure magic. That perfect balance of buttery, caramel, and that subtle cream soda note is just divine. They’re the kind of cookie that brings smiles to faces, whether you’re sharing them with family, friends, or just enjoying one (or two!) with a quiet cup of tea. They remind me that sometimes, the simplest things, when done with a little love and the right ingredients, can create the most wonderful moments. If you’re a fan of anything butterbeer-inspired, or just love a good chewy cookie, you absolutely have to give this recipe a try. I really think you’ll love how easy they are to whip up and how impressive the flavor is. If you do bake them, please, please let me know how they turn out in the comments below! I’d love to hear about your butterbeer cookie adventures, and if you discover any amazing variations. Happy baking, my friends!
Butterbeer Cookies
Ingredients
Cookie Dough
- 0.5 cup Unsalted Butter softened
- 1 cup Brown Sugar packed
- 0.5 cup Granulated Sugar
- 1 large Egg
- 1 teaspoon Vanilla Extract
- 2 cups All-Purpose Flour
- 0.5 teaspoon Baking Soda
- 0.25 teaspoon Salt
- 0.5 teaspoon Butterscotch Extract optional, for extra flavor
Butterbeer Frosting
- 0.5 cup Unsalted Butter softened
- 2 cups Powdered Sugar
- 2 tablespoons Heavy Cream
- 0.5 teaspoon Vanilla Extract
- 0.25 teaspoon Butterscotch Extract optional
Instructions
Preparation Steps
- Preheat your oven to 375°F (190°C). Line baking sheets with parchment paper.
- In a large bowl, cream together the softened butter, brown sugar, and granulated sugar until light and fluffy.0.5 cup Unsalted Butter
- Beat in the egg and vanilla extract (and butterscotch extract, if using) until well combined.0.5 cup Unsalted Butter
- In a separate medium bowl, whisk together the flour, baking soda, and salt.0.5 cup Unsalted Butter
- Gradually add the dry ingredients to the wet ingredients, mixing until just combined. Do not overmix.
- Drop rounded tablespoons of dough onto the prepared baking sheets, about 2 inches apart.
- Bake for 10-12 minutes, or until the edges are lightly golden brown and the centers are set.
- Let the cookies cool on the baking sheets for a few minutes before transferring them to a wire rack to cool completely.
- While the cookies are cooling, prepare the frosting. In a medium bowl, beat together the softened butter, powdered sugar, heavy cream, vanilla extract, and butterscotch extract (if using) until smooth and creamy.0.5 cup Unsalted Butter
- Once the cookies are completely cool, frost them with the Butterbeer frosting.