
Oh, apple crumble. Just the thought of it makes me feel all warm and fuzzy inside, taking me right back to my grandmother’s kitchen. The air would be thick with the most incredible aroma of baked apples and cinnamon, and I just knew something magical was about to come out of her oven. It’s funny, isn’t it, how a simple dessert can hold so many memories? This isn’t just any apple crumble, though. This is the one that’s so perfectly balanced – sweet but with a lovely tartness, that crumble topping just right, not too hard, not too soft. It’s the kind of dessert that makes people ask for the recipe immediately, even if they’ve never baked before. I’ve tried countless versions, and while most apple crumbles are pretty darn good, there’s something about using the *right* apple types that takes it from “nice” to “absolutely unforgettable.” Forget fancy techniques; sometimes, the biggest difference is just knowing your apples!
What is perfect apple cluck?
So, what exactly *is* this legendary apple crumble? Think of it as the ultimate comfort dessert, a hug in a baking dish. It’s essentially tender, slightly softened apples tossed with warm spices, baked until they’re just giving way, and then topped with a glorious, buttery, crumbly mixture that gets golden brown and wonderfully textured in the oven. It’s simpler than a pie, less fuss than a cake, and frankly, often much more satisfying. My family calls it “the magic crumble” because it just disappears so fast! The name itself just sounds cozy, doesn’t it? It conjures up images of cozy evenings, maybe a fire crackling, and a scoop of this warm goodness being passed around. It’s the kind of thing that feels traditional and homestyle, but with a little secret that makes it truly special. This isn’t a fussy dessert; it’s all about letting good ingredients shine.
Why you’ll love this recipe?
Honestly, there are so many reasons why this apple crumble recipe has become a staple in my kitchen. First off, the flavor is just out of this world. When you pick the right apple types, you get this incredible sweet-tart balance that is just divine. It’s not overly sugary, and the cinnamon and a hint of nutmeg just sing together. Then there’s the simplicity. I’ve made this on some of the busiest weeknights when I’ve desperately needed something sweet, and it’s genuinely so quick to pull together. You don’t need any fancy equipment or techniques. Just a bowl, a pan, and your hands! And budget-friendly? Absolutely. Apples are usually pretty affordable, and the crumble topping uses pantry staples. What I love most, though, is its versatility. You can serve it warm with a scoop of vanilla ice cream (my personal favorite!) or a dollop of cream. It’s also fantastic the next morning, maybe warmed up slightly with a cup of coffee. It truly stands out because it manages to be both incredibly comforting and excitingly flavorful all at once. It’s like the perfect cozy sweater for your taste buds.
How do you make an apple crunchy?
Quick Overview
This crumble is all about simplicity and letting the apples do their thing. You’ll quickly toss your chosen apples with spices, layer them in a dish, then top with a quick mixture of flour, butter, sugar, and oats. Bake until golden and bubbling, and that’s it! The magic happens in the oven. It’s foolproof, I promise, and the result is pure, unadulterated deliciousness that smells heavenly as it bakes.
Ingredients
For the Apple Filling:
• 6-8 medium apples (a mix of varieties is key, see my notes below!)
• 2 tablespoons all-purpose flour
• 1/4 cup granulated sugar (adjust to sweetness of apples)
• 1 teaspoon ground cinnamon
• 1/4 teaspoon ground nutmeg
• 1 tablespoon lemon juice (optional, but helps keep apples bright)
For the Crumble Topping:
• 1 cup all-purpose flour
• 1/2 cup rolled oats (not instant, please!)
• 1/2 cup packed light brown sugar
• 1/2 teaspoon ground cinnamon
• Pinch of salt
• 1/2 cup (1 stick) cold unsalted butter, cut into small cubes
Step-by-Step Instructions
Step 1: Preheat & Prep Pan
First things first, get your oven preheating to 375°F (190°C). While that’s warming up, lightly grease an 8×8 inch baking dish or a similar-sized oven-safe dish. A little butter or non-stick spray is all you need; we don’t want anything sticking!
Step 2: Prepare the Apples
This is where the apple types really matter! I’ll get into that more later, but for now, peel, core, and slice your apples. I like to cut them into about 1/2-inch thick wedges. Don’t slice them too thin, or they’ll turn to mush. Aim for pieces that will hold their shape. Toss them into a large bowl.
Step 3: Mix Filling Ingredients
To the bowl with the apples, add the 2 tablespoons of flour, granulated sugar (start with 1/4 cup and adjust if your apples are super tart), cinnamon, nutmeg, and lemon juice if you’re using it. Gently toss everything together until the apples are evenly coated. This coating helps create a bit of a syrupy texture as they bake.
Step 4: Transfer Filling to Dish
Pour the spiced apple mixture into your prepared baking dish and spread it out into an even layer. Don’t worry if it looks a little piled up; they’ll settle down as they bake.
Step 5: Make the Crumble Topping
In a separate medium bowl, whisk together the 1 cup of flour, rolled oats, Brown Sugar, 1/2 teaspoon cinnamon, and that pinch of salt. These are your dry ingredients for the topping.
Step 6: Cut in the Butter
Now, add the cold, cubed butter to the dry ingredients. Using your fingertips, a pastry blender, or even two forks, cut the butter into the dry mixture. You want to work quickly so the butter stays cold. Keep going until the mixture resembles coarse crumbs, with some pea-sized pieces of butter still visible. This is what makes the topping wonderfully crispy and tender.
Step 7: Sprinkle Topping Over Apples
Evenly sprinkle this glorious crumble mixture all over the top of the apples in the baking dish. Don’t pack it down; just let it fall naturally. Some bits will tumble down the sides, and that’s totally fine – it just adds to the rustic charm.
Step 8: Bake Until Golden and Bubbly
Pop the dish into your preheated oven. Bake for 35-45 minutes, or until the topping is golden brown and the apple filling is bubbling around the edges. You should be able to easily pierce an apple with a fork or a knife. If the topping starts to brown too quickly, you can loosely tent it with foil.
Step 9: Cool Slightly and Serve
This is the hardest part – waiting! Let the crumble cool for at least 10-15 minutes before serving. This allows the filling to thicken up a bit. Serve warm, ideally with a scoop of vanilla ice cream or a dollop of Whipped cream. The contrast of the warm, gooey apples and the cool, creamy topping is just divine.
What to Serve It With
This apple crumble is wonderfully versatile, making it perfect for so many occasions. For a simple, cozy breakfast on a lazy weekend, I love serving a small portion warmed up with a drizzle of maple syrup and a good strong cup of coffee. It feels so decadent but is surprisingly light. At a brunch, it’s a crowd-pleaser. I’ll serve it in individual ramekins for a touch of elegance, maybe with a sprinkle of powdered sugar on top and a glass of crisp sparkling cider or even a light rosé. As a dessert, it’s a no-brainer, of course! It’s practically begging for a scoop of really good vanilla bean ice cream, or perhaps a rich crème anglaise if you’re feeling fancy. Sometimes, I’ll even do a dollop of homemade whipped cream infused with a little bourbon for an adult twist. And for those moments when you just need a little something sweet to tide you over, a warm bowl of this crumble is pure bliss. I often pair it with a glass of milk for a truly comforting, nostalgic snack. My kids, especially, love it with a tiny swirl of caramel sauce on top!
Top Tips for Perfecting Your Apple Crumble
Over the years, I’ve learned a few tricks that really elevate this apple crumble from good to absolutely spectacular. The biggest game-changer is definitely the apple selection. You don’t want to use just one kind. My go-to combo is usually a tart apple like Granny Smith, which holds its shape beautifully and provides a lovely tang, mixed with a sweeter, softer apple like Honeycrisp or Fuji, which breaks down a bit more and adds natural sweetness and a softer texture. This blend gives you the best of both worlds – flavor complexity and texture. For the crumble topping, using cold butter is non-negotiable. It’s what creates those glorious little pockets of crispiness. If your butter gets too warm while you’re mixing, pop the bowl in the fridge for a few minutes. And don’t overmix! You want those varied textures. Another little tip for the apples: make sure they’re relatively dry before tossing them with the spices. Too much moisture can make the filling watery. I usually pat them with a paper towel after slicing, especially if they seem particularly juicy. When it comes to baking, keep an eye on it. Ovens can be tricky! If the topping is browning too fast but the apples aren’t tender, just loosely tent the dish with aluminum foil for the last 10-15 minutes. This protects the topping while allowing the apples to finish cooking. Lastly, the oats in the topping are crucial for texture. Make sure you’re using rolled oats, not the quick-cooking kind. The rolled oats provide a satisfying chewiness and bite that the instant ones just can’t replicate. If you want to add a little extra something, a handful of chopped pecans or walnuts stirred into the crumble topping before baking is divine!
Storing and Reheating Tips
Properly storing your apple crumble ensures you can enjoy every last bit of its deliciousness. If you have any leftovers, which is rare at my house, I usually let it cool completely to room temperature first. Once cool, I cover the dish tightly with plastic wrap or foil. It will keep well at room temperature for about two days, though honestly, I prefer to refrigerate it after the first day just to be safe. In the refrigerator, the crumble can last for a good 3-4 days. I’ll store it in the baking dish, covered tightly. If I know I won’t finish it within a few days, I might even scoop portions into individual airtight containers for easier reheating. Freezing is also a great option! Once completely cooled, you can wrap the entire dish tightly in plastic wrap and then in aluminum foil, or portion it into freezer-safe containers. It should last in the freezer for up to 2-3 months. To reheat, I usually prefer to pop individual portions back into a warm oven (around 350°F/175°C) until heated through. This helps crisp up the topping again. You can also gently reheat it in the microwave, though the topping won’t be quite as crunchy. If I’ve frozen it, I’ll often transfer it directly from the freezer to the oven, adding a few extra minutes to the baking time.
Frequently Asked Questions
Final Thoughts
This apple crumble truly is a labor of love, not because it’s difficult, but because it’s made with ingredients that bring so much joy. The simple act of choosing the right apple types, combining them with warming spices, and topping it all with that irresistible crumble is pure comfort. It’s a recipe that feels like home, no matter where you are. I hope you give it a try and find as much happiness in making and eating it as my family and I do. If you’re looking for other ways to enjoy seasonal fruits, you might also love my Easy Berry Cobbler or my Peachy Keen Pie – they have a similar cozy vibe! I’d absolutely love to hear how your crumble turns out! Please leave a comment below with your thoughts, or share any fun variations you tried. Happy baking!
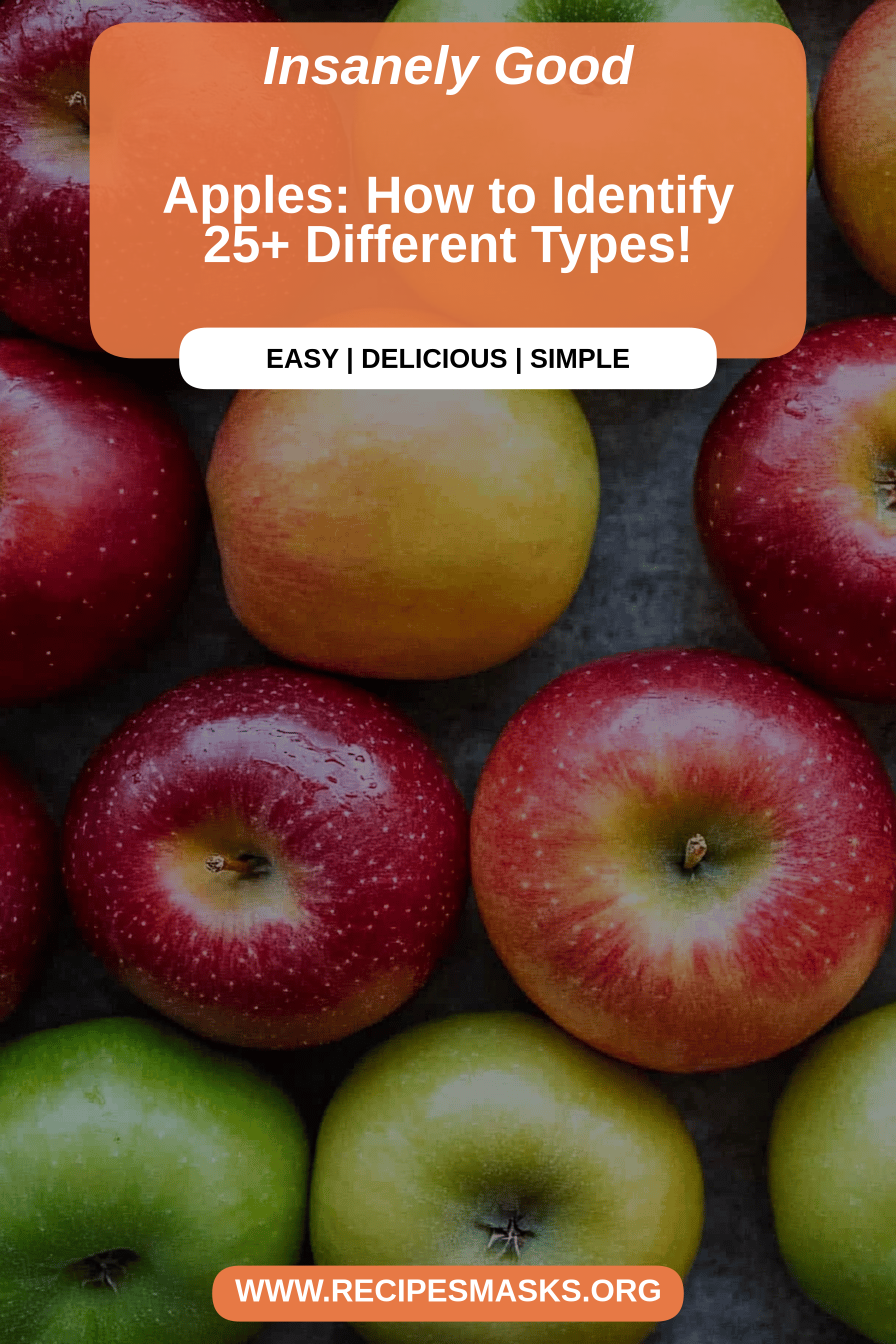
Exploring Apple Varieties
Ingredients
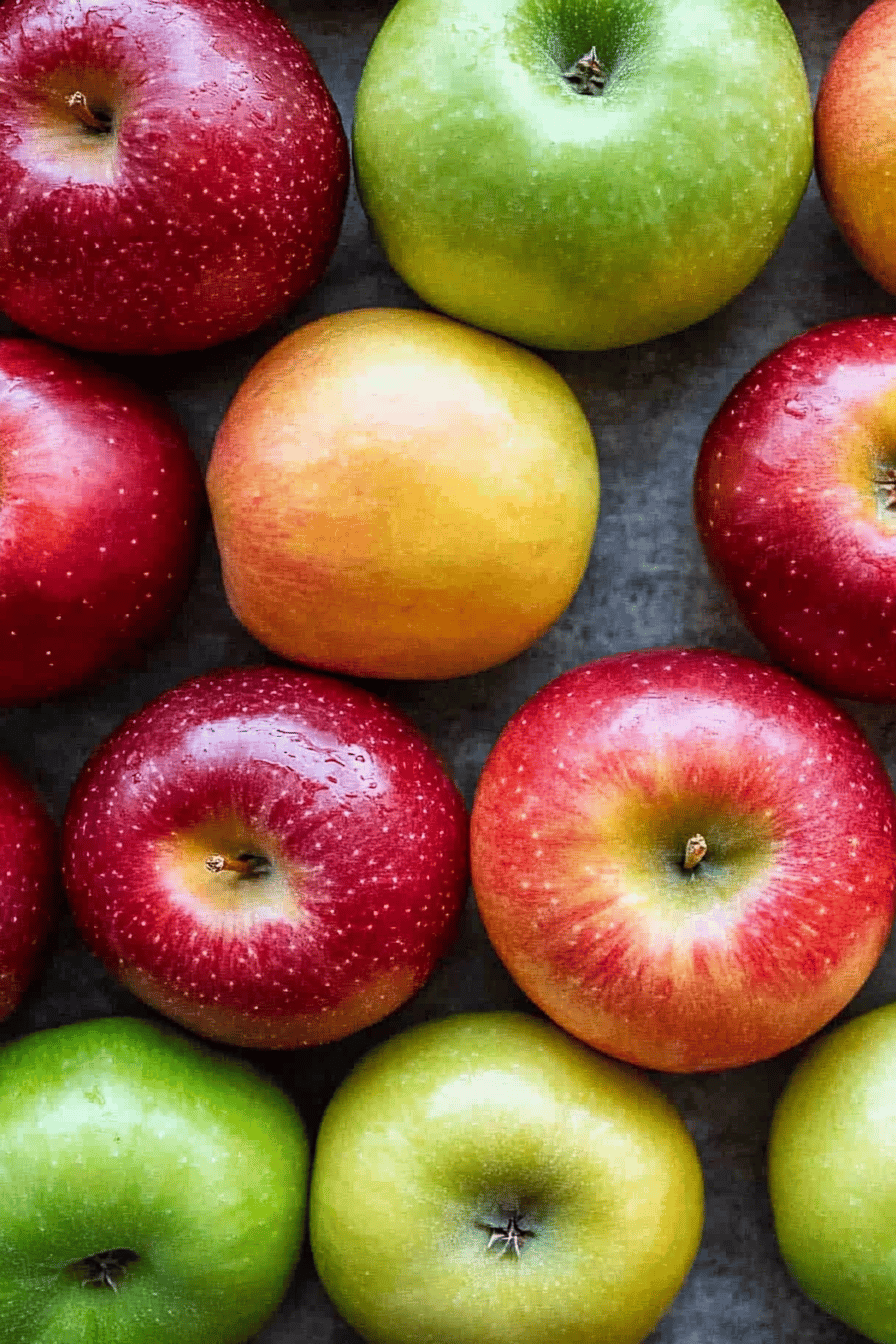
Apples
- 3 large Honeycrisp Apples
- 2 large Fuji Apples
- 2 medium Granny Smith Apples
- 1 large Gala Apple
Instructions
Preparation Steps
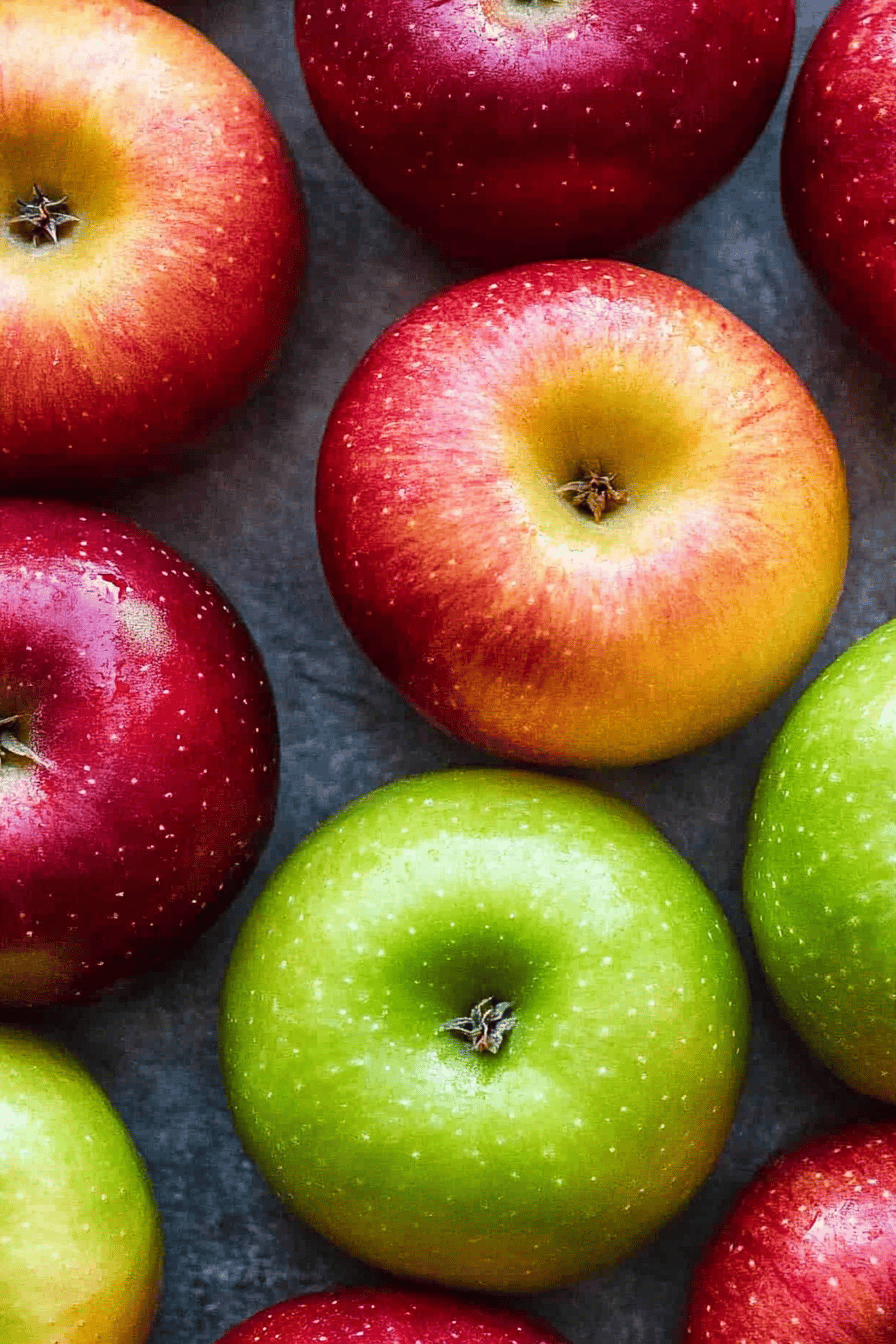
- Wash all apples thoroughly under cool running water.
- For Honeycrisp, Fuji, and Gala apples, admire their crispness and sweet-tart flavor. These are excellent for eating fresh, in salads, or in pies.
- For Granny Smith apples, note their tartness and firm texture. They are ideal for baking and adding a bright flavor to dishes.
- Slice and enjoy the diverse flavors and textures of these apple varieties as a snack or as part of a meal.