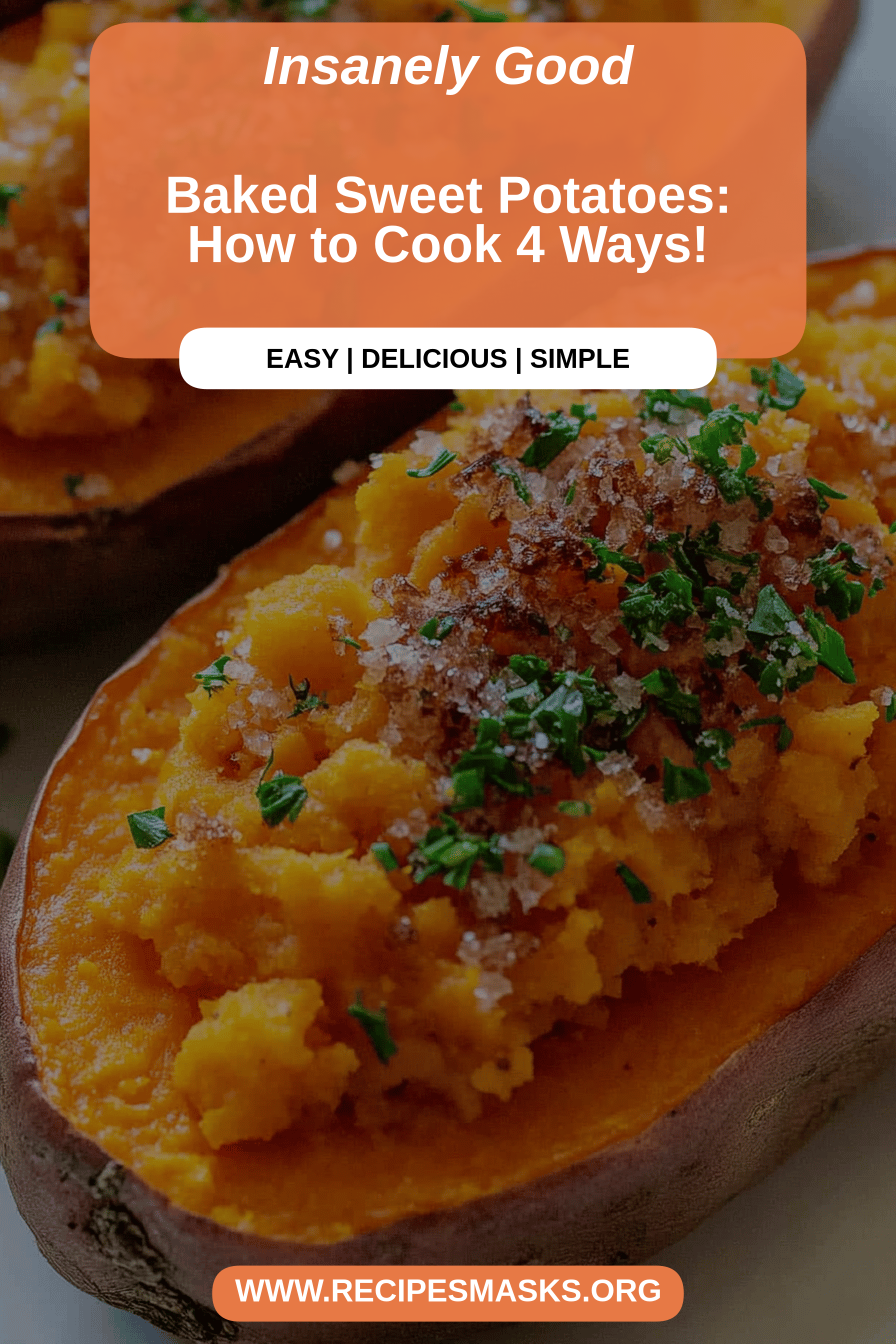
There are certain foods that just bring you straight back to your childhood, aren’t there? For me, it’s the smell of baked sweet potatoes wafting from the oven. It’s more than just a side dish; it’s comfort, it’s warmth, it’s the taste of home. My mom used to make them for us every Sunday, simple and perfect, and honestly, I haven’t strayed too far from her method because, well, why mess with perfection? This recipe for baked sweet potatoes isn’t fancy, but it’s honest, delicious, and incredibly satisfying. It’s like a warm hug on a plate, and it’s so easy, it’s practically foolproof. If you’ve ever thought sweet potatoes were just… meh… then trust me, you haven’t tried them done *this* way. Forget those mushy, bland versions you might have encountered; we’re talking about tender, caramelized goodness that will have you rethinking everything you thought you knew about this humble root vegetable.
What are baked sweet potatoes?
So, what exactly *are* baked sweet potatoes, and why are they so magical? In its simplest form, it’s exactly what it sounds like: a sweet potato, cooked until wonderfully tender and sweet, usually in an oven. But there’s so much more to it than that! Think of it as a blank canvas for flavor. When you bake a sweet potato, its natural sugars caramelize, creating a deep, rich sweetness that’s unlike anything else. It’s naturally creamy, with a slightly earthy undertone that balances the sweetness beautifully. It’s essentially nature’s candy, but in the best, most wholesome way possible. This isn’t about complicated techniques or exotic ingredients; it’s about letting the inherent deliciousness of the sweet potato shine through. It’s the kind of food that feels both incredibly grounding and wonderfully celebratory, all at once. It’s the star of the show for a simple weeknight dinner, but also a welcome guest at any holiday feast.
Why you’ll love this recipe?
There are so many reasons why this recipe for baked sweet potatoes has become my go-to, and I have a feeling you’re going to fall in love with it too. First off, let’s talk about the flavor. Oh. My. Goodness. When those natural sugars caramelize in the oven, you get this incredible, sweet, almost nutty depth. It’s way beyond just being sweet; there’s a richness there that’s incredibly addictive. Then there’s the simplicity. Seriously, it takes almost no effort. You wash them, poke them, and pop them in the oven. That’s it! It’s the kind of recipe that’s a lifesaver on busy weeknights when you just want something delicious and nourishing without spending hours in the kitchen. And the cost-efficiency is a huge plus, especially these days. Sweet potatoes are generally affordable, and you probably already have salt and oil in your pantry. Plus, the versatility is just amazing. You can eat them plain, load them up with toppings, or even use them as a base for other meals. What I love most is that it’s something everyone in my family enjoys, from my picky toddler to my husband who claims he doesn’t like vegetables (he makes an exception for these!). It’s a dish that feels special without being fussy, and that’s a win in my book. It’s leagues better than a quick microwave potato, and way more satisfying than some processed side dish. It’s real food, made with love.
How do I make baked sweet potatoes?
Quick Overview
Making perfect baked sweet potatoes is surprisingly simple. You’ll essentially be giving them a good scrub, pricking them all over so they don’t explode (learned that the hard way once!), rubbing them with a little oil and salt, and then letting the oven do all the hard work. The key is patience – letting them bake until they are fork-tender and their natural sugars have caramelized beautifully. This method ensures a creamy, fluffy interior and a slightly crisp skin, making them incredibly satisfying on their own or as a base for your favorite toppings. It’s the easiest way to get that incredible sweet potato flavor without any fuss.
Ingredients
For the main sweet potato: For the main sweet potato: For the main sweet potato: For the main sweet potato: For the main sweet potato: For
2-3 medium to large sweet potatoes (choose ones that are relatively uniform in size for even cooking)
1-2 tablespoons olive oil or melted coconut oil (enough to lightly coat)
1 teaspoon sea salt (or to taste)
Optional: A pinch of black pepper
For a Simple, Delicious Filling (optional, but highly recommended!):
2 tablespoons unsalted butter or vegan butter
1 tablespoon maple syrup (or honey if not vegan)
1/4 teaspoon cinnamon
Pinch of nutmeg (optional)
For Serving (Get Creative!):
Plain Greek Yogurt or sour cream
Shredded cheese (cheddar, Monterey Jack, or a Mexican blend)
Cooked black beans or lentils
Salsa
Avocado slices or guacamole
Chopped chives or green onions
A dollop of your favorite chili
Step-by-Step Instructions
Step 1: Preheat & Prep Pan
First things first, let’s get that oven nice and hot. Preheat it to 400°F (200°C). This temperature is perfect for getting a beautifully tender interior while allowing the skins to crisp up just right. While the oven is preheating, grab a baking sheet. You can line it with parchment paper or foil if you want super easy cleanup, but honestly, a lightly greased or even unlined baking sheet works just fine. The oil from the potatoes will help prevent sticking.
Step 2: Wash and Dry the Sweet Potatoes
Now, grab your sweet potatoes. Give them a really good scrub under cool running water. You want to get rid of any dirt or debris. Use a vegetable brush if you have one – it makes a big difference. Once they’re clean, pat them completely dry with a clean kitchen towel or paper towels. This step is important because moisture on the skin can steam them a bit, and we want that lovely roasted flavor and slightly crisp skin.
Step 3: Prick the Sweet Potatoes
This is a crucial step to prevent any baking mishaps! Take a fork or a sharp knife and prick each sweet potato all over, about 6-8 times. Imagine you’re giving them little air vents. This allows steam to escape as they bake, preventing them from potentially exploding in your oven. Trust me, nobody wants that mess!
Step 4: Oil and Season
Place the pricked sweet potatoes on your prepared baking sheet. Drizzle them with your chosen oil – olive oil is my favorite for its lovely flavor, but melted coconut oil works beautifully too. Use your hands to rub the oil all over each sweet potato, ensuring they’re lightly and evenly coated. Then, sprinkle generously with sea salt and a pinch of black pepper, if you’re using it. Don’t be shy with the salt; it really brings out the natural sweetness.
Step 5: Bake to Perfection
Now for the waiting game! Place the baking sheet with the seasoned sweet potatoes into your preheated oven. Bake for 45-60 minutes, or even a little longer, depending on the size of your sweet potatoes. The key is to bake them until they are incredibly tender when pierced with a fork. They should feel soft and yielding. You’ll also notice the skins will start to look a bit wrinkly and caramelized, and the sweet potato might even start to split open slightly – that’s a good sign!
Step 6: Prepare Optional Filling (While Potatoes Bake)
If you’re going for the enhanced flavor, this is the perfect time to whip up the simple filling. In a small bowl, combine the softened butter (or vegan butter), maple syrup, cinnamon, and a tiny pinch of nutmeg if you like. Stir it all together until it’s well combined and creamy. Set it aside. This little mix takes the baked sweet potato to a whole new level of deliciousness!
Step 7: Check for Doneness
Once the baking time is nearing its end, give your sweet potatoes a squeeze (carefully, they’re hot!) or poke them with a fork again. They should be very soft and yield easily. If they still feel firm, pop them back in the oven for another 10-15 minutes and check again. Every oven is a little different, so it’s always best to go by texture.
Step 8: Rest and Serve
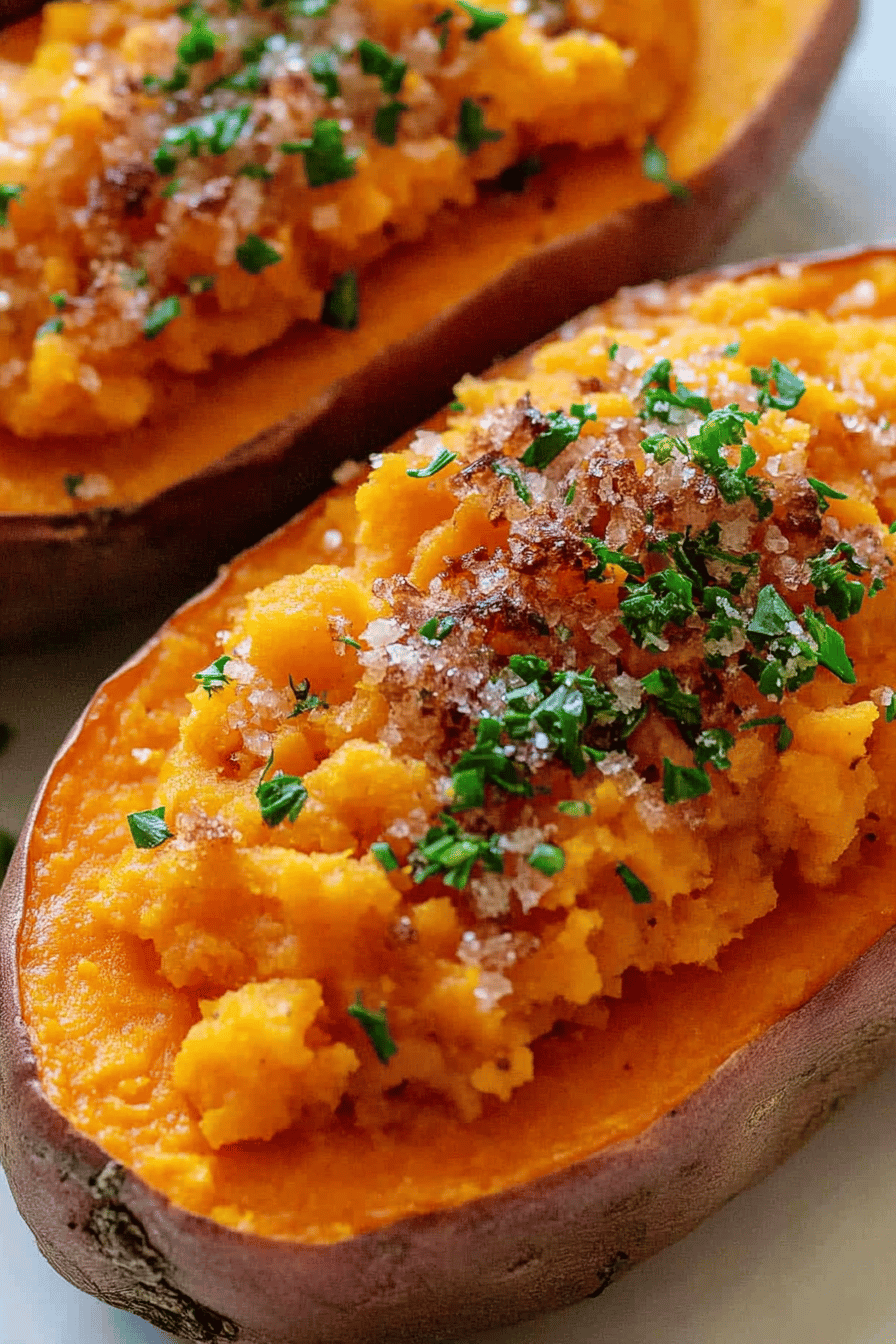
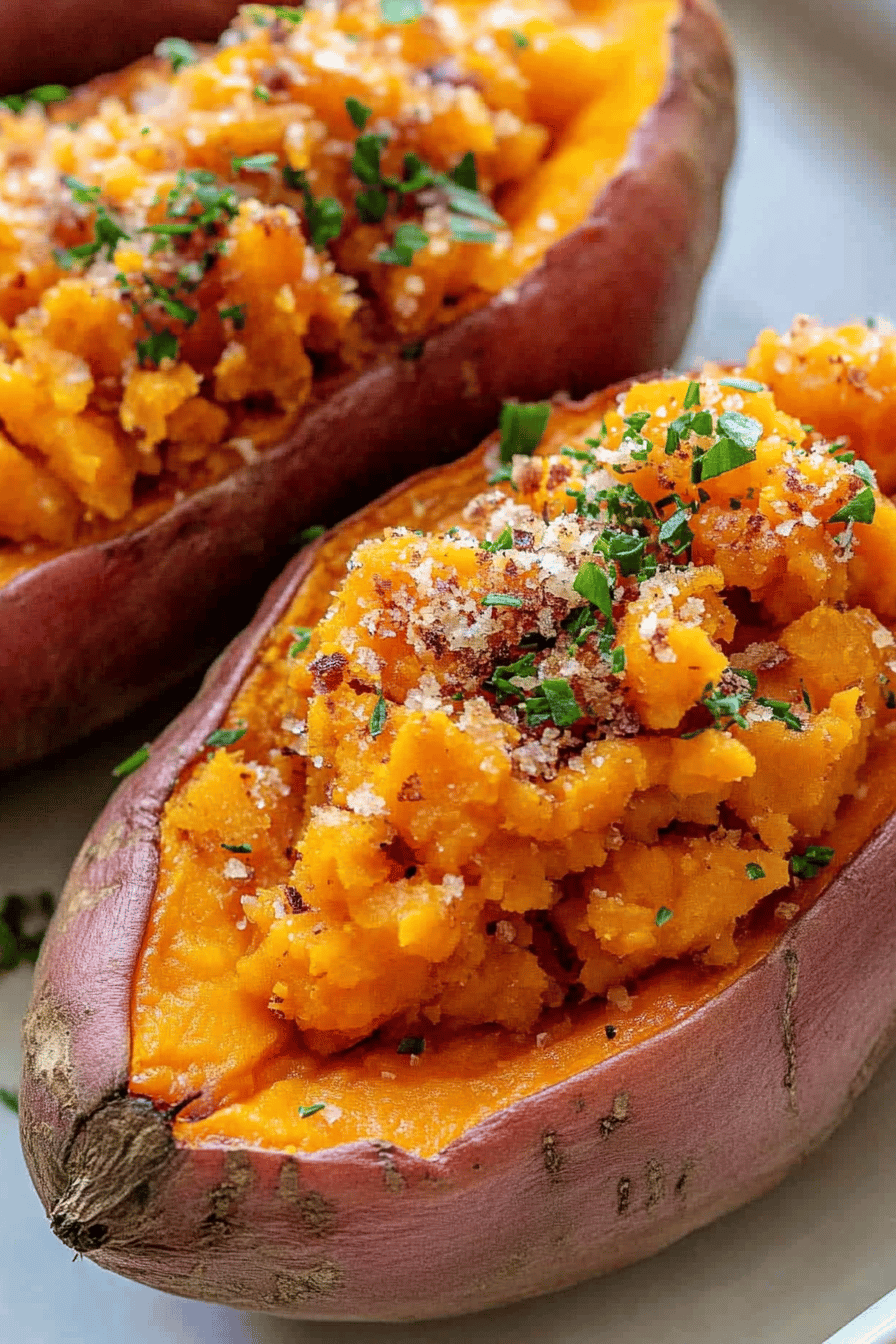
Once they’re perfectly tender, carefully remove the baking sheet from the oven. Let the sweet potatoes rest on the baking sheet for about 5-10 minutes. This helps them cool down just enough so you can handle them safely, and it allows the flavors to meld. When you’re ready to serve, slice them open lengthwise, being careful not to cut all the way through if you plan to stuff them. Spoon in a generous dollop of that optional maple-butter mixture, or pile on your favorite toppings!
Step 9: Slice & Serve
When your baked sweet potatoes are perfectly tender and slightly cooled, it’s time to enjoy them. Carefully slice each potato lengthwise down the middle, being sure not to cut all the way through if you intend to stuff them. You can then gently press the ends inward to open them up, making them easier to fill. If you made the optional maple-butter mixture, spoon a generous amount into the center of each potato. Then, go wild with your favorite toppings! The options are truly endless and depend on what you’re craving. Serve them immediately while they’re warm and delicious!
What to Serve It With
One of the things I adore about baked sweet potatoes is their incredible versatility. They aren’t just a side dish; they can be the star or a humble supporting player in so many meals. For a truly comforting breakfast, I love splitting one open and topping it with a dollop of plain Greek yogurt, a sprinkle of granola, and a drizzle of honey or maple syrup. It’s hearty, naturally sweet, and gives you a great energy boost to start the day. If you’re looking for a more substantial breakfast or a light brunch, top it with some crumbled feta cheese, a poached egg, and a sprinkle of red pepper flakes. It’s surprisingly satisfying! For a true dessert experience, I’ll often bake one, mash the inside with a bit more butter and cinnamon, maybe add some chopped pecans, and call it a night. It’s my go-to when I’m craving something sweet at 10 pm but don’t want to bake a whole cake. My family loves them loaded with chili, cheese, and sour cream for a “Loaded Baked Potato” night – it’s much healthier than using regular potatoes and honestly, tastes even better. And on cozy evenings, they’re perfect just as they are, maybe with a side of steamed greens or a simple salad. They pair wonderfully with almost any protein, from grilled chicken or fish to roasted pork or beef. It’s the ultimate adaptable dish!
Top Tips for Perfecting Your Baked Sweet Potatoes
Over the years, I’ve learned a few tricks that make my baked sweet potatoes absolutely sing. First, when it comes to selecting your sweet potatoes, try to pick ones that are similar in size. This ensures they cook evenly, so you don’t end up with one that’s perfectly done and another that’s still a bit firm. And please, don’t skip the pricking step! I’ve seen my fair share of ‘exploding’ potatoes in friend’s ovens, and it’s messy business. Prick them all over, about 6-8 times with a fork or skewer. For the oil, I always go for olive oil, but a good quality avocado oil or even melted coconut oil works wonders. It helps the skin get a little crispy and prevents sticking. Salt is your best friend here! Don’t be afraid to season them well before baking; it really enhances their natural sweetness. When it comes to baking, patience is key. Resist the urge to check them too often. Let them bake until they are truly fork-tender. You should be able to pierce them easily with minimal resistance. If you have a convection oven, you might need to reduce the temperature slightly or shorten the baking time a bit. I’ve found that placing them directly on the oven rack, rather than on a baking sheet, can sometimes lead to a crispier skin, but a baking sheet with parchment paper is still my preferred method for ease of cleanup. If you’re adding a filling, especially something moist like chili, I find it’s best to add it just before serving. This prevents the potato from getting soggy. And if you’re thinking about toppings, consider the flavor profile. A little tang from sour cream or greek yogurt, some heat from salsa or hot sauce, or some richness from cheese or avocado all work beautifully. You can also experiment with spices; a sprinkle of smoked paprika or a dash of cayenne can add an exciting twist.
Storing and Reheating Tips
One of the best things about baked sweet potatoes is how well they store and reheat, making them perfect for meal prep. Once they’ve cooled completely, you can store them in an airtight container in the refrigerator for up to 3-4 days. They hold up really well! For reheating, my favorite method is to pop them back into a moderate oven (around 350°F or 175°C) for about 10-15 minutes, or until heated through. This helps them regain some of that lovely tender texture and slightly crisp skin. If you’re in a real rush, you can reheat them in the microwave, but be aware they can become a bit softer, almost mushy. I usually wrap them in foil before microwaving to help retain some moisture. You can also slice them open and reheat them cut-side down on a baking sheet in the oven for extra crispiness. If you’re planning to freeze them, it’s best to let them cool completely, then wrap them tightly in plastic wrap, followed by a layer of aluminum foil or a freezer-safe bag. They’ll keep in the freezer for up to 2-3 months. Thaw them overnight in the refrigerator before reheating as you normally would. I usually wait to add any toppings or glazes until after they’ve been reheated, as some ingredients don’t freeze and thaw as well.
Frequently Asked Questions
Final Thoughts
So there you have it – the wonderfully simple, incredibly delicious baked sweet potato. It’s a recipe that’s close to my heart, a reminder of simple pleasures and wholesome goodness. It proves that sometimes, the most amazing flavors come from the simplest ingredients treated with a little bit of care and time. I truly hope you give these a try and discover just how special a humble baked sweet potato can be. They’re perfect for those moments when you need something comforting and satisfying, but also incredibly adaptable for whatever your taste buds are craving. If you’re looking for more easy and delicious vegetable recipes, you might also love my roasted Brussels sprouts with balsamic glaze or my simple garlic herb roasted carrots. They’re all about bringing out the best in everyday ingredients. I can’t wait to hear how your baked sweet potatoes turn out! Please leave a comment below and let me know what toppings you loved, or share your own family twists on this classic. Happy baking!

Baked Sweet Potatoes
Ingredients
Main Ingredients
- 2 large Sweet Potatoes
- 1 tablespoon Olive Oil
- 0.5 teaspoon Salt
- 0.25 teaspoon Black Pepper
Instructions
Preparation Steps
- Preheat your oven to 400°F (200°C).
- Wash the sweet potatoes thoroughly and pat them dry.
- Pierce each sweet potato several times with a fork. This allows steam to escape and prevents them from bursting.
- Rub the sweet potatoes with olive oil, salt, and pepper.
- Place the sweet potatoes directly on the oven rack or on a baking sheet.
- Bake for 45-60 minutes, or until the skin is slightly crisp and the potatoes are tender when pierced with a fork.
- Remove from oven and let them cool slightly before serving. Slice open and serve hot.