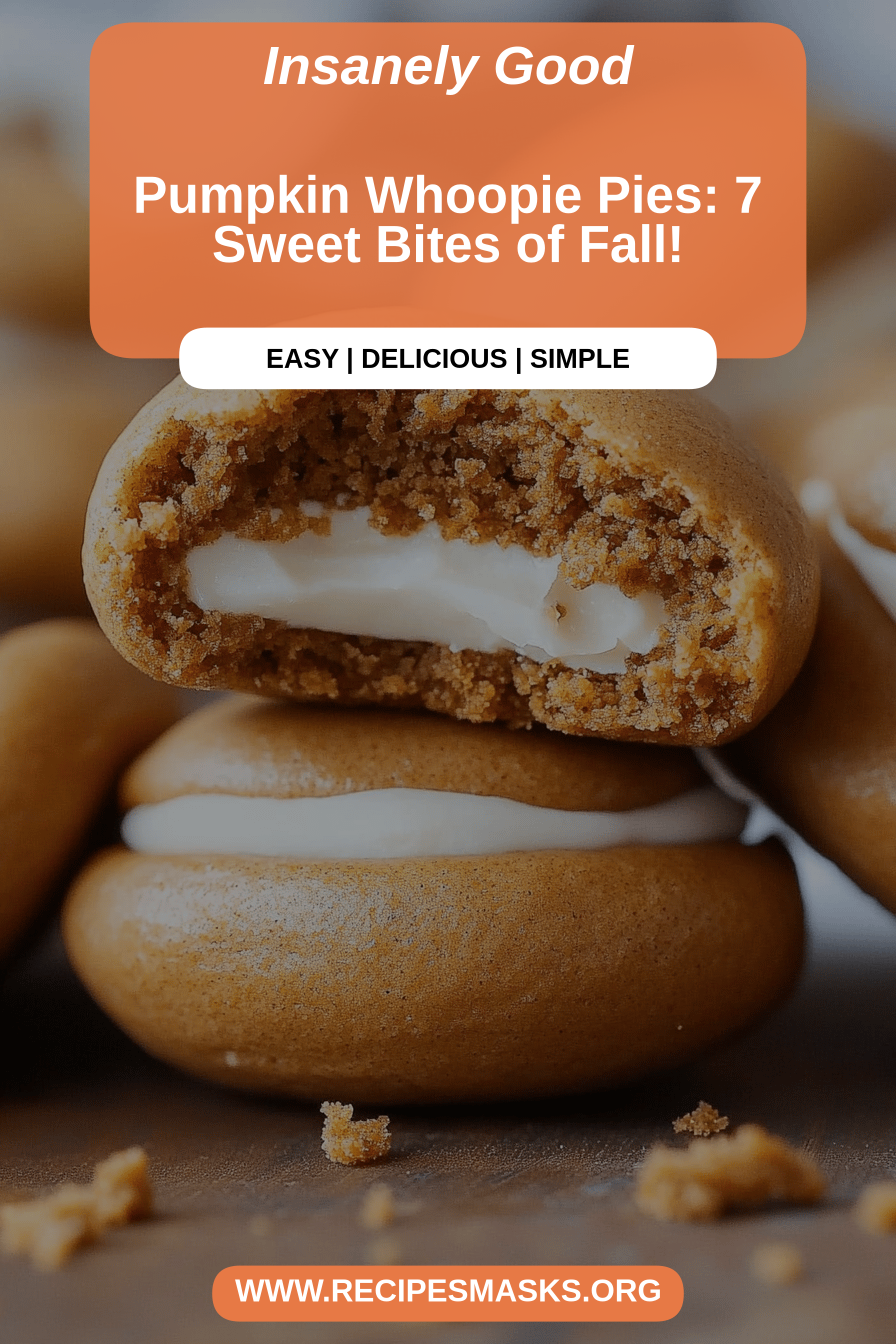
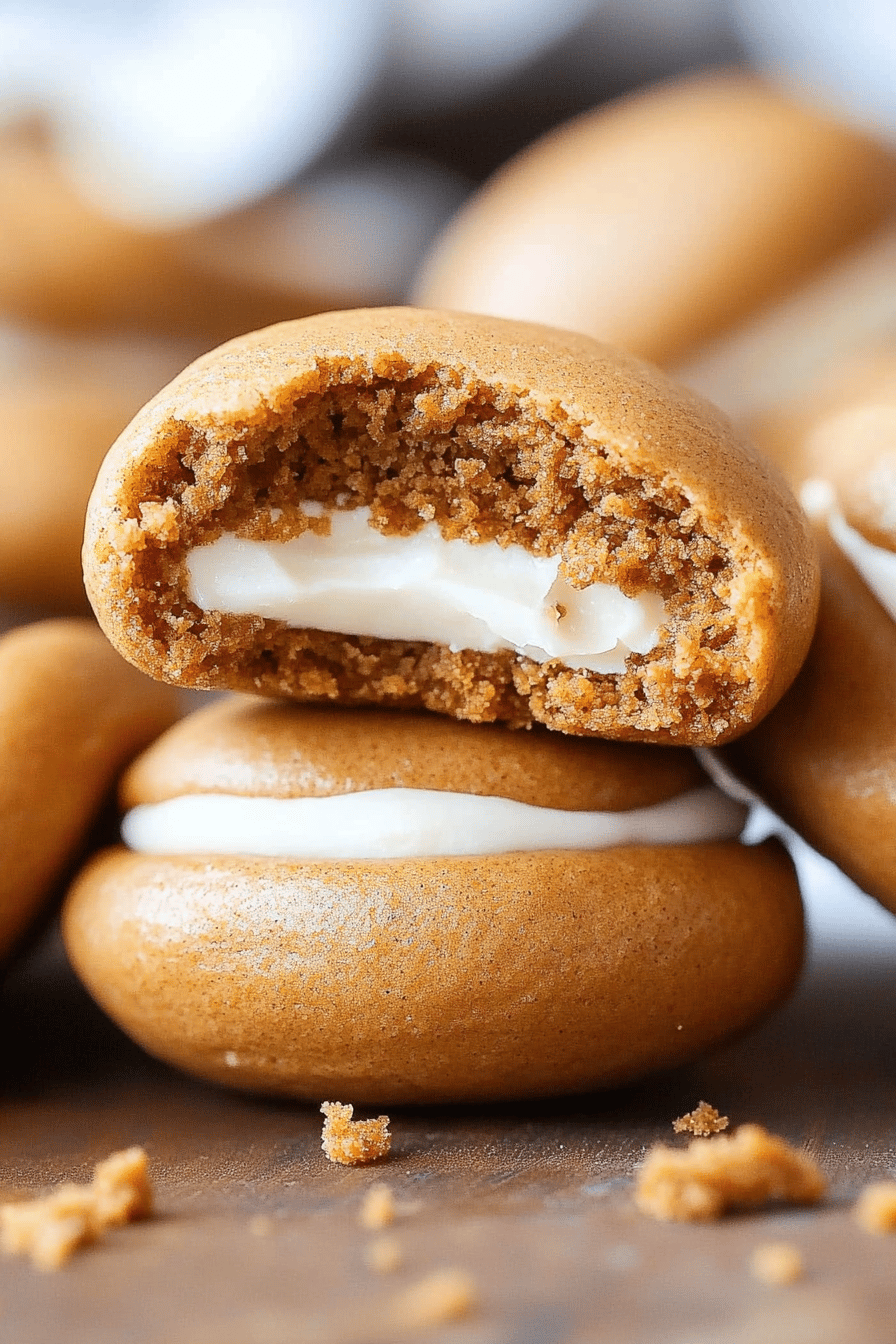
Oh, hello there! Come on in, pull up a chair. You know, there are some recipes that just *feel* like home, and this one for Pumpkin Whoopie Pies? It’s absolutely one of them. It smells like autumn in a single bite, and every time I make them, it takes me right back to chilly afternoons spent in my grandma’s kitchen, the air thick with the scent of cinnamon and something wonderfully sweet. These aren’t just any whoopie pies; they’re soft, cakey little clouds sandwiched with the creamiest, dreamiest filling. Forget those dry, crumbly versions you might have tried elsewhere. This recipe is the real deal, the kind that disappears from the plate faster than you can say “pumpkin spice.” If you thought whoopie pies were just for chocolate lovers, prepare to be deliciously surprised! They’re like a hug in dessert form, and honestly, who doesn’t need a good hug, especially when it tastes this good? This is my go-to when I need a little bit of joy, and trust me, it never disappoints.
What is a Whoopie pie?
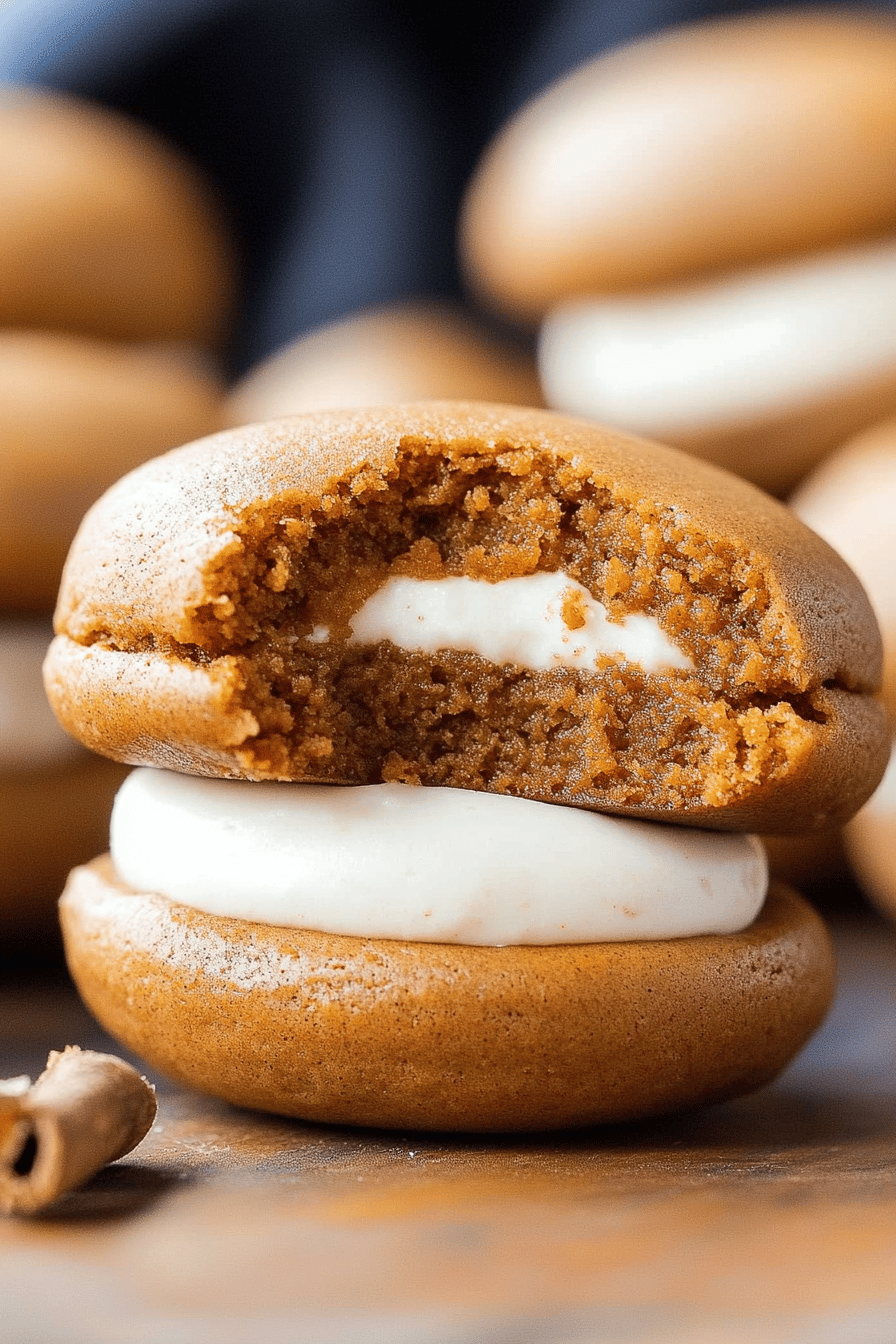
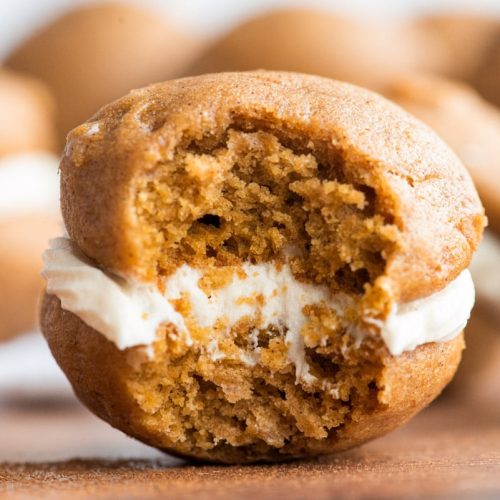
So, what exactly *is* a Pumpkin Whoopie Pie? Think of it as the best parts of a pumpkin cake and a cream-filled cookie having a glorious baby. These are essentially two soft, moist, slightly spiced pumpkin cake rounds, baked just until they’re tender, with a generous dollop of fluffy cream cheese frosting right in the middle. The name itself is just fun, isn’t it? “Whoopie!” It just sounds cheerful and celebratory, and that’s exactly how these little delights make you feel. They’re incredibly approachable for home bakers – no fancy techniques required, just simple mixing and baking. The texture is key: a tender cake that’s not too dense, not too light, just perfectly cakey. And that filling? Oh, that filling! It’s the sweet, tangy counterpoint that makes the whole experience utterly irresistible. It’s essentially a portable piece of happiness, perfect for lunchboxes, afternoon snacks, or just whenever that sweet craving hits.
Why you’ll love this recipe?
Honestly, there are so many reasons why this Pumpkin Whoopie Pie Recipe has earned a permanent spot in my heart (and my recipe binder!). First off, let’s talk about the flavor. The pumpkin and spices are just perfectly balanced – warm, comforting, and inviting, without being overpowering. It tastes like autumn in its purest, most delicious form. Then there’s the texture. These are unbelievably soft and moist cake cookies. They’re tender, almost melt-in-your-mouth, and the creamy filling just makes it sing. It’s the kind of dessert that feels both comforting and a little bit special. And the simplicity? That’s a huge win for me. You don’t need a stand mixer or any fancy equipment. A couple of bowls, a whisk, and a spatula are all you really need. I can whip up a batch even on a busy weeknight if I get a sudden craving! Plus, they’re surprisingly budget-friendly, using pantry staples. And the versatility! While they’re fantastic on their own, they’re also great for potlucks, school events, or just to have on hand for when friends pop over. What I love most, though, is the reaction they get. My kids practically inhale them, and even my usually picky husband asks for them by name. They’re a guaranteed crowd-pleaser, a little slice of homemade goodness that never fails to bring smiles. They’re honestly better than any store-bought treat you could ever find.
How do I make pumpkin whoopie pie?
Quick Overview
Making these delicious Pumpkin Whoopie Pies is surprisingly straightforward! We’ll mix up a simple pumpkin-spiced cake batter, pipe or spoon it onto baking sheets, bake them until they’re just set, and then whip up a luscious cream cheese filling. Once cooled, we’ll sandwich them together. The whole process, from start to finish, is pretty manageable, and the results are absolutely worth every minute. It’s a recipe where every step builds on the last, leading to a perfectly balanced sweet treat. Don’t worry if your piped circles aren’t perfect – they’ll spread a bit, and the filling hides any imperfections anyway!
Ingredients
For the Main Batter:
You’ll need 1 and 3/4 cups all-purpose flour – make sure it’s not self-rising, we want control! I always sift mine, but it’s not strictly necessary if you’re in a rush. Then, 1 teaspoon of baking soda – this is what gives them their lift. A pinch of salt (about 1/2 teaspoon) to balance out the sweetness. And of course, the stars of the show: 1 teaspoon ground cinnamon, 1/2 teaspoon ground ginger, and 1/4 teaspoon ground cloves. Some people add nutmeg, but I find these three give me that perfect warm spice blend. Now for the wet ingredients: 1 cup granulated sugar, and if you like them a tad sweeter, you can sneak in another 1/4 cup, but I find this is just right. 1/2 cup unsalted butter, softened but not melted – this is key for texture. 1 large egg, at room temperature is best. 1 teaspoon vanilla extract for that lovely aroma and depth of flavor. And the essential moisture: 1 cup pumpkin puree. Make sure it’s pure pumpkin puree, not pumpkin pie filling with added sugar and spices. I always buy the can, it’s so convenient and works like a charm. If you have homemade, that’s great too, just make sure it’s well-drained.
For the Filling:
This is where the magic really happens! You’ll need 8 ounces of cream cheese, softened to room temperature. It’s crucial for a smooth, lump-free filling. If it’s too cold, you’ll end up with little cream cheese pebbles, and nobody wants that. 1/2 cup unsalted butter, also softened. Again, no shortcuts here! 1 teaspoon vanilla extract for that classic sweet flavor. And 2 cups powdered sugar, sifted. Sifting is non-negotiable for a silky smooth filling. You can adjust this amount up or down depending on how sweet you like it, but 2 cups is my perfect balance. A little splash of milk or cream (about 1-2 tablespoons) can be added if you want a looser consistency, but I usually find it’s perfect as is.
Step-by-Step Instructions
Step 1: Preheat & Prep Pan
First things first, preheat your oven to a nice 350 degrees Fahrenheit (175 degrees Celsius). I always line my baking sheets with parchment paper. It makes cleanup a breeze and ensures your whoopie pies won’t stick. If you don’t have parchment, a lightly greased and floured baking sheet will work, but parchment is my secret weapon for perfect cookies every time. You’ll likely get about 20-24 cookies depending on how you portion them, so have two baking sheets ready to go.
Step 2: Mix Dry Ingredients
In a medium bowl, whisk together the flour, baking soda, salt, cinnamon, ginger, and cloves. Give it a good whisk so everything is evenly distributed. You want those spices to be perfectly mingled throughout the batter, not clumped in one spot. This is a simple step, but it ensures consistent flavor in every bite.
Step 3: Mix Wet Ingredients
In a separate, larger bowl, cream together the softened butter and granulated sugar until light and fluffy. This usually takes a couple of minutes with a hand mixer or a good whisk. Then, beat in the egg and vanilla extract until well combined. Next, stir in the pumpkin puree until it’s fully incorporated. The mixture will look smooth and slightly orange.
Step 4: Combine
Now, it’s time to bring it all together. Gradually add the dry ingredients to the wet ingredients, mixing on low speed (or by hand) until just combined. Be careful not to overmix here! Overmixing develops the gluten in the flour, which can lead to tough whoopie pies. Stop mixing as soon as you no longer see streaks of flour. A few small lumps are perfectly fine.
Step 5: Prepare Filling
While the batter is resting for a moment, let’s make that luscious filling. In a medium bowl, beat the softened cream cheese and softened butter together until they’re smooth and creamy. This is where that softened cream cheese really pays off. Then, gradually add the sifted powdered sugar, mixing until smooth. Stir in the vanilla extract. If the filling seems too thick, add a tablespoon of milk or cream at a time until you reach your desired consistency. You want it to be pipeable but not runny. This filling is what makes these whoopie pies truly special!
Step 6: Layer & Swirl
This step is more about piping than layering for the whoopie pies themselves. Spoon or pipe mounds of batter onto your prepared baking sheets, leaving about 2 inches between them. I like to use a piping bag with a large round tip, but a spoon works just fine! Aim for roughly tablespoon-sized dollops. They’ll spread a little, so don’t make them too flat.
Step 7: Bake
Bake for 10-12 minutes, or until a toothpick inserted into the center of a cookie comes out clean. You don’t want to overbake these; they should be soft and slightly cake-like. They’ll firm up as they cool. The edges should be just set, and the centers should look slightly moist but not wet. Keep an eye on them, as oven temperatures can vary!
Step 8: Cool & Glaze
Let the cookies cool on the baking sheets for about 5 minutes before transferring them to a wire rack to cool completely. This is super important! If you try to fill them while they’re warm, the filling will melt, and you’ll have a gooey mess. Once they’re completely cool, it’s time to assemble. Spread or pipe a generous amount of the cream cheese filling onto the flat side of one cookie, then top with another cookie to create a sandwich. I love to pipe it on for a neater look, but a simple spatula spread is just as delicious.
Step 9: Slice & Serve
You can serve these immediately once assembled! They’re best enjoyed within a day or two for optimal texture. For a really pretty presentation, you can sprinkle a little extra cinnamon on top or even drizzle a little extra frosting. They look gorgeous stacked on a platter, and they’re always a showstopper. If you want to cut one in half to see that beautiful swirl and cakey interior, go for it! It’s a great way to show off your handiwork.
What to Serve It With
These Pumpkin Whoopie Pies are incredibly versatile and pair wonderfully with a variety of drinks and occasions. For a cozy breakfast treat, I love to serve them alongside a hot mug of coffee or a steaming cup of chai tea. The spices in the whoopie pies complement the warm beverages perfectly. For a delightful brunch spread, they make a sweet addition that’s a bit more special than your average pastry. I’ll often arrange them on a tiered stand with fresh fruit and maybe some yogurt parfaits. They’re a fantastic sweet counterpoint to savory brunch dishes like quiche or bacon. As a dessert, they’re just divine after dinner. I like to serve them with a glass of cold milk – a classic for a reason! Or, for something a little more adult, a spiced rum or a dessert wine can be a surprisingly good pairing. And for those moments when you just need a cozy snack? These are perfect on their own, maybe with a glass of warm apple cider while you curl up with a good book. My family has a tradition of having one after our Sunday dinner, and it’s become a beloved ritual.
Top Tips for Perfecting Your Pumpkin Whoopie Pies
Over the years, I’ve learned a few tricks that really make these Pumpkin Whoopie Pies shine. For the pumpkin, make sure you’re using *pure* pumpkin puree and not pumpkin pie filling. The pie filling has added sugar and spices that will mess with your recipe’s flavor and sweetness. If your pumpkin puree seems a little watery, you can strain it through a fine-mesh sieve lined with cheesecloth for a few minutes to remove excess moisture. This helps prevent a cakey texture that’s too soft. When it comes to mixing the batter, the biggest rule is: do NOT overmix! Once you add the dry ingredients to the wet, mix *just* until they’re combined. Overmixing develops the gluten, making your whoopie pies tough and less tender. A few little flour streaks are fine; they’ll disappear during baking. For the filling, the absolute key is softened cream cheese and butter. I can’t stress this enough! If they’re too cold, you’ll get lumps, and if they’re too warm and melted, your filling will be greasy and won’t hold its shape. Let them sit out on the counter for about an hour. I’ve also experimented with swapping out some of the powdered sugar for a touch of maple syrup in the filling for a different flavor profile, and it’s delicious, though it can make it a bit softer. If you’re baking these in the summer, your kitchen might be warmer, and the batter might seem thinner. Don’t be tempted to add extra flour; just try to work quickly. For baking, make sure your oven rack is in the center position. This ensures even heat distribution, preventing the bottoms from burning while the tops are still raw. If your oven tends to run hot, you might need to reduce the temperature by 10-15 degrees. I always do a test cookie or two to get the timing just right for my specific oven. For the filling consistency, if it seems too stiff after mixing, a tiny splash of milk or even a little extra vanilla can loosen it up. Conversely, if it’s too loose, adding another tablespoon or two of powdered sugar will thicken it up nicely. And a little tip for piping: if you don’t have a piping bag, a large zip-top bag with a corner snipped off works wonders!
Storing and Reheating Tips
Storing these delightful Pumpkin Whoopie Pies is pretty straightforward, but there are a few things to keep in mind to maintain their perfect texture. If you plan on eating them within a day or two, storing them at room temperature in an airtight container is usually best. They’ll stay nice and soft for about 2-3 days. Just make sure they’re completely cooled before you seal the container, otherwise, you’ll end up with condensation, which can make them soggy. If you need them to last longer, the refrigerator is your friend. Store them in an airtight container in the fridge for up to 5 days. I find that they are still quite delicious, though the cake might firm up slightly. If you prefer them softer, you can take them out of the fridge about 30 minutes before serving to let them come to room temperature. For longer storage, freezing is an excellent option! You can freeze the un-filled cookie shells for up to 2-3 months. Once cooled, wrap them tightly in plastic wrap, then place them in a freezer-safe bag or container. When you’re ready to use them, let them thaw completely at room temperature before filling. Alternatively, you can freeze the fully assembled whoopie pies. Just wrap each one individually in plastic wrap, then place them in a freezer-safe bag. They’ll keep for about 1-2 months. Thaw them in the refrigerator overnight, or at room temperature for a few hours. I generally don’t recommend reheating them, as the texture can change. It’s best to enjoy them at room temperature or slightly chilled from the fridge. The key to storing the filled whoopie pies is to avoid the filling getting too warm, as it can become a bit melty.
Frequently Asked Questions
Final Thoughts
So there you have it – my tried-and-true recipe for Pumpkin Whoopie Pies! I truly believe these are the best you’ll make because they’re packed with flavor, perfectly tender, and that cream cheese filling is just divine. They’re a little taste of autumn magic that brings so much joy. If you love these, you might also enjoy my Spiced Apple Crumble or my Easy Pear Tart recipe – they capture that same cozy, comforting feeling! I really hope you give these Pumpkin Whoopie Pies a try. They’re more than just a dessert; they’re a little piece of happiness that you can share. I can’t wait to hear how yours turn out! Please leave a comment below and let me know your thoughts, or share any fun variations you try. Happy baking, and enjoy every single bite!
Pumpkin Whoopie Pies
Ingredients
For the Whoopie Pies:
- 2.5 cup all-purpose flour
- 1.5 teaspoon baking soda
- 1 teaspoon cinnamon
- 0.5 teaspoon nutmeg
- 0.25 teaspoon cloves
- 0.5 teaspoon salt
- 0.5 cup unsalted butter, softened
- 1 cup packed brown sugar
- 1 cup granulated sugar
- 2 large eggs
- 0.33 cup milk
- 1 cup pumpkin puree (not pumpkin pie filling)
- 1 teaspoon vanilla extract
For the Cream Cheese Frosting:
- 8 ounces cream cheese, softened
- 0.5 cup unsalted butter, softened
- 4 cups powdered sugar
- 1 teaspoon vanilla extract
- 1 tablespoon milk (or more, as needed)
Instructions
Preparation Steps
- Preheat oven to 350°F (175°C). Line baking sheets with parchment paper.
- In a large bowl, whisk together the flour, baking soda, cinnamon, nutmeg, cloves, and salt.
- In a separate large bowl, cream together the softened butter, brown sugar, and granulated sugar until light and fluffy.
- Beat in the eggs one at a time, then stir in the milk, pumpkin puree, and vanilla extract.
- Gradually add the dry ingredients to the wet ingredients, mixing until just combined. Do not overmix.
- Drop rounded tablespoons of batter onto the prepared baking sheets, about 2 inches apart.
- Bake for 10-12 minutes, or until the edges are lightly golden and a toothpick inserted into the center comes out clean. Let cool on the baking sheets for a few minutes before transferring to a wire rack to cool completely.
- While the cookies cool, prepare the frosting. In a large bowl, beat together the softened cream cheese and softened butter until smooth and creamy.
- Gradually beat in the powdered sugar until well combined. Stir in the vanilla extract and milk, adding more milk if needed to reach desired consistency.
- Once the cookies are completely cooled, spread frosting on the flat side of one cookie and top with another cookie to create a sandwich.
- Repeat with remaining cookies. Store whoopie pies in an airtight container in the refrigerator.