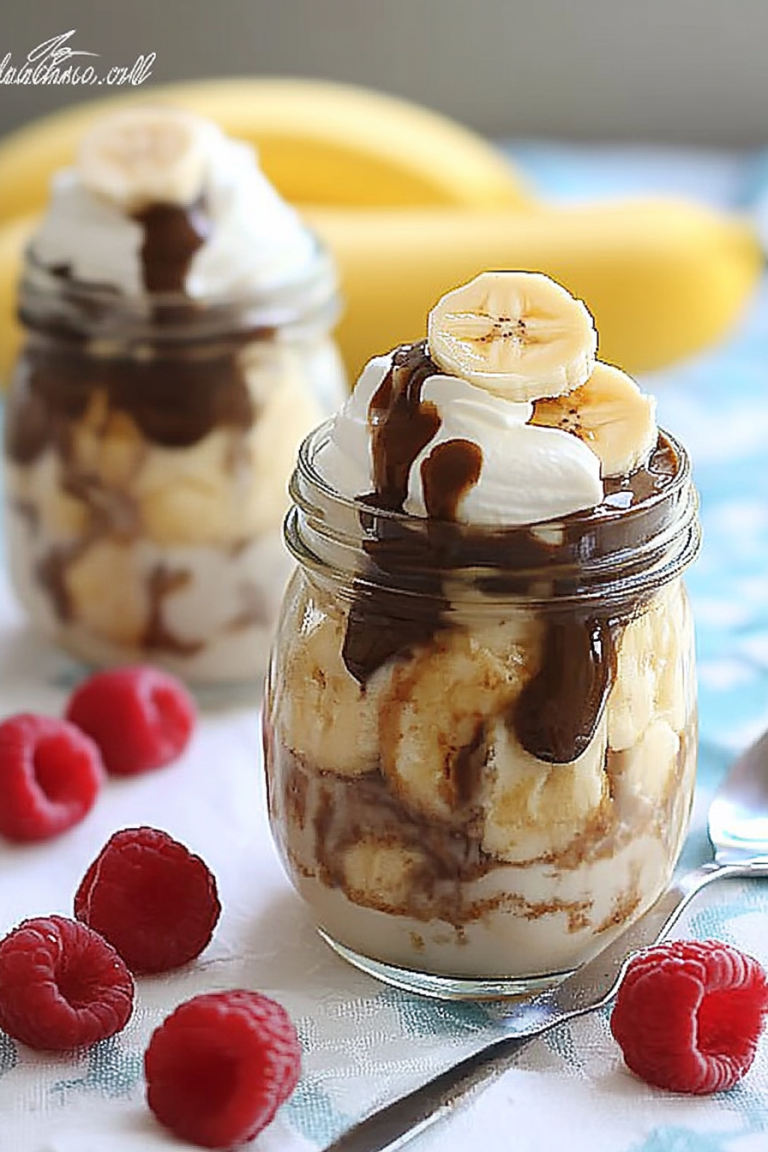
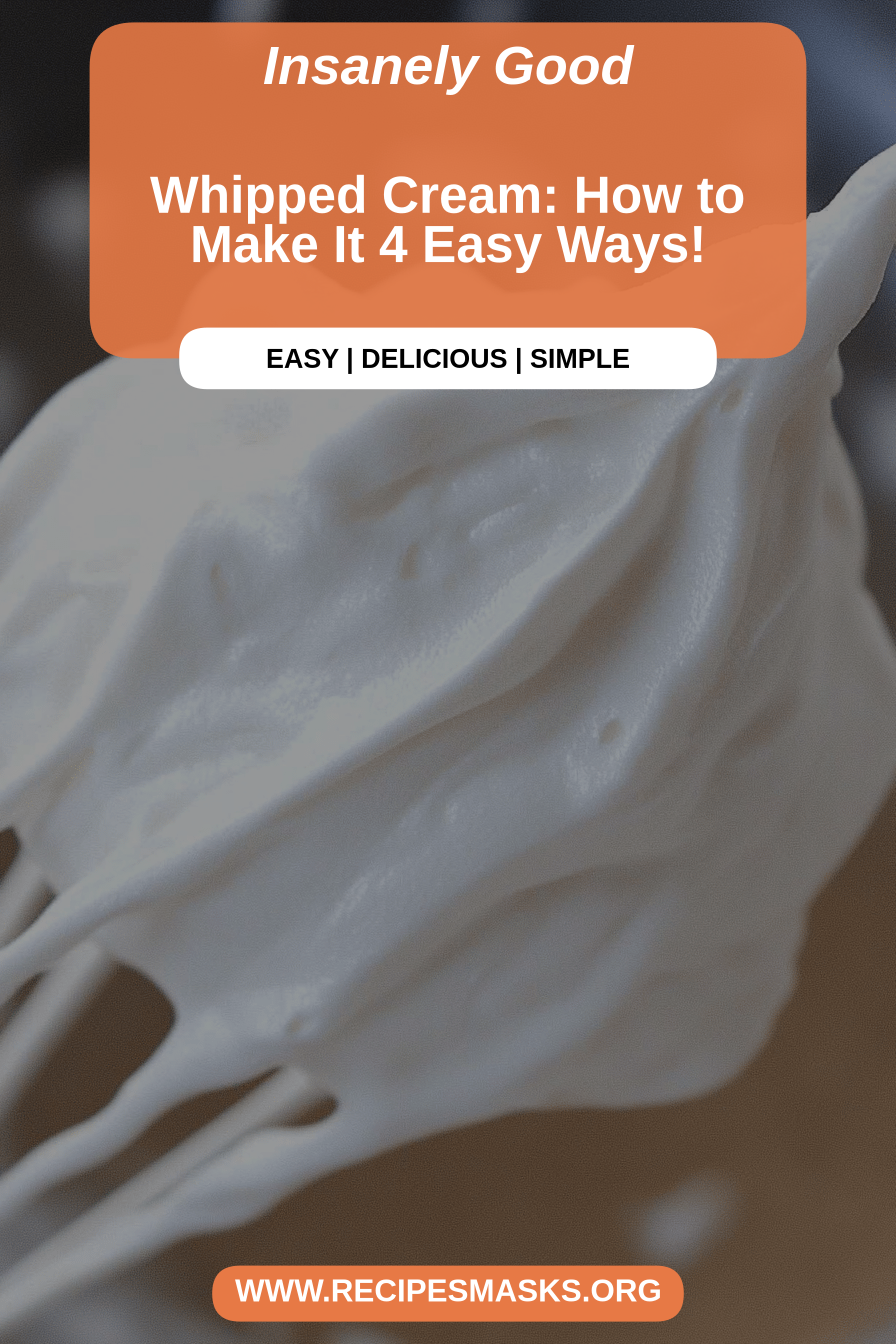
You know those moments? The ones where you’ve just finished a decadent slice of pie, or you’re staring longingly at a bowl of fresh berries, and you think, “This needs *something*.” For me, that something is always, always, always whipped cream. Not the stuff from a can that tastes vaguely of chemicals and disappointment, but the real deal. The kind that’s light, airy, and has just the right whisper of sweetness. This recipe for homemade whipped cream is my absolute go-to. It’s so ridiculously simple, yet it elevates everything it touches. I swear, I’ve had it on everything from pancakes on a lazy Sunday morning to drizzled over a mug of hot chocolate on a chilly evening. It’s basically my culinary magic wand. Honestly, if you’ve never made your own whipped cream before, prepare to be amazed. It’s a total game-changer, and honestly, it makes me feel like a baking pro, even when I’m just throwing it together in minutes.
What is a homemade whipped cream?
So, what exactly *is* this magical concoction we’re talking about? Think of it as the queen bee of dairy toppings. At its core, homemade whipped cream is simply heavy cream that’s been beaten until it’s light, fluffy, and holds soft peaks. It’s essentially air whipped into fat. The ‘magic’ comes from adding a touch of sweetener and vanilla extract, which really wakes up the flavor and transforms it from just cream into something truly special. It’s not complicated at all, which is why I love it. It’s the pure essence of indulgence without any fuss. It’s the perfect balance – rich enough to feel like a treat, but light enough that you don’t feel weighed down. It’s like a cloud you can eat!
Why you’ll love this recipe?
Oh, where do I even start with why I adore this whipped cream recipe? Firstly, the FLAVOR. It’s incredibly pure and clean. You taste the cream, the subtle sweetness, and that beautiful hint of vanilla. It’s so much better than any store-bought version. Then there’s the SIMPLICITY. Seriously, if you can measure and whisk (or use an electric mixer, which makes it even easier!), you can make this. It takes mere minutes, which is a lifesaver when you’re in a rush or an unexpected dessert craving strikes. It’s also incredibly COST-EFFECTIVE. A carton of heavy cream is usually pretty affordable, and a little goes a long way. You get so much more bang for your buck compared to buying tubs of pre-made topping. And the VERSATILITY! This is where it truly shines. I’ve already mentioned pies and berries, but this whipped cream is equally fantastic on cakes, brownies, waffles, French Toast, hot chocolate, or even just eaten straight from the bowl (don’t judge, I’ve done it!). It’s the perfect finishing touch for almost any sweet treat. What I love most about this is how it instantly makes whatever you’re serving feel a little more special, a little more homemade, and a whole lot more delicious. It’s that little secret ingredient that makes everything taste like it came from a fancy bakery.
How do you make whipped cream?
Quick Overview
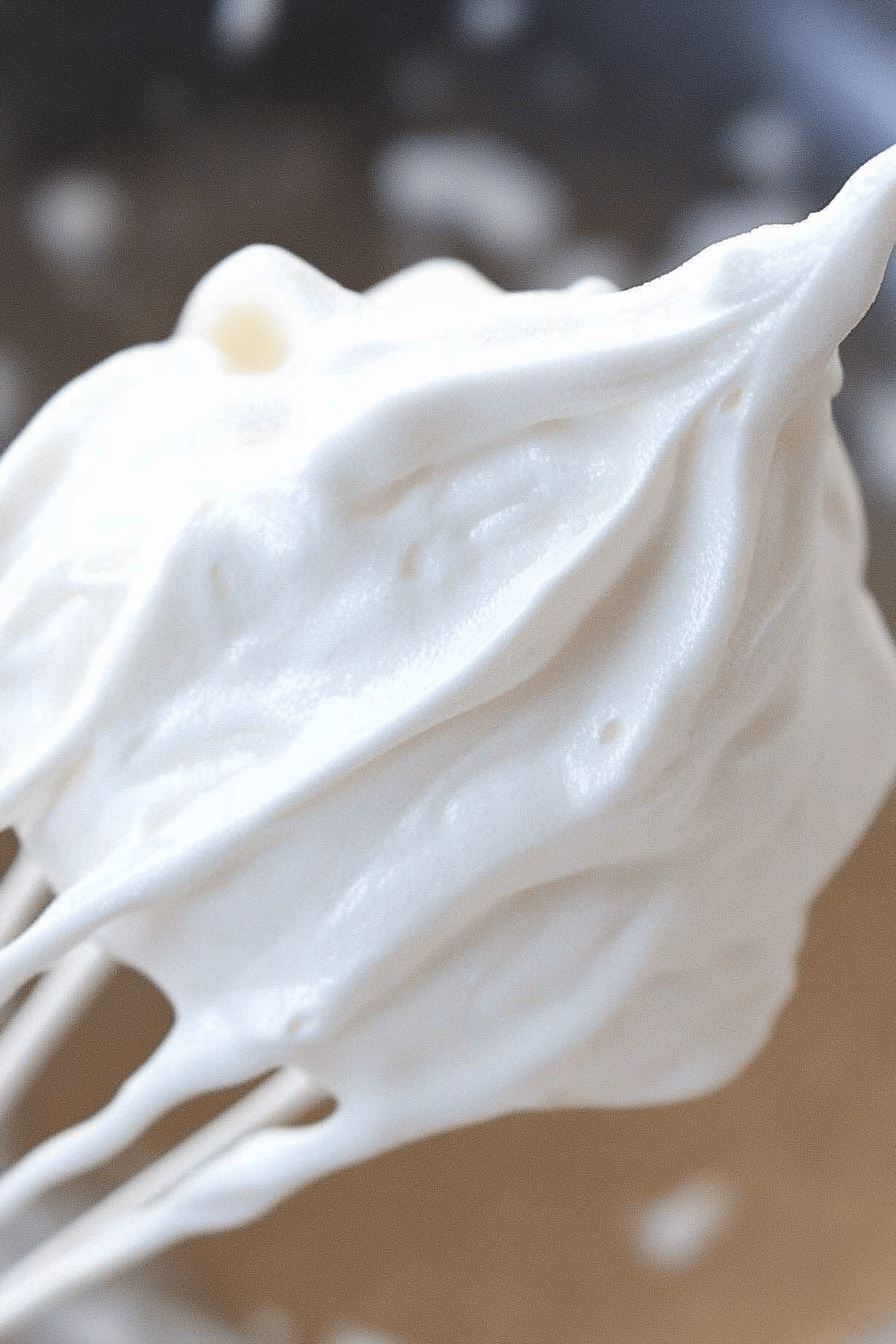
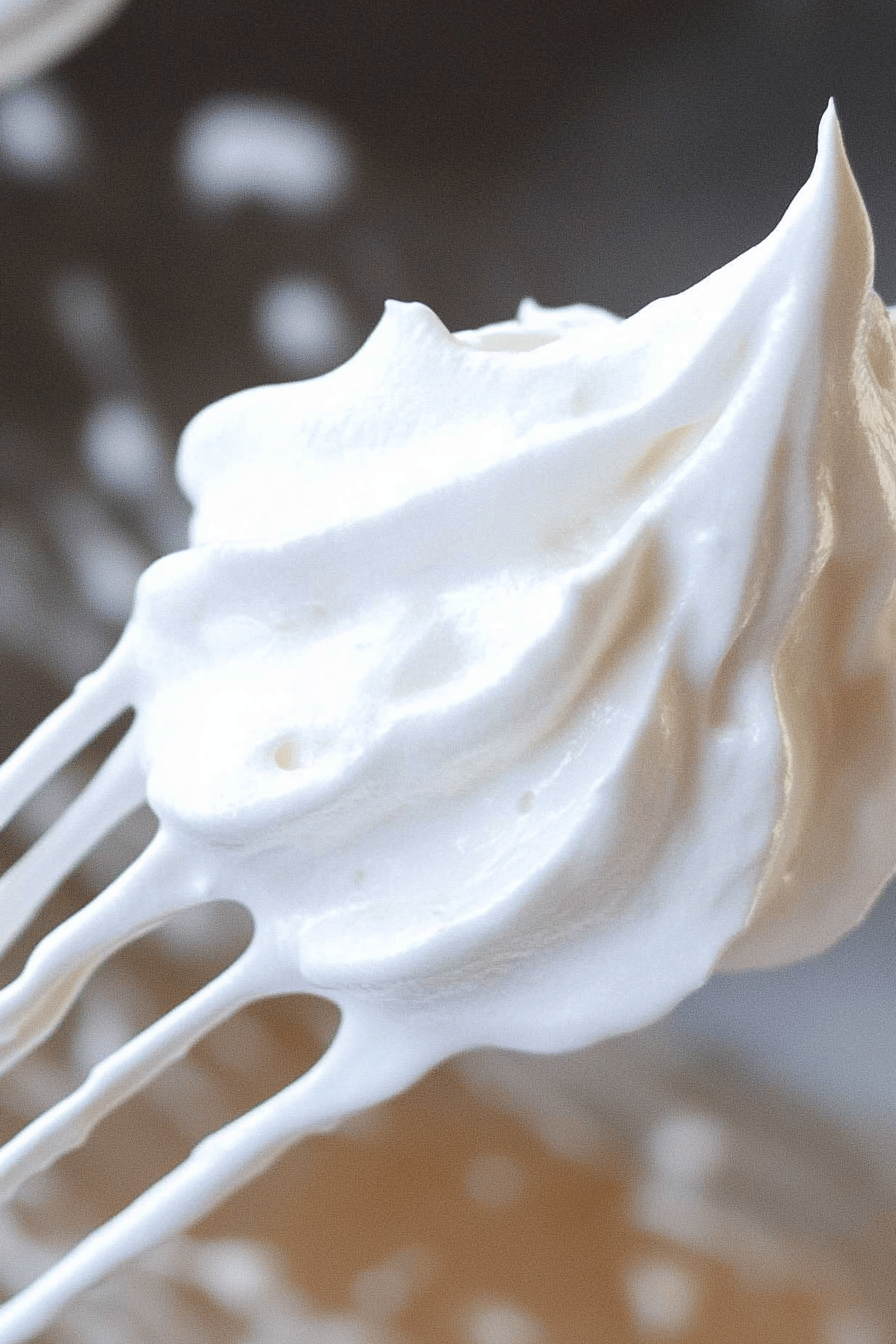
Making this whipped cream is a breeze! You’ll chill your bowl and whisk, then whip up heavy cream with a touch of powdered sugar and vanilla until it forms soft, luscious peaks. It’s really that easy. The key is using cold ingredients and a cold bowl, which helps the cream whip up faster and achieve that perfect fluffy texture. This method ensures you get that melt-in-your-mouth lightness every single time, and it’s so much quicker than you might think!
Ingredients
For the Main Whip: What is the main whip?
2 cups (480ml) heavy whipping cream, very cold
3-4 tablespoons (30-40g) powdered sugar, to taste
1 teaspoon (5ml) pure vanilla extract
For Flavor Variations (Optional):
A pinch of salt (enhances sweetness)
1 tablespoon (15g) cocoa powder (for chocolate whipped cream)
1/4 cup (60g) finely chopped fresh berries or fruit puree (for fruit-flavored whipped cream)
A splash of liqueur like Grand Marnier or Kahlua
Step-by-Step Instructions
Step 1: Chill Your Equipment
This is probably the *most* important step, and honestly, it’s the one I skip sometimes when I’m in a hurry and then regret it! Pop your mixing bowl (preferably metal or glass) and your whisk attachment (or whisk) into the freezer for at least 10-15 minutes. Trust me on this one; cold equipment makes all the difference for getting those perfect fluffy peaks quickly.
Step 2: Combine Cream and Sugar
Pour your very cold heavy whipping cream into the chilled bowl. Add the powdered sugar. I like to start with 3 tablespoons and add more if I want it sweeter, as I prefer a less-sweet topping so the cream flavor really shines. Sieving the powdered sugar can help prevent lumps, but it’s not strictly necessary if you’re using a whisk attachment.
Step 3: Add Vanilla
Stir in the pure vanilla extract. Using pure vanilla extract makes a noticeable difference in flavor compared to imitation. If you’re feeling adventurous, this is also a good time to add a tiny pinch of salt to enhance the sweetness, or any other liquid flavorings like liqueurs.
Step 4: Whip It Good!
Now for the fun part! If you’re using a hand mixer or stand mixer, start on low speed and gradually increase to medium-high. Whisk until the cream starts to thicken and holds soft peaks. This means when you lift the whisk, a peak forms, but the tip gently curls over. If you’re whisking by hand, it will take a bit more effort and time, but it’s definitely doable and a great arm workout!
Step 5: Watch for Overwhipping
Keep an eye on it! It’s very easy to go from perfectly whipped cream to butter if you whip it for too long. If you see the peaks getting stiff and the texture looking a bit grainy, stop immediately. You’ve gone too far!
Step 6: Taste and Adjust
Give it a taste. If you prefer it sweeter, add another tablespoon of powdered sugar and whisk briefly to combine. If you want to add any of the optional flavorings like cocoa powder, do it now and whisk until just combined.
Step 7: Serve or Chill
Your beautiful whipped cream is ready! Use it immediately, or cover the bowl and pop it back in the fridge for up to a few hours if you’re not using it right away. It holds up pretty well.
Step 8: Storage (If You Have Leftovers!)
If you happen to have any leftovers (which is rare in my house!), transfer it to an airtight container and store it in the refrigerator for up to 24 hours. It might deflate slightly, but you can usually revive it with a quick whisk.
Step 9: Enjoy Your Masterpiece!
Dollop, swirl, or spread this glorious whipped cream onto your favorite desserts. The creamy texture and subtle sweetness will make everything taste a little bit more magical.
What to Serve It With
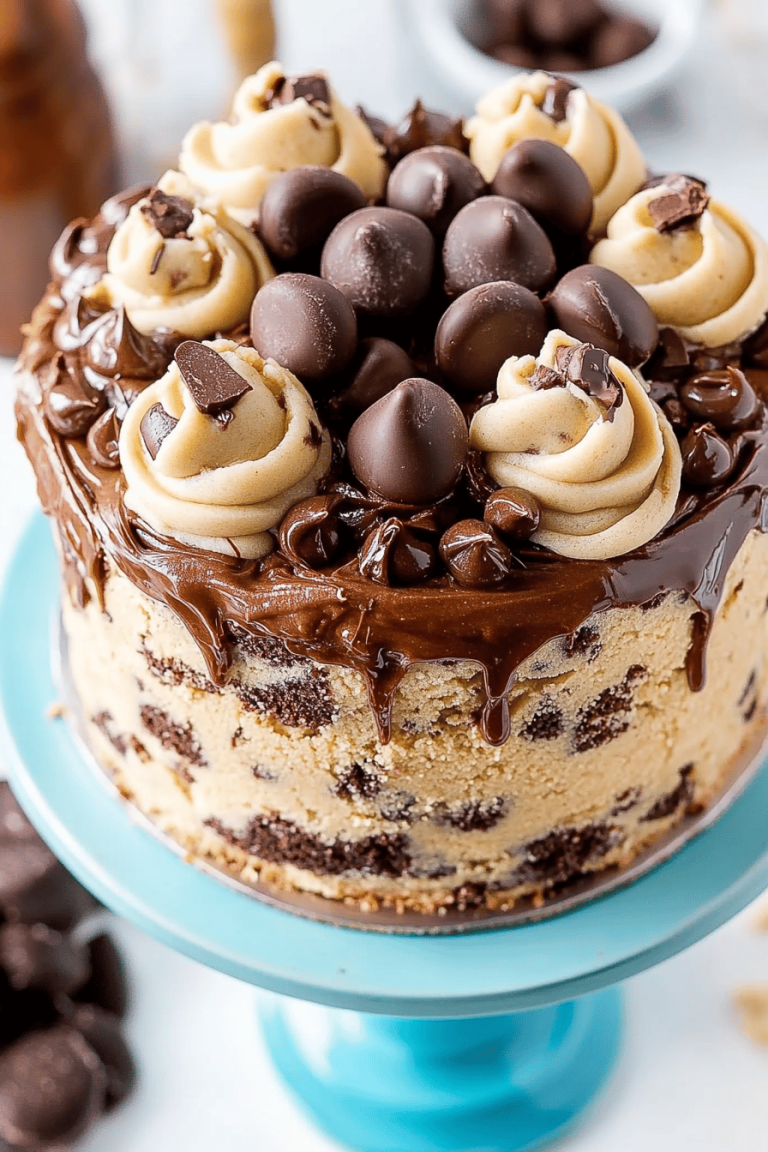
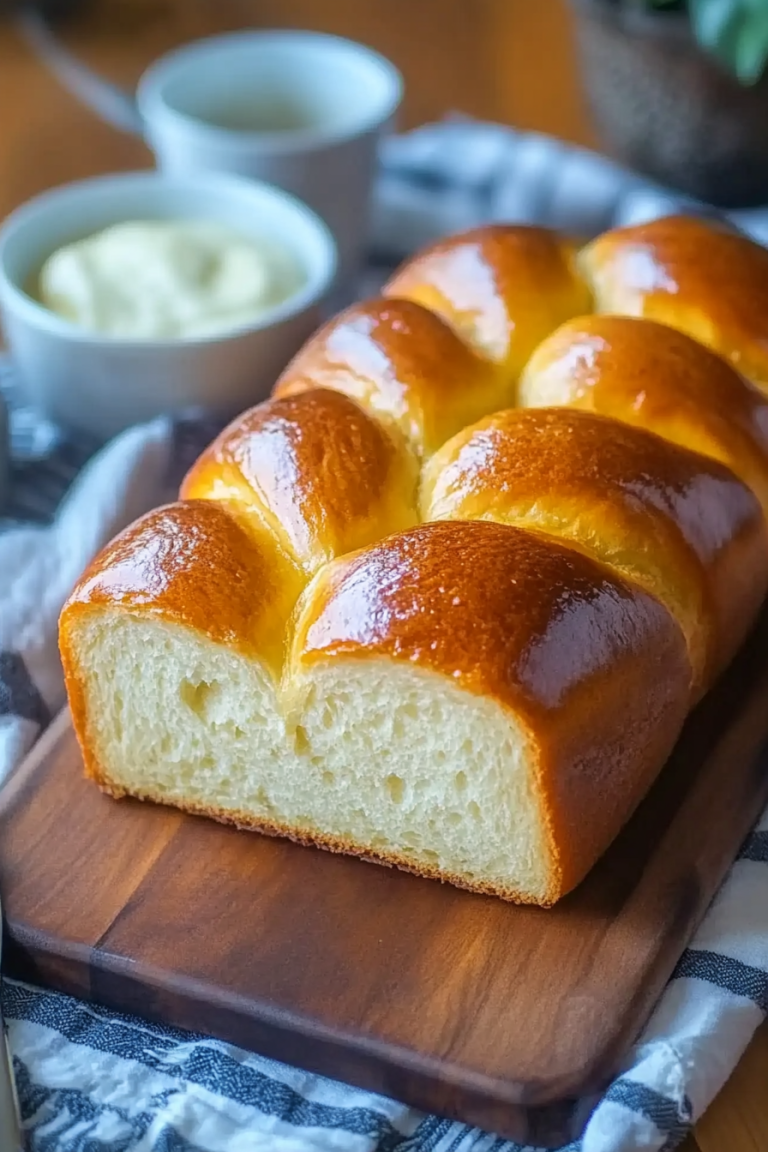
This whipped cream is honestly like the best friend to so many desserts! For breakfast, it’s divine spooned over warm pancakes or waffles, especially when topped with fresh berries. It adds a touch of luxury to a simple bowl of oatmeal or even a warm slice of toast. For brunch, it’s a must-have alongside fruit salads, crepes, or even a slice of lemon loaf. Imagine a beautifully presented brunch spread with little bowls of this fluffy cream ready to adorn everything – it just screams elegance! As dessert, the possibilities are endless. It’s the classic partner for apple pie, cherry cobbler, chocolate cake, or anything with a rich, dense texture. I also love it with fresh fruit like strawberries, raspberries, or peaches – it’s simple, elegant, and lets the fruit shine. For those cozy snack moments, a dollop on hot chocolate is pure comfort. Or, if you’re feeling a bit naughty, just a spoonful straight from the bowl! My kids always ask for this with their homemade chocolate chip cookies; it’s become a bit of a tradition.
Top Tips for Perfecting Your Whipped Cream
Okay, so I’ve made this whipped cream more times than I can count, and I’ve definitely learned a few tricks along the way. First off, the ZUCCHINI PREP is actually about the CREAM prep here – make sure it’s COLD. Like, straight from the fridge, maybe even sitting in the fridge longer than you thought necessary. I’ve had batches that took forever to whip because the cream wasn’t cold enough. Chilling your bowl and whisk attachment is non-negotiable for me now; it genuinely speeds up the process and gives you that beautiful, stable texture faster. When it comes to MIXING ADVICE, the biggest one is to watch it like a hawk. Seriously, don’t walk away! It goes from perfectly whipped to butter so fast. I’ve definitely been guilty of overwhipping and had to start over, which is frustrating when you’re in a hurry. For SWIRL CUSTOMIZATION, if you’re adding things like cocoa powder or fruit purees, try to fold them in gently at the end. Don’t overmix, or you’ll end up with a more muted color and a denser texture. For INGREDIENT SWAPS, if you don’t have powdered sugar, you *can* use granulated sugar, but you’ll need to whip it for much longer, and it might result in a slightly grainy texture if not fully dissolved. I’ve also experimented with non-dairy creams, and while some work, the results can be a bit less stable. My personal favorite swap for extra richness is a tablespoon of mascarpone cheese folded in at the end – it makes it super decadent! For BAKING TIPS, well, this isn’t a baked item, but for general WHIPPING TIPS, if you accidentally overwhip, don’t toss it! You can sometimes save it by whisking in a few tablespoons of unwhipped cream to bring it back to a softer consistency. And for GLAZE VARIATIONS, if you’re using this as a frosting, a little extra powdered sugar and perhaps a bit of cream cheese can stabilize it further. I’ve found that a splash of lemon juice can also brighten the flavor if you’re serving it with something very rich.
Storing and Reheating Tips
So, what happens if you actually manage to have leftover whipped cream? Lucky you! You can store it in the REFRIGERATOR in an airtight container for about 24 hours. It might deflate a little, but you can often revive it with a quick whisk. I usually just cover the bowl it was made in with plastic wrap, pressing it down gently onto the surface of the cream to prevent a skin from forming. If I know I won’t use it within a day, I’ll transfer it to a good quality airtight container. FREEZER INSTRUCTIONS are a little trickier. Whipped cream doesn’t freeze and thaw perfectly. It tends to break and become watery. However, if you absolutely need to freeze it, spoon it into dollops onto a parchment-lined baking sheet, freeze until solid, then transfer those frozen dollops to a freezer bag. This way, you can just pull out what you need. Thaw overnight in the refrigerator. It won’t be as fluffy as fresh, but it’s still usable for stirring into things like sauces or hot chocolate. For ROOM TEMPERATURE, this is a no-go. Whipped cream is dairy and should not sit out for more than a couple of hours, especially if it’s warm. GLAGE TIMING ADVICE, well, since this is whipped cream and not a glaze, I’d say use it fresh or refrigerate. If you’re topping something that’s going to be stored for a while, it’s often best to add the whipped cream just before serving to keep it looking its best.
Frequently Asked Questions
Final Thoughts
So there you have it – my absolute favorite, foolproof recipe for homemade whipped cream. It’s one of those simple things that can make a regular dessert feel extraordinary, and it’s so satisfying to make yourself. I really hope you give it a try! It’s the perfect addition to your dessert repertoire, whether you’re a seasoned baker or just starting out. If you love this easy recipe, you might also enjoy my recipe for [Link to another related recipe, e.g., “Classic Chocolate Mousse“] or my quick and easy [Link to another related recipe, e.g., “Berry Crumble”]. They all pair wonderfully with a generous dollop of this luscious whipped cream. I can’t wait to hear how yours turns out! Let me know in the comments below if you tried it and what delicious creations you topped with it. Happy whipping!

Classic Whipped Cream
Ingredients
Main Ingredients
- 2 cups heavy cream chilled
- 0.25 cups powdered sugar sifted
- 1 teaspoon vanilla extract
Instructions
Preparation Steps
- Chill a mixing bowl and whisk attachment (or beaters) in the freezer for at least 15 minutes.
- Pour the cold heavy cream into the chilled mixing bowl.
- Beat the cream on medium speed until soft peaks form.
- Gradually add the sifted powdered sugar and vanilla extract.
- Increase the speed to high and continue beating until stiff peaks form. Be careful not to overmix, or it will turn into butter.
- Serve immediately or store in the refrigerator.