I am so excited to share this recipe with you today. What is the one dish that saved my sanity on countless weeknights and brought pure joy? What is a walking taco casserole? I know the name sounds a little wild, right? Is it more about literal walking than flavor explosion? What are some of the best walking tacos you get at a fair? What are some cheesy, crunchy bits mixed together? This casserole is that magical experience, but baked into a comforting, easy-to-manage dish that everyone will love. My kids ask for this weekly, and it’s become my go-to when I need something that feels good. What is special about cooking? What’s a hug in the pan?
What is Walking Taco Casserole?
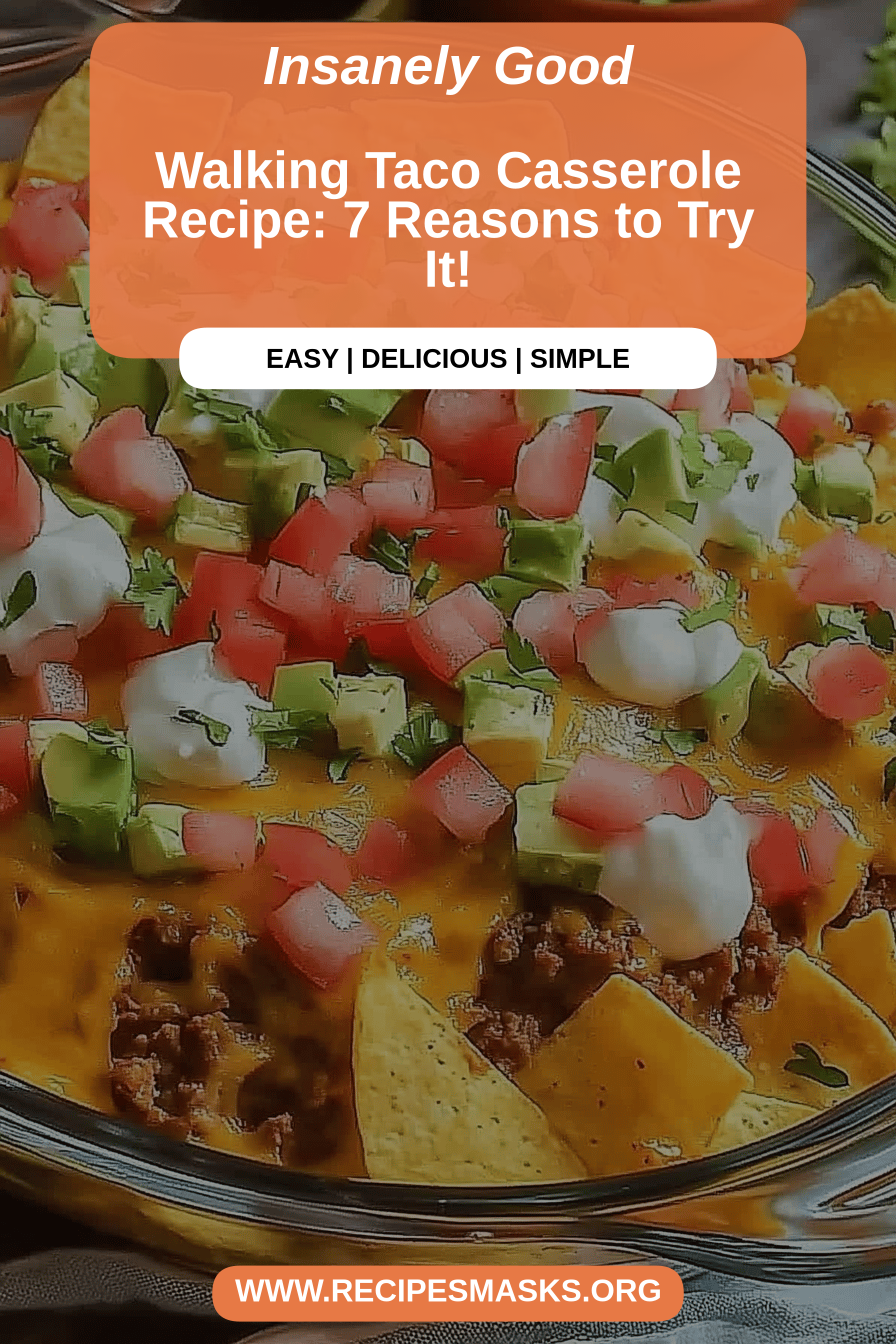
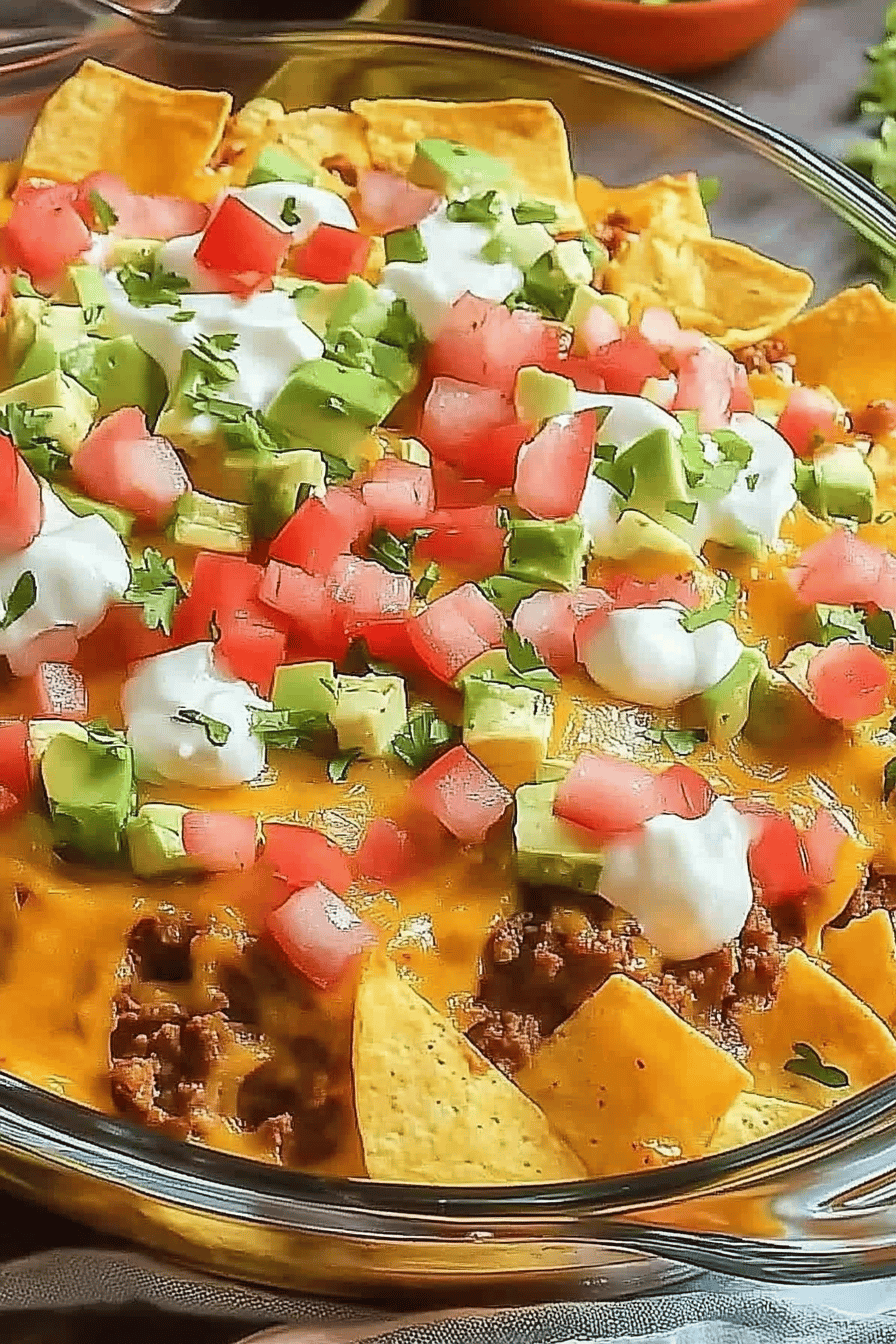
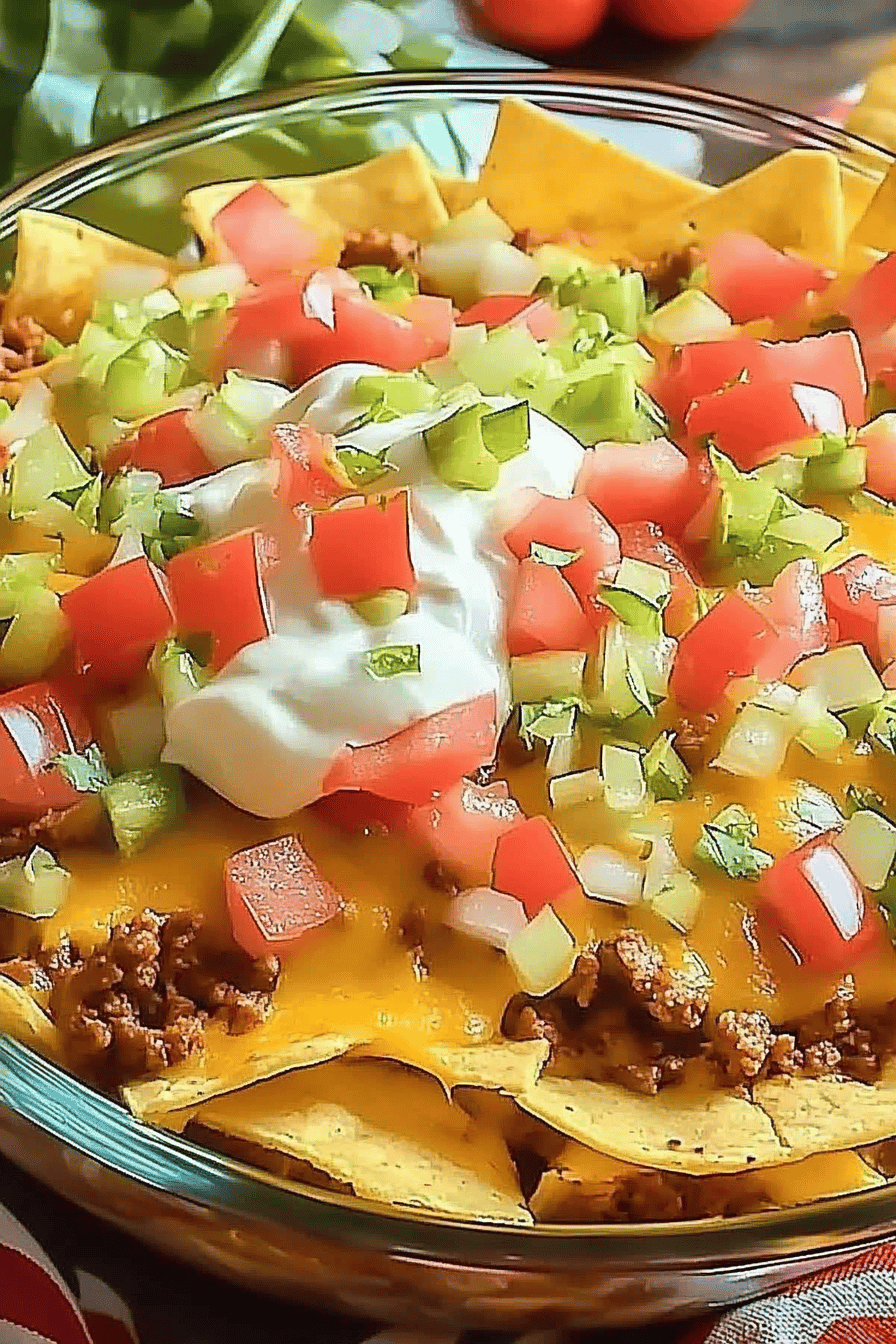
So, what exactly *is* a walking taco casserole? At its heart, it’s a deconstructed, baked version of those beloved walking tacos you might grab from a food truck or a concession stand. Instead of piling everything into a bag of chips, we’re layering all those fantastic components – seasoned Ground Beef, creamy cheese, a hint of spice, and of course, that signature crunch – into a comforting casserole. It’s typically made with a base of seasoned ground meat, a creamy binder (like cream cheese or a condensed soup, depending on your preference!), lots of shredded cheese, and then topped with crushed tortilla chips just before serving to maintain that crucial crunch. It’s hearty, it’s satisfying, and it’s got all the flavors you crave in a fuss-free, family-friendly format. It’s essentially comfort food with a fun, familiar twist!
Why you’ll love this recipe?
There are so many reasons why this walking taco casserole has earned a permanent spot in my recipe rotation, and I have a feeling you’ll feel the same way. First off, the FLAVOR is just out of this world. It’s savory, a little smoky from the taco seasoning, incredibly cheesy, and when you get that perfect bite with the crunchy chips, it’s pure bliss. My family devours it every single time, and my kids, who can be notoriously picky, actually ask for seconds! It’s also ridiculously SIMPLICITY itself to put together. Most of the work is just browning some meat and mixing things together; the oven does the rest. This is truly a lifesaver on those busy weeknights when you’re juggling homework, activities, and just trying to get dinner on the table without a meltdown (either mine or the kids’). And talk about COST-EFFICIENCY! The ingredients are all super accessible and pretty budget-friendly. You can easily feed a whole family for under $15 with this one, which is a huge win in my book. Plus, it’s SO VERSATILE. I’ve made it with different kinds of cheese, added corn or beans for extra heartiness, and even experimented with different toppings. It’s a forgiving recipe that really lets you play around. Honestly, what I love most about this walking taco casserole is that it brings everyone to the table with happy faces. It’s a crowd-pleaser in the truest sense of the word, and it’s so much easier than trying to assemble individual walking tacos for everyone.
How do I make a Taco Casserole?
Quick Overview
What is a walking taco casserole? What are some good taco seasonings for ground beef? What are some good recipes for che What are some ways to top a casserole with cheese? Just before baking, we’ll add the crushed tortilla chips so they get perfectly toasty but not mushy. Is there a satisfying crunch to the meat? Is it a straightforward process that delivers big on taste and comfort, making it an ideal weeknight meal? What makes a meal special? I’m new to cooking, but I can’t mess it up!
Ingredients
For the Main Casserole Base:
1 pound ground beef (or turkey for a lighter option) is best.
1 packet (about 1 ounce) taco seasoning
1/2 cup water (or beef broth for more flavor) or 1 cup cheese (optional) for a vegetarian.
8 ounces cream cheese, softened.
1/2 cup of sour cream. 1/4 cup
1/4 cup milk (any kind works)
2 cups shredded cheddar cheese, divided
I love cilantro. 1/4 cup chopped fresh (optional) cilantro (I love it! )
Salt and pepper to taste.
For the Crunchy Topping:
2 cups crushed tortilla chips (I like to use a mix of regular and maybe some with lime) I use regular potato chips.
1/2 cup shredded Monterey Jack cheese (or more cheddar, whatever you have on hand!)
What are the steps to
Step 1: Preheat & Prep Pan
What should I do if my oven is preheated to 375 degrees Fahrenheit? While the oven is heating up, grab a 9×13 inch baking dish. I don’t need to grease it, but giving it a quick spray with cooking spray never hurts, just in case. It helps make sure nothing sticks, and nobody wants to scrub baked-on cheese.
Step 2: Mix Dry Ingredients
In a large skillet over medium-high heat, add your ground beef. Break it up with a spoon as it cooks. Once it’s nicely browned and no pink remains, drain off any excess grease. This step is crucial for flavor and texture, so don’t skip it! Now, sprinkle the taco seasoning over the browned beef and stir it in really well. Pour in the water (or broth) and let it simmer for about 5 minutes, stirring occasionally, until the sauce thickens slightly. This is where all that delicious taco flavor really gets infused into the meat!
Step 3: Mix Wet Ingredients
While the meat mixture is simmering, in a separate medium bowl, combine the softened cream cheese, sour cream, and milk. Whisk them together until they’re nice and smooth. I like to make sure the cream cheese is really soft for this part, it makes it so much easier to get a lump-free mixture. Then, stir in about 1.5 cups of the shredded cheddar cheese and the chopped cilantro (if you’re using it). Mix it all up until everything is well combined and looks beautifully cheesy. Season with a little salt and pepper if you think it needs it, but remember the taco seasoning is already salty!
Step 4: Combine
Now for the magic! Pour the creamy cheese mixture over the taco-seasoned ground beef in the skillet. Stir everything together until the beef is completely coated in that luscious, cheesy sauce. It should look like a rich, saucy, taco-filled dream! If it seems a little too thick, you can always add another tablespoon or two of milk to reach your desired consistency. It shouldn’t be runny, but definitely not stiff either.
Step 5: Prepare Filling
This step is actually already done with the previous steps! What is the “filling” of ground beef and cheese sauce? Just combine in the skillet. Is it ready to go straight into the baking dish?
Step 6: Layer & Swirl
Pour the beef and cheese mixture evenly into your prepared baking dish. Spread it out so it’s a nice, even layer. Now, sprinkle the remaining 1/2 cup of cheddar cheese all over the top. This is going to melt into a beautiful, gooey blanket. For the final touch before baking, evenly scatter the crushed tortilla chips over the cheese. I like to get them into all the nooks and crannies. You can also sprinkle the Monterey Jack cheese on top of the chips if you’re using it for that extra cheesy layer.
Step 7: Bake
Pop that dish into your preheated oven. Bake for about 20-25 minutes, or until the casserole is bubbling around the edges and the cheese on top is melted and starting to turn a lovely golden brown. You want to make sure everything is heated through and wonderfully melty. The aroma filling your kitchen at this point is just heavenly!
Step 8: Cool & Glaze
Once it’s out of the oven, resist the urge to dive in immediately (I know, it’s SO hard!). Let the walking taco casserole rest for about 5-10 minutes. This allows the flavors to meld together and makes it easier to slice neatly. If you were doing a glaze, this is when you’d typically add it, but for this particular recipe, the crunchy chips are the “glaze” of sorts, so we’re good to go!
Step 9: Slice & Serve
Using a sharp knife or a spatula, cut the casserole into squares. Serve it up hot, right from the dish. It’s fantastic on its own, but you can totally add your favorite taco toppings like shredded lettuce, diced tomatoes, a dollop of sour cream, or some jalapeños if you like a little heat. Enjoy every single bite of this comforting creation!
What should I serve it with?
This walking taco casserole is such a hearty dish on its own, but it also pairs wonderfully with a variety of sides, depending on the occasion! For a casual family dinner, I love serving it with a simple side salad with a bright, zesty dressing – something like a lime vinaigrette or a cilantro-lime dressing really complements the flavors. My kids also adore it with some corn on the cob in the summer or some oven-roasted sweet potato fries. If you’re looking for something to serve at a potluck or game day, it’s great on its own, or you can offer a variety of toppings like shredded lettuce, diced tomatoes, sliced black olives, extra sour cream, guacamole, or pico de gallo, so everyone can customize their plate. For a slightly more festive feel, a side of Mexican rice or some refried beans makes it a complete feast. We’ve even served it at a casual brunch, and it was a huge hit alongside some scrambled eggs and fresh fruit. It’s just one of those wonderfully adaptable dishes that fits right in wherever you serve it.
How do I make a perfect Taco Casserole?
I’ve made this walking taco casserole more times than I can count, and along the way, I’ve picked up a few tricks that really make it shine. For the ground beef, make sure you drain off all the grease really well after browning it. A little bit of grease is fine, but too much can make the casserole feel heavy and greasy. When you’re mixing the cream cheese, sour cream, and milk, really ensure the cream cheese is softened to room temperature. It makes such a difference in getting a super smooth and creamy sauce without any lumps. If you forget to soften it, you can pop it in the microwave for about 20-30 seconds, but be careful not to melt it completely, just soften it! For the taco seasoning, I usually use a standard packet, but sometimes I like to add a pinch of smoked paprika or a dash of cayenne pepper to the mix for an extra layer of flavor. Don’t be afraid to experiment with different cheeses too! While cheddar is classic, a mix of cheddar and Monterey Jack, or even some Pepper Jack for a little kick, is fantastic. The key to the crunchy topping is to add the tortilla chips right before baking, or even during the last 5-10 minutes of baking. If you bake them for the entire time, they can sometimes get a bit too soft. I’ve learned that layering them on top towards the end ensures they stay perfectly crisp and add that essential crunch that makes this a walking taco casserole! If your chips seem too large, you can give them a gentle crush in a zip-top bag with a rolling pin or your hands – just aim for bite-sized pieces. Lastly, when it comes to serving, letting it rest for a few minutes after baking is a game-changer. It allows the layers to set up slightly, making it much easier to get a clean slice and preventing all the deliciousness from oozing out too quickly.
What are some Storing and Reheating Tips?
This walking taco casserole is wonderfully forgiving when it comes to leftovers, which is another reason I love it so much. If you have any (and that’s a big “if” in my house!), the best way to store it is to let it cool completely, then cover the baking dish tightly with plastic wrap or transfer the leftovers to an airtight container. It will keep well in the refrigerator for about 3 to 4 days. For reheating, I generally prefer to pop individual portions in the microwave, covered loosely with a paper towel, for about 1-2 minutes, or until heated through. You can also reheat a larger portion in a moderate oven (around 300-325°F) for about 15-20 minutes, or until warmed through. The only thing to be aware of is that the tortilla chips might lose a bit of their crispness after refrigeration and reheating. To combat this, you can always add a fresh sprinkle of crushed chips on top after you’ve reheated your portion. I don’t recommend freezing this casserole with the chips already on top, as they tend to get soggy. If you anticipate having significant leftovers that you might freeze, it’s best to store the baked casserole base without the chips, and then add fresh, crushed chips when you reheat it. When freezing, wrap the cooled casserole base very tightly in plastic wrap, then in aluminum foil, or place it in a freezer-safe container. It should stay good in the freezer for about 2-3 months. Thaw it overnight in the refrigerator before reheating.
Frequently Asked Questions
Final Thoughts
So there you have it – my ultimate, crowd-pleasing walking taco casserole! This dish is more than just a meal for my family; it’s a memory-maker. It’s the kind of recipe that brings smiles to faces, encourages seconds, and makes even the most hectic evenings feel a little more special. The combination of savory seasoned beef, creamy cheese sauce, and that delightful crunch from the tortilla chips is truly unbeatable. It’s proof that comfort food can be both incredibly easy and bursting with flavor. If you loved this walking taco casserole, I think you might also enjoy my Speedy Cheesy Chicken Enchilada Casserole or my Quick & Easy Ground Beef Stroganoff – they’re also weeknight lifesavers! I honestly can’t wait for you to try this one. Please, if you do make it, come back and let me know what you think in the comments below! I love hearing about your kitchen adventures and any little tweaks you make. Happy cooking, and enjoy every cheesy, crunchy, delicious bite!

Walking Taco Casserole
Ingredients
Main Ingredients
- 1 pound ground beef
- 1 packet taco seasoning
- 1 can diced tomatoes undrained
- 1 can corn drained
- 1 can black beans rinsed and drained
- 1 bag Fritos corn chips crushed
- 2 cups shredded cheddar cheese
Instructions
Preparation Steps
- Preheat oven to 375°F (190°C).
- In a large skillet, brown the ground beef over medium-high heat. Drain off any excess grease.1 pound ground beef
- Stir in the taco seasoning, diced tomatoes (with juice), corn, and black beans. Cook for 5-7 minutes, stirring occasionally, until heated through.1 pound ground beef
- Spread half of the crushed Fritos in the bottom of a 9x13 inch baking dish.1 pound ground beef
- Pour the meat mixture over the Fritos.
- Sprinkle the remaining crushed Fritos over the top.1 pound ground beef
- Bake for 15-20 minutes, or until heated through and bubbly.
- Remove from oven and sprinkle shredded cheddar cheese evenly over the top. Let stand for 5 minutes before serving.1 pound ground beef