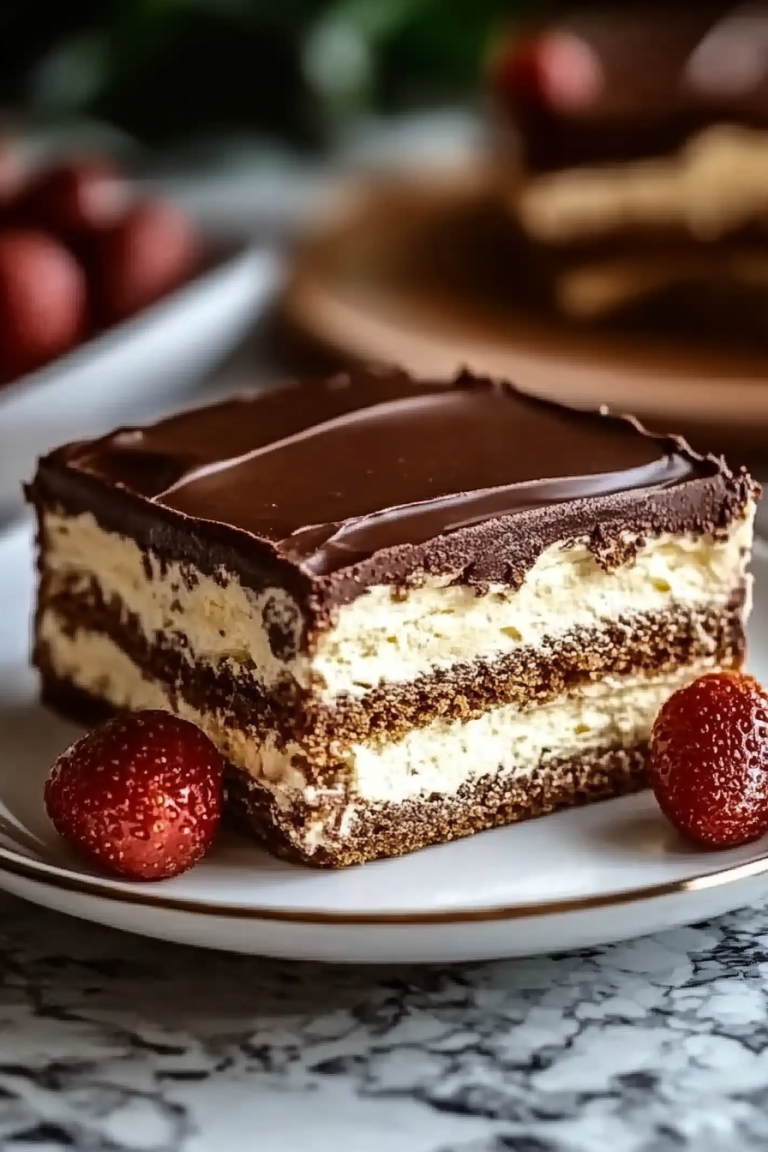
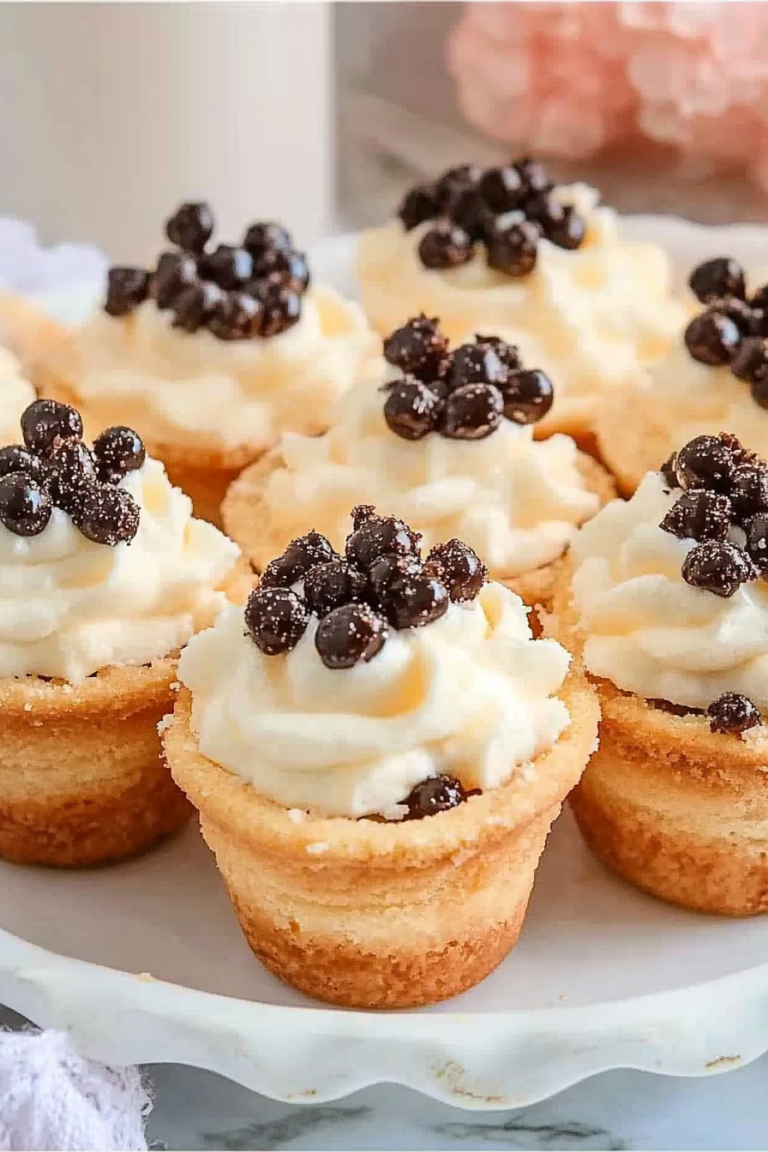
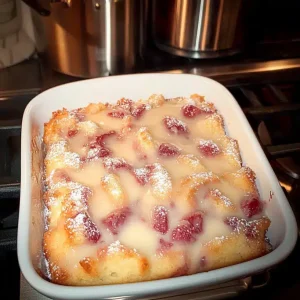
Oh, my goodness, where do I even begin with this strawberry cream cheese cobbler? It’s one of those recipes that just feels like a warm hug on a plate. I remember the first time I made it; it was during a sweltering summer when my garden was just overflowing with the sweetest strawberries, and I was looking for something that felt special but didn’t require me to stand over a hot stove for hours. This cobbler? It delivered and then some! It’s not quite a pie, not quite a cake, but it’s the perfect happy medium, and honestly, it’s my secret weapon when I need a dessert that wows everyone without stressing me out. If you love a good fruit crumble or a classic cobbler, but want to add a delightful, tangy twist, then you are going to absolutely fall in love with this strawberry cream cheese cobbler.
What is a Strawberry Cream Cheese Cobbler?
So, what exactly *is* this magical creation? Think of it as a delightful marriage between a classic fruit cobbler and a rich, tangy cheesecake. Instead of just fruit piled high and topped with biscuit dough or a crumb topping, this recipe incorporates a luscious, creamy layer of cream cheese right into the filling, alongside those beautiful, juicy strawberries. The topping is usually a simple, tender batter that bakes up around the fruit, creating these wonderfully moist pockets and golden edges. It’s essentially a fuss-free way to get those decadent cream cheese flavors into a warm, comforting fruit dessert. The name itself, strawberry cream cheese cobbler, perfectly captures what it is: sweet, slightly tart strawberries meeting a wonderfully creamy texture, all nestled under a soft, baked topping. It’s pure comfort food with a sophisticated edge, and I promise, it’s way easier than it sounds!
Why you’ll love this recipe?
Honestly, there are so many reasons why this strawberry cream cheese cobbler has become a staple in my kitchen. For starters, the flavor combination is just out of this world. You get that bright, fresh sweetness from the strawberries, which is perfectly balanced by the subtle tang and incredible creaminess of the cream cheese layer. It’s not overly sweet, which I really appreciate, and the textures are just divine – tender fruit, gooey cream cheese, and a soft, cake-like topping that gets delightfully golden brown. And the simplicity! This is a lifesaver on busy nights or when unexpected guests pop over. You can literally whip up the batter and filling in about 15 minutes, and the rest is baking magic. Plus, it’s wonderfully budget-friendly. Strawberries are often on sale, and the other ingredients are pantry staples. What I love most about this strawberry cream cheese cobbler is its versatility. It’s fantastic served warm with a scoop of vanilla ice cream, but it’s also surprisingly delicious at room temperature, making it perfect for picnics or potlucks. It’s so much more approachable than a traditional cheesecake, but it gives you that same satisfying richness. It’s one of those dishes that just brings smiles to faces, and that’s the best part, isn’t it?
How do you make a strawberry cream cheese Cobbler?
Quick Overview
This strawberry cream cheese cobbler is all about creating layers of flavor and texture with minimal fuss. You’ll start by mixing up a simple, quick batter that acts as the base and the topping. Then, you’ll create a dreamy, slightly tangy cream cheese and strawberry filling. It all gets layered together in a baking dish and baked until bubbly and golden. The beauty of this recipe is that the batter naturally bakes around the fruit, creating a wonderfully moist and tender dessert. It’s the perfect weeknight treat or impressive dessert that looks like you spent hours on it!
Ingredients
For the Main Batter:
You’ll need all-purpose flour, granulated sugar, baking powder, and a pinch of salt to get our lovely base and topping going. I always make sure my baking powder is fresh because a good rise is key here! For the liquid, we’ll use milk – whole milk makes it richer, but I’ve tested this with 2% and even almond milk, and it actually made it even creamier and lighter, which was a nice surprise. And of course, unsalted butter, melted and slightly cooled, is essential for that tender crumb. Don’t worry about sifting the flour; a quick whisk is all you need!
For the Filling:
This is where the magic happens! Fresh or frozen strawberries are perfect here. If you’re using frozen, don’t thaw them completely, just give them a quick rinse to remove excess ice. You’ll also need softened cream cheese – make sure it’s at room temperature so it blends beautifully without lumps. Granulated sugar sweetens the strawberries, and a little cornstarch helps thicken the juices as it bakes, preventing a watery mess. A splash of vanilla extract is a must for that warm, comforting flavor, and a squeeze of lemon juice brightens everything up and cuts through the sweetness beautifully. I sometimes add a tiny bit of lemon zest too, if I have it on hand.
For the Glaze:
This is optional, but highly recommended! A simple glaze made with powdered sugar and a little milk or lemon juice adds a lovely finishing touch. You want it pourable but not too thin. The consistency is key here – a nice, drizzly ribbon is perfect. If you want to get fancy, you can even add a touch of strawberry extract or a drop of red food coloring for a bolder pink hue, but I usually just keep it simple. It adds that final professional polish without any extra effort!
Step-by-Step Instructions
Step 1: Preheat & Prep Pan
First things first, get your oven preheating to 375°F (190°C). This is a pretty forgiving temperature, but I find it bakes everything through perfectly without drying out. While the oven is warming up, grab an 8×8 inch baking dish or a similar-sized oven-safe skillet. Lightly grease it with butter or cooking spray. I usually just give it a good coating so nothing sticks, especially around the edges. This step is quick but so important for easy cleanup later!
Step 2: Mix Dry Ingredients
In a medium bowl, whisk together your all-purpose flour, granulated sugar, baking powder, and salt. Just give it a good mix with a fork or a whisk until everything is well combined. You want to make sure the baking powder is evenly distributed so you get a nice, even rise. It’s as simple as that for the dry ingredients! No need for sifting unless your flour is really clumpy.
Step 3: Mix Wet Ingredients
In a separate bowl, whisk together your milk and melted, slightly cooled butter. I always let the butter cool a bit so it doesn’t cook the milk. Then, stir in a splash of vanilla extract. This mixture is going to bind all those dry ingredients together to create our batter. You’re looking for a smooth, pale yellow liquid.
Step 4: Combine
Now, pour the wet ingredients into the bowl with the dry ingredients. Stir just until the flour streaks disappear. Seriously, *do not* overmix! Overmixing can lead to a tough cobbler, and we want tender goodness here. A few small lumps are totally fine; in fact, they’re your friends! The batter will be thick but pourable. This is the base that will become our delicious topping.
Step 5: Prepare Filling
In another bowl, gently toss your strawberries (fresh or frozen) with granulated sugar, cornstarch, vanilla extract, and lemon juice. If you’re using fresh berries, you might want to slice any really large ones in half. The cornstarch is crucial for thickening up those lovely strawberry juices as they bake, preventing a soggy bottom. You want everything to be coated and looking luscious.
Step 6: Layer & Swirl
Pour about half of the batter into your prepared baking dish and spread it out evenly. Then, carefully spoon the strawberry filling over the batter. Don’t worry about getting it perfectly even; some rustic charm is nice! Finally, dollop the remaining batter over the strawberry mixture. It doesn’t have to cover everything completely; some strawberries peeking through are beautiful! For an extra touch, you can gently swirl the batter into the strawberries with a knife or skewer, but it’s completely optional. I often just let it bake as is!
Step 7: Bake
Pop the dish into your preheated oven. Bake for about 35-45 minutes, or until the topping is golden brown and the strawberry filling is bubbly around the edges. You can test for doneness by inserting a toothpick into the cobbler; it should come out clean. If the top is browning too quickly, you can loosely tent it with foil. The aroma filling your kitchen at this stage is simply divine!
Step 8: Cool & Glaze
Once it’s baked to perfection, carefully remove the cobbler from the oven. Let it cool on a wire rack for at least 15-20 minutes before serving. This is important because it allows the filling to set up properly. While it’s cooling, you can whip up the optional glaze by whisking powdered sugar with a tablespoon or two of milk or lemon juice until you get a smooth, drizzly consistency. Drizzle this over the warm cobbler just before serving.
Step 9: Slice & Serve
Once it’s cooled slightly and perhaps drizzled with glaze, slice it into generous portions. The best way to serve this is warm. It’s absolutely divine with a scoop of vanilla bean ice cream melting into the warm fruit and creamy filling, or a dollop of freshly whipped cream. A sprig of mint can also add a lovely visual pop if you’re feeling fancy. Enjoy every single spoonful!
What to Serve It With
This strawberry cream cheese cobbler is so versatile, it fits into almost any meal or occasion. For breakfast, imagine a slice served warm with a strong cup of coffee. It’s hearty enough to start your day right, and the sweetness is perfectly mellowed by the coffee. For a leisurely brunch, I love to serve it in individual ramekins, perhaps with a few fresh berries on the side and a mimosa. It feels elegant and special without being fussy. As a dessert, it’s a true showstopper. Serving it warm with vanilla ice cream is classic for a reason, but a drizzle of chocolate sauce or a sprinkle of toasted almonds can also be lovely accompaniments. For those cozy snack cravings that hit late at night, a small slice is just heavenly. My family loves it with a glass of cold milk. It’s just pure comfort. I’ve also found it’s fantastic paired with a lightly sweetened whipped cream or even a tangy Greek yogurt for a healthier-ish option that still feels like a treat. Honestly, it’s so good, it doesn’t need much else!
Top Tips for Perfecting Your Strawberry Cream Cheese Cobbler
Over the years, I’ve learned a few tricks that make this strawberry cream cheese cobbler absolutely sing. For the strawberries, if you’re using fresh, make sure they’re ripe and sweet. If they’re a bit tart, don’t be afraid to add an extra teaspoon of sugar to the filling. When you’re mixing the batter, I cannot stress enough: *do not overmix*. Seriously, just stir until the dry ingredients are incorporated. A few lumps are fine! Overmixing develops the gluten, leading to a tough cobbler, and we want tender, fluffy goodness. For the cream cheese layer, make sure it’s truly softened. If it’s still cold, you’ll end up with little cream cheese bits, and that’s not ideal. I usually leave my cream cheese on the counter for at least an hour, or I’ll pop it in the microwave for about 15-20 seconds on low power, just to soften it. When it comes to baking, ovens can be finicky. If you notice the top browning too quickly before the inside is cooked through, just loosely tent it with aluminum foil. This traps steam and helps cook the topping more evenly. For the glaze, consistency is key. If it’s too thick, add milk a teaspoon at a time. If it’s too thin, add powdered sugar a tablespoon at a time until you reach that perfect drizzly stage. I’ve also experimented with different flavors for the glaze – a little bit of almond extract or even a tiny bit of orange zest can add a wonderful complexity. If you want a really pronounced swirl, use a skewer and gently drag it through the batter and fruit layers a couple of times. Just don’t overdo it, or you’ll muddy the colors. Trust me, these little tweaks make a big difference!
Storing and Reheating Tips
This strawberry cream cheese cobbler is honestly best enjoyed the day it’s made, but it stores surprisingly well, which is why it’s a lifesaver for leftovers. If you have any (which is rare in my house!), you can keep it at room temperature, loosely covered with plastic wrap or foil, for up to two days. Just make sure your kitchen isn’t too warm. For longer storage, pop it into the refrigerator. Place it in an airtight container or cover the baking dish tightly with plastic wrap and then foil. It will keep well in the fridge for about 4-5 days. The texture might change slightly, becoming a bit denser, but it’s still delicious. If you plan to freeze it, I recommend freezing it *before* adding the glaze. Let the cobbler cool completely, then wrap the dish tightly in a double layer of plastic wrap, followed by a layer of aluminum foil. It freezes beautifully for up to 2-3 months. To reheat, you can either warm individual slices in the microwave for about 30-60 seconds, or reheat the whole dish in a low oven (around 300°F/150°C) for about 15-20 minutes, or until warmed through. If you’re reheating from frozen, allow it to thaw in the refrigerator overnight first, then reheat as usual. If you’re serving it chilled, the glaze is lovely, but if you’re reheating, I’d add the glaze *after* warming it to keep it fresh and bright.
Frequently Asked Questions
Final Thoughts
Seriously, if you’re looking for a dessert that’s both comforting and a little bit special, you absolutely have to give this strawberry cream cheese cobbler a try. It’s that perfect blend of sweet, tangy, creamy, and cakey goodness that just hits all the right notes. It’s one of those recipes I know I can always count on to bring joy to my table, whether it’s a weeknight craving or a special occasion. The simplicity makes it incredibly approachable, and the flavor is simply divine. If you love this, you might also enjoy my classic apple crumble or my blueberry lemon scones – they’re all in the same cozy, delicious vein! I truly hope you try this strawberry cream cheese cobbler and that it becomes a favorite in your home too. Please, if you make it, let me know how yours turns out in the comments below! I love hearing about your baking adventures and any fun twists you might add. Happy baking, everyone!
strawberry cream cheese cobbler
Ingredients
Strawberry Base
- 1 pound fresh strawberries hulled and sliced
- 0.25 cup granulated sugar for strawberries
- 1 tablespoon cornstarch
- 1 teaspoon vanilla extract
Cream Cheese Topping
- 8 ounces cream cheese softened
- 0.5 cup granulated sugar
- 1 large egg
- 0.25 cup milk
- 0.5 teaspoon vanilla extract
- 0.25 cup all-purpose flour
- 0.25 teaspoon baking powder
- 0.125 teaspoon salt
- 0.25 cup unsalted butter melted
Instructions
Preparation Steps
- Preheat your oven to 350°F (175°C). Lightly grease a 9x13 inch baking dish.
- In a large bowl, combine the sliced strawberries, 0.25 cup granulated sugar, cornstarch, and 1 teaspoon vanilla extract. Gently toss until the strawberries are evenly coated. Pour this strawberry mixture into the prepared baking dish, spreading it into an even layer.
- In a separate medium bowl, beat the softened cream cheese with 0.5 cup granulated sugar using an electric mixer until the mixture is smooth and creamy. Beat in the egg, 0.25 cup milk, and 0.5 teaspoon vanilla extract until all ingredients are well combined.
- In a small bowl, whisk together the all-purpose flour, baking powder, and salt. Gradually add these dry ingredients to the cream cheese mixture, mixing on low speed until just combined. Be careful not to overmix.
- Evenly drizzle the 0.25 cup of melted butter over the strawberry layer in the baking dish. Then, spoon dollops of the cream cheese topping over the butter and strawberries. Do not stir or spread the topping too much; it will spread naturally while baking.
- Bake for 45 to 55 minutes, or until the cream cheese topping is golden brown and set, and the strawberry filling is bubbly around the edges.
- Remove the cobbler from the oven and let it cool for at least 15-20 minutes before serving. This allows the filling to set slightly. Serve warm or at room temperature.