There are some recipes that just stick with you, you know? The ones that feel like a warm hug on a chilly evening, or the star of every potluck you bring them to. For me, those recipes usually involve chocolate, a little bit of nostalgia, and a whole lot of deliciousness. And that’s exactly where these incredible smores bars come in. If you’ve ever felt that intense craving for a perfectly toasted marshmallow, gooey chocolate, and that satisfying graham cracker crunch, but you just don’t have the campfire (or the time for intricate s’mores assembly!), then you are going to *adore* these. Think of them as the ultimate shortcut to s’mores bliss, all baked into one easy-to-handle bar. They’re like a deconstructed s’more, but somehow even better because they’re mess-free and oh-so-satisfying. Honestly, I’ve tried a lot of dessert bars in my day, but these smores bars? They’re in a league of their own. They’re simple enough for a weeknight treat but fancy enough to impress your guests. This recipe has become an absolute staple in my kitchen, and I can’t wait to share it with you.
What is this S’mores bar magic?
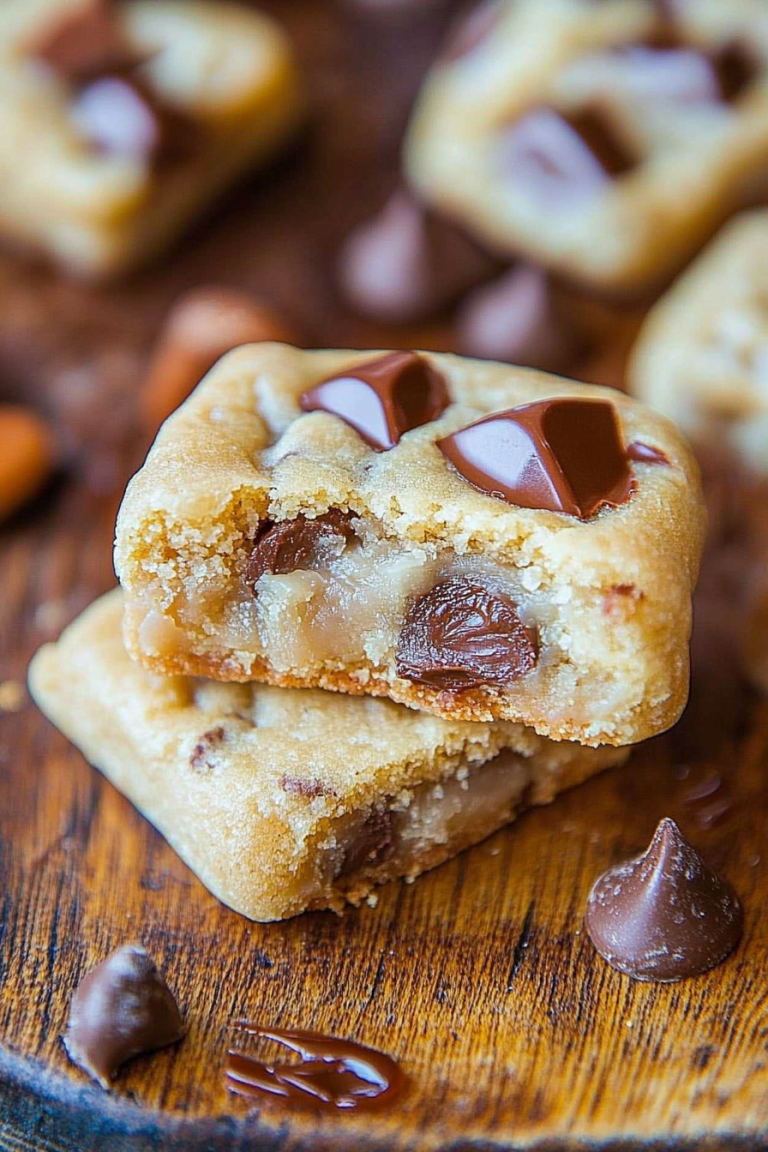
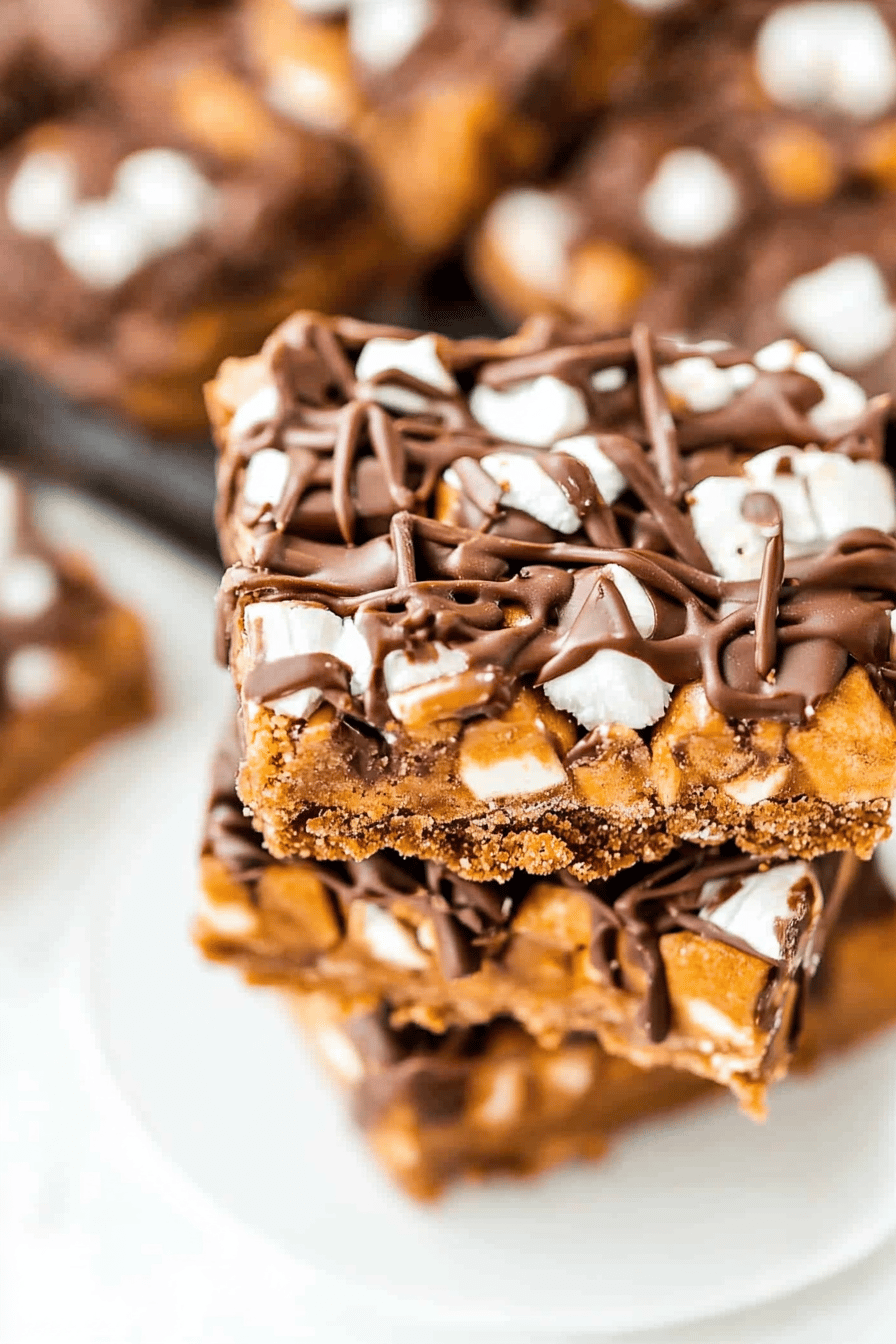
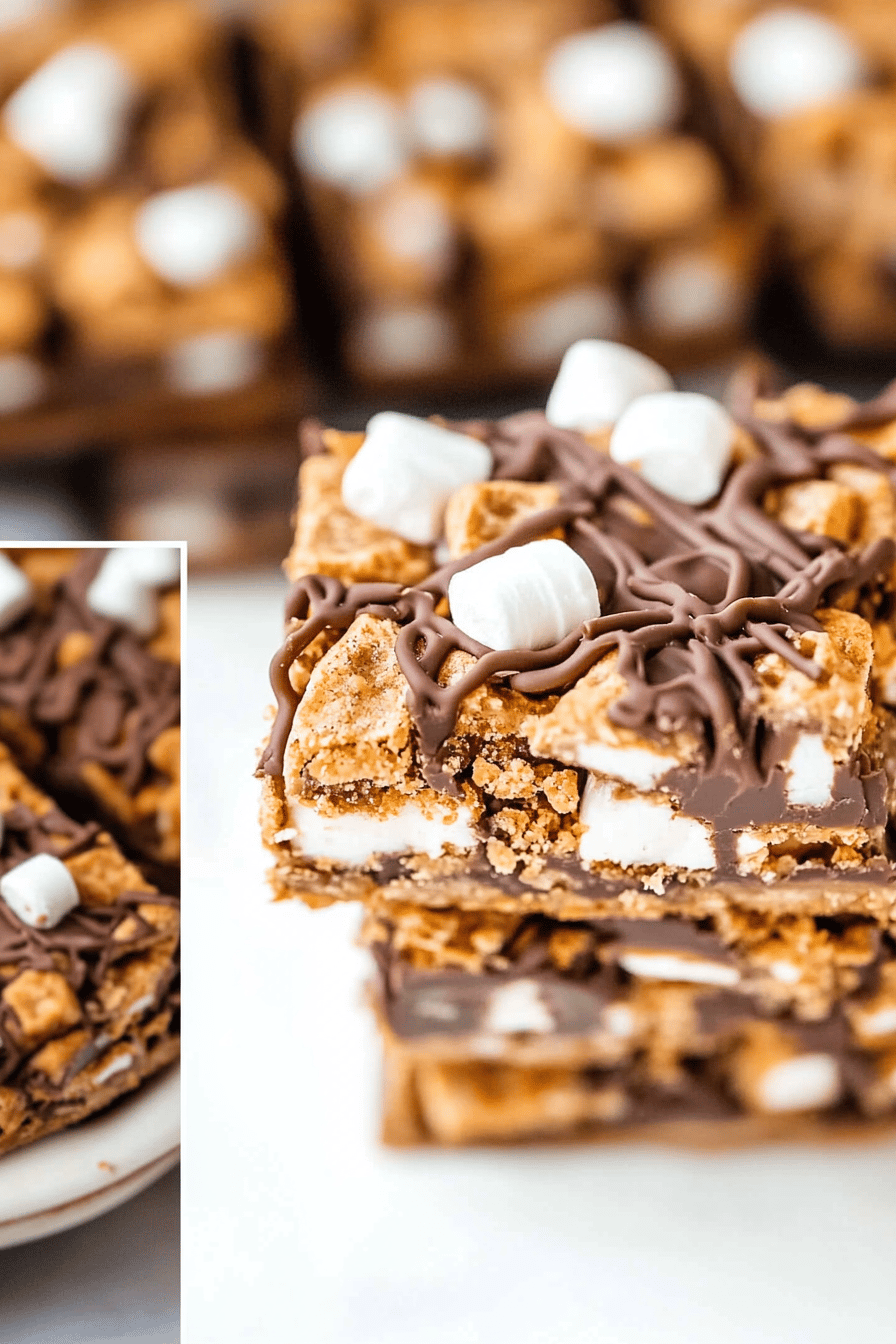
So, what exactly are these “smores bars” I’m raving about? Well, picture your favorite campfire s’more, but imagine all those glorious layers transformed into a perfectly portable, bakeable treat. It’s essentially a rich, fudgy chocolate base, studded with melty pockets of marshmallow, all nestled on a crumbly, buttery graham cracker crust. We then take it up a notch with a drizzle of chocolate ganache or a dusting of cocoa powder on top, depending on how I’m feeling that day. The beauty of these bars is that they capture all the essential flavors and textures of a classic s’more – that sweet, slightly smoky marshmallow, the decadent chocolate, and the hint of honey from the graham cracker – without any of the fuss. There’s no skewers, no fire wardens needed, just pure, unadulterated s’mores joy in every bite. They’re the kind of dessert that makes you close your eyes and savor the moment.
Why you’ll love this recipe?
Let me count the ways! Seriously though, this recipe for smores bars has it all, and I’m not just saying that. First off, the FLAVOR. Oh. My. Goodness. It’s that perfect trifecta of graham cracker, chocolate, and marshmallow that instantly transports you back to childhood campfires, but with a sophisticated depth that adults love too. The chocolate base is incredibly rich and almost brownie-like, the marshmallows get all gooey and slightly caramelized on top, and the graham cracker crust provides that essential, slightly sweet, crunchy foundation. It’s a symphony of textures and tastes!
Then there’s the SIMPLICITY. This is not one of those complicated desserts that requires a pastry degree. I’ve actually made these when I’ve had about an hour to spare before guests arrived, and they still turned out perfectly. The steps are straightforward, and most of the magic happens in the oven. It’s genuinely one of my go-to recipes when I need a crowd-pleaser that doesn’t stress me out. Plus, it’s surprisingly COST-EFFECTIVE. The ingredients are all pantry staples for me, making it an affordable way to whip up something special. You don’t need fancy or expensive items to make these bars sing.
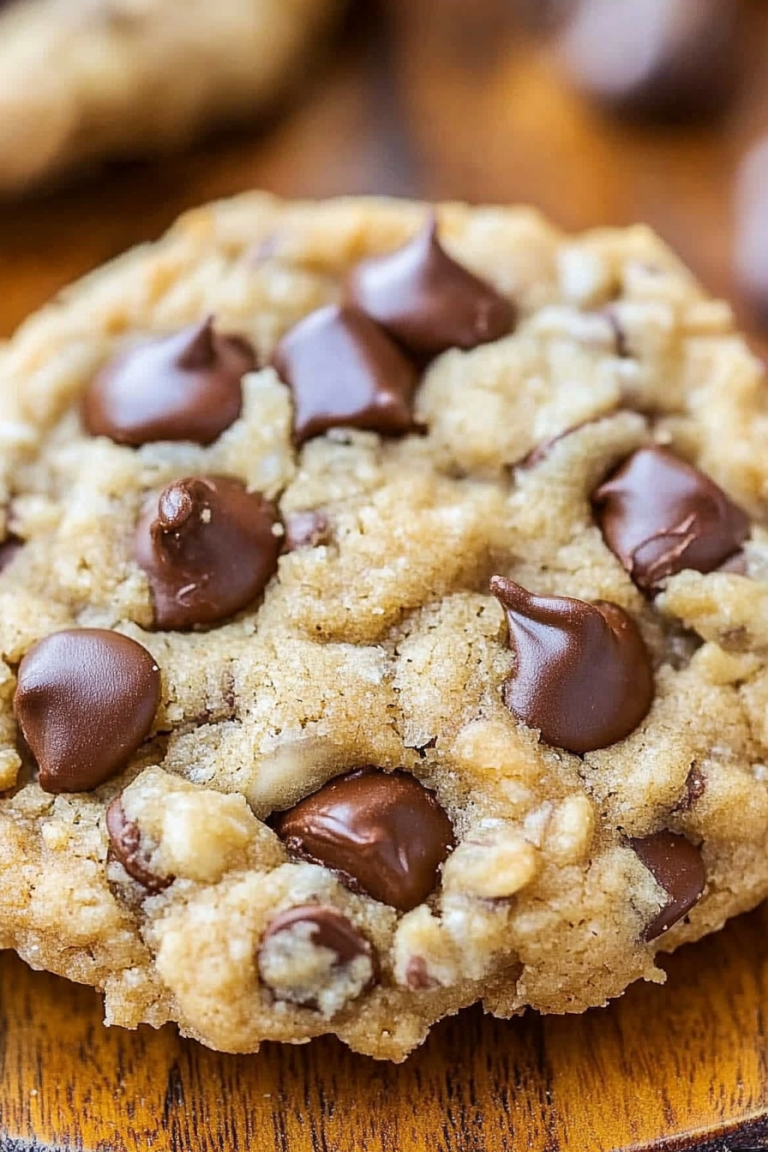
And the VERSATILITY! While they’re amazing on their own, I’ve also found them to be perfect for so many occasions. They’re fantastic for birthdays, holidays, or just as a “you did a great job today!” treat for the kids (and myself!). They pair wonderfully with a cold glass of milk, a hot cup of coffee, or even a scoop of vanilla ice cream. If you’re a fan of my Chocolate Chip Cookies: What are some of the best chocolate chip cookies? or my fudgy brownies, you’re going to absolutely adore these smores bars. They offer that same comforting, intensely satisfying chocolate experience but with a fun, unique twist. What I love most about this recipe, beyond all those delicious components, is that it consistently delivers. I’ve made these dozens of times, and they always get rave reviews. They’re just pure happiness baked into a pan.
How do I make S’mores bars?
Quick Overview
The process for these amazing smores bars is wonderfully straightforward. We’ll start by creating a buttery graham cracker crust that gets lightly baked to set. Then, we’ll whip up a quick, rich chocolate batter that gets poured right over the crust. The magic really happens when we dot the top with marshmallows and bake until everything is golden and bubbly. It’s a no-fuss approach that guarantees maximum flavor and that signature smores experience in every single bite. You’ll be amazed at how simple it is to achieve such a decadent result!
Ingredients
For the Graham Cracker Crust:
2 cups graham cracker crumbs (about 14-16 full sheets, crushed finely)
1/2 cup unsalted butter, melted
1/4 cup granulated sugar
Pinch of salt
Here’s a tip: I like to pulse my graham crackers in a food processor until they’re fine crumbs, but you can also put them in a zip-top bag and crush them with a rolling pin. Make sure your butter is fully melted – it helps bind everything together beautifully.
For the Rich Chocolate Batter:
1 cup (2 sticks) unsalted butter, softened
1 1/2 cups granulated sugar
2 large eggs, room temperature
1 teaspoon vanilla extract
1 cup all-purpose flour
1/2 cup unsweetened cocoa powder (Dutch-processed gives a deeper flavor, but natural works too!)
1 teaspoon baking powder
1/4 teaspoon salt
1/2 cup semi-sweet chocolate chips
For the batter, using softened butter is key for a smooth texture. And make sure your eggs are at room temperature – they incorporate much better into the batter.
For the Marshmallow Topping:
2 cups mini marshmallows (or about 12-15 regular marshmallows, roughly chopped)
Mini marshmallows are fantastic because they spread so evenly, but if you only have the big ones, just snip them into smaller pieces with kitchen scissors. It’s a little messy, but worth it!
Optional Chocolate Glaze:
1/2 cup semi-sweet chocolate chips
2 tablespoons heavy cream or milk
This glaze is totally optional but adds an extra layer of fudgy goodness. You can also just dust with cocoa powder after cooling.
Step-by-Step Instructions
Step 1: Preheat & Prep Pan
First things first, preheat your oven to 350°F (175°C). I always recommend lining a 9×13 inch baking pan with parchment paper, leaving an overhang on the sides. This makes lifting the bars out so much easier later on – no stuck bits, I promise! Make sure the parchment paper extends up the sides a bit. This step is a real lifesaver.
Step 2: Mix Dry Ingredients (for Crust)
In a medium bowl, whisk together the graham cracker crumbs, sugar, and salt. Once they’re well combined, pour in the melted butter. Stir everything together with a fork until the crumbs are evenly moistened. It should look like wet sand. This is the base that will hold all that wonderful chocolatey goodness.
Step 3: Press Crust into Pan
Pour the graham cracker mixture into your prepared baking pan. Use the bottom of a glass or a measuring cup to firmly press the crumbs into an even layer across the bottom of the pan. You want it compact so it doesn’t crumble apart when you cut the bars. Once pressed, pop this into the preheated oven and bake for 8-10 minutes, just until lightly golden. This pre-baking helps set the crust.
Step 4: Mix Dry Ingredients (for Batter)
While the crust is baking, grab another bowl. Whisk together the flour, cocoa powder, baking powder, and salt. Make sure there are no lumps of cocoa powder. Set this aside. This is where the deep chocolate flavor really starts to build.
Step 5: Cream Butter and Sugar
In a large bowl, cream together the softened butter and granulated sugar using an electric mixer (or a whisk and some elbow grease!) until light and fluffy. This usually takes about 2-3 minutes. It should be pale and airy.
Step 6: Add Eggs and Vanilla
Beat in the eggs one at a time, mixing well after each addition. Then, stir in the vanilla extract. Your mixture might look a little curdled at this point, but don’t worry, that’s totally normal!
Step 7: Combine Wet and Dry
Gradually add the dry ingredients to the wet ingredients, mixing on low speed or by hand just until *barely* combined. Be careful not to overmix here! Overmixing can lead to tough bars, and we want these to be tender and fudgy. Stir in the chocolate chips until they’re just distributed throughout the batter.
Step 8: Pour Batter Over Crust
Once the graham cracker crust has finished its initial bake, carefully remove it from the oven. Spoon the chocolate batter evenly over the warm crust. Gently spread it out with an offset spatula or the back of a spoon to cover the entire surface. Try to get it as even as possible for consistent baking.
Step 9: Top with Marshmallows
Now for the fun part! Sprinkle the mini marshmallows evenly over the chocolate batter. Get them all the way to the edges. They’ll melt and spread beautifully in the oven, creating that classic gooey, toasted topping.
Step 10: Bake
Return the pan to the oven and bake for another 25-30 minutes, or until the edges are set and the marshmallows are puffy and lightly golden brown. Keep an eye on them, as ovens can vary. You don’t want the marshmallows to burn!
Step 11: Cool Completely
This is the HARDEST step, but absolutely crucial! Let the smores bars cool *completely* in the pan on a wire rack. I know, I know, it’s tempting to dive in, but they need time to set up properly. If you cut them too soon, they’ll be a gooey mess. Patience is a virtue, my friends!
Step 12: Make Optional Glaze (If Using)
While the bars are cooling, if you’re making the glaze, combine the chocolate chips and cream (or milk) in a microwave-safe bowl. Microwave in 30-second intervals, stirring between each, until the chocolate is melted and smooth. Alternatively, you can melt them gently in a double boiler.
Step 13: Drizzle and Cut
Once the bars are completely cool, drizzle the melted chocolate glaze over the top in a decorative pattern, or simply dust with a little extra cocoa powder. Let the glaze set for about 15-20 minutes. Then, use the parchment paper overhang to lift the entire slab out of the pan onto a cutting board. Use a sharp knife to cut them into bars. Wiping your knife with a damp cloth between cuts helps get cleaner edges.
Step 14: Serve and Enjoy!
And there you have it! The most incredible smores bars, ready to be devoured. They’re best served at room temperature, but a quick 10-second zap in the microwave can re-warm them and make that marshmallow extra gooey again.
What to Serve It With
These smores bars are so versatile, they can be dressed up or down depending on the occasion. They’re so good, they really stand on their own, but here are some of my favorite ways to enjoy them:
For Breakfast: Okay, hear me out! While maybe not an everyday breakfast, on a special weekend morning, a small piece of these smores bars alongside a strong cup of coffee is pure indulgence. The chocolate and graham cracker are surprisingly good with coffee! I love serving them with a fresh fruit salad to balance out the sweetness.
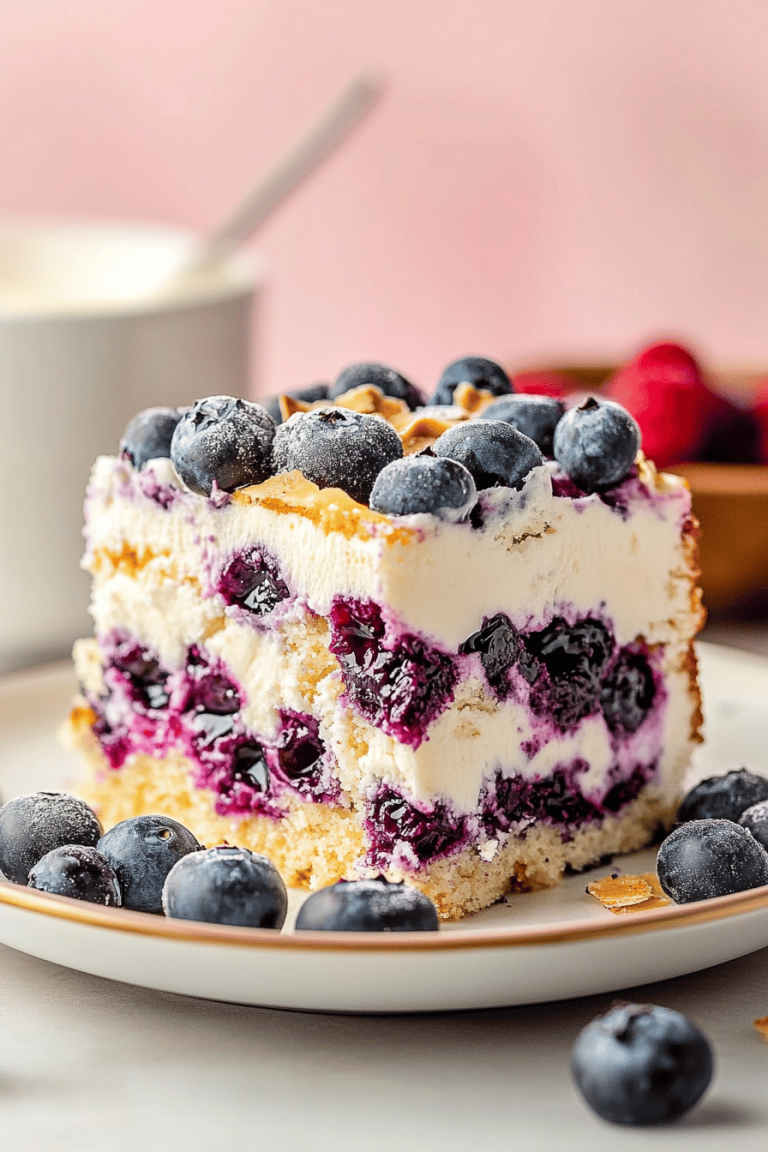
For Brunch: These bars are a fantastic addition to any brunch spread. They’re always a hit with kids and adults alike. I like to cut them into slightly smaller squares for a brunch buffet so people can try a little bit of everything. They pair beautifully with mimosas or a creamy iced latte. Presentation-wise, arrange them on a nice platter, perhaps with a few fresh berries scattered around for color.
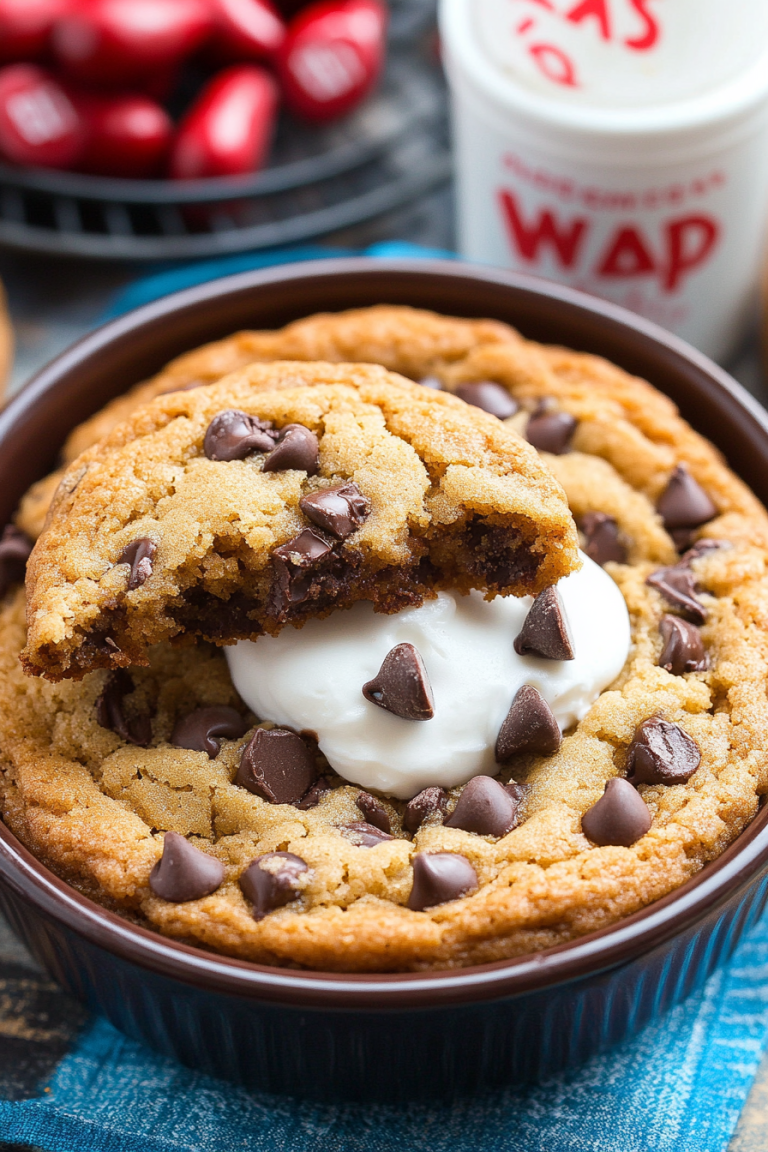
As Dessert: This is where they truly shine, of course! They are perfect after dinner, especially when you’re craving something sweet but don’t want to go through the trouble of making a whole cake. They’re a great accompaniment to a scoop of vanilla bean ice cream – the hot and cold is divine! For a more elegant dessert presentation, serve one bar with a dollop of whipped cream and a sprinkle of sea salt.
For Cozy Snacks: This is my personal favorite. After the kids are in bed, I’ll grab a warm mug of tea or hot chocolate and one (or two!) of these smores bars. They are the ultimate comfort food. They’re perfect for movie nights too – just arrange them on a plate and let everyone help themselves. My family devours these within minutes whenever I make them for a casual snack.
My family traditions often involve these bars during backyard BBQs. Even though we have a fire pit, sometimes it’s just easier to have these ready to go. They’re always the first dessert to disappear!
Top Tips for Perfecting Your S’mores Bars
I’ve made these smores bars more times than I can count, and through all those batches, I’ve picked up a few tricks that really make a difference. Here are my top tips to ensure yours turn out absolutely perfect:
Graham Cracker Crust Consistency: The key to a good crust is making sure all the crumbs are evenly moistened with the melted butter. It should feel like wet sand. If it’s too dry, it will be crumbly. If it’s too wet, it can be greasy. A firm, even press into the pan is also essential so it holds its shape when cut. Pre-baking the crust for those 8-10 minutes really sets it up nicely and prevents it from getting soggy under the batter.
Don’t Overmix the Batter: This is a big one for tender baked goods! Once you add the flour to the wet ingredients, mix *just* until everything is combined. A few streaks of flour are okay, as they’ll disappear during baking. Overmixing develops the gluten in the flour, which can make your bars tough and dense instead of fudgy and soft. I usually switch to a spatula for the last few stirs to be sure.
Marshmallow Distribution: Make sure to spread the marshmallows evenly over the chocolate batter. If you have big gaps, you’ll get unevenly toasted or burnt spots. I like to start by dotting the center and then working my way out to the edges. Mini marshmallows are fantastic because they spread so easily and create a beautiful, melted blanket. If using regular marshmallows, make sure they’re cut into smaller, manageable pieces.
Baking Time is Crucial: Keep a close eye on your bars during the last 10-15 minutes of baking. Ovens vary, and you want that perfect golden-brown marshmallow without burning. The edges of the chocolate batter should look set, not liquidy. A toothpick inserted into the chocolate part (not marshmallow!) should come out with moist crumbs attached, not wet batter. Overbaking will result in dry bars.
Cooling is Non-Negotiable: I know it’s hard to resist, but letting the bars cool *completely* in the pan is probably the most important step for clean slicing. The bars firm up as they cool. If you try to cut them warm, they will fall apart, and the marshmallow will ooze everywhere (which isn’t the worst thing, but not ideal for neat bars). I usually let them cool for at least 2-3 hours. If I’m in a hurry, I’ll pop the whole pan in the fridge once it’s no longer warm to the touch.
Ingredient Swaps: For a variation, you can swap out the semi-sweet chocolate chips for milk chocolate chips for a sweeter taste, or dark chocolate chips for a more intense chocolate flavor. If you can’t find graham crackers, digestive biscuits or even a simple shortbread cookie can work as a base, though the flavor will be slightly different. For an extra layer of flavor, you can add a teaspoon of espresso powder to the chocolate batter – it really enhances the chocolate!
Glaze Consistency: When making the chocolate glaze, use good quality chocolate for the best flavor. If the glaze seems too thick, add a tiny bit more cream or milk (about a teaspoon at a time) until it reaches your desired drizzling consistency. If it’s too thin, let it sit for a few minutes to thicken slightly.
Storing and Reheating Tips
Storing these delightful smores bars is pretty straightforward, and they stay wonderfully fresh and delicious for several days. The key is to keep them protected from air to maintain their texture.
Room Temperature Storage: Once they are completely cooled and any glaze has set, you can store the smores bars at room temperature. I like to keep them in an airtight container or cover the baking pan tightly with plastic wrap. They’ll stay delicious for up to 3-4 days. If your kitchen is particularly warm, you might want to consider the refrigerator.
Refrigerator Storage: For longer storage, or if you prefer them chilled, store the cooled bars in an airtight container in the refrigerator. They’ll keep well for up to a week. When you’re ready to eat them, you can enjoy them straight from the fridge (they’ll be a bit firmer) or let them sit at room temperature for about 15-20 minutes to soften up.
Freezer Instructions: These bars freeze beautifully! Once they are completely cool and cut, you can freeze them individually or in small batches. Wrap each bar tightly in plastic wrap, then place them in a freezer-safe bag or container. They can be frozen for up to 2-3 months. Thaw them overnight in the refrigerator, or at room temperature for a few hours.
Glaze Timing Advice: If you plan on freezing your bars, I actually recommend skipping the glaze before freezing. Instead, freeze the bars plain (with the marshmallows on top) and then add the glaze once they are thawed and you’re ready to serve them. This keeps the glaze looking its freshest. If storing at room temperature or in the fridge without freezing, adding the glaze before storing is perfectly fine.
Frequently Asked Questions
Final Thoughts
So there you have it – my absolute favorite smores bars recipe! I truly believe that this recipe is a winner because it captures that nostalgic campfire magic in a way that’s incredibly accessible and, dare I say, even more delicious than the original. The combination of that buttery graham cracker crust, the rich, fudgy chocolate center, and those perfectly melted, gooey marshmallows is just pure, unadulterated joy. They’re proof that you don’t need a bonfire to create a truly special treat.
I really hope you give these smores bars a try. They’ve brought so much happiness to my kitchen, and I can’t wait to hear all about your baking adventures with them! If you love this recipe, you might also enjoy my classic fudgy brownies for another chocolatey indulgence, or my simple yet sensational chocolate chip cookies. They all share that same comforting, delicious spirit.
I’d absolutely love to hear how your smores bars turn out! Did you add any special twists? What did your family think? Please share your thoughts, pictures, or any variations in the comments below. Happy baking!
S'mores Bars
Ingredients
Main Ingredients
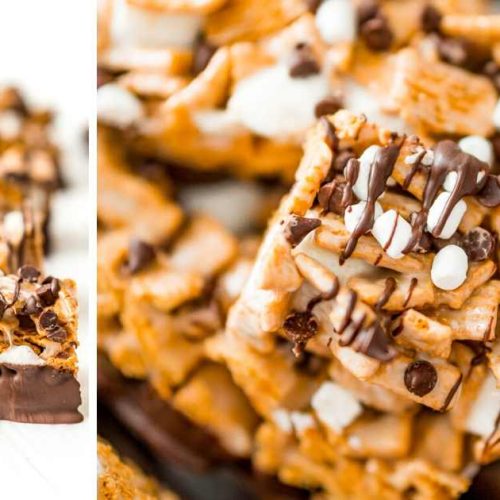
- 6 cups Golden Grahams cereal
- 0.5 cup butter melted
- 10 oz mini marshmallows divided
- 1.5 cups semi-sweet chocolate chips
Instructions
Preparation Steps
- Line a 9x13 inch baking dish with parchment paper, leaving an overhang on the sides.
- In a large bowl, combine the Golden Grahams cereal and melted butter. Stir until the cereal is evenly coated.
- Add 1 cup of mini marshmallows to the cereal mixture and stir to combine.
- Press the cereal mixture evenly into the prepared baking dish.
- Sprinkle the chocolate chips evenly over the cereal layer.
- Scatter the remaining 0.5 cup of mini marshmallows over the chocolate chips.
- Place the dish under a broiler for 1-2 minutes, or until the marshmallows are lightly toasted. Watch carefully to prevent burning.
- Let the bars cool completely at room temperature, or in the refrigerator, before cutting into squares.