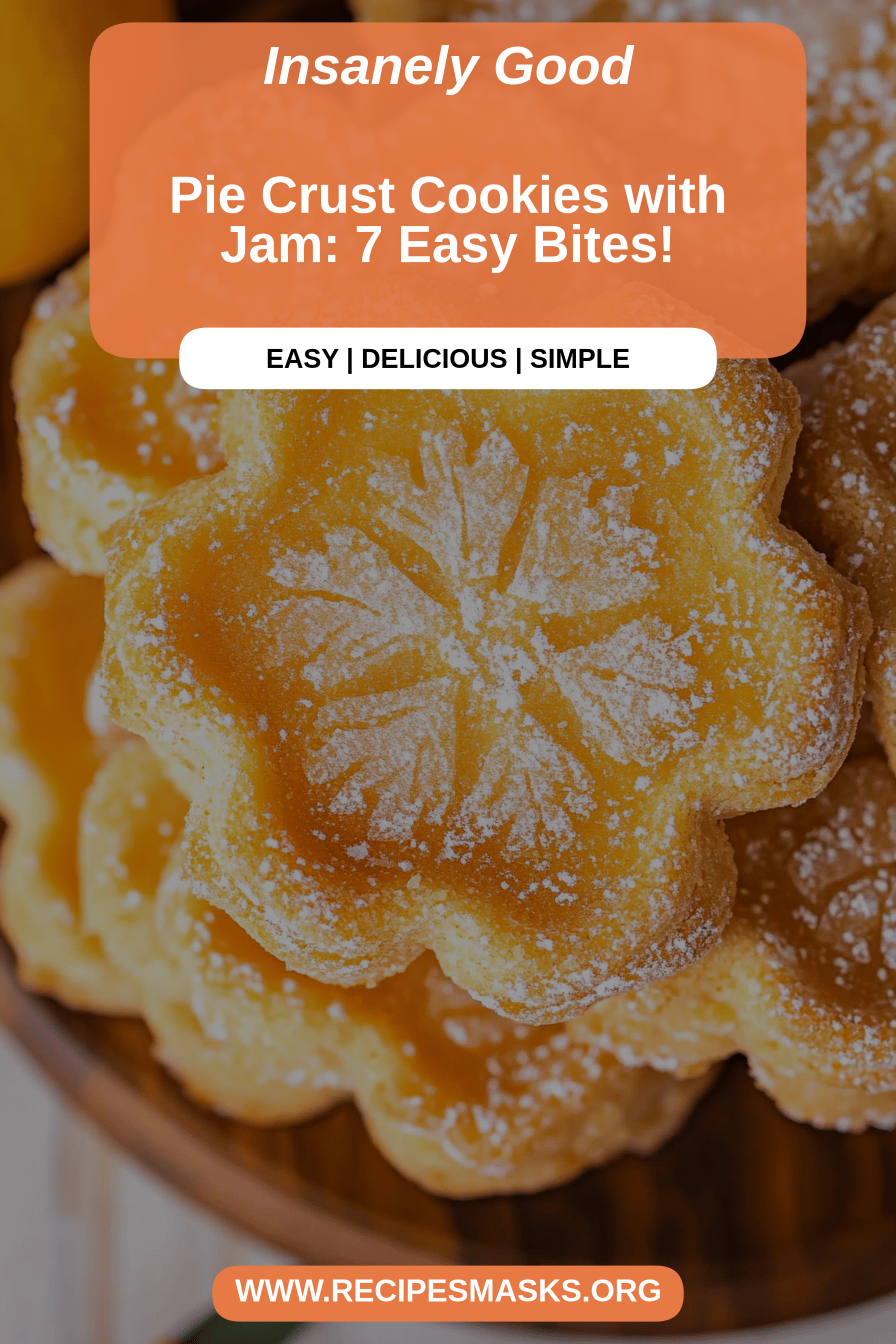
Oh, you guys, I’m so excited to share this with you today! This recipe for pie crust cookies is one of those things that just brings me pure joy every time I make it. It smells like my childhood kitchen, a little bit sweet, a little bit buttery, and just… happy. If you’ve ever made Sugar Cookies from scratch and thought, “Wow, this is a lot of work for something I’ll devour in two bites,” then you absolutely *need* to try these. They’re basically the easiest shortcut to that incredible homemade cookie vibe without all the fuss. Think of them as the lazy baker’s best friend, or the “I need something sweet RIGHT NOW” solution that still feels special enough for company. Honestly, they’re so good, my youngest niece started calling them “magic cookies” because they disappear so fast!
What are pie crust cookies?
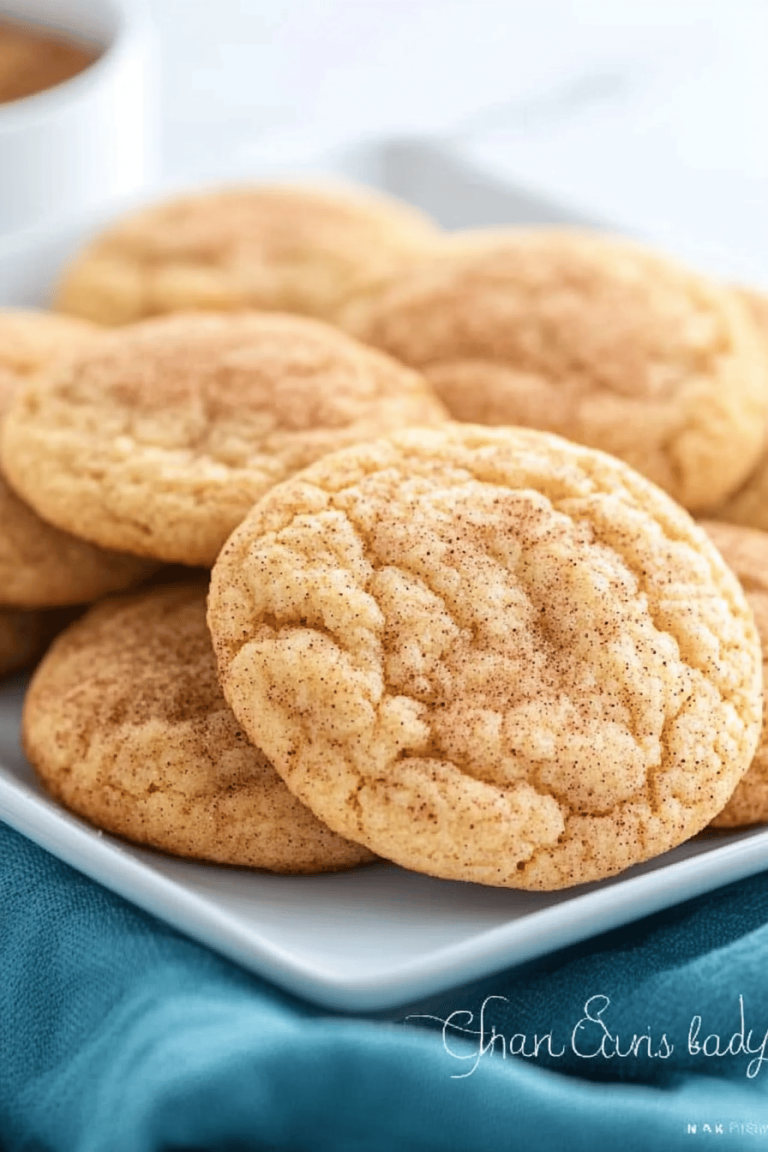
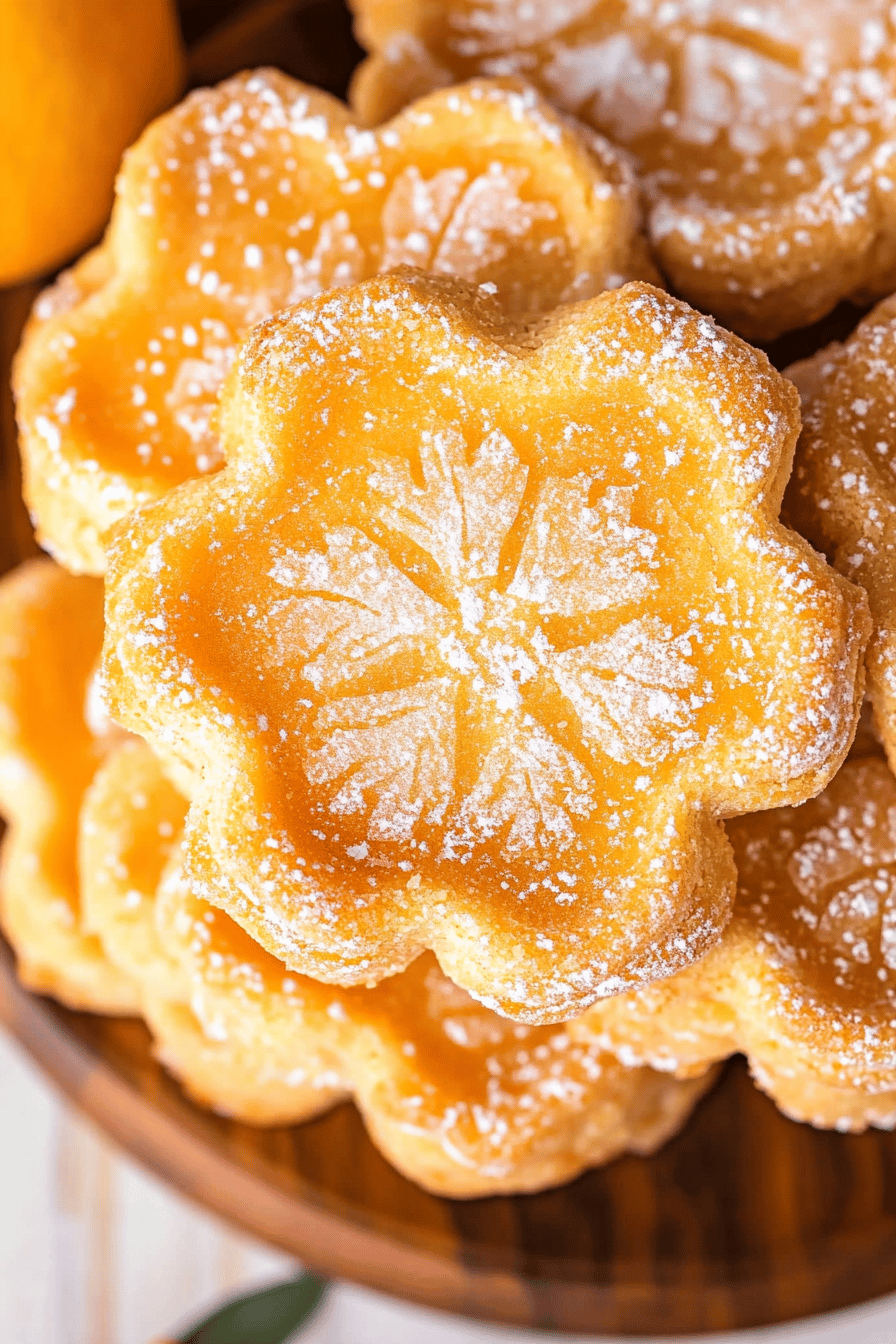
So, what exactly *are* pie crust cookies? The name is pretty straightforward, but the magic is in the simplicity. Essentially, they are a sweet, tender cookie made using a base that’s remarkably similar to a simple pie crust dough. It’s not complicated at all! We’re talking flour, a bit of sugar, butter, and maybe a touch of vanilla. The beauty of this dough is its texture; it’s tender and slightly flaky, not tough or chewy like some cookie doughs can be. It bakes up with a delightful crispness around the edges and a softer middle. I like to think of them as the answer to those times you want that comforting, homemade baked-good feeling without spending hours rolling and cutting elaborate shapes. They’re rustic, forgiving, and just incredibly delicious.
Why you’ll love this recipe?
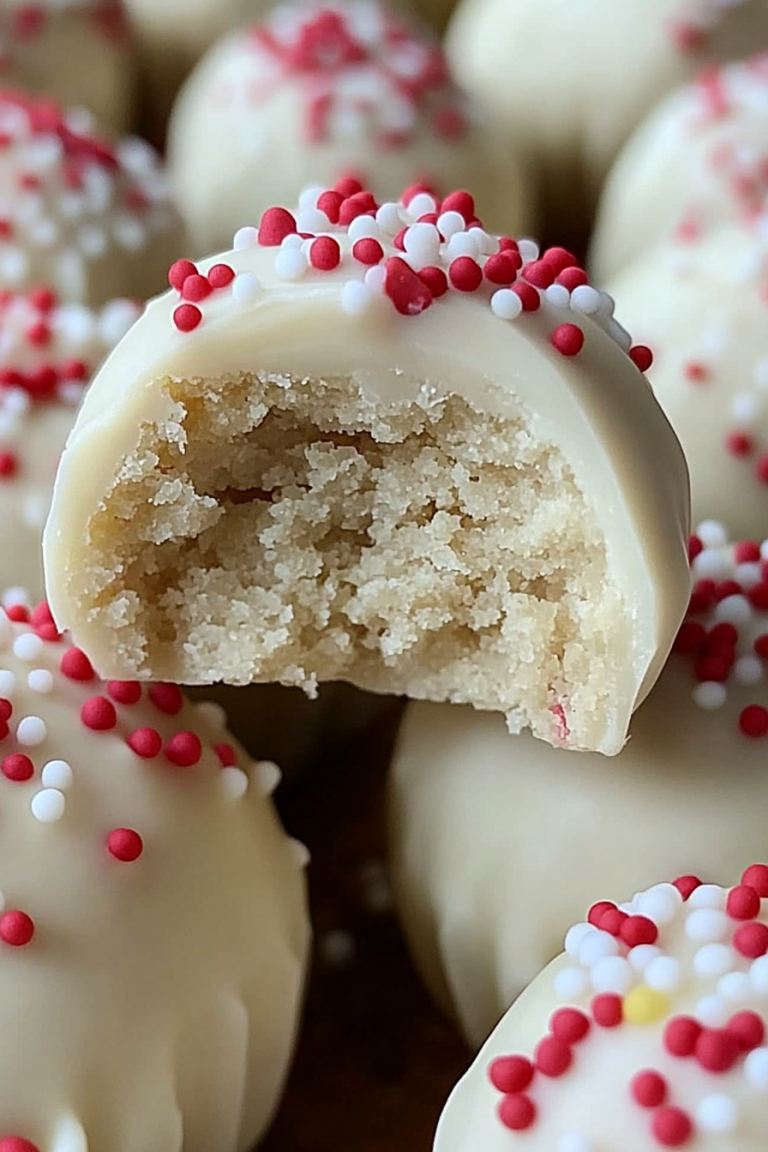
Honestly, where do I even start? This recipe for pie crust cookies checks all the boxes for me, and I have a feeling it will for you too. First off, the FLAVOR. Even though the ingredient list is short and sweet, the taste is just phenomenal. It’s that perfect balance of buttery goodness with just the right amount of sweetness. It’s subtle enough to let other flavors shine, but so satisfying on its own. Then there’s the SIMPLICITY. I’m not kidding when I say this is one of the easiest cookie recipes out there. You don’t need any fancy equipment, and the dough comes together in minutes. If you’ve ever made a basic pie crust, you’re already halfway there! It’s a lifesaver on busy afternoons when the kids need a treat or when unexpected guests pop over. Plus, it’s incredibly COST-EFFECTIVE. The ingredients are pantry staples, meaning you can whip up a huge batch without breaking the bank. And the VERSATILITY! This is where these little beauties really shine. You can keep them plain, dust them with cinnamon sugar, dip them in chocolate, or even use them as a base for mini fruit tarts. My personal favorite variation is a simple lemon zest added to the dough; it gives them a wonderful bright note. What I love most about these pie crust cookies is that they feel like a hug in cookie form. They’re unpretentious, comforting, and always a crowd-pleaser. They remind me a little of my grandmother’s shortbread, but with a touch more ease.
How do I make pie crust cookies?
Quick Overview
Making these pie crust cookies is ridiculously easy. You’ll simply mix up a quick dough, shape it, fill it with a simple fruit mixture, bake until golden, and then drizzle with a sweet glaze. That’s it! The whole process is straightforward, with no chilling required for the dough, making it perfect for spontaneous baking. The beauty is in its speed and simplicity, delivering a delightful homemade treat with minimal effort. You can honestly have these cooling on the rack in under an hour from start to finish!
Ingredients
For the cookie dough: For the Cookie Dough: For the Cookie Dough: For the Cookie Dough: For the Cookie Dough: For
2 ½ cups all-purpose flour (plus more for dusting)
½ cup granulated sugar
1 teaspoon baking powder
½ teaspoon salt
1 cup (2 sticks) unsalted butter, very cold and cubed
1 large egg, beaten
1 teaspoon vanilla extract
2-3 tablespoons ice water (you might not need it all!)
*Pro Tip:* Using very cold butter is key here! It helps create those lovely tender layers in the cookie. I always pop my butter in the freezer for about 15 minutes before I cube it. It makes a world of difference.
For the Fruit Filling:
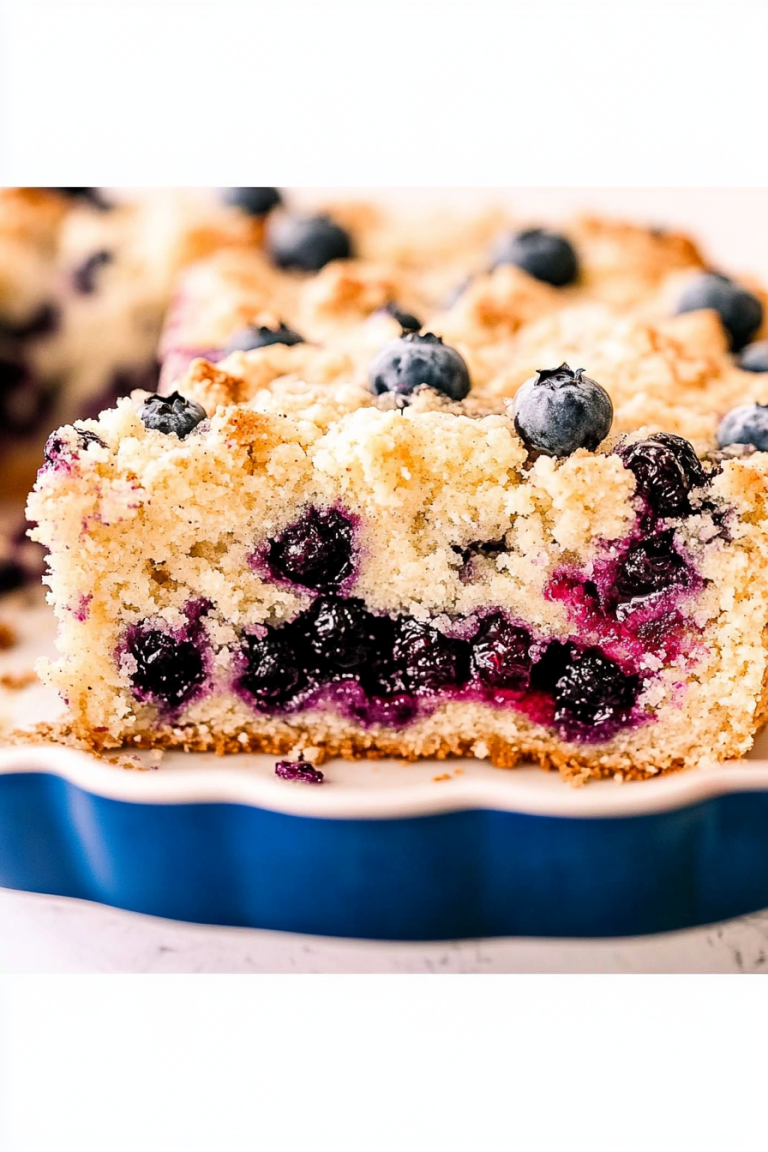
2 cups mixed berries (fresh or frozen, thawed and drained if frozen)
¼ cup granulated sugar
1 tablespoon cornstarch
1 teaspoon lemon juice
*Variations:* Feel free to swap in chopped apples, peaches, or even a swirl of jam! Just make sure whatever fruit you use isn’t too juicy, or it might make the cookies soggy. Thaw and drain frozen berries really well.
For the Glaze:
1 cup powdered sugar
2-3 tablespoons milk (or water, or lemon juice for a tangier glaze)
½ teaspoon vanilla extract
*Consistency Tip:* Start with 2 tablespoons of milk and add more, a teaspoon at a time, until you get a pourable but not too thin consistency. You want it to drizzle nicely, not run off the cookies!
Step-by-Step Instructions
Step 1: Preheat & Prep Pan
First things first, get that oven preheated to 375°F (190°C). Then, grab a couple of baking sheets and line them with parchment paper. This makes cleanup a breeze, which is always a win in my book! If you don’t have parchment paper, a lightly greased baking sheet will work, but I highly recommend the parchment.
Step 2: Mix Dry Ingredients
In a large bowl, whisk together the flour, ½ cup granulated sugar, baking powder, and salt. Give it a good whisk to make sure everything is evenly distributed. This ensures your cookies have a consistent texture and flavor throughout.
Step 3: Mix Wet Ingredients
Add the cold, cubed butter to the dry ingredients. Now, you can either use a pastry blender, your fingertips, or a food processor to cut the butter into the flour mixture. You want it to resemble coarse crumbs, with some pea-sized pieces of butter still visible. Don’t overmix here; those little butter pockets are what give the cookies their lovely texture!
Step 4: Combine
In a small bowl, whisk together the beaten egg and vanilla extract. Pour this wet mixture into the flour and butter mixture. Gently stir with a fork or spatula until the dough just starts to come together. It will look shaggy. Now, add the ice water, one tablespoon at a time, mixing gently after each addition, until the dough just holds together when you press it. Be careful not to add too much water, or your dough will be sticky and tough. You might not need all three tablespoons!
Step 5: Prepare Filling
While your dough is resting for a moment, let’s whip up the filling. In a medium bowl, combine the mixed berries, ¼ cup granulated sugar, cornstarch, and lemon juice. Stir gently to coat the berries. The cornstarch will help thicken any juices released during baking. If you’re using jam, just give it a quick stir to make sure it’s smooth.
Step 6: Layer & Swirl
Turn the dough out onto a lightly floured surface. Gently bring it together into a ball, then flatten it slightly into a disc. Roll the dough out into about a 12×10 inch rectangle, about ¼ inch thick. Don’t worry if it’s not perfectly even; rustic is good! Spread the berry filling evenly over about two-thirds of the dough, leaving a border on one side. Now, starting from the side with the filling, carefully roll the dough up like a jelly roll. Gently press the seam to seal. Then, using a sharp knife, slice the log into ½-inch thick cookies. Arrange the cookies about 1 inch apart on your prepared baking sheets.
Step 7: Bake
Bake for 15-18 minutes, or until the edges are lightly golden brown and the centers are set. Keep an eye on them, as oven temperatures can vary. You want them cooked through but not overly browned.
Step 8: Cool & Glaze
Let the cookies cool on the baking sheets for about 5 minutes before transferring them to a wire rack to cool completely. This is important; they’re fragile when hot! While they’re cooling, whisk together the powdered sugar, vanilla extract, and 2 tablespoons of milk in a small bowl. Add more milk, a teaspoon at a time, until you reach your desired drizzling consistency. Once the cookies are completely cool, drizzle the glaze generously over the tops. Let the glaze set for about 15-20 minutes before serving.
Step 9: Slice & Serve
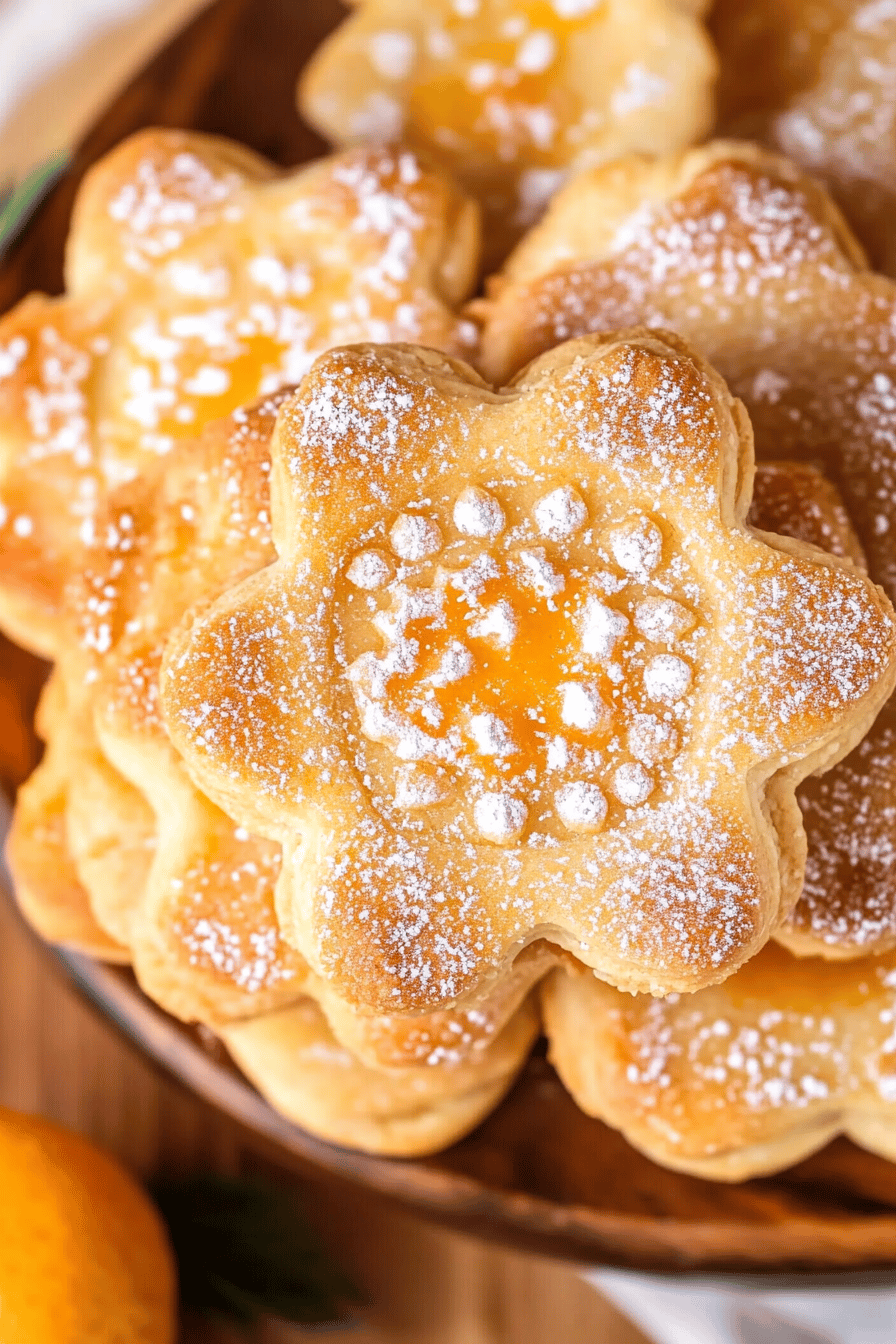
Once the glaze has set, your delicious pie crust cookies are ready to be enjoyed! They are best served at room temperature. Slice them into neat portions or just grab one (or two!) straight from the cooling rack. They look especially pretty with the colorful berry filling peeking out. Enjoy that little taste of homemade happiness!
What to Serve It With
These pie crust cookies are so versatile, they’re perfect for pretty much any occasion! For Breakfast, they’re an absolute dream alongside a hot cup of coffee or a steaming mug of tea. The sweetness is just enough to start your day off right without being overwhelming. I love serving them on a pretty platter with some fresh berries scattered around for a lovely morning treat. For Brunch, they feel a bit more elegant. You could serve them alongside some yogurt parfaits or mini quiches. A light sparkling beverage like a mimosa or elderflower cordial pairs beautifully. As Dessert, these cookies are a winner! They’re fantastic on their own, but you could also serve them with a small scoop of vanilla bean ice cream or a dollop of whipped cream. They also make a wonderful accompaniment to a fruit salad. And for those cozy snack times? Oh, these are my go-to! I’ll often have one or two with a glass of milk while I’m curled up with a good book. My family loves them after dinner when we’re all just relaxing. The simple, comforting flavors make them perfect for any casual gathering or just a quiet moment to yourself.
Top Tips for Perfecting Your Pie Crust Cookies
I’ve made these pie crust cookies more times than I can count, and over the years, I’ve picked up a few tricks that I think really elevate them. So, listen up! When it comes to the Dough, the absolute golden rule is COLD ingredients. Seriously, your butter and even your water should be as cold as possible. This is what creates those delicate flaky layers that make this cookie so special. If your kitchen is warm, you might even want to pop your flour in the freezer for a bit before you start. For Mixing Advice, I always tell people to be gentle. Once you add the wet ingredients to the dry, mix *just* until it comes together. Overmixing will develop the gluten too much, leading to a tough cookie instead of a tender one. You want to see bits of butter still. When you’re Rolling and Shaping, don’t stress about perfection. A slightly uneven rectangle is totally fine, and a rustic roll-up looks charming. For the Fruit Filling, make sure your berries aren’t too watery. If you’re using frozen berries, thaw them completely and drain off *all* the excess liquid. I even pat them dry with a paper towel sometimes. If you’re using fresh berries, gently rinse and pat them dry. For Baking Tips, keep an eye on them! Ovens are quirky. What looks golden brown in my oven might be a touch darker in yours. The edges should be firm and lightly golden, and the center should look set, not wet. If they seem to be browning too quickly on top, you can always loosely tent them with foil. Finally, on the Glaze Variations, don’t be afraid to play! If you want a tangier glaze, use lemon juice instead of milk. For a richer flavor, a splash of almond extract instead of vanilla can be lovely. You can also add a pinch of cinnamon or nutmeg to the glaze for a warmer spice note. Remember, these are just guidelines, and the most important thing is to have fun in the kitchen!
Storing and Reheating Tips
Now, let’s talk about keeping these goodies fresh because, let’s be honest, sometimes you make more than you can eat in one sitting (though that’s rare at my house!). For Room Temperature storage, it’s best to keep the glazed cookies in an airtight container. They’ll stay wonderfully fresh for about 3-4 days. Just make sure they are completely cool before you put them away, otherwise, you’ll trap moisture and make them soggy. If you’re planning on keeping them longer, Refrigerator Storage is your best bet. Place them in an airtight container, and they should be good for up to a week. The texture might change slightly, becoming a bit firmer, but they’ll still be delicious. For Freezer Instructions, these cookies freeze remarkably well! You can freeze them either before baking or after. If freezing before baking, place the rolled logs in a freezer bag and freeze for up to 3 months. Thaw them overnight in the fridge, then slice and bake as directed. If freezing after baking (and after the glaze has set), wrap them tightly in plastic wrap, then place them in a freezer bag or airtight container. They’ll keep for about 2-3 months. To reheat, simply let them thaw at room temperature. If the glaze has softened a bit in the freezer, you can always add a fresh drizzle once thawed. For Glaze Timing Advice, I always recommend glazing *after* the cookies have cooled completely. If you glaze them while they’re still warm, the glaze will melt and become a sticky mess. For cookies stored at room temperature or in the fridge, the glaze will hold up nicely. If you’re freezing unglazed cookies, you can glaze them after thawing and before serving.
Frequently Asked Questions
Final Thoughts
So there you have it, my friends! These pie crust cookies are an absolute treasure in my recipe box, and I truly hope they become one in yours too. They represent that perfect blend of simple ingredients, minimal effort, and maximum deliciousness. They’re proof that you don’t need to be a master baker to create something truly special that will make your family and friends smile. If you love these, you might also enjoy my “Lazy Day lemon bars” or my “Quick & Easy Apple Crumble,” both of which offer that same comforting homemade feel with straightforward steps. I can’t wait to hear what you think of these cookies! Let me know in the comments if you try them, how you customize them, or any funny baking mishaps you might have had (we’ve all been there!). Your feedback and creations always inspire me. Happy baking, and enjoy every single bite!

Pie crust cookies
Ingredients
Main Ingredients
- 2.5 cups All-purpose flour
- 1 teaspoon Baking powder
- 0.5 teaspoon Salt
- 0.75 cup Granulated sugar
- 0.5 cup Unsalted butter, softened
- 2 Large eggs
- 1 teaspoon Vanilla extract
- 0.5 cup Jam (any flavor) for filling
Instructions
Preparation Steps
- In a large bowl, whisk together the flour, baking powder, and salt. Set aside.
- In a separate bowl, cream together the granulated sugar and softened butter until light and fluffy.
- Beat in the eggs one at a time, then stir in the vanilla extract.
- Gradually add the dry ingredients to the wet ingredients, mixing until just combined. Do not overmix.
- Divide the dough in half. Wrap each half in plastic wrap and refrigerate for at least 30 minutes.
- Preheat oven to 375°F (190°C). Line baking sheets with parchment paper.
- On a lightly floured surface, roll out one half of the dough to about 0.25 inch thickness.
- Cut out circles using a cookie cutter. Place half of the circles on the prepared baking sheets. For the other half, use a smaller cutter to remove the center, creating a frame.
- Spoon about 1 teaspoon of jam onto the center of the solid cookie circles.
- Place the framed cookie circles on top of the jam-filled ones.
- Bake for 12-15 minutes, or until golden brown around the edges.
- Let the cookies cool on the baking sheets for a few minutes before transferring them to a wire rack to cool completely.