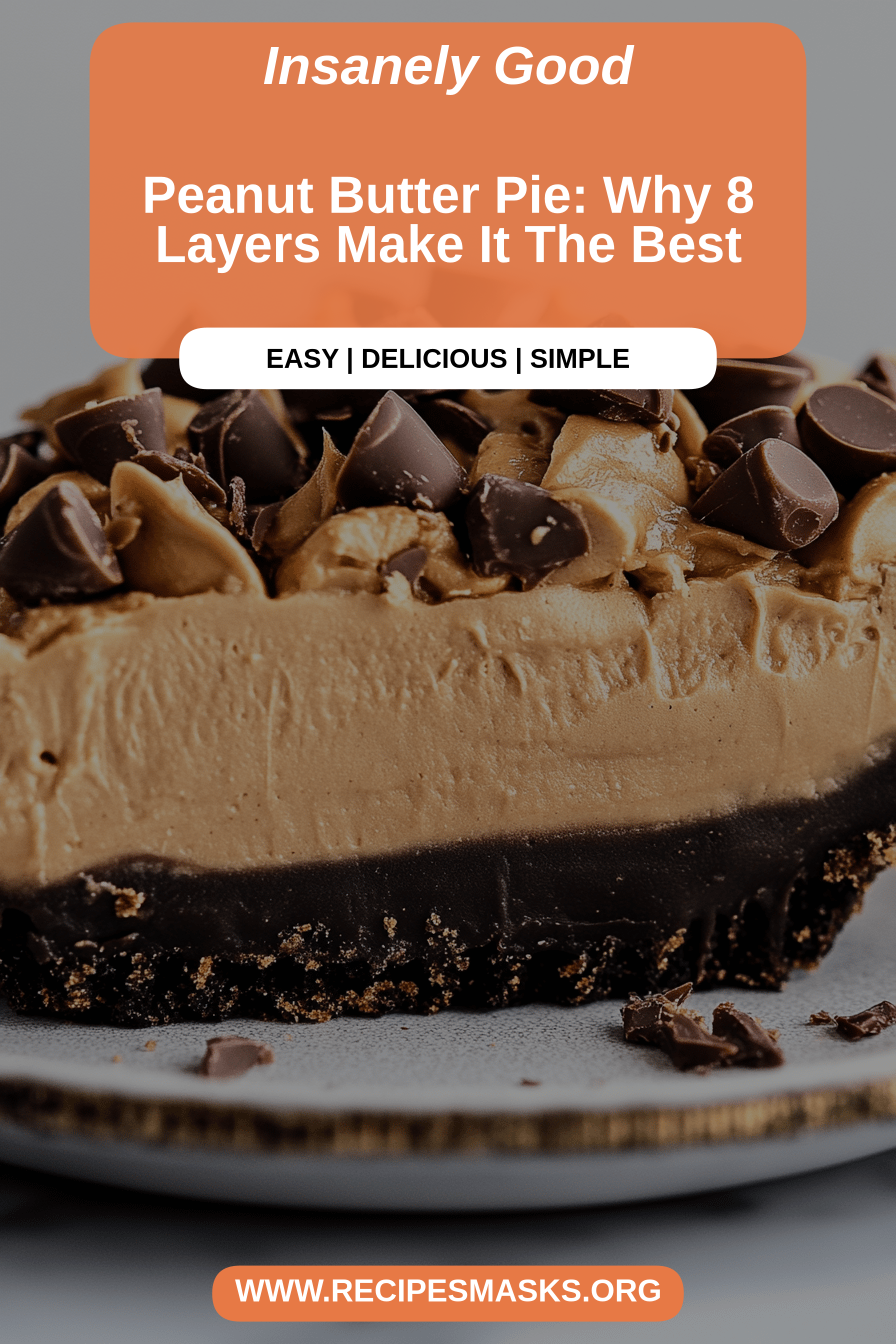
Oh, where do I even begin with this Peanut Butter Pie? It’s more than just a dessert for me; it’s a hug in a dish, a childhood memory baked to perfection, and honestly, my absolute go-to when I need something spectacularly delicious without a ton of fuss. I remember the first time I truly mastered this recipe. My mom had made a version of it for a family reunion when I was a kid, and the way that silky, rich peanut butter filling just melted in your mouth? Pure magic. Since then, I’ve tinkered with it, learned a few secrets along the way, and now, it’s the one recipe my kids request over and over. It’s got that same incredible, comforting flavor that will transport you straight back to simpler times, but with a creamy texture that’s just divine. If you’re a fan of peanut butter, prepare to fall head over heels. This isn’t just another dessert; it’s the Peanut Butter Pie dreams are made of, and I’m so thrilled to finally share it with you.
What is peanut butter pie?
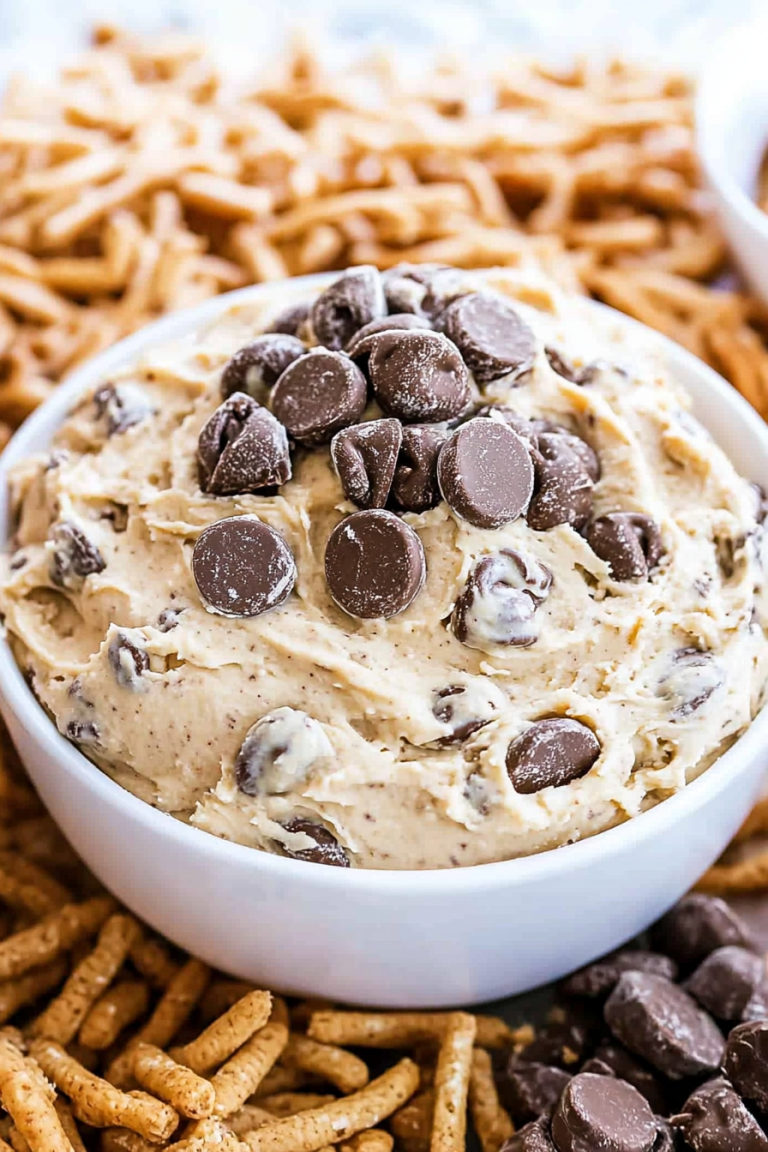
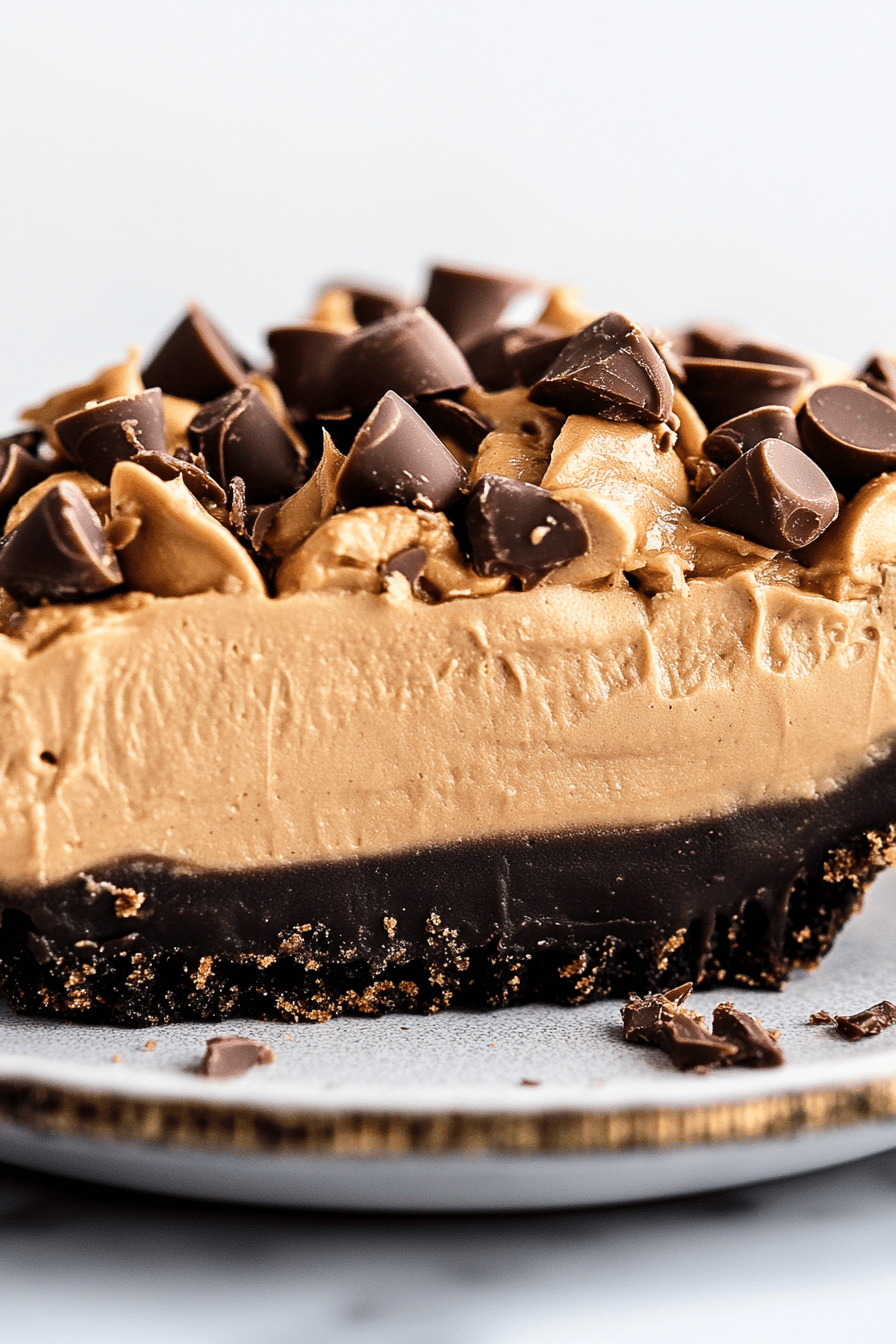
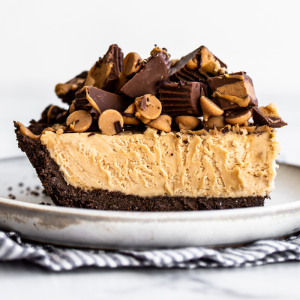
So, what exactly makes this Peanut Butter Pie so special? Think of it as the most decadent, luscious dessert you can imagine, all wrapped up in a delightful peanut butter package. It’s essentially a no-bake (or lightly baked, depending on your crust preference!) pie featuring a ridiculously creamy, dreamy peanut butter filling. The magic usually happens in a pre-made or homemade pie crust, often graham cracker or cookie-based, which gives a lovely contrast to the smooth filling. The filling itself is typically a blend of cream cheese, peanut butter, powdered sugar, and whipped cream or pudding, creating a texture that’s lighter than fudge but richer than a mousse. It’s the kind of dessert that satisfies every sweet and salty craving you could possibly have. It’s not overly complicated, which is a huge win in my book, and it consistently turns out looking and tasting like it came from a fancy bakery. It’s pure, unadulterated peanut butter bliss.
Why you’ll love
Honestly, the list of reasons to adore this Peanut Butter Pie is practically endless, but let me highlight a few of my absolute favorites. First off, the flavor. Oh my goodness, the flavor! It’s that perfect balance of sweet and salty peanut butter that just hits all the right notes. It’s rich, it’s creamy, and it has this irresistible depth of peanut butter flavor that will make you swoon. It’s not just one-dimensional sweetness; there’s a complexity there that really sings.
Then there’s the simplicity. This recipe is a lifesaver on busy nights or when you have unexpected guests. While some pies feel like a huge undertaking, this one comes together surprisingly quickly. You don’t even need to turn on the oven for the filling, which is a huge bonus during warmer months. It’s the kind of recipe that makes you feel like a baking rockstar without breaking a sweat.
And let’s talk about cost-efficiency. The ingredients are all pretty standard pantry staples, which means you can whip this up without a special trip to the grocery store or blowing your budget. It’s incredibly satisfying to make something so delicious and impressive using simple, affordable ingredients.
What really sets it apart for me, though, is its versatility. While I have my favorite way to make it, you can totally customize it. Want a little crunch? Add some chopped peanuts on top. Prefer a chocolatey swirl? A little melted chocolate drizzled over the top before chilling is pure heaven. It’s a fantastic base that’s open to your own personal touches. Compared to something like a complex layer cake or a fussy tart, this Peanut Butter Pie is just sheer joy. It’s the ultimate crowd-pleaser, and it consistently gets rave reviews. I’ve made it for potlucks, holidays, and just because, and it’s always the first dessert to disappear.
How to Make Peanut Butter Pie
Quick Overview
Making this Peanut Butter Pie is incredibly straightforward. You’ll essentially be mixing up a luscious, no-bake filling that’s poured into a prepared pie crust. The most important part is getting that creamy, dreamy texture that’s characteristic of this pie. It chills in the refrigerator until firm, allowing all those delicious flavors to meld together. It’s truly a dump-and-mix-and-chill kind of situation, which is why I rely on it so often. The result is a stunningly delicious dessert that looks far more complicated than it actually is.
Ingredients
For the Main Batter:
- Graham Cracker Crust: You can use a store-bought one for ultimate convenience, or make your own by crushing about 1.5 cups of graham crackers (they turn into fine crumbs) and mixing them with about 6 tablespoons of melted unsalted butter and 2 tablespoons of granulated sugar. Press this mixture firmly into the bottom and up the sides of a 9-inch pie plate. I always chill this in the freezer for about 10 minutes while I prepare the filling to help it set.
- Cream Cheese: Two (8-ounce) blocks of full-fat cream cheese, softened. Make sure it’s truly soft, at room temperature, otherwise, you’ll end up with lumps, and nobody wants a lumpy peanut butter pie!
- Peanut Butter: 1 cup of creamy peanut butter. I almost always use Jif or Skippy – the classic, slightly sweetened varieties work best for this. If you use natural peanut butter, make sure to stir it really, really well to incorporate the oil, or your filling might be a little oily.
- Powdered Sugar: 1 cup of powdered sugar (also known as confectioners’ sugar). This is crucial for sweetness and that wonderfully smooth texture.
- Milk: 1/4 cup of milk. Whole milk will give you the richest result, but I’ve used 2% in a pinch, and it’s still delicious.
- Vanilla Extract: 1 teaspoon. This just rounds out the flavors beautifully.
For the Filling:
- Whipped Topping: One (8-ounce) container of whipped topping (like Cool Whip), thawed. This is key for the airy, creamy texture. Make sure it’s completely thawed, not frozen in the center.
- Optional: A few tablespoons of heavy cream, whipped to stiff peaks, can be folded in with the whipped topping for an even more luxurious texture, if you’re feeling fancy.
For the Glaze:
- Chocolate Chips: 1/2 cup of semi-sweet chocolate chips. You can use milk chocolate if you prefer, but semi-sweet gives a nice balance.
- Peanut Butter: 2 tablespoons of creamy peanut butter (same kind you used for the filling). This adds an extra layer of peanut butter goodness to the glaze.
- Butter: 1 tablespoon of unsalted butter. This helps make the glaze smooth and glossy.
Step-by-Step Instructions
Step 1: Preheat & Prep Pan
If you’re making your own graham cracker crust, now’s the time! Combine your graham cracker crumbs, melted butter, and sugar in a bowl. Mix until it resembles wet sand. Press this mixture firmly into the bottom and up the sides of a 9-inch pie plate. I like to use the bottom of a glass to get it really compact and even. Pop this into the freezer for at least 10 minutes. This helps it set up nicely so it doesn’t crumble when you slice the pie. If you’re using a store-bought crust, just have it ready to go.
Step 2: Mix Dry Ingredients
In a large mixing bowl, add the softened cream cheese, creamy peanut butter, powdered sugar, and vanilla extract. Using an electric mixer (a hand mixer or a stand mixer with the paddle attachment works best), beat these ingredients together on medium speed until they are smooth and creamy. You want to make sure there are absolutely no lumps of cream cheese. Scrape down the sides of the bowl a few times to ensure everything is incorporated. This step is key to getting that super smooth texture.
Step 3: Mix Wet Ingredients
Pour in the milk. Continue to beat on medium speed until the mixture is well combined and starts to thicken up a bit more. It should be smooth, airy, and smell absolutely divine! If you’re adding any extra whipped cream from heavy cream at this stage, you’d whip that separately and then fold it in, but we’ll stick to the simpler version for now.
Step 4: Combine
Now, gently fold in the thawed whipped topping. Use a spatula and a gentle hand to fold it into the peanut butter mixture. You want to incorporate it fully without deflating all the air you’ve worked to get in there. Fold until just combined and the mixture is light and fluffy. Overmixing at this stage can make the filling dense.
Step 5: Prepare Filling
This is basically the step where you’ve just finished Step 4! You’ve combined all the creamy filling ingredients until it’s light, airy, and incredibly smooth. The texture should be like a very thick, luscious mousse, ready to be poured. The aroma at this point is usually enough to make me want to eat it with a spoon right out of the bowl, but trust me, it’s worth the wait!
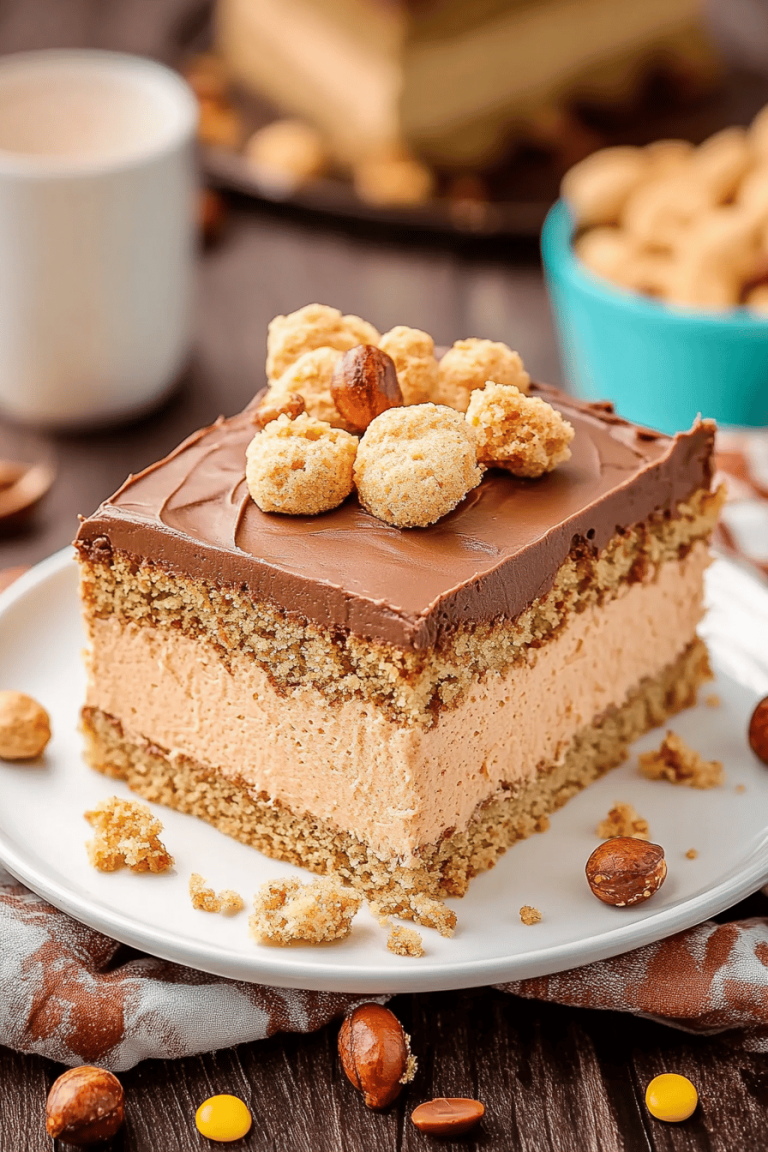
Step 6: Layer & Swirl
Spoon the peanut butter filling into your chilled pie crust. Spread it out evenly with your spatula, making sure to get it right to the edges. For the glaze, gently melt the chocolate chips, peanut butter, and butter in a small microwave-safe bowl. Microwave in 30-second intervals, stirring between each, until smooth and fully combined. This usually takes about 1 to 1.5 minutes total. Let it cool for just a minute or two so it’s not piping hot, then carefully drizzle it over the top of the peanut butter filling. You can use a toothpick or a knife to gently swirl the chocolate into the peanut butter for a pretty marble effect, or just let it sit in drizzles. Don’t over-swirl, or the colors will just blend together into one brown.
Step 7: Bake
Here’s the beauty of this pie: it doesn’t actually need to bake! The chilling process is what sets it. So, once your glaze is swirled, carefully cover the pie with plastic wrap, making sure not to touch the surface of the glaze if possible. Place it in the refrigerator for at least 4-6 hours, or ideally, overnight. This allows the filling to firm up completely and the flavors to meld beautifully.
Step 8: Cool & Glaze
As mentioned, this pie doesn’t bake! The cooling and setting happens in the refrigerator. The glaze is applied just before chilling. Make sure the glaze is slightly cooled before drizzling so it doesn’t melt into the filling too much. Once it’s chilled and set, it’s ready to go. The glaze will harden slightly as it chills, giving it a lovely finish.
Step 9: Slice & Serve
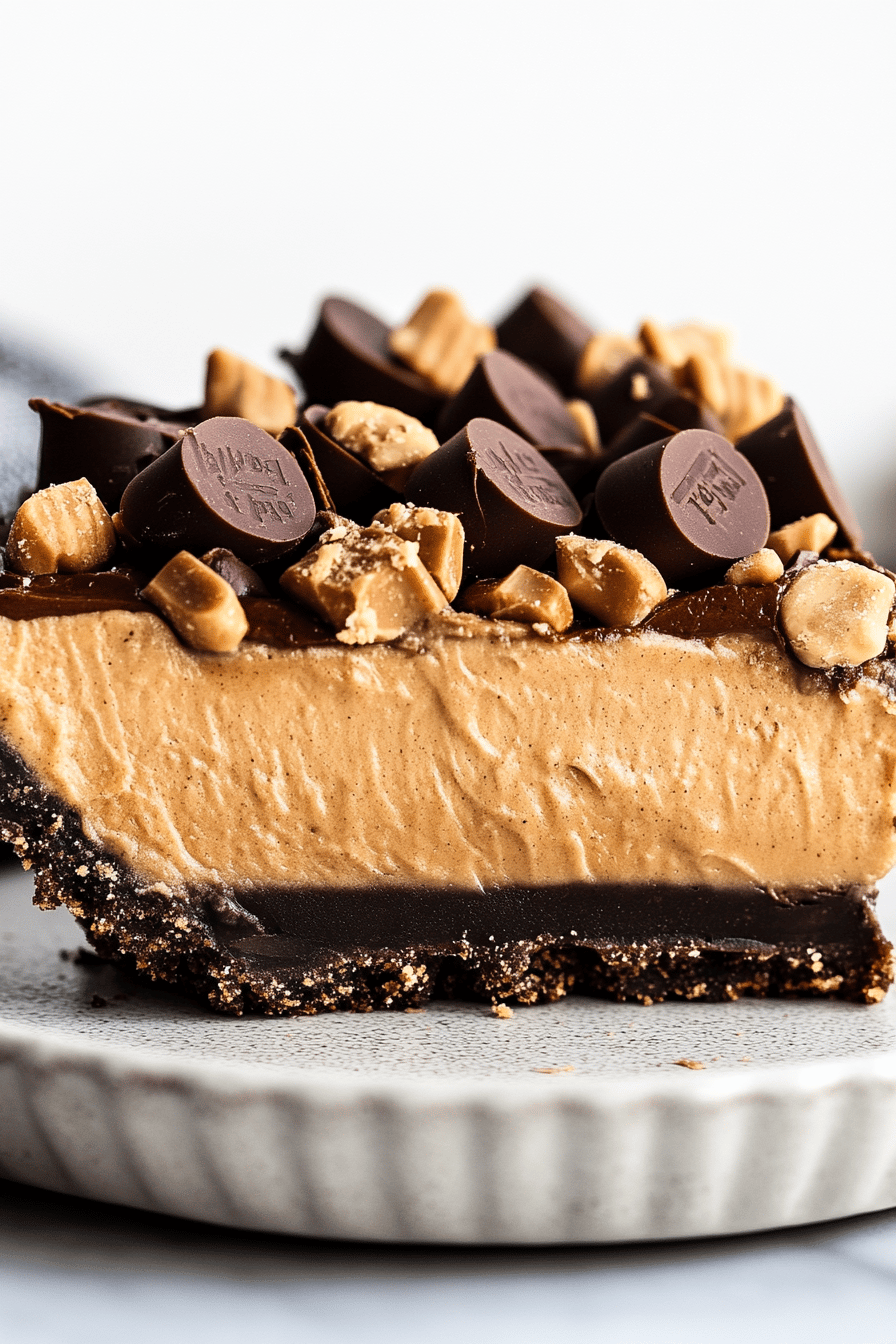
Once the pie is thoroughly chilled and set, it’s time to slice and serve! I find that using a sharp knife dipped in hot water and then wiped dry makes for cleaner slices. Each slice should hold its shape beautifully. I like to serve it cold, straight from the fridge. It’s absolutely perfect on its own, but a dollop of extra whipped cream or a sprinkle of chopped peanuts on top makes it even more special.
What to Serve It With
This Peanut Butter Pie is so versatile, it fits into almost any occasion! For a truly decadent breakfast (because who says pie is only for dessert?), I love a small slice alongside a strong, hot cup of coffee. The richness of the pie is cut beautifully by the bitterness of the coffee, and it feels like such a special treat to start the day. I often just have a tiny sliver, but it’s enough to make the morning feel luxurious.
For brunch, it’s a showstopper. I like to serve it slightly larger portions, perhaps with some fresh berries on the side, like raspberries or strawberries, which provide a lovely tart counterpoint to the sweet, creamy filling. A chilled glass of sparkling cider or a light rosé wine pairs wonderfully. For plating, I’ll sometimes add a small sprig of mint for a pop of green. It always looks so elegant.
As a classic dessert, it needs no introduction, but I do love to elevate it slightly. After dinner, it’s fantastic with a scoop of vanilla bean ice cream or a drizzle of hot fudge sauce. If you want to go wild, a sprinkle of sea salt flakes on top just before serving can really make the peanut butter flavor pop even more. It’s the ultimate comfort food dessert after a big meal.
And for those cozy, late-night snacks? This pie is the ultimate comfort. I’ll grab a fork and a glass of cold milk, perhaps curl up with a good book or a movie, and just enjoy a generous slice. It’s the perfect answer to that sweet craving when you don’t want to turn on the oven. It’s pure, unadulterated comfort in every single bite, and it never fails to satisfy.
Top Tips for Perfecting Your Peanut Butter Pie
Over the years, I’ve learned a few things that really make a difference in getting this Peanut Butter Pie just right. It’s not complicated, but a few little tricks can elevate it from good to absolutely spectacular.
Cream Cheese Prep: This is probably the most crucial step for a smooth filling. Make sure your cream cheese is truly at room temperature. I can’t stress this enough! If it’s even a little cold, you’ll get lumps, and no amount of mixing will get them out. I sometimes leave mine out for a good 2-3 hours on the counter, depending on how warm my kitchen is. If I’m in a rush, I’ll cut it into cubes to speed up the softening process.
Peanut Butter Choice: While I love the classic creamy peanut butter like Jif or Skippy for this pie, if you’re using a natural peanut butter where the oil separates, give it a really, really good stir before measuring. Sometimes I even drain off a tiny bit of the excess oil if it seems too much. The goal is a smooth, consistent filling, and the oil from natural peanut butter can sometimes make it a bit greasy if not managed properly.
Folding Technique: When you add the whipped topping, don’t just stir it in vigorously. Use a spatula and fold gently. Imagine you’re folding it in half, then scraping the bottom and bringing it up over the top. This motion preserves the airiness of the whipped topping, which is what gives the pie its signature light and creamy texture. Overmixing will knock out that air and make the pie dense.
Chilling is Key: Patience, my friends! This pie *needs* its chilling time. The minimum is 4-6 hours, but overnight is truly best. This allows the filling to set up firm enough to slice cleanly and for all those delicious peanut butter and cream cheese flavors to meld together. Trying to slice it too soon is a recipe for a messy, albeit still tasty, disaster.
Glaze Consistency: When making the chocolate glaze, don’t overheat it. Melt it slowly, stirring frequently. If it gets too hot, the chocolate can seize up and become stiff or grainy. Let it cool for just a minute or two before drizzling. If it’s too hot, it’ll run off the pie; if it’s too cold, it’ll be too thick to drizzle nicely. You’re looking for a smooth, pourable consistency.
Crust Perfection: If you’re making your own graham cracker crust, press it down really well. Use the flat bottom of a glass or the base of a measuring cup. A firmly packed crust holds its shape better when sliced. And chilling it in the freezer while you make the filling really does help it set up nicely!
Storing and Reheating Tips
This Peanut Butter Pie is wonderful because it keeps well, which is great for making ahead of time. If you happen to have any leftovers (which is rare in my house!), here’s how I like to store them.
Room Temperature: Honestly, I really don’t recommend storing this pie at room temperature for more than a couple of hours, especially if your kitchen is warm. Due to the cream cheese and whipped topping, it’s best kept chilled to maintain its texture and prevent spoilage. If you’re serving it at a party, just bring it out for a few hours at most.
Refrigerator Storage: This is where this pie shines! Once it’s chilled and set, cover it tightly with plastic wrap or transfer it to an airtight container. It will stay delicious in the refrigerator for about 3-4 days. The texture remains lovely and creamy, and the flavors continue to develop. I find it’s often even better on the second day!
Freezer Instructions: You can freeze this Peanut Butter Pie, though I find the texture can change slightly once thawed. If you want to freeze it, wrap the chilled pie very tightly in a double layer of plastic wrap, then add a layer of aluminum foil. It should keep well in the freezer for up to 1-2 months. When you’re ready to serve, thaw it in the refrigerator overnight. The glaze might soften a bit during thawing, but it will still be perfectly delicious. I usually don’t add any extra toppings until after it’s thawed.
Glaze Timing Advice: It’s best to apply the glaze right before you chill the pie for the first time. This allows it to set up nicely. If you’re freezing the pie, you can add the glaze before freezing. If you’re storing it in the fridge and plan to add fresh toppings later (like extra whipped cream or fruit), just leave the glaze as is. If you’re reheating a slice from the fridge (which is rare, but possible if it’s been a few days), you can pop it in the microwave for just 10-15 seconds to take the chill off, but it’s generally best served cold.
Frequently Asked Questions
Final Thoughts
This Peanut Butter Pie is, without a doubt, one of my most cherished recipes. It’s the kind of dessert that brings smiles, prompts requests for seconds (and thirds!), and just makes any occasion feel a little bit brighter. It’s a perfect testament to how simple ingredients, when combined with a little love and care, can create something truly magical. Whether you’re a lifelong peanut butter enthusiast or just looking for a reliably delicious and impressive dessert to share, I truly believe this recipe will become a staple in your kitchen, just as it has in mine. It’s proof that sometimes, the most comforting and beloved treats are also the easiest to make.
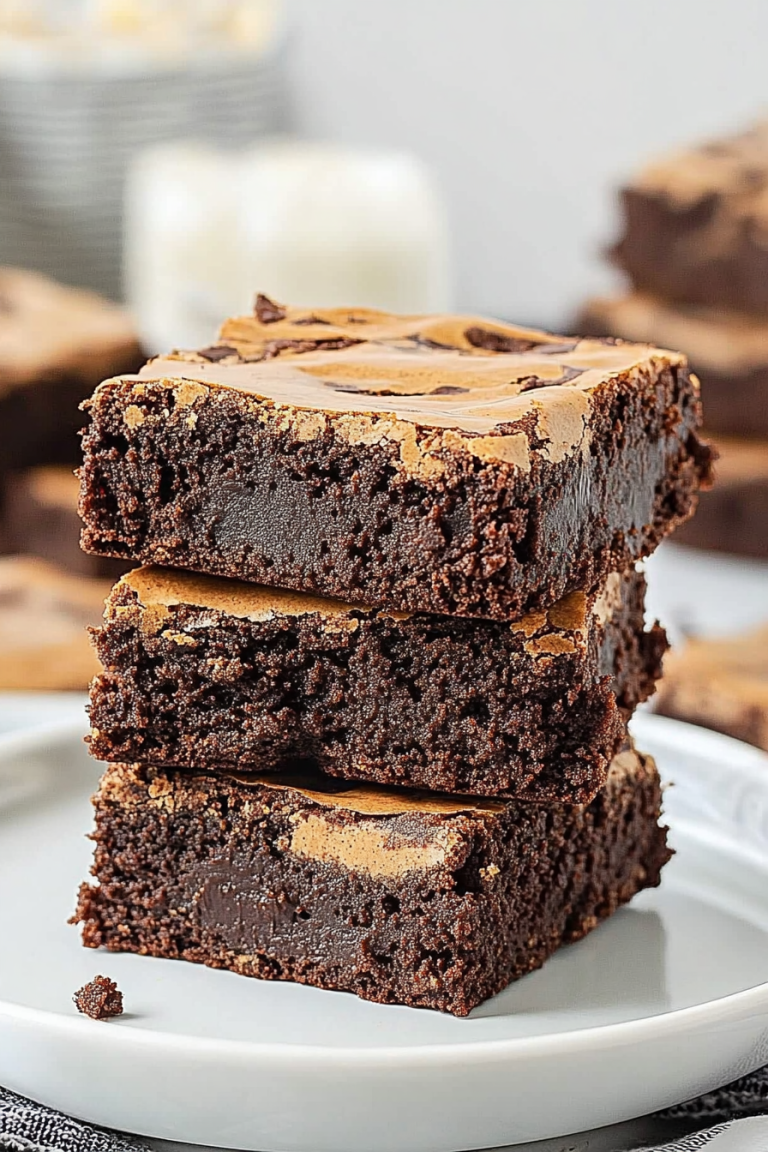
If you enjoy this recipe, you might also love my No-Bake Chocolate Peanut Butter Bars, which offer a similar flavor profile in a different format, or my classic Peanut Butter Cookies for a more traditional treat. I can’t wait to hear how your Peanut Butter Pie turns out! Please leave a comment below with your thoughts, any variations you tried, or just to let me know you made it. Your feedback means the world to me, and I love seeing your culinary adventures!
Peanut Butter Pie
Ingredients
For the Crust
- 2.5 cups crushed chocolate sandwich cookies
- 0.375 cup butter, melted
For the Filling
- 1 package cream cheese, softened
- 1 cup creamy peanut butter
- 0.75 cup powdered sugar
- 2 cups whipped topping, thawed
For Garnish
- chocolate syrup
- chopped peanuts
Instructions
Preparation Steps
- In a medium bowl, combine crushed cookies and melted butter. Press firmly into the bottom and up the sides of a 9-inch pie plate.
- In a large bowl, beat cream cheese, peanut butter, and powdered sugar until smooth.
- Gently fold in the thawed whipped topping until well combined.
- Spoon the filling into the prepared crust and spread evenly.
- Chill for at least 2 hours, or until firm.
- Before serving, drizzle with chocolate syrup and sprinkle with chopped peanuts, if desired.