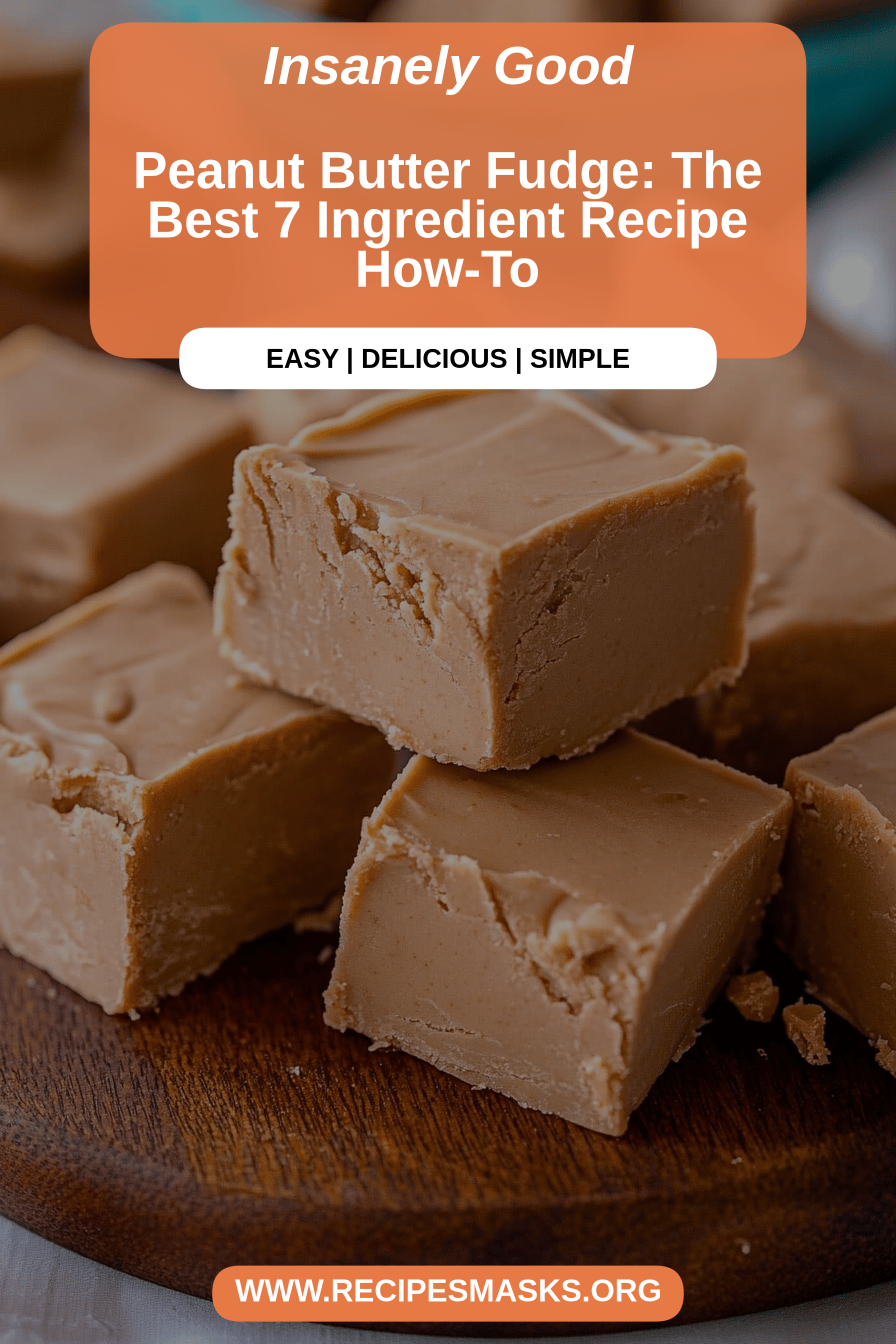
There are certain smells that just instantly transport me back to my childhood kitchen, and the sweet, nutty aroma of Peanut Butter fudge is definitely one of them. It’s a scent that always meant something special was happening, usually a holiday or a weekend treat that made everything feel a little bit brighter. I can still remember my grandma meticulously stirring a big pot on the stove, her apron dusted with flour, and the sheer anticipation as we waited for those golden-brown squares to cool. This peanut butter fudge recipe is pretty much identical to hers, and it’s the one I’ve returned to again and again, especially when I need a quick win that always tastes like pure comfort. Honestly, it’s a million times better than those crumbly, grainy versions you sometimes find; this one is smooth, rich, and just melts in your mouth. It’s the perfect antidote to a long day or a surefire way to impress guests without spending hours in the kitchen.
What is peanut butter fudge?
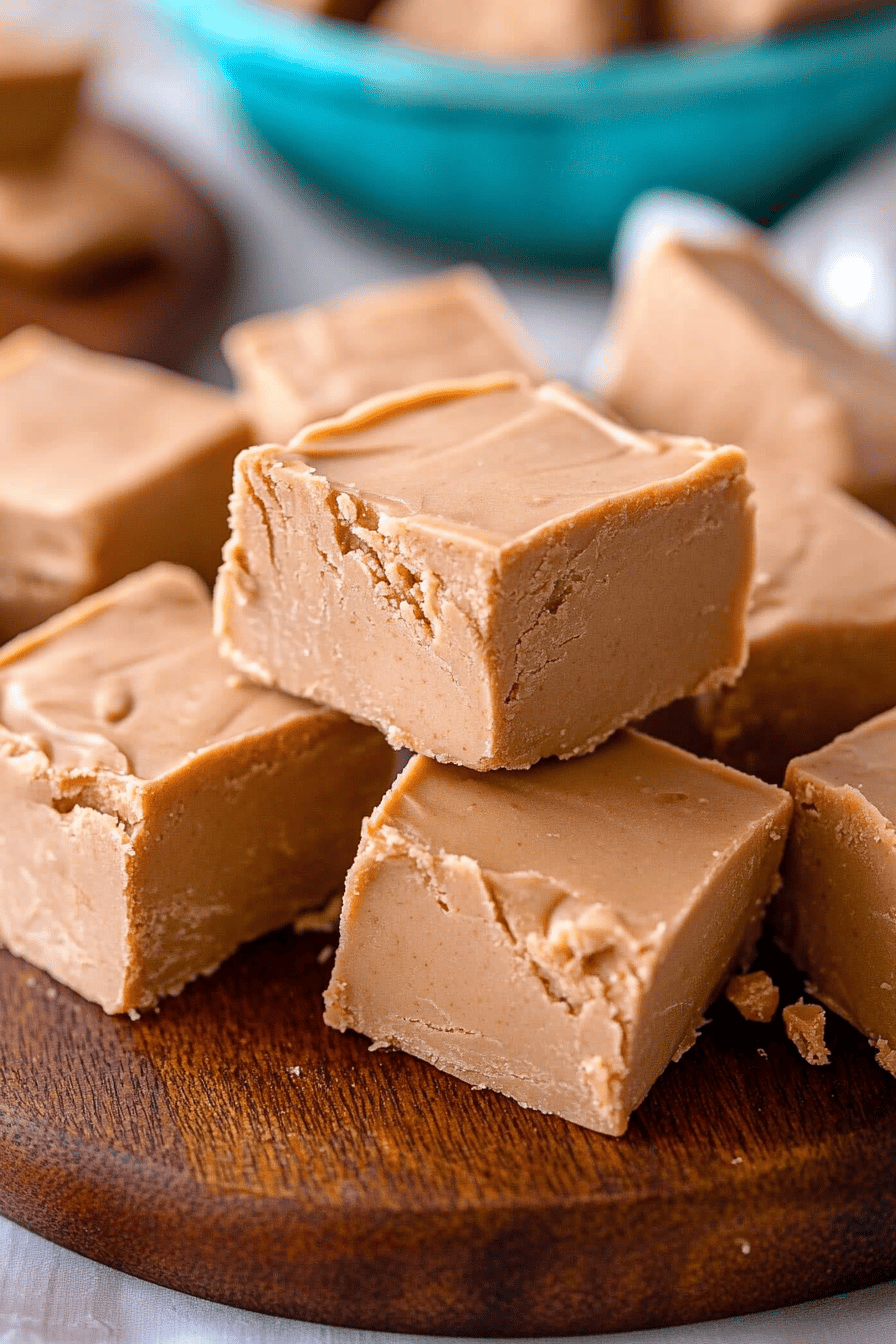
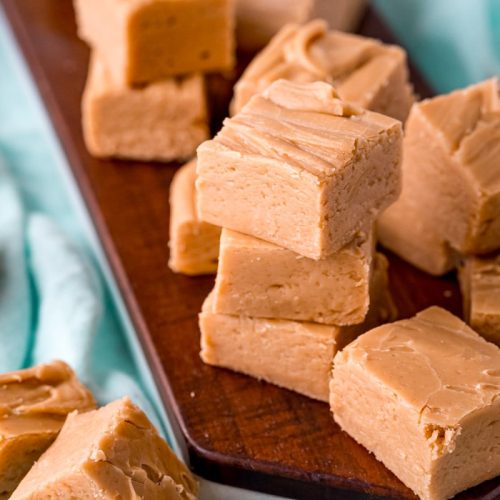
So, what exactly *is* this magical Peanut Butter fudge? Think of it as a no-bake, incredibly rich, and intensely satisfying confection that centers around that beloved peanut butter flavor. It’s essentially a sweet, dense mixture that sets up firm enough to slice but remains wonderfully creamy and smooth. Unlike baked goods that require precise temperature control and lots of fuss, peanut butter fudge is wonderfully straightforward. It comes together in one pot (mostly!) and relies on simple pantry staples. The “fudge” part comes from the way the sugar, butter, and milk crystallize as it cools, creating that signature melt-in-your-mouth texture. It’s a classic for a reason – it’s pure, unadulterated joy in every bite, a sweet escape that’s both familiar and utterly delightful. It’s the kind of treat that makes you close your eyes and savor every single morsel.
Why you’ll love this recipe?
There are so many reasons why this Peanut Butter fudge recipe has become a staple in my recipe rotation, and I just know you’re going to adore it too. First off, the flavor is just out of this world. It’s that perfect balance of sweet and nutty, creamy and rich, that really hits the spot. If you’re a peanut butter lover, this is your heaven. And the texture! Oh my goodness, it’s so incredibly smooth and decadent, it practically dissolves on your tongue. It’s miles away from anything grainy or crumbly. Secondly, the simplicity is a lifesaver. I’ve made this on weeknights when I desperately needed a sweet treat but didn’t have the energy for baking. It comes together so quickly, and the fact that it’s no-bake is a huge win, especially during warmer months when I don’t want to turn on the oven. It’s also remarkably cost-effective; all the ingredients are pantry staples that most of us have on hand, making it a budget-friendly indulgence. What I love most, though, is how versatile it is. It’s perfect for holidays, bake sales, or just because you’re craving something sweet. It’s similar to my classic chocolate fudge, but with that irresistible peanut butter twist. This peanut butter fudge truly is a winner because it delivers maximum deliciousness with minimum effort, and it always gets rave reviews from anyone who tries it. It’s that reliable recipe you can count on when you need a guaranteed crowd-pleaser.
How do you make peanut butter fudge?
Quick Overview
This Peanut Butter fudge is a dream for anyone who loves a rich, creamy, no-bake treat. You’ll essentially melt down butter, sugar, and milk, stir in your peanut butter and vanilla, and then let it set to a perfect, sliceable consistency. It’s incredibly forgiving, which is why I love it so much. You really don’t need any fancy equipment, just a good saucepan and a whisk. The whole process, from start to finish, takes less time than it takes to preheat an oven for most baked goods. It’s the ultimate quick-fix dessert that tastes like you spent hours making it.
Ingredients
What are the ingredients for peanut butter fudge?
For the Main Fudge: How do I make it
* 3 cups granulated sugar: This is the base for sweetness and texture. Make sure it’s fine granulated for the smoothest result.
* 3/4 cup unsalted butter: Use good quality butter; it really makes a difference in flavor. Cut it into pieces so it melts evenly.
* 2/3 cup evaporated milk: This helps create that super creamy, stable texture. Don’t substitute with regular milk unless you’re prepared for a slightly different outcome.
* 1 teaspoon vanilla extract: Pure vanilla extract is best for a robust flavor.
* 1 1/2 cups creamy Peanut Butter: Natural peanut butter can be a bit oily, so I usually stick to the creamy, processed kind for this recipe to ensure a smooth texture. Make sure it’s not the “just peanuts and salt” kind if you want the classic fudge texture.
* 1/2 teaspoon salt: This is crucial to balance the sweetness and enhance the peanut butter flavor.
How do I follow Step
Step 1: Preheat & Prep Pan
What size pan should I use? 8×8 or 9×9 inch? Line it with parchment paper, making sure to leave an overhang on the sides. How do you lift fudge out later? If you have good parchment coverage, you don’t need to grease it, but a light spray of non-stick spray will do. Cooking spray won’t hurt if you’re feeling cautious.
Step 2: Mix Dry Ingredients
This step is more about prepping your wet ingredients to join them. Have your peanut butter, vanilla extract, and salt measured out and ready to go near your stovetop. It’s important to have everything within easy reach because once the sugar mixture starts boiling, things move quickly.
Step 3: Mix Wet Ingredients
In a medium, heavy-bottomed saucepan, combine the granulated sugar, butter, and evaporated milk. Set aside. Place it over medium heat. I stir constantly with a wooden spoon until the butter is completely melted and the sugar has completely evaporated. How do you prevent scorching in a heavy pot?
Step 4: Combine
Once the mixture is smooth and the butter is fully melted, bring it to a rolling boil over medium heat. Let it boil for exactly 5 minutes, stirring constantly. I use a timer for this because it’s critical for achieving the right consistency. After 5 minutes, immediately remove the saucepan from the heat.
Step 5: Prepare Filling
Now for the magic! Add the measured creamy peanut butter, vanilla extract, and salt to the hot sugar mixture. Stir vigorously with a whisk until everything is completely combined and the mixture is smooth and creamy. It will look a bit separated at first, but keep stirring, and it will come together beautifully. Don’t skimp on the stirring here; it’s what creates that luscious texture.
Step 6: Layer & Swirl
Pour the peanut butter mixture into your prepared baking pan. If you want to get fancy, you can add a few dollops of extra peanut butter on top and swirl it gently with a knife or toothpick for a marbled effect. However, I often find it’s perfectly divine just as it is. Use a spatula to spread it evenly to the edges of the pan.
Step 7: Bake
This recipe actually doesn’t require baking! It’s a no-bake fudge, which is part of its charm. Once you’ve spread it into the pan, you just need to let it cool and set.
Step 8: Cool & Glaze
Let the fudge cool at room temperature for about 2-3 hours, or until it’s firm to the touch. You can speed this up a bit by placing it in the refrigerator for about an hour, but I find room temperature cooling gives it the best texture. Once it’s set, you can lift it out of the pan using the parchment paper overhang. If you’re adding any optional toppings like chopped peanuts or chocolate chips, press them into the top while it’s still slightly soft.
Step 9: Slice & Serve
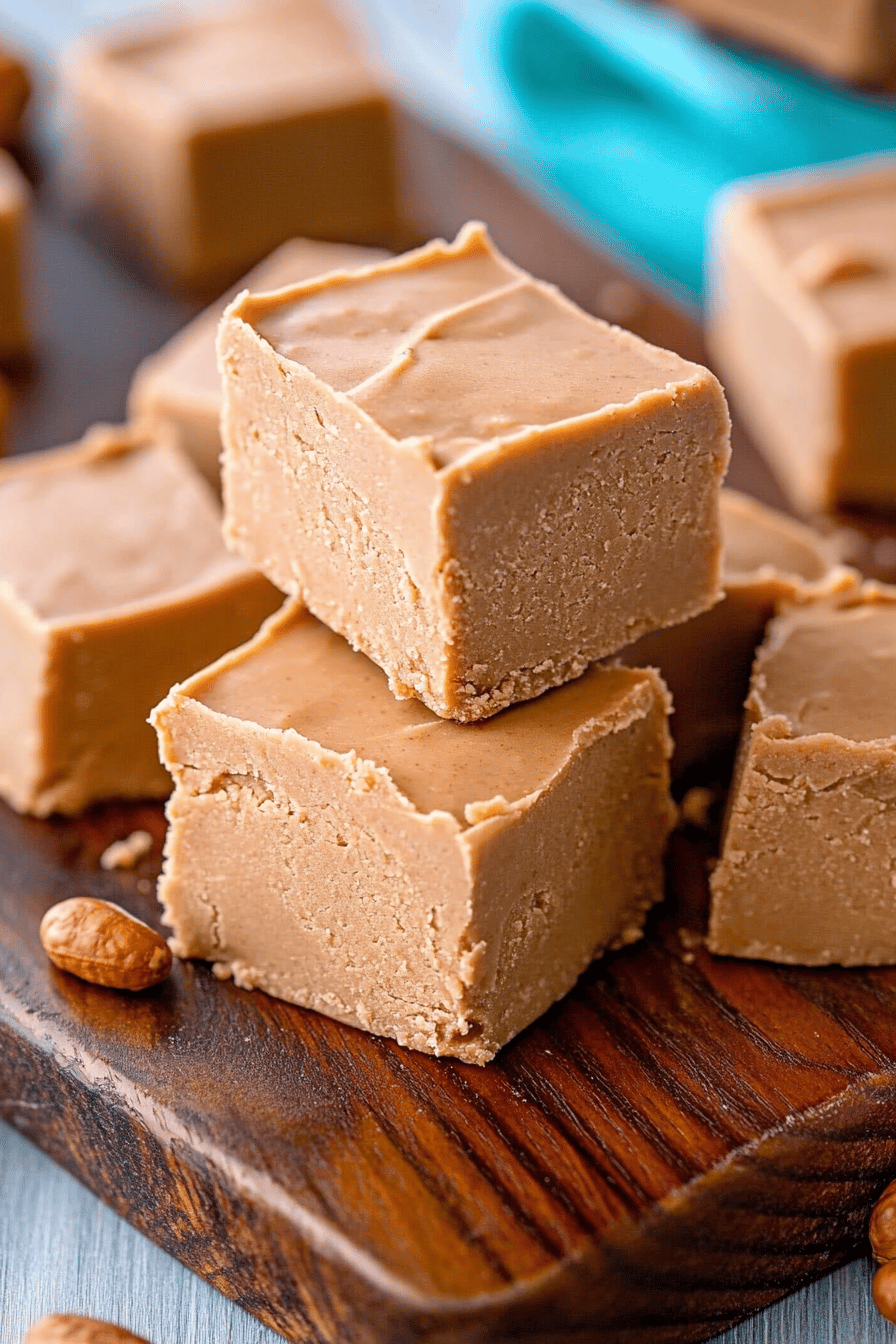
Once the fudge is completely firm, use a sharp knife to cut it into squares. I usually aim for 1-inch pieces, but you can cut them bigger or smaller depending on how you like it. Wiping the knife with a warm, damp cloth between cuts can help you get cleaner slices. Serve immediately or store for later!
What should I serve it with?
This peanut butter fudge is so rich and satisfying that it truly shines on its own, but I’ve found a few pairings that really elevate the experience. For breakfast, it’s a decadent little treat alongside a steaming mug of strong coffee. It’s like a little nutty hug to start your day, though I usually save this for a weekend morning when I have time to linger. For brunch, I love cutting it into smaller, bite-sized squares and arranging them on a pretty platter with other pastries or fruits. It adds a touch of homemade sweetness without being overwhelming. As a dessert, it’s pure bliss served with a scoop of vanilla bean ice cream or a drizzle of chocolate sauce. The contrast in temperatures and textures is just heavenly. And for those cozy snack moments, nothing beats a square with a cold glass of milk. My kids absolutely love it this way after school! Sometimes, if I’m feeling extra fancy, I’ll pair it with a raspberry coulis for a bit of tartness to cut through the sweetness, but honestly, it’s perfect just as it is.
How do you make Peanut Butter Fudge?
I’ve made this peanut butter fudge so many times that I’ve picked up a few tricks that really ensure it turns out perfectly every single time. Here are my top tips:
Peanut Butter Consistency: 2% For the smoothest, most consistent fudge, I always recommend using creamy peanut butter that doesn’t require stirring. Natural peanut butter can sometimes separate, and the oil can make your fudge a bit greasy or affect its setting. If you *do* use natural peanut butter, make sure to stir it really well and drain off any excess oil before measuring.
Sugar and Milk Measurement: Accuracy is key here, especially with the sugar and evaporated milk. Too much sugar can make it brittle, and too little evaporated milk can make it too soft. Always use measuring cups and spoons, and level off your ingredients!
The Boil Time is Crucial. That 5-minute boil after it reaches a rolling boil is non-negotiable. I’ve tried cutting it short, and the fudge doesn’t set properly, becoming too soft and almost runny. On the flip side, boiling it too long can make it hard and crumbly. Invest in a candy thermometer if you’re worried about timing – aiming for around 235-238°F (113-114°C) is ideal. I usually just rely on my trusty kitchen timer and precise stirring.
What is stirring? When you add the peanut butter, vanilla, and salt to the hot mixture, stir it continuously and vigorously until it’s completely smooth. Don’t give up if it looks a little strange at first; keep stirring, and it will emulsify into a creamy, dreamy mixture. This step is where the magic happens for that velvety texture.
Cooling PatienceIs it okay to cut into fudge too soon? How long does it take for a car to cool to room temperature? If you try to cut it while it’s still warm, it will be too soft and messy. Patience is a virtue when it comes to fudge!
Slice with Sharpness: For the cleanest cuts, use a large, sharp knife. Wiping the knife with a damp, warm cloth between each cut helps prevent the fudge from sticking and pulling, giving you those beautiful, sharp edges. You can even run the knife under hot water and wipe it dry before slicing.
Ingredient Swaps:What are some variations on this recipe? Is it better to use almond butter instead of peanut butter? What are some ways to add sea salt to a salad? For a chocolate swirl, you could melt some chocolate and drizzle it over the top before it sets.
What are some Storing and Reheating Tips?
How do you store peanut butter fudge? What have I learned from my experience?
Room Temperature: 2 Once the fudge has fully set, you can store it in an airtight container at room temperature. It will stay fresh and delicious for about 3-4 days. Make sure it’s completely cooled before sealing the container to prevent condensation, which can make it sticky. I usually just place it in a good quality plastic container with a tight-fitting lid.
Refrigerator Storage: If you live in a very warm or humid climate, or if you want it to last a bit longer, you can store it in the refrigerator. Place it in an airtight container, and it should keep well for up to a week. The texture might firm up a bit more in the fridge, so you might want to let it sit at room temperature for 15-20 minutes before serving if you prefer a softer consistency.
Freezer Instructions: For longer storage, peanut butter fudge freezes wonderfully! Cut the fudge into individual pieces, wrap each piece tightly in plastic wrap, and then place them all in a freezer-safe bag or container. It will keep in the freezer for up to 2-3 months. To thaw, simply unwrap the pieces and let them come to room temperature on a plate. Avoid microwaving frozen fudge as it can make the texture odd.
Glaze Timing Advice: If you’re adding any kind of topping or a chocolate drizzle, make sure the fudge is mostly set but still a little soft to the touch. This allows the topping to adhere properly. For storage, it’s best to add any drizzles *after* the fudge has completely cooled and set to avoid smudging.
Frequently Asked Questions
Final Thoughts
I really hope you give this peanut butter fudge recipe a try. It’s more than just a dessert for me; it’s a little piece of happy nostalgia that’s so easy to share. It’s the perfect solution when that sweet craving hits, and you want something truly special without a whole lot of fuss. The rich, creamy texture and the unmistakable flavor of peanut butter make it an absolute winner every single time. If you love this, you might also enjoy my classic no-bake cookies or my chewy chocolate chip cookies for more easy, comforting treats. Honestly, the hardest part is waiting for it to set, but trust me, it’s worth every second. I can’t wait to hear what you think of it, or any little twists you might add! Let me know in the comments below how your peanut butter fudge turns out!
Peanut Butter Fudge
Ingredients
Main Ingredients
- 3 cups granulated sugar
- 0.5 cup butter unsalted
- 0.5 cup milk whole
- 1 teaspoon vanilla extract
- 1.5 cups peanut butter creamy
Instructions
Preparation Steps
- Grease an 8x8 inch baking pan.
- In a medium saucepan, combine sugar, butter, and milk. Bring to a rolling boil over medium heat, stirring constantly.
- Boil for exactly 5 minutes, without stirring.
- Remove from heat. Stir in vanilla extract and peanut butter until smooth.
- Pour into the prepared pan and spread evenly.
- Let cool completely, then cut into squares.