You know those moments? The ones where a craving hits, sharp and sudden, and you *need* something sweet, something comforting, something that tastes like pure happiness? That’s when I reach for my pan cookies. Forget the fuss of rolling out dough, chilling it, and dealing with a million cookie sheets. These pan cookies are my absolute secret weapon. They’re so ridiculously easy, they almost feel like cheating, but the payoff? Oh my goodness, the payoff is HUGE. It’s like a warm hug in cookie form, and honestly, they disappear faster than you can say “more, please!” If you’ve ever loved a chewy, gooey blondie or a rich, fudgy brownie, you’re going to adore these pan cookies. They’re in that same universe of deliciousness, but with a charm all their own.
What are pan cookies?
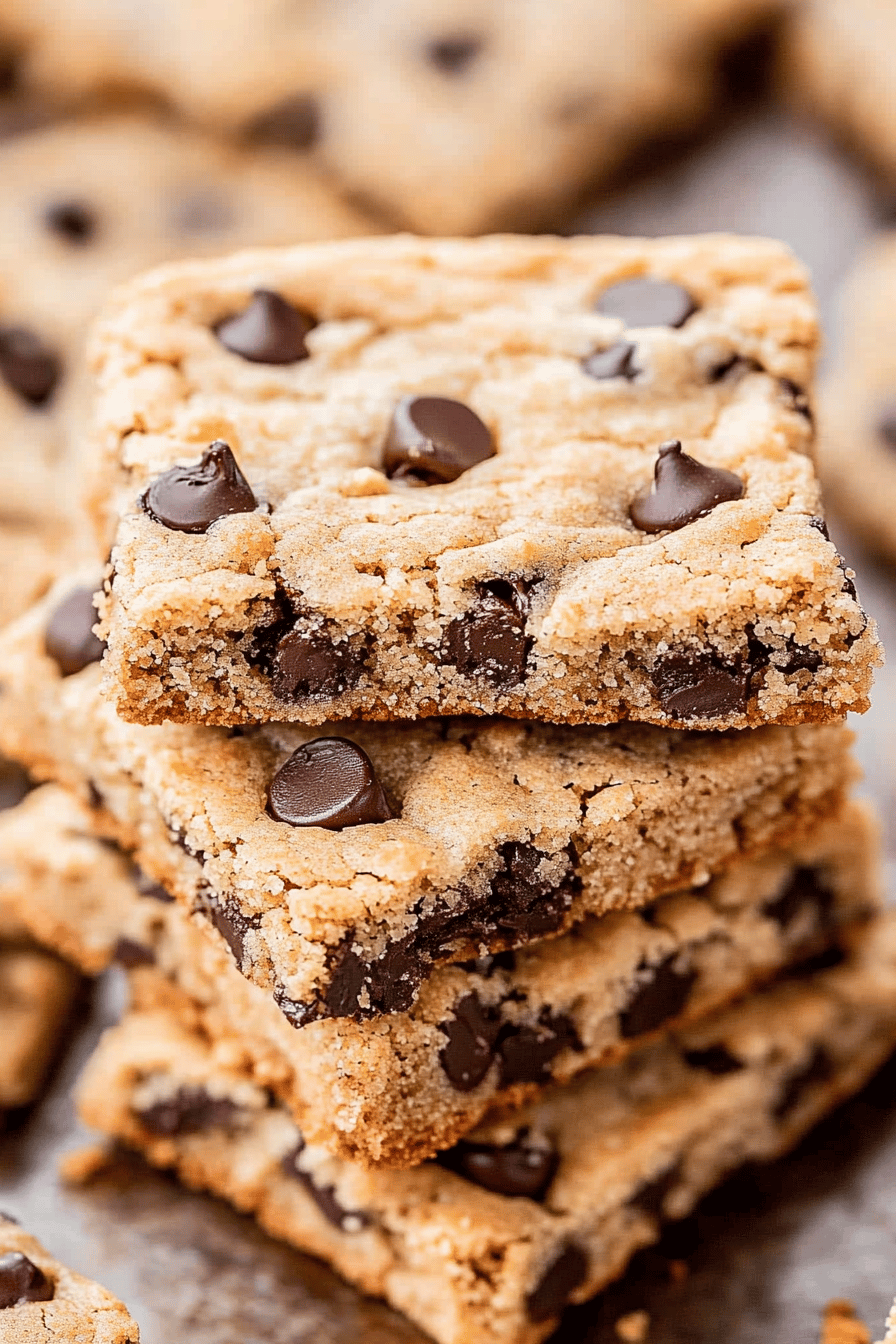
So, what exactly are these magical things I call pan cookies? Think of them as a hybrid between a cookie and a bar, all baked right in a single pan. Instead of dropping individual spoonfuls of dough, you spread the batter evenly across a prepared pan, and when it’s baked, you cut it into perfect squares or rectangles. It’s this simple method that makes them so incredibly approachable. There’s no need to worry about cookies spreading too much or not enough, or them all baking at the same rate. You get this wonderfully cohesive texture, a sort of delightful chewiness that’s just *chef’s kiss*. The name itself, pan cookies, is pretty straightforward – they’re cookies, made in a pan! But don’t let the simplicity fool you; the flavor is anything but simple. It’s rich, it’s decadent, and it’s utterly satisfying.
Why you’ll love this recipe?
Honestly, I could write a novel about why I adore these pan cookies, but let me try to sum it up for you. First, the flavor is just out of this world. They have this incredible balance of sweet, buttery goodness with a hint of vanilla that just sings. If you add in some chocolate chips or nuts, it takes it to a whole new level of indulgence. What I truly love most, though, is the sheer simplicity. On a busy weeknight when everyone suddenly needs a treat, or when unexpected guests pop over, I can whip these up in no time. Seriously, from start to finish, you’re looking at maybe 40 minutes, and most of that is just baking time! They’re also wonderfully budget-friendly, using staple pantry ingredients that most of us already have on hand. No fancy, hard-to-find items needed here. And their versatility? Amazing! They’re fantastic on their own, but I also love them with a scoop of ice cream, drizzled with caramel, or even just dunked in a glass of cold milk. They’re a bit like a blondie, a bit like a really soft Chocolate Chip cookie, but with a texture all their own that’s just divine. They’re the kind of treat that makes everyone happy and leaves them asking for the recipe, which I’m always happy to share!
How do I make pan cookies?
Quick Overview
The magic of these pan cookies lies in their straightforward assembly. You’ll whisk together your dry ingredients, cream together your wet ingredients, then combine them into a luscious batter. This batter is then spread into a prepared pan and baked until golden. Once cooled slightly, you slice it into perfect, bite-sized portions. It’s a no-fuss approach that guarantees a delicious result every single time, making it perfect even for novice bakers or those short on time.
Ingredients
For the Main Batter:
1 cup (2 sticks) unsalted butter, softened – Make sure it’s softened, not melted! This makes such a difference in the texture. I usually take mine out of the fridge about an hour before I plan to start.
1 ½ cups granulated sugar – This is the sweet base, don’t skimp!
2 large eggs – Room temperature eggs incorporate better.
1 teaspoon vanilla extract – The good stuff, if you have it! It really boosts the flavor.
2 ½ cups all-purpose flour – Spooned and leveled, please! Too much flour can make them dry.
1 teaspoon baking soda – This gives them a little lift.
½ teaspoon salt – Balances out the sweetness.
For the Filling:
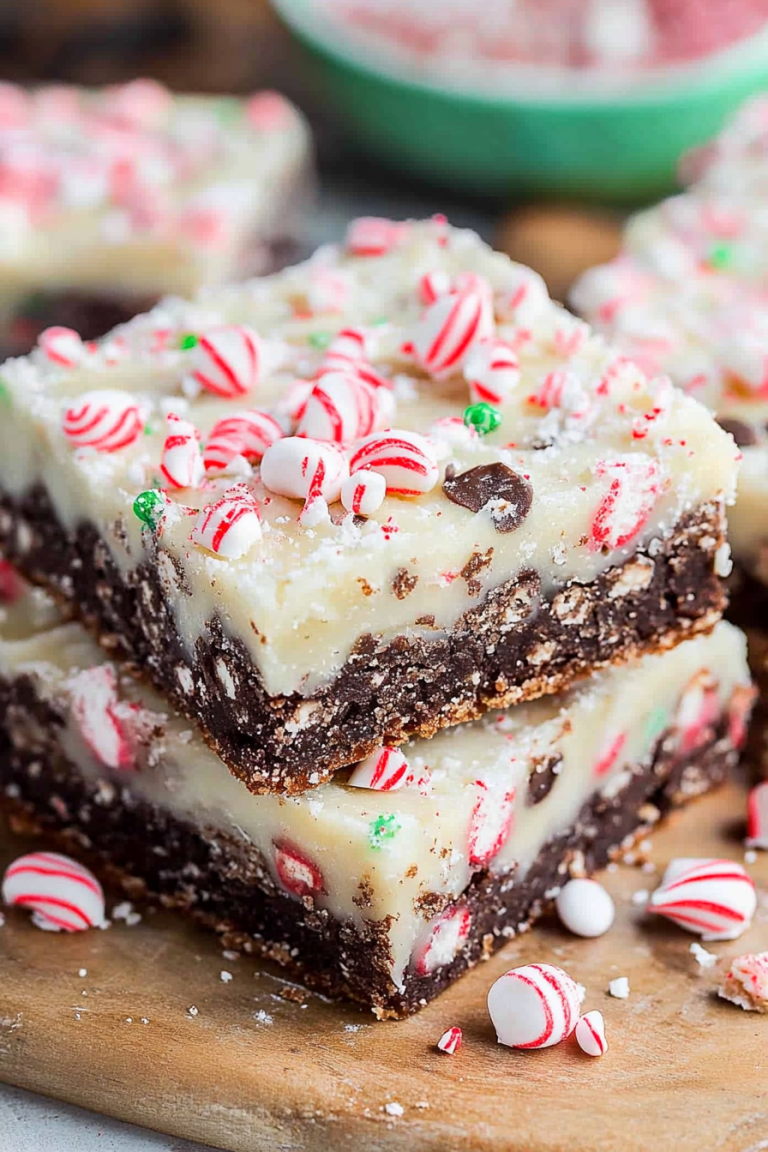
1 cup chocolate chips (semi-sweet or milk chocolate work best) – Or any mix-ins you love! Nuts, M&Ms, White Chocolate chips – go wild!
For the Glaze:
1 cup powdered sugar – Sifted if you want it super smooth.
2-3 tablespoons milk (or cream for extra richness) – Start with 2, add more until you get the consistency you like.
½ teaspoon vanilla extract – Just a little touch for flavor.

Step-by-Step Instructions
Step 1: Preheat & Prep Pan
First things first, preheat your oven to 350°F (175°C). Then, grab a 9×13 inch baking pan. You’ll want to grease it really well with butter or cooking spray, and then I like to line it with parchment paper, leaving some overhang on the sides. This parchment paper is a lifesaver for lifting the baked pan cookies right out when they’re done. Trust me on this one!
Step 2: Mix Dry Ingredients
In a medium bowl, whisk together the all-purpose flour, baking soda, and salt. Give it a good whisk to make sure everything is evenly distributed. This simple step helps ensure your cookies have a nice, consistent texture and rise evenly.
Step 3: Mix Wet Ingredients
In a large bowl, cream together the softened butter and granulated sugar until the mixture is light and fluffy. This usually takes about 2-3 minutes with an electric mixer. Then, beat in the eggs one at a time, followed by the vanilla extract. Make sure to scrape down the sides of the bowl occasionally to get everything incorporated.
Step 4: Combine
Gradually add the dry ingredients to the wet ingredients, mixing on low speed until just combined. Be careful not to overmix here! Overmixing can lead to tough cookies. You want to stop as soon as you no longer see streaks of flour. The batter will be thick and wonderfully gooey.
Step 5: Prepare Filling
If you’re using mix-ins like chocolate chips, gently fold them into the batter now. I like to reserve a few to sprinkle on top before baking for extra visual appeal and an extra burst of chocolatey goodness.
Step 6: Layer & Swirl
Spread the batter evenly into your prepared 9×13 inch pan. Use a spatula to get it into all the corners. If you want a swirl effect, you can add dollops of your favorite jam or even a contrasting chocolate ganache and gently swirl it in with a knife. For this recipe, I’m keeping it simple with just the chocolate chips mixed in, but the swirls are a fun option!
Step 7: Bake
Bake in the preheated oven for 25-30 minutes, or until the edges are golden brown and a toothpick inserted into the center comes out with moist crumbs attached, not wet batter. Keep an eye on them, as ovens can vary!
Step 8: Cool & Glaze
Let the pan cookies cool in the pan for about 10-15 minutes before you attempt to lift them out using the parchment paper. This is crucial – if they’re too hot, they’ll fall apart. While they’re cooling, whisk together the powdered sugar, milk, and vanilla extract for the glaze. You’re aiming for a thick but pourable consistency. Once the cookies have cooled a bit more, drizzle the glaze over the top. You can do this while they’re still warm for a melty glaze, or wait until they’re mostly cooled for a firmer glaze.
Step 9: Slice & Serve
Once the glaze has set a little, slice the pan cookies into squares or rectangles. I usually aim for about 16-20 pieces, depending on how hungry everyone is! Serve them warm for the ultimate gooey experience, or at room temperature. They’re delicious either way!
What to Serve It With
These pan cookies are so versatile, they fit into almost any occasion! For breakfast, especially on a weekend, I love serving them warm with a strong cup of coffee. The richness of the cookie and the bitterness of the coffee are a match made in heaven. For a more elegant brunch, I’ll slice them a little smaller and arrange them on a pretty platter, perhaps with some fresh berries on the side for a pop of color and freshness. As a dessert, they’re fantastic on their own, but you can elevate them by serving them with a scoop of vanilla bean ice cream – the hot cookie with cold ice cream is just heavenly! A drizzle of caramel sauce or a sprinkle of sea salt on top also makes them feel extra special. And for those cozy, lazy afternoons or evenings? They’re the ultimate comfort snack. I love them with a glass of cold milk, or even just a cup of tea. My family also has a tradition of making these for movie nights; they’re easy to share and always a crowd-pleaser. I’ve also found they pair wonderfully with a simple fruit salad, providing a sweet counterpoint without being overwhelming. Honestly, the possibilities are endless, and they always bring smiles!
Top Tips for Perfecting Your Pan Cookies
Over the years, I’ve picked up a few tricks that I think really elevate these pan cookies from good to absolutely phenomenal. First, regarding the butter and eggs: make sure they are at room temperature. I can’t stress this enough! Cold butter won’t cream properly, and cold eggs can cause the batter to curdle slightly. Softened butter and room temp eggs create that wonderfully light and airy texture in the batter. When it comes to flour, always spoon it into your measuring cup and level it off with a straight edge. Scooping directly from the bag can lead to packing too much flour in, making your cookies dense and dry. I learned that the hard way! For mixing, remember the golden rule: don’t overmix! Once you add the dry ingredients to the wet, mix only until just combined. A few streaks of flour are okay; they’ll disappear during baking. Overmixing develops the gluten too much, resulting in tough cookies, and nobody wants that. When it comes to the mix-ins, like chocolate chips, gently fold them in. If you overwork the dough trying to mix them in too vigorously, you can also end up with a tougher texture. For the swirl, if you decide to go that route, don’t go overboard. A few simple swirls are all you need to create a beautiful marbling effect without compromising the cookie structure. Baking is also key. Make sure your oven rack is in the center of the oven for even heat distribution. And don’t be afraid to check for doneness a few minutes early. Ovens vary, and you want those moist crumbs, not a dry, crumbly cookie. For the glaze, the consistency is everything. Start with less liquid and add more a teaspoon at a time until it pours smoothly but isn’t watery. If it’s too thick, a tiny bit more milk will loosen it up. If it’s too thin, add a tablespoon more powdered sugar. I’ve found that adding a pinch of salt to the glaze can also really enhance the sweetness and flavor profile. Finally, don’t rush the cooling process! Letting them cool for at least 15-20 minutes in the pan before attempting to cut them is crucial for them to hold their shape.
Storing and Reheating Tips
These pan cookies are usually gobbled up pretty quickly in my house, but when I do manage to have leftovers, storing them is super simple. For room temperature storage, I keep them in an airtight container. They’ll stay fresh and delicious for about 3-4 days this way, though honestly, the texture is best within the first two days. I make sure the container is well-sealed to prevent them from drying out. If I know I’ll have them for longer, or if the weather is particularly warm, I’ll pop them into the refrigerator. Stored in an airtight container in the fridge, they can last up to a week. I personally find they taste best at room temperature, so I usually take them out of the fridge about 30 minutes before I plan to eat them to let them soften up a bit. For long-term storage, freezing is an absolute dream! I like to cut them into individual portions first, then wrap each piece tightly in plastic wrap, followed by a layer of aluminum foil. Alternatively, you can place them in a freezer-safe container with parchment paper between layers. They’ll keep beautifully in the freezer for up to 2-3 months. When you’re ready to enjoy them, you can either let them thaw at room temperature for a couple of hours, or gently reheat them in a low oven (around 250°F or 120°C) for about 5-8 minutes to bring back that fresh-baked warmth and gooeyness. I usually avoid glazing them if I know I’ll be freezing them, as the glaze can sometimes get a bit sticky or messy. I prefer to add the glaze *after* reheating them if I’m looking for that extra touch.
Frequently Asked Questions
Final Thoughts
So there you have it – my absolute favorite pan cookies recipe. I genuinely hope you give these a try. They’re the kind of recipe that makes you feel like a baking superhero without all the fuss. The smell that fills the house when these are baking is just pure comfort, and the taste… well, it’s just pure bliss. They’re proof that you don’t need complicated steps to achieve incredible flavor and texture. If you love these, you might also enjoy my chewy chocolate chip bars or my incredibly easy no-bake cookies. They’re all in that same vein of simple, delicious treats that are perfect for any moment. I can’t wait to hear how yours turn out! Please leave a comment below and let me know if you tried them, what mix-ins you used, or any little twists you added. Your feedback and stories truly make my day! Happy baking!

Chewy Chocolate Chip Pan Cookies
Ingredients
Main Ingredients
- 0.75 cup unsalted butter melted
- 1 cup packed brown sugar
- 0.25 cup granulated sugar
- 1 large egg
- 1 teaspoon vanilla extract
- 1.75 cups all-purpose flour
- 0.5 teaspoon baking soda
- 0.25 teaspoon salt
- 1.5 cups chocolate chips semi-sweet or milk chocolate
Instructions
Preparation Steps
- Preheat oven to 350°F (175°C). Grease and flour an 8 or 9-inch round cake pan or cast iron skillet.
- In a large bowl, whisk together the melted butter, brown sugar, and granulated sugar until well combined.
- Beat in the egg and vanilla extract until smooth.
- In a separate medium bowl, whisk together the flour, baking soda, and salt.
- Gradually add the dry ingredients to the wet ingredients, mixing until just combined. Be careful not to overmix.
- Fold in the chocolate chips.
- Press the cookie dough evenly into the prepared pan.
- Bake for 20-25 minutes, or until the edges are golden brown and the center is set but still slightly soft.
- Let cool in the pan for at least 10 minutes before slicing and serving.