What are those desserts that make everything feel good? Which ones bring a smile to your face? What are some good Oreo cheesecake recipes? What’s the perfect balance of creamy cheesecake and irresistible crunch? What is your favorite chocolate cookie? What are some of the best cheesecakes I have tried? Is this surprisingly What’s like a New York cheesecake? My family goes wild for me. My kids go crazy for him. Every time I pull this out of the oven, the aroma alone is enough to get everyone hovering in the air. In the kitchen, waiting for their turn.
What is oreo cheesecake?
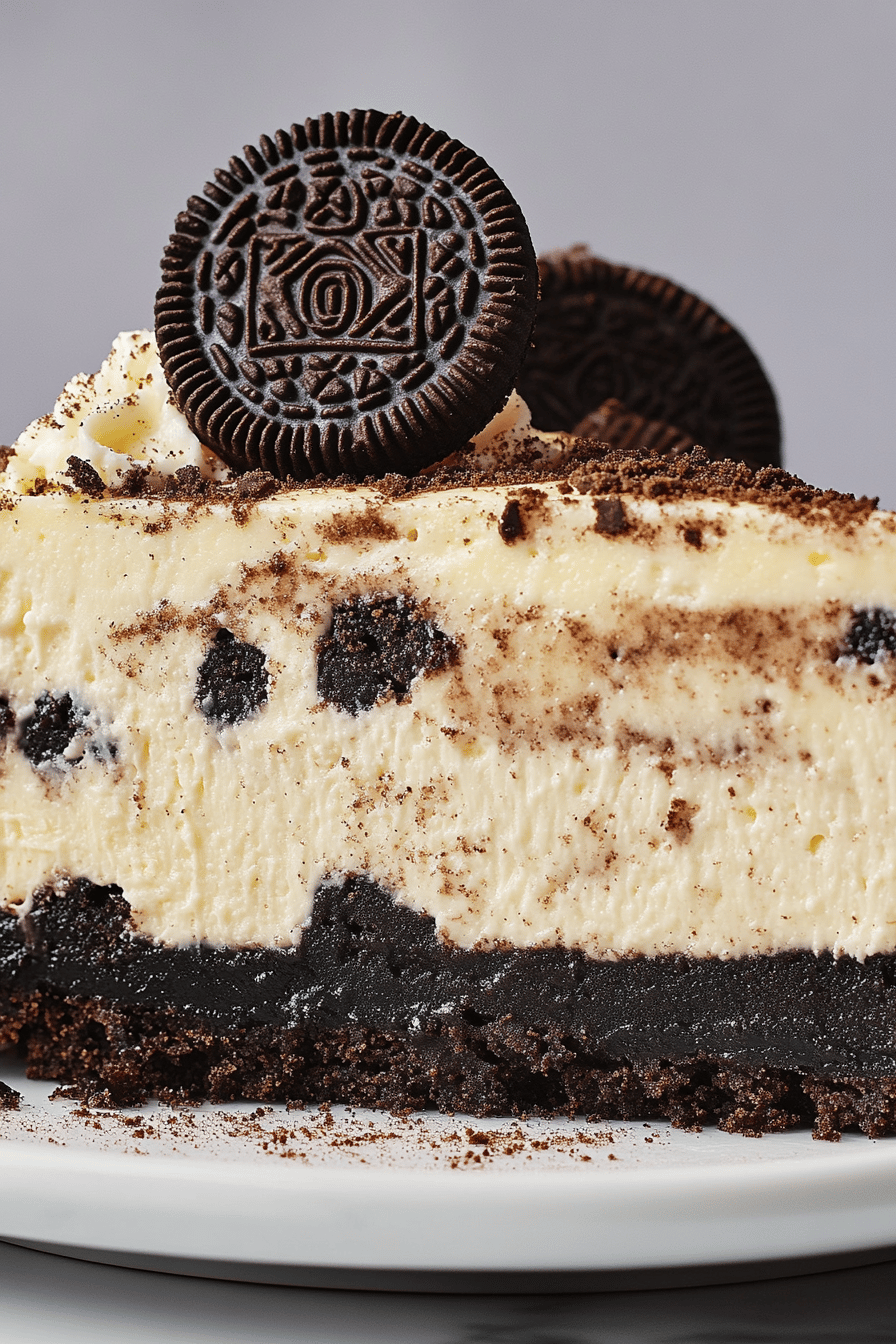
What is this Oreo cheesecake? What is a cheesecake? Right into the filling. What is the importance of cookie crust? What is the significance of black and white cookies? What is a classic baked cheesecake? Is it overly complicated? Is it the kind of dessert that feels fancy enough for guests but is cozy enough to eat on a Tuesday night? What is a cheesecake? Is it as simple as that?
Why you’ll love this recipe?
I’m telling you, there are so many reasons why this Oreo cheesecake has become a staple in my recipe rotation, and I bet you’ll feel the same way. First off, the flavor is just out of this world. It’s that rich, tangy cream cheese flavor you expect from a great cheesecake, but it’s perfectly complemented by the sweet, chocolatey depth of the Oreos. You get little pockets of cookie goodness throughout, and then that fantastic Oreo crust binding it all together. It’s decadent without being overly sweet, which is a balance I really appreciate. And the simplicity! Seriously, for how impressive this tastes, it’s surprisingly easy to whip up. You don’t need any fancy techniques or super obscure ingredients. This is a lifesaver when you want something spectacular without spending all day in the kitchen. Plus, it’s pretty cost-effective; most of the ingredients are pantry staples, and Oreos are readily available everywhere. What I love most about this Oreo cheesecake, though, is its versatility. While it’s fantastic on its own, I’ve found it’s also a great base for other toppings. Sometimes I’ll add a chocolate ganache, other times a simple whipped cream. It’s a crowd-pleaser that appeals to both kids and adults, and it truly shines at any gathering. It’s the kind of dessert that makes you feel like a baking superstar, even if you’re just starting out.
How do I make Oreo Cheesecake?
Quick Overview
How do I make Oreo cheesecake? How do you make a creamy cheesecake? What’s better, a filling that’s studded with crushed Oreos? The whole thing gets baked until perfectly set, then chilled to perfection. The beauty of this method is its forgiving nature. If you have an Oreo, it’s hard to mess up, and even if it’s not perfectly smooth on top, the Oracles and any optional toppings are still good. What are some good toppings to hide a multitude of sins? What is the best way to get that wow factor dessert?
Ingredients
For the Main Batter:
Here’s what you’ll need to get started. For the crust, I always use about two sleeves of regular Oreos – those are the ones that work best for texture. You can use the chocolate creme filling; it all gets mixed in! We’ll crush them really finely for the crust, almost like sand. Then, we’ll bind it all together with melted butter. For the cheesecake filling itself, make sure your cream cheese is really softened; that’s my biggest tip for avoiding lumps. You’ll need full-fat cream cheese for the best creamy texture. A couple of eggs, some sugar, a touch of vanilla extract, and a little sour cream or heavy cream to make it extra smooth. And, of course, more Oreos! I like to chop them up a bit larger for the filling so you get nice chunks.
For the Filling:
For the filling, we’ll be using the core cheesecake ingredients. Softened cream cheese, granulated sugar, eggs, vanilla extract, and a bit of sour cream for extra flavor. tang and richness. What is the magic of crushed Oreos? I usually crush about 15-20 Oreos for the filling, making sure they’re not completely pulverized, so I don’t eat them all the time. You have some nice texture. I’ve found that using a food processor for the crust and then just zip with the cookies for flavor. Filling is the easiest way to get it done.
For the Glaze:
While this cheesecake is absolutely divine on its own, sometimes a little something extra is nice. A simple chocolate ganache or a drizzle of melted chocolate works wonders. Alternatively, some whipped cream and a few whole Oreos on top make for a beautiful presentation. I sometimes whip up a quick chocolate glaze by melting chocolate chips with a tablespoon of butter or coconut oil until smooth. It’s totally optional, but it adds another layer of deliciousness.
How do I follow step
Step 1: Preheat & Prep Pan
First things first, get your oven preheating to a nice 325 degrees Fahrenheit (160 degrees Celsius). This gentle heat is key to a creamy, evenly baked cheesecake. You’ll need a 9-inch springform pan. I like to lightly grease the bottom and sides, then press the Oreo crust mixture firmly into the bottom and slightly up the sides of the pan. Using the bottom of a glass or a measuring cup helps get it nice and even. Pop the crust into the freezer for about 10 minutes while you get the filling ready; this helps it hold its shape during baking.
Step 2: Mix Dry Ingredients
Technically, for the crust, the “dry” ingredient is the crushed Oreos. So, take those Oreos and crush them up really well. Is a food processor really the best? If you don’t have a food processor, you can pop them in .ziplock bags and bash them with rolling pins. What should I do to have no big chunks left? This fine texture is what makes the crust hold together beautifully and gives it a consistent bite.
Step 3: Mix Wet Ingredients
For the filling, we’re going to start with the softened cream cheese. Make sure it’s really at room temperature, otherwise, you’ll end up with lumps, and nobody wants that! Beat the cream cheese with an electric mixer on medium speed until it’s completely smooth and creamy. Then, gradually add the sugar and continue to beat until well combined and fluffy. Next, add the eggs, one at a time, beating just until each is incorporated. Don’t overbeat here; overmixing can introduce too much air, which can cause cracks. Stir in the vanilla extract and the sour cream (or heavy cream) until everything is just combined and the mixture is luxuriously smooth.
Step 4: Combine
Now it’s time to gently fold in your crushed Oreos into the cream cheese mixture. Be gentle! You want to distribute them evenly without overworking the batter. A spatula is perfect for this. Fold until you no longer see streaks of cream cheese, but stop as soon as they are incorporated. Overmixing at this stage can make the cheesecake tough. I usually chop about half the Oreos into smaller pieces and leave the other half as fine crumbs for the filling to give it a nice texture.
Step 5: Prepare Filling
The filling is what we just prepared in the previous step – the gloriously smooth cream cheese mixture with those delicious Oreo pieces folded in. Make sure your cream cheese was truly softened and that you mixed it until there were absolutely no lumps before adding the eggs. The sour cream or heavy cream is really important for that silken texture, so don’t skip it. Taste it if you dare – it’s already pretty amazing!
Step 6: Layer & Swirl
Pour the creamy Oreo filling over the chilled crust in your springform pan. Now, this is where you can get creative. If you want extra Oreo flavor and visual appeal, you can reserve some crushed Oreos and sprinkle them over the top before baking, or even swirl them into the batter. I often reserve about half a cup of crushed Oreos and gently press them onto the surface of the cheesecake batter after I’ve poured it into the pan. This gives you those lovely dark speckles on top. You can also swirl a bit of melted chocolate or extra crushed Oreos into the batter itself before pouring for a marbled effect. For a simple, clean look, just pour the batter over the crust.
Step 7: Bake
Bake your Oreo cheesecake in the preheated oven for about 50-60 minutes. The edges should be set and slightly golden, while the center should still have a slight wobble when you gently shake the pan. It’s like a soft jiggle, not liquid. A good test is to insert a knife near the center; it should come out mostly clean, but the very center might still be a little soft. If you notice the edges browning too quickly, you can always tent the pan loosely with foil. Don’t be tempted to overbake it, or it might turn out dry and prone to cracking.
Step 8: Cool & Glaze
This is a crucial step for cheesecake! Once it’s done baking, turn off the oven, prop the door open slightly with a wooden spoon, and let the cheesecake cool in the oven for about an hour. This gradual cooling helps prevent cracking. After that, carefully remove it from the oven and let it cool completely on a wire rack. Once it’s at room temperature, cover it loosely with plastic wrap and chill it in the refrigerator for at least 4-6 hours, or preferably overnight. This is when the magic really happens, and the flavors meld and the texture sets perfectly. If you’re adding a glaze, this is the time to do it, after the cheesecake has chilled and set.
Step 9: Slice & Serve
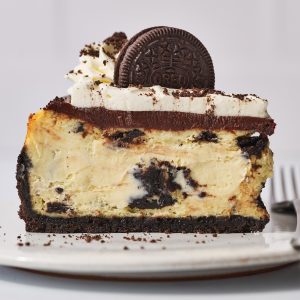
Once your Oreo cheesecake is thoroughly chilled, it’s ready to be sliced and enjoyed! For the cleanest slices, run a sharp knife under hot water and wipe it dry between each cut. You can also use a warm, thin spatula. Serve chilled. It’s beautiful just as it is, with its creamy filling and cookie accents. A dollop of whipped cream and a couple of extra Oreos on top make for an elegant presentation. My kids love it with a drizzle of chocolate syrup!
What should I serve it with?
This Oreo cheesecake is so versatile, it fits into almost any meal or occasion. For a casual breakfast, I know it sounds crazy, but a small slice with a hot cup of coffee is surprisingly delightful – it’s like a special treat to start the day. For a proper brunch spread, I love to serve it with fresh berries, perhaps a raspberry coulis, and maybe some flaked almonds sprinkled on top for a bit of crunch and color. It really elevates the presentation. As a dessert, it’s a showstopper all on its own, but it also pairs wonderfully with a rich chocolate ganache or a swirl of caramel sauce. And for those cozy, late-night cravings when you just need something sweet, a generous slice with a tall glass of cold milk is pure comfort. We often have this after our Sunday family dinners, and it’s always the first thing to disappear. It’s also fantastic when paired with a scoop of vanilla bean ice cream – the contrast in temperatures and textures is heavenly.
How do you make an Oreo Cheesecake?
I’ve made this Oreo cheesecake more times than I can count, and I’ve picked up a few tricks along the way that really make a difference. For the crust, make sure those Oreos are pulverized finely – no one wants a bite of crust that’s just crumbly cookie bits. Binding it with melted butter until it resembles wet sand is key. For the filling, I can’t stress enough the importance of softened cream cheese. If it’s not soft enough, you’ll be beating forever and still get lumps. I usually leave mine out on the counter for a good 2-3 hours. When you add the eggs, beat on low speed and only until they’re just incorporated. Overbeating incorporates too much air, which can lead to cracks and a less dense, sometimes rubbery texture. If you’re nervous about cracking, a water bath (bain-marie) is your best friend. You’ll want to wrap the outside of your springform pan in heavy-duty aluminum foil (several layers!) to prevent leaks, then place it in a larger roasting pan and fill the roasting pan with about an inch of hot water. This creates a humid environment that bakes the cheesecake gently and evenly, virtually eliminating cracks. For the Oreos in the filling, I like to chop about half of them coarsely and then pulse the other half more finely in the food processor. This gives you both distinct cookie chunks and a more integrated cookie flavor throughout. When baking, the edges should be set, but the center should still have a slight wobble. It will continue to set as it cools. Don’t overbake it! This is a common mistake that leads to a dry cheesecake. Finally, patience is key with cooling. The gradual cool-down in the oven, followed by thorough chilling in the fridge, is non-negotiable for the perfect texture and flavor development.
Storing and Reheating Tips
Storing this Oreo cheesecake is actually pretty simple, but knowing how to do it right ensures it stays delicious. If you have any leftovers (which is rare in my house!), you can leave the cheesecake in the springform pan, cover it tightly with plastic wrap, and store it in the refrigerator. It will keep well in the fridge for up to 3-4 days. If you’ve already sliced it, you can cover the cut edges with plastic wrap to prevent them from drying out. I’ve also had success freezing portions of this cheesecake. For the best results, make sure it’s completely chilled. You can either freeze the whole cheesecake (again, tightly wrapped) or slice it into portions and wrap each slice individually in plastic wrap, then place them in a freezer-safe bag or container. It should last in the freezer for about 1-2 months. To thaw, transfer the frozen cheesecake (or slices) to the refrigerator and let it thaw overnight. If you’re planning to add a glaze or topping, it’s generally best to do that *after* the cheesecake has been thawed and is ready to serve. Refrigerated cheesecake is best served cold. If it’s been in the fridge for a while and feels a bit too firm, just let it sit at room temperature for about 15-20 minutes before slicing and serving.
What are some frequently asked questions?
Final Thoughts
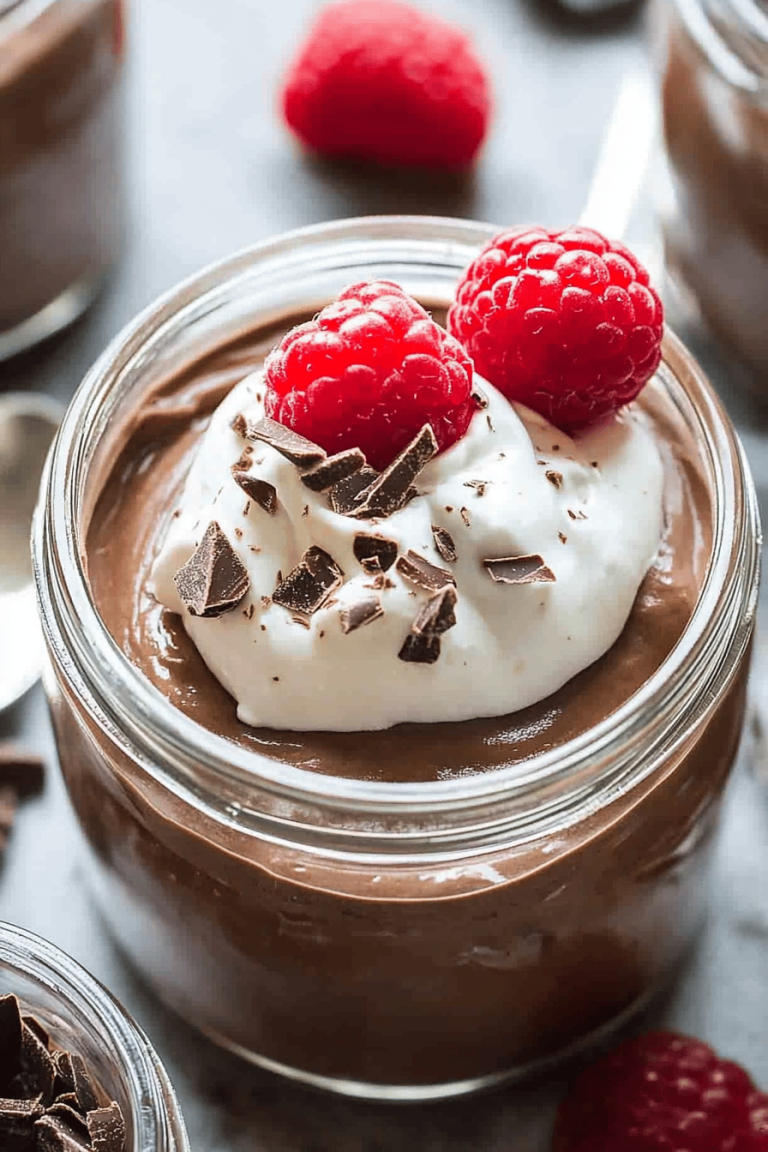
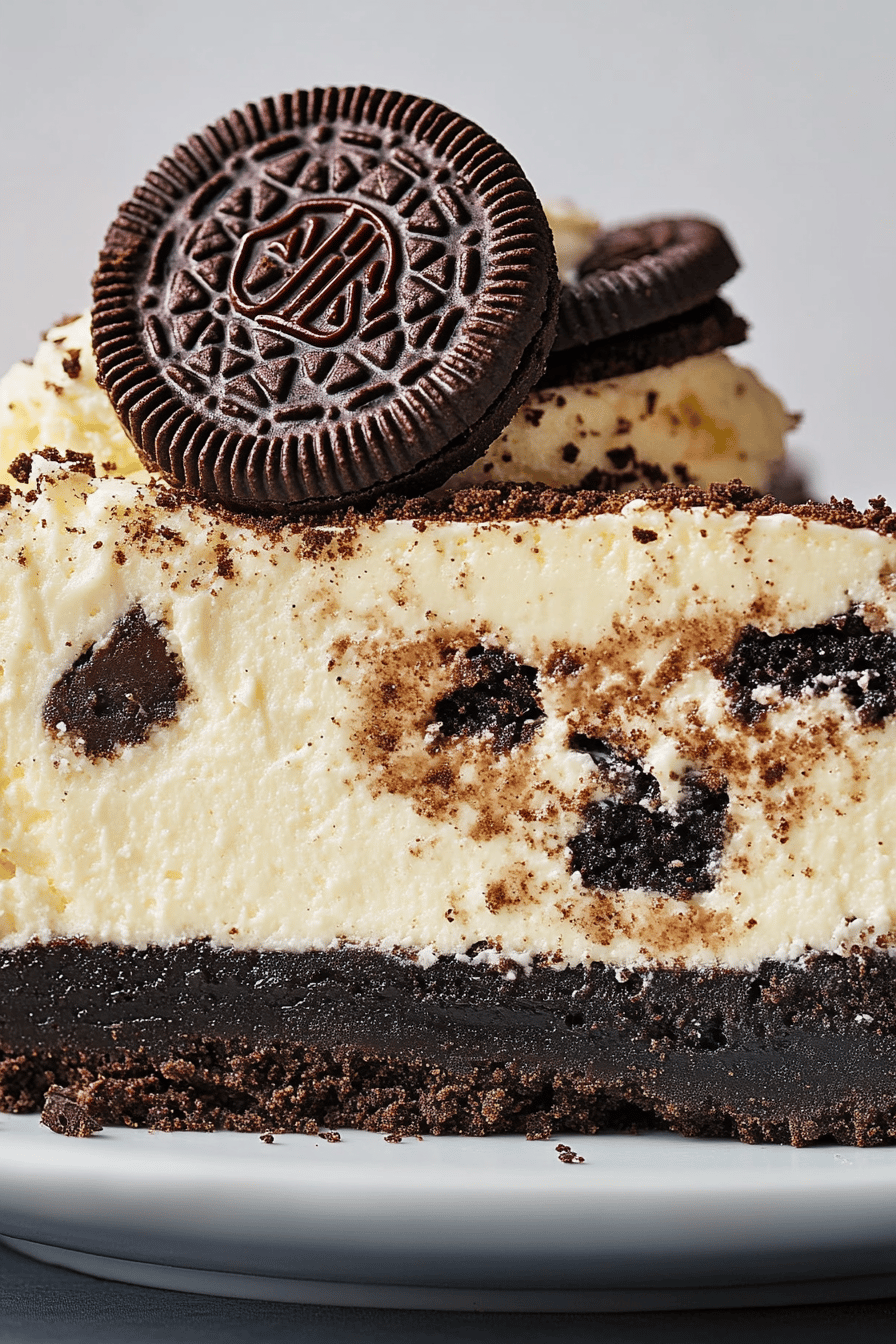
Honestly, this Oreo cheesecake is more than just a dessert to me; it’s a little slice of happiness. It’s that perfect treat that always delivers, whether you’re celebrating a birthday, bringing something to a potluck, or just craving something incredibly delicious. The combination of creamy cheesecake and crunchy, chocolatey Oreos is a match made in heaven, and the fact that it’s relatively easy to make makes it even better. If you’re a fan of Oreos or just love a good cheesecake, you absolutely have to give this recipe a try. I’m confident it will become a favorite in your home too. If you enjoy this recipe, you might also love my No-Bake Chocolate Mousse Pie or my classic New York Cheesecake – they’re equally crowd-pleasing! I can’t wait to hear what you think when you make this Oreo cheesecake. Let me know in the comments how it turns out, and if you have any fun variations you tried!
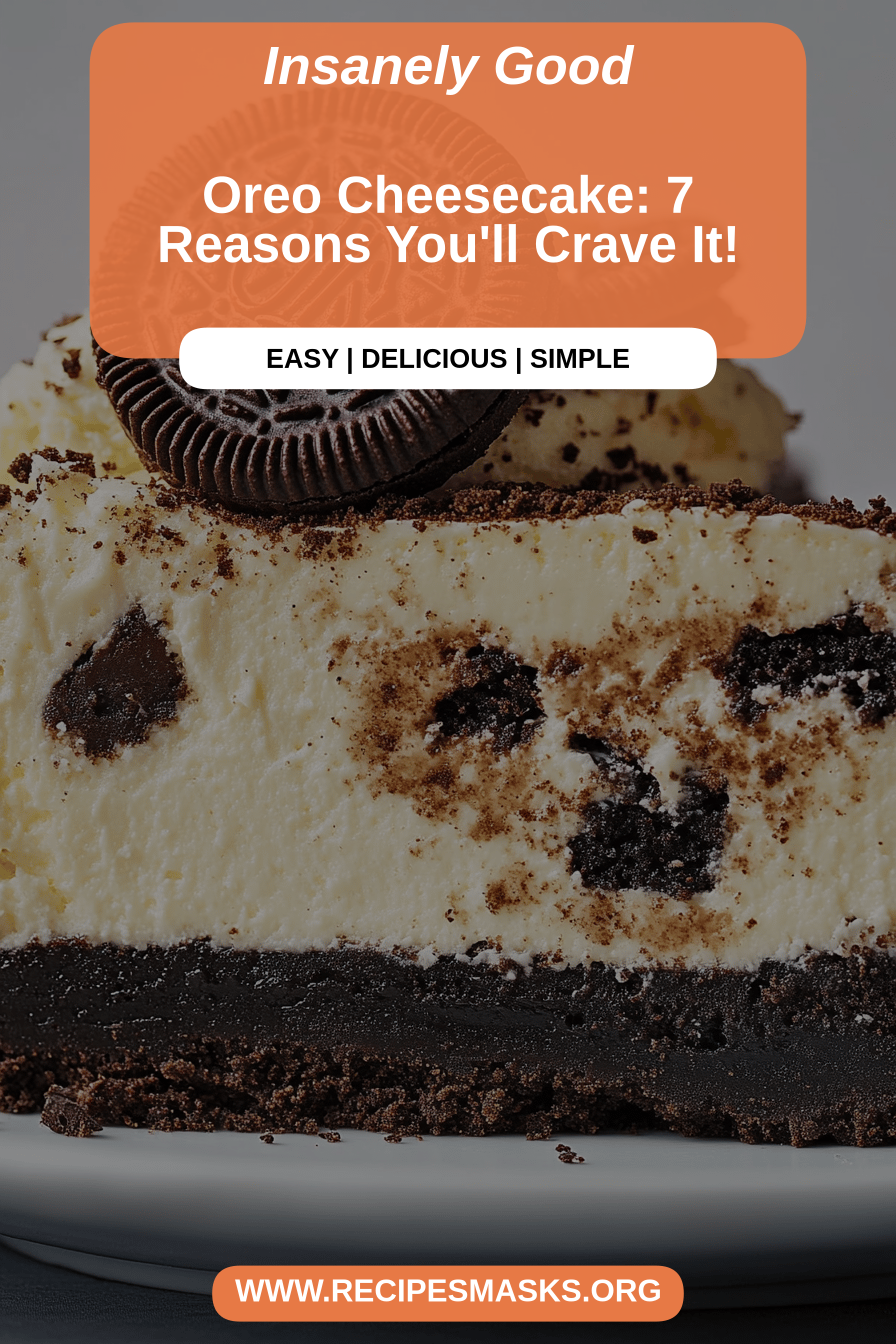
Oreo Cheesecake
Ingredients
For the Crust:
- 24 cookies Oreo cookies finely crushed
- 6 tablespoons butter melted
For the Filling:
- 3 packages cream cheese softened
- 1 cup granulated sugar
- 1 teaspoon vanilla extract
- 2 cups heavy cream whipped to stiff peaks
- 12 cookies Oreo cookies roughly chopped
Instructions
Preparation Steps
- Combine crushed Oreo cookies and melted butter in a bowl. Press the mixture into the bottom of a 9-inch springform pan.
- In a large bowl, beat the softened cream cheese and granulated sugar until smooth and creamy.
- Stir in the vanilla extract.
- Gently fold in the whipped heavy cream until just combined.
- Fold in the chopped Oreo cookies.
- Pour the filling over the prepared crust and spread evenly.
- Chill for at least 4 hours, or until firm.
- Garnish with additional Oreo cookies before serving, if desired.