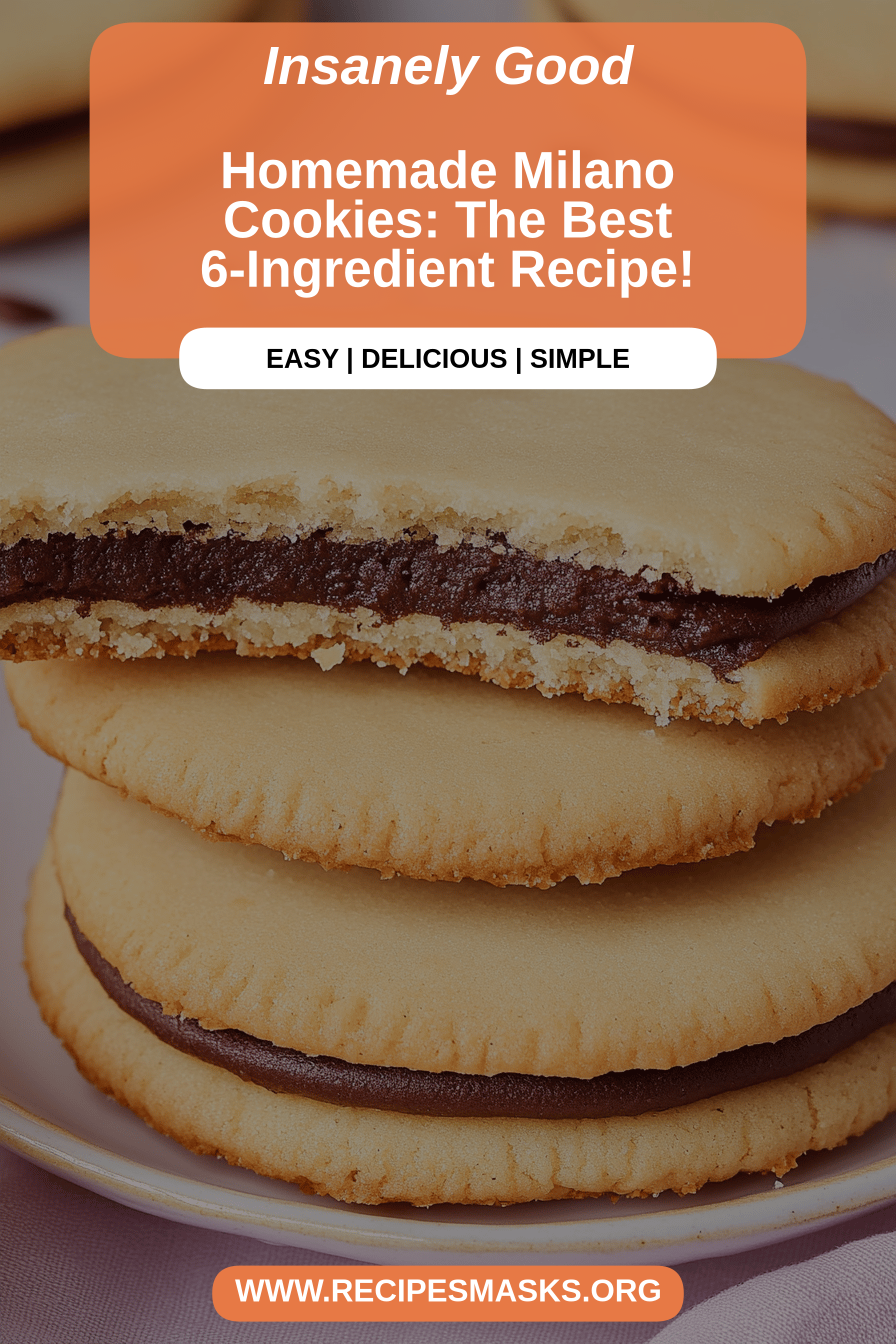
Oh, these Milano cookies! Just thinking about them brings back so many memories. It’s funny, isn’t it, how a simple cookie can hold so much sweetness? I remember my grandmother making these for special occasions when I was just a little sprout. The aroma that filled her tiny kitchen was pure magic – buttery, sweet, with just a hint of something exotic. They always felt so fancy, so elegant, like something you’d only get at a high-end bakery. I’ve tried to recreate that feeling countless times, and I think I’ve finally nailed it. They’re not just cookies; they’re little moments of pure happiness. If you’ve ever had those store-bought Milano cookies, you know the appeal – that delightful crispness, the smooth chocolate filling. Well, let me tell you, making them at home is not only possible, it’s incredibly rewarding, and dare I say, even more delicious. This recipe is my go-to when I need a little pick-me-up or when I want to impress guests without pulling an all-nighter in the kitchen.
What are Milano cookies?
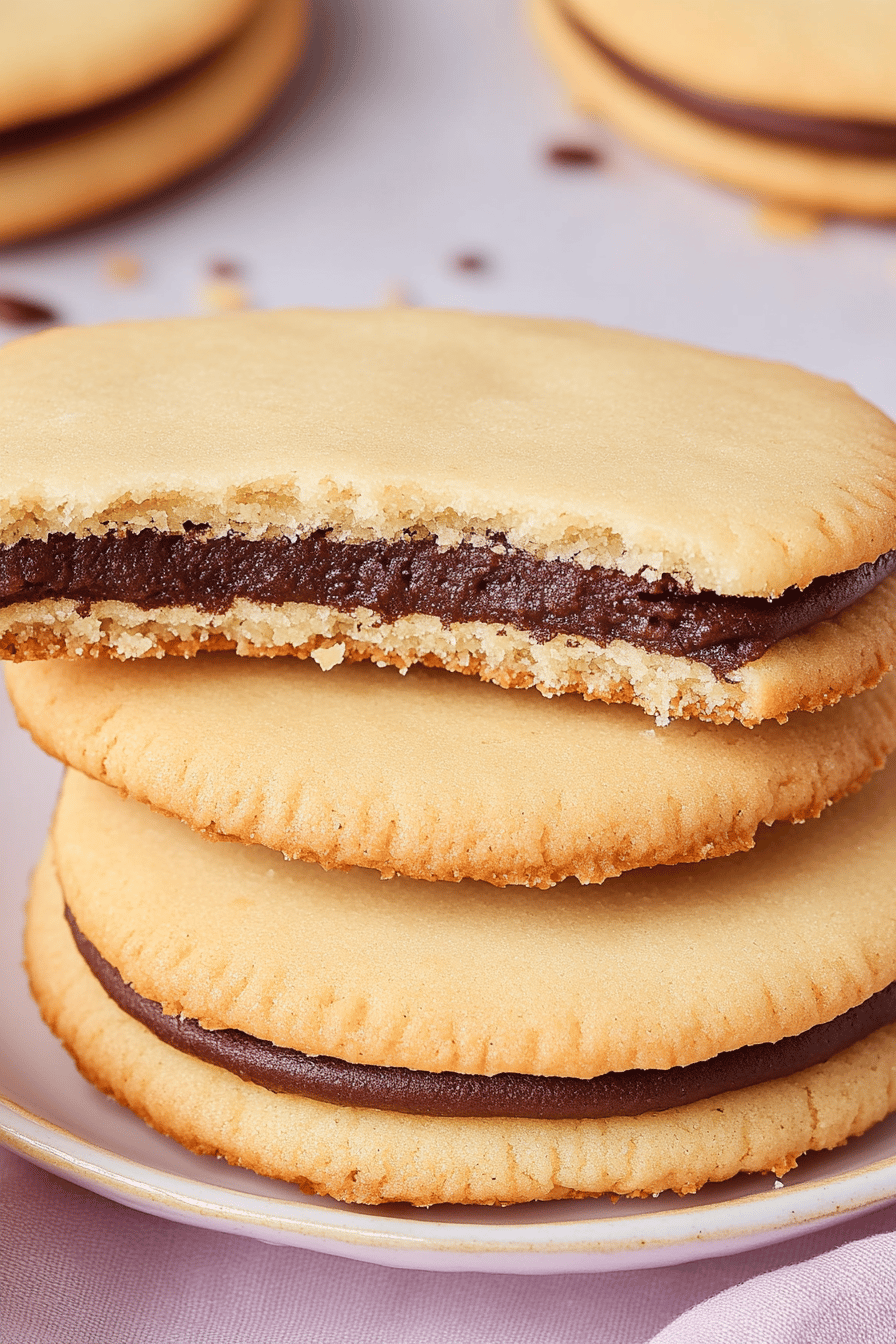
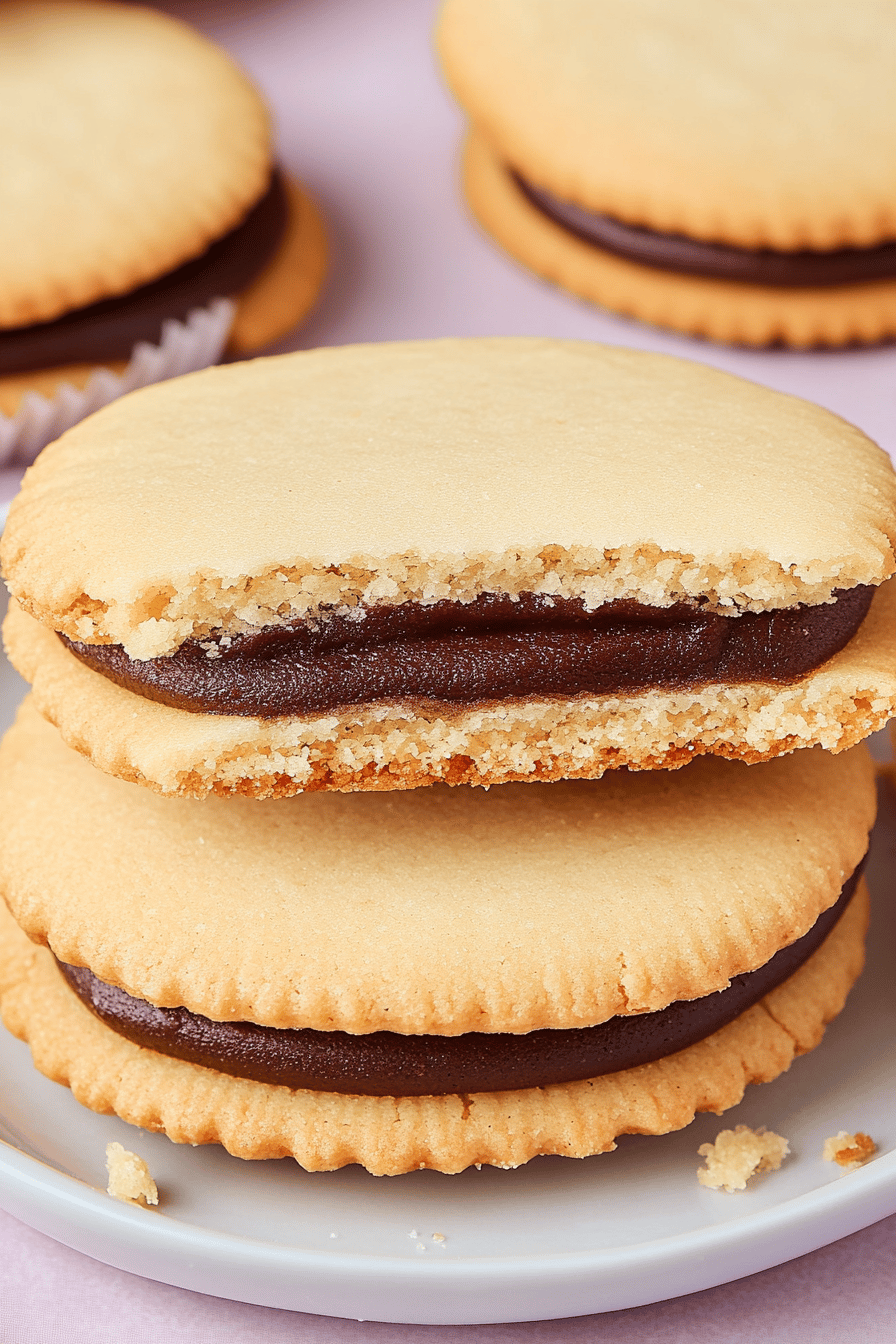
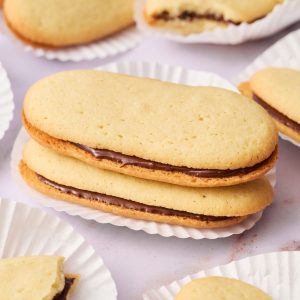
So, what exactly makes a Milano cookie so special? At its heart, a Milano cookie is a crisp, thin, and subtly sweet cookie sandwich. The defining characteristic is that delightful texture – it’s not quite a shortbread, and it’s not quite a biscotti, but somewhere perfectly in between. They’re often described as elegant or sophisticated, and I think that comes from their delicate shape and the luscious filling that holds two cookies together. Think of them as the refined cousin of your everyday Chocolate Chip cookie. The name itself evokes a sense of Italian heritage and a touch of European flair, doesn’t it? Traditionally, they’re made with a simple butter and sugar base, a hint of almond extract for that signature flavor, and then filled with smooth, rich chocolate. It’s this beautiful simplicity that allows the quality of the ingredients to truly shine through. It’s a classic for a reason, folks!
Why you’ll love this recipe?
Honestly, there are so many reasons why this Milano cookie recipe has become a staple in my baking repertoire, and I’m betting it will in yours too! First and foremost, the FLAVOR is out of this world. You get that incredible buttery crispness from the cookie, which is perfectly complemented by the sweet, melt-in-your-mouth chocolate filling. It’s just heavenly. What I particularly adore is how surprisingly SIMPLE it is to make them. I know, I know, sometimes fancy-looking cookies can be intimidating, but trust me, this recipe is totally doable. The steps are straightforward, and even if you’re not an experienced baker, you’ll be amazed at how well this turns out. Plus, it’s incredibly COST-EFFECTIVE. All the ingredients are pantry staples, meaning you can whip up a batch without breaking the bank. And let’s talk VERSATILITY! While the classic chocolate filling is divine, you can totally switch it up. Ever tried a raspberry jam filling? Or maybe a lemon curd? It’s perfect for any occasion, whether you’re serving them at a formal tea party, packing them for a picnic, or just enjoying one (or three!) with your afternoon coffee. They’re also fantastic for gifting – people are always so touched when you give them homemade treats. Compared to other cookies, these have a unique texture and elegance that just can’t be beat. What I love most is the feeling of accomplishment when you pull these gorgeous cookies out of the oven and know YOU made them from scratch!
How do I make Milano cookies?
Quick Overview
This recipe is all about creating delicate, crisp cookie shells and sandwiching them with a luscious chocolate filling. We’ll start by mixing a simple cookie dough, piping it into elegant oval shapes, baking them until golden, and then filling them once cooled. It’s a straightforward process that yields incredibly impressive results. The key is careful measuring and a gentle hand during the piping and baking stages. Don’t worry if your first few aren’t perfect; mine certainly weren’t! They’ll still taste amazing, and you’ll get better with each batch. This method ensures that delightful crispness that makes Milano cookies so addictive.
Ingredients
For the Main Batter:
All-Purpose Flour: 1 cup. Make sure it’s spooned and leveled, not scooped directly from the bag, to avoid packing too much in. This gives us that perfect crispness.
Powdered Sugar: 1/2 cup. It’s crucial for that delicate texture; granulated sugar would make them too crunchy.
Salt: 1/4 teaspoon. Just a pinch to enhance all those lovely sweet flavors.
Unsalted Butter: 1/2 cup (1 stick), softened. Using good quality butter really makes a difference here. Make sure it’s truly softened, not melted, for the best dough consistency.
Large Egg: 1, room temperature. A room temperature egg incorporates much better into the dough.
Vanilla Extract: 1 teaspoon. A classic flavor enhancer.
Almond Extract: 1/2 teaspoon. This is the secret weapon for that authentic Milano cookie taste. Don’t skip it if you can help it!
For the Filling:
Semi-Sweet Chocolate Chips: 1 cup. You can use good quality chocolate chips or chopped baking chocolate. The better the chocolate, the smoother and richer the filling!
Unsalted Butter: 2 tablespoons. This helps make the chocolate filling extra smooth and glossy.
For the Glaze (Optional but Recommended!):
Powdered Sugar: 1 cup. For a smooth, sweet glaze.
Milk or Cream: 1-2 tablespoons. Adjust for desired consistency. Milk works great, but cream makes it extra luxurious.
Vanilla Extract: 1/4 teaspoon. Just a touch to complement the sweetness.
Step-by-Step Instructions
Step 1: Preheat & Prep Pan
First things first, let’s get our oven ready. Preheat it to 350°F (175°C). You’ll want to line two baking sheets with parchment paper. This is crucial! It prevents sticking and helps the cookies bake evenly. I always lay out my parchment paper and make sure I have enough space before I even start mixing, just to keep things organized.
Step 2: Mix Dry Ingredients
In a medium bowl, whisk together the all-purpose flour, powdered sugar, and salt. Whisking them together thoroughly ensures that there are no lumps of powdered sugar and that everything is evenly distributed. This creates a fine, uniform base for our cookies.
Step 3: Mix Wet Ingredients
In a separate, larger bowl, cream together the softened unsalted butter and the room temperature egg until light and fluffy. This usually takes about 2-3 minutes with an electric mixer, or a bit longer by hand. Then, stir in the vanilla extract and almond extract until just combined. The aroma at this stage is already heavenly!
Step 4: Combine
Gradually add the dry ingredients to the wet ingredients, mixing on low speed (or stirring by hand) until just combined. Be careful not to overmix! Overmixing can develop the gluten in the flour too much, leading to tougher cookies. We want delicate and crisp, remember? The dough should be thick but pipeable.
Step 5: Prepare Filling
While the dough chills slightly (I often pop it in the fridge for about 15-20 minutes while I get my piping bag ready – it makes it easier to handle!), let’s make the filling. In a microwave-safe bowl, combine the semi-sweet chocolate chips and the 2 tablespoons of butter. Microwave in 30-second intervals, stirring well after each, until completely melted and smooth. Alternatively, you can melt them gently in a double boiler. Set aside to cool slightly; you want it spreadable but not runny.
Step 6: Layer & Swirl
Transfer the cookie dough to a piping bag fitted with a large round tip (about 1/2 inch). Pipe oval shapes onto the prepared baking sheets, leaving about 2 inches between cookies. Aim for shapes that are roughly 2-3 inches long. My first few were a bit wonky, but it’s all part of the fun! Don’t worry about perfection; character is good too!
Step 7: Bake
Bake for 9-12 minutes, or until the edges are lightly golden brown. Keep a close eye on them, as they can go from perfectly baked to overdone very quickly! Ovens vary, so start checking around the 8-minute mark. They will firm up considerably as they cool.
Step 8: Cool & Glaze
Let the cookies cool on the baking sheets for about 5 minutes before carefully transferring them to a wire rack to cool completely. Once they’re fully cooled, it’s time for the filling! Spread a thin, even layer of the cooled chocolate mixture onto the flat side of one cookie, then top with another cookie, pressing gently. If you’re adding the optional glaze, whisk together the powdered sugar, 1 tablespoon of milk/cream, and vanilla extract until smooth. Add more liquid a teaspoon at a time if needed to reach a drizzly consistency. Drizzle or spread a thin layer over the tops of the filled cookies.
Step 9: Slice & Serve
Let the filling and glaze set completely (this usually takes about 30 minutes). Once set, your beautiful Milano cookies are ready to be enjoyed! I like to slice them in half diagonally sometimes for an extra pretty presentation, especially if I’m serving them with coffee or tea. Store any leftovers in an airtight container.
What to Serve It With
These Milano cookies are so versatile, they truly fit into any part of your day! For a delightful BREAKFAST treat, they’re simply divine paired with a strong cup of coffee or a creamy latte. The sweetness of the cookie cuts beautifully through the richness of the coffee. For a more elegant BRUNCH spread, arrange them on a tiered stand with fresh berries and a mimosa; they add that touch of sophistication that guests always appreciate. As a decadent DESSERT, they’re fantastic on their own, but I also love serving them alongside a scoop of vanilla bean ice cream or a rich Chocolate Mousse. The contrast in textures is just wonderful! And for those COZY SNACKS we all crave, they’re perfect with a glass of milk in the afternoon or a mug of hot chocolate on a chilly evening. My kids absolutely love them dunked in milk – it’s a tradition at this point! I’ve also found they pair surprisingly well with a dry red wine for a grown-up treat. They’re just one of those treats that feels special, no matter how you enjoy them.
Top Tips for Perfecting Your Milano Cookies
Over the years, I’ve learned a few tricks that have helped me make these cookies absolutely perfect every single time. For the cookie batter, it’s really important to use softened, not melted, butter. When you cream the butter and sugar together, you’re creating tiny air pockets that will help make the cookies light and crisp. If the butter is too warm, those pockets collapse, and you’ll end up with a denser cookie. Another thing I always stress is not to overmix the dough once you add the flour. Mix until it’s just combined. Seriously, stop mixing as soon as you don’t see any dry streaks of flour. Overmixing develops gluten, which is the enemy of a tender, crisp cookie. I learned this the hard way many batches ago! When piping the dough, using a template can be a lifesaver if you want perfectly uniform cookies. You can print an oval shape, place it under your parchment paper, and pipe over it. Wipe your piping tip clean between batches if the dough starts to build up and clog it. For the chocolate filling, ensure your chocolate is good quality. Using a higher quality chocolate, even if it’s just semi-sweet chips, makes a noticeable difference in the smoothness and flavor of the filling. If your chocolate seems a bit too thick after melting, you can always stir in another teaspoon of butter or a tiny splash of cream to loosen it up. And for the baking, oven temperature is key. Make sure your oven is accurately preheated. I usually stick an oven thermometer in mine to be sure. Bake until the edges are just beginning to turn golden. They might look slightly underdone in the center, but they will continue to cook and firm up on the hot baking sheet and wire rack. This ensures that lovely crisp texture we’re after. If you’re making them for a gift or want them to look extra special, don’t be afraid to get creative with the glaze! You can add a tiny bit of food coloring, or even some finely chopped nuts or sprinkles after drizzling the glaze for added texture and visual appeal. And a little insider tip: if your cookies aren’t perfectly shaped after baking, don’t fret! You can often trim the edges with a sharp knife while they’re still warm to make them more uniform before filling. It’s a baker’s secret!
Storing and Reheating Tips
Proper storage is key to keeping these delightful Milano cookies at their best. For Room Temperature storage, once they are completely cooled and the filling/glaze is set, store them in an airtight container. They should stay wonderfully crisp for about 3-4 days. Avoid storing them in plastic bags, as they can sometimes create condensation and make the cookies soggy. If you live in a very humid climate, you might want to add a small food-safe silica gel packet to the container to help absorb moisture. For Refrigerator Storage, I generally don’t recommend refrigerating these cookies unless it’s extremely hot and humid and you’re worried about the filling softening. If you must, make sure they are in a truly airtight container, but be aware that the cold air can sometimes make the cookies lose a bit of their crispness. They’ll still be good for about a week, but the texture might change slightly. Freezer Instructions are usually my go-to if I need to make a big batch ahead of time. You can freeze the un-filled cookie shells very successfully! Let them cool completely, then wrap them tightly in a double layer of plastic wrap, followed by a layer of aluminum foil or place them in a freezer-safe container. They’ll keep their quality for up to 2-3 months. Thaw them at room temperature for a few hours before filling. If you freeze already assembled cookies, the filling might soften during thawing, so it’s best to fill them after thawing if possible. For Glaze Timing Advice, if you’re freezing filled cookies (which I don’t often do), make sure the glaze is completely set before wrapping and freezing. If you’re freezing un-filled cookies, it’s always best to apply the glaze and let it set *after* the cookies have thawed. This ensures the freshest, crispiest cookie experience.
Frequently Asked Questions
Final Thoughts
There you have it – my absolute favorite way to make Milano cookies at home! I really hope you give this recipe a try. It’s one of those recipes that feels truly special, and the satisfaction of biting into a perfectly crisp, chocolate-filled cookie that YOU made is just unbeatable. These cookies are more than just a sweet treat; they’re a little piece of comfort and joy. If you love delicate, buttery cookies with a touch of elegance, you’ll adore these. They’re perfect for any occasion, from a simple afternoon tea to a festive holiday gathering. I can’t wait to hear what you think! If you try them, please leave a comment below and let me know how yours turned out, or share any fun variations you come up with! Happy baking, and enjoy every delicious bite!
Milano cookies
Ingredients
Cookie Dough
- 0.5 cup unsalted butter, softened
- 0.5 cup granulated sugar
- 1 large egg
- 0.5 teaspoon vanilla extract
- 1.25 cups all-purpose flour
- 0.25 teaspoon salt
Chocolate Filling
- 6 ounces semi-sweet chocolate chips
- 1 tablespoon coconut oil (optional, for gloss)
Instructions
Preparation Steps
- Cream together the softened butter and granulated sugar in a large bowl until light and fluffy.
- Beat in the egg and vanilla extract until well combined.
- In a separate bowl, whisk together the all-purpose flour and salt.
- Gradually add the dry ingredients to the wet ingredients, mixing until just combined.
- Cover the dough and refrigerate for at least 30 minutes.
- Preheat oven to 350°F (175°C). Line baking sheets with parchment paper.
- Roll out the dough on a lightly floured surface to about 1/8-inch thickness. Cut out cookie shapes using a cookie cutter.
- Place cookies on the prepared baking sheets, spacing them about 1 inch apart.
- Bake for 10-12 minutes, or until the edges are lightly golden.
- Let cookies cool on the baking sheets for a few minutes before transferring them to a wire rack to cool completely.
- Melt the semi-sweet chocolate chips with coconut oil (if using) in a microwave-safe bowl in 30-second intervals, stirring in between, until smooth.
- Once cookies are completely cooled, spread a thin layer of melted chocolate on the flat side of one cookie and top with another cookie to form a sandwich.
- Let the chocolate set completely before serving or storing.