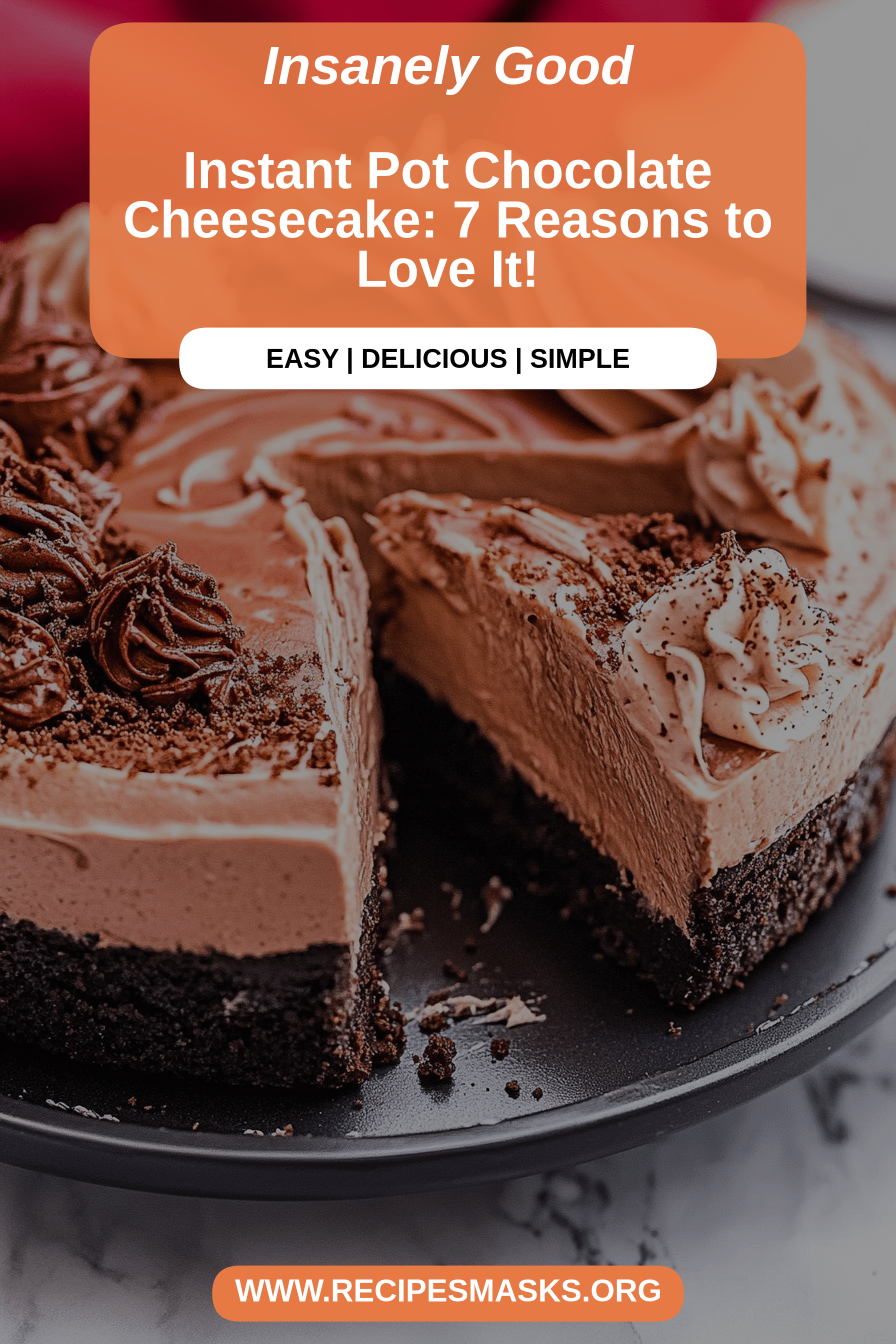
There are certain desserts that just wrap you up in a warm hug, and for me, that’s always been cheesecake. But let’s be honest, the traditional oven method can be… intimidating. Water baths? Cracks? Hours of waiting? It’s enough to make anyone shy away. That’s why, when I first discovered how to make a truly spectacular cheesecake in my Instant Pot, it felt like a culinary miracle! This Instant Pot cheesecake isn’t just easy; it’s downright foolproof. It’s the kind of dessert that impresses everyone but requires surprisingly little fuss. I remember my first attempt; I was bracing myself for disaster, but what I got was the smoothest, creamiest cheesecake I’d ever tasted. It’s now my go-to for birthdays, holidays, or honestly, just a Tuesday when I need something sweet. It’s like a condensed version of that classic, rich dessert you love, but without all the stress. If you’ve ever felt intimidated by cheesecake, stick around, because this recipe is about to change everything for you.
What is Instant Pot Cheesecake?
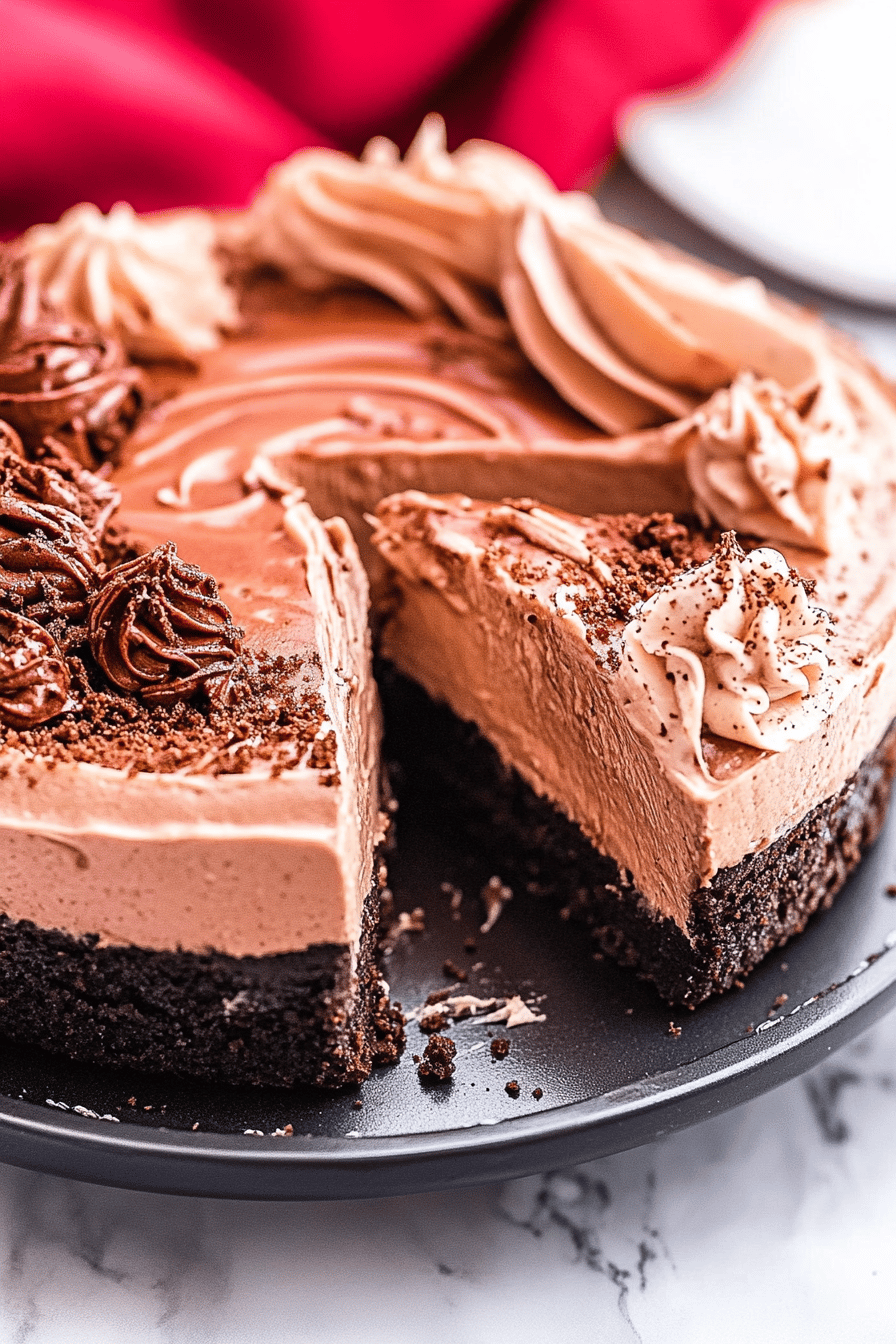
So, what exactly *is* an Instant Pot cheesecake? Think of it as your beloved, classic New York-style cheesecake, but made in a pressure cooker. Instead of relying on the gentle, indirect heat of an oven with a water bath, the Instant Pot uses steam to cook the cheesecake evenly and wonderfully moist. This method completely eliminates the risk of cracks, which is a huge win for anyone who’s battled with a temperamental cheesecake in the past. It’s essentially a steamed cheesecake, but don’t let that fool you – it still gets that perfect, dense, creamy texture and slightly tangy flavor that makes cheesecake so irresistible. It’s the magic of modern kitchen appliances making a classic dessert even more accessible for us home cooks.
Why you’ll love this recipe?
What are some of the reasons why Instant Pot cheesecake is a staple in my kitchen?What are the best flavor and texture combinations? are simply divine. It comes out incredibly smooth and creamy, with that signature rich, tangy taste that’s just pure comfort. It’s dense enough to feel substantial, but it melts in your mouth. Then there’s the simplicity. Honestly, the hardest part is waiting for it to chill! The Instant Pot does all the heavy lifting, creating a perfectly cooked cheesecake every single time without you having to hover over it or worry about water baths. It’s a lifesaver on busy nights when you want to serve something special but don’t have hours to spare. And let’s talk about cost-efficiency! Cheesecake ingredients are generally quite affordable, and this recipe uses pantry staples, making it a budget-friendly way to enjoy a decadent dessert. Plus, it’s wonderfully versatile. While I adore it plain or with a simple berry topping, you can easily customize it with different extracts, swirls of fruit compote, or even a chocolate ganache. It’s a fantastic base for so many flavor adventures. What I love most, though, is the sheer confidence it gives you. If you’ve ever been afraid to make cheesecake, this recipe is your gateway to becoming a cheesecake pro. It’s a far cry from my early attempts at a baked cheesecake where cracks were practically a signature.
How to Make Instant Pot Cheesecake
Quick Overview
Making this cheesecake is incredibly straightforward, especially thanks to the Instant Pot. You’ll prepare a simple graham cracker crust, then mix up a luxurious cream cheese filling. Everything gets placed inside the Instant Pot, sealed, and pressure cooked for a relatively short time. The magic happens during the natural pressure release, which allows the cheesecake to cool gently. Once cooled, it goes into the fridge to firm up, and then it’s ready for its finishing touches and serving. It’s a process that minimizes stress and maximizes delicious results. You don’t need any fancy gadgets beyond your Instant Pot and a springform pan that fits inside.
Ingredients
For the Crust:
* 1 ½ cups graham cracker crumbs (about 10-12 full crackers) – You can use digestive biscuits or even vanilla wafers if you prefer!
* ¼ cup granulated sugar – Just a touch to sweeten things up.
* 6 tablespoons unsalted butter, melted – This binds everything together perfectly. Make sure it’s fully melted!
For the Filling:
* 3 (8-ounce) packages cream cheese, softened – This is key! Make sure it’s truly softened to room temperature so it whips up smoothly. Cold cream cheese is the enemy of smooth cheesecake.
* 1 cup granulated sugar – For that classic sweetness.
* ¼ cup sour cream – Adds a lovely tang and extra creaminess. Full-fat is best here!
* 1 teaspoon vanilla extract – Or use almond extract for a different twist. Pure vanilla makes a difference!
* 2 large eggs, room temperature – Again, room temp eggs incorporate much better. Beat them in one at a time.
For the Glaze (Optional, but highly recommended!):
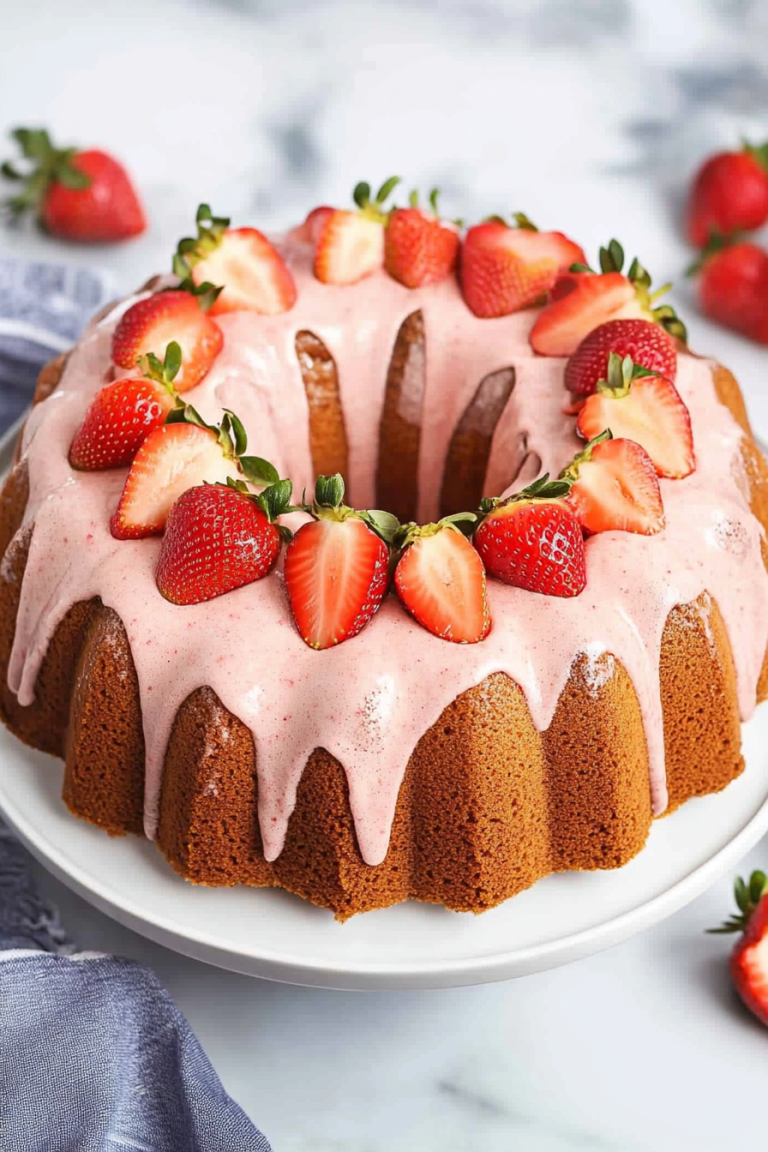
* 1 cup fresh or frozen berries (strawberries, raspberries, blueberries) – Whatever you have on hand.
* 2 tablespoons granulated sugar – Adjust to your sweetness preference.
* 1 tablespoon lemon juice – Brightens up the berry flavor.
Step-by-Step Instructions
Step 1: Preheat & Prep Pan
If you’re using an Instant Pot, you don’t technically preheat, but you do need to prep your pan. Take a 7-inch or 8-inch springform pan and spray the bottom and sides lightly with cooking spray. Then, line the bottom with a circle of parchment paper. This is crucial for easy removal later. If your springform pan isn’t tall enough, you might want to wrap the outside tightly with a layer or two of heavy-duty aluminum foil to prevent any water seeping in, though this is less of an issue with the Instant Pot method than a traditional water bath.
Step 2: Mix Dry Ingredients
In a medium bowl, combine the graham cracker crumbs and ¼ cup granulated sugar. Stir them together until they’re well mixed. This simple step ensures the sugar is evenly distributed throughout the crust.
Step 3: Mix Wet Ingredients
Add the melted butter to the dry ingredients. Stir with a fork or your fingers until the mixture resembles wet sand. You want it to clump together when you squeeze it. This is the magic ratio that makes a sturdy crust.
Step 4: Combine
Press this crumb mixture firmly and evenly into the bottom of your prepared springform pan. You can use the bottom of a glass or a measuring cup to get it nice and compact. Don’t go up the sides for this recipe; just a solid base is perfect. Place the crust-lined pan in the freezer while you prepare the filling.
Step 5: Prepare Filling
In a large bowl, beat the softened cream cheese with an electric mixer (handheld or stand mixer) until it’s completely smooth and creamy, with absolutely no lumps. This is your foundation! Gradually add the 1 cup of granulated sugar and beat until well combined. Then, stir in the sour cream and vanilla extract until just incorporated. Make sure not to overmix at this stage, as we don’t want to introduce too much air.
Step 6: Layer & Swirl
Now for the eggs! Add them one at a time, beating on low speed after each addition, just until the yolk disappears. Scrape down the sides of the bowl as needed. Be careful not to overbeat, as this can lead to cracks (though less of an issue in the Instant Pot!). Pour the filling over your chilled crust. If you’re feeling fancy, you can tap the pan gently on the counter a few times to release any large air bubbles.
Step 7: Bake
Pour about 1 cup of water into the inner pot of your Instant Pot. Place your springform pan on top of the trivet that came with your Instant Pot. If you don’t have a trivet, you can use some balled-up aluminum foil to create legs for your pan. Close the lid, set the valve to sealing, and cook on High Pressure for 30 minutes. Once the cooking cycle is complete, let the pressure release naturally for 15 minutes. Then, carefully quick-release any remaining pressure. The cheesecake should look mostly set, perhaps with a slight wobble in the very center – that’s exactly what you want!
Step 8: Cool & Glaze
Carefully lift the springform pan out of the Instant Pot using the trivet handles or by carefully lifting the foil wrap. Place it on a wire rack and let it cool completely at room temperature. Once it’s at room temp, cover it loosely with plastic wrap and refrigerate for at least 4 hours, or preferably overnight. While it chills, you can make the glaze. Combine berries, sugar, and lemon juice in a small saucepan. Cook over medium heat, stirring occasionally, until the berries break down and the sauce thickens slightly. Let it cool completely. Once the cheesecake is chilled, you can carefully remove the sides of the springform pan and pour the cooled glaze over the top.
Step 9: Slice & Serve
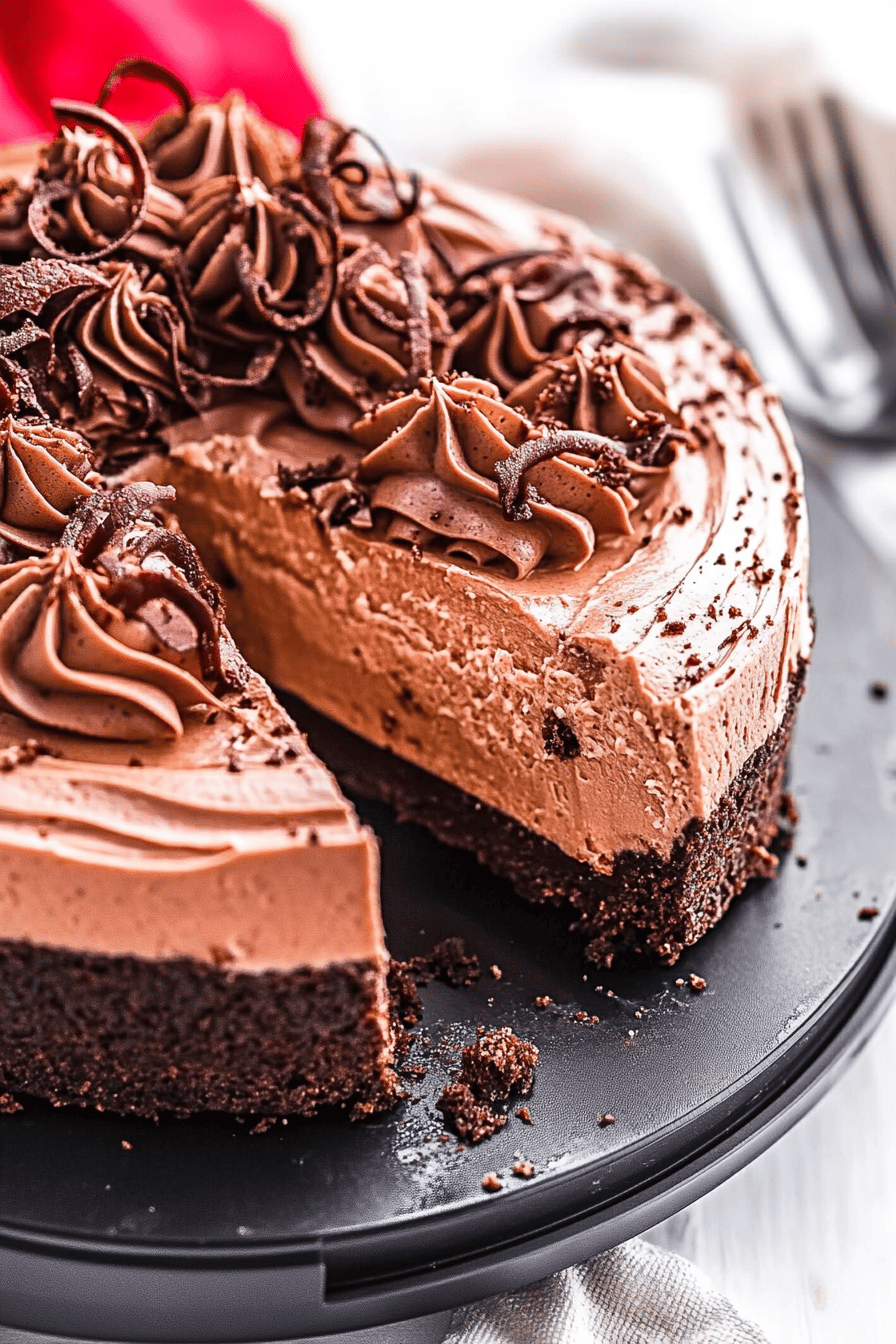
To get those perfect slices, run a thin knife around the edge of the cheesecake one last time before releasing the springform ring. Use a sharp knife dipped in hot water and wiped dry between each cut for the cleanest slices. Serve chilled, with your beautiful glaze drizzled over the top. It’s pure bliss!
What to Serve It With
This Instant Pot cheesecake is a star all on its own, but it also plays wonderfully with a few companions. For a simple breakfast treat, a slice with a hot cup of coffee is a dream. The richness of the cheesecake is balanced by the bitterness of the coffee, and it feels incredibly indulgent to start your day that way. For a lovely brunch spread, I love to serve it with a side of fresh fruit salad – think berries, melon, and maybe some kiwi. It adds a bright, refreshing contrast. For an elegant dessert, it’s fantastic with a drizzle of raspberry coulis or a dollop of whipped cream. A port wine or a sweet dessert wine is also a lovely pairing. And for those cozy snack moments? It’s perfect with a glass of milk or even a little scoop of vanilla ice cream. My family has a tradition of having this every year on my dad’s birthday, and we always serve it with a swirl of chocolate ganache alongside the berry glaze – a little something for everyone!
Top Tips for Perfecting Your Instant Pot Cheesecake
Over the years, I’ve picked up a few tricks that I think really elevate this Instant Pot cheesecake. For the crust, make sure your butter is fully melted and your crumbs are evenly moistened. A slightly damp crust mixture will hold together much better and prevent crumbling. When mixing the filling, the absolute number one rule is to use softened cream cheese and room temperature eggs. If your cream cheese is cold, you’ll end up with lumps, no matter how long you beat it. Take it out at least an hour, or even two, before you plan to make it. For the eggs, beating them in one at a time and just until combined is key to a smooth, dense texture without too much air. Speaking of overmixing, resist the urge to beat the batter vigorously after adding the eggs. Gently fold or stir until just combined. This helps prevent cracking and ensures that super smooth texture. If you want to get creative with swirls, I find that gently dragging a toothpick or skewer through dollops of fruit puree or chocolate chips on top of the batter before cooking creates beautiful patterns. Just don’t overdo it, or you’ll muddy the flavors. When it comes to baking in the Instant Pot, don’t be alarmed if the center still looks a little jiggly after the cook time and natural release. That’s normal! It will continue to set up as it cools. For ingredient swaps, if you’re out of sour cream, full-fat Greek yogurt is a decent substitute, though it might make the flavor a little tangier. A splash of heavy cream can also work in a pinch. For the glaze, I’ve experimented with all sorts of fruit – cherry, mango, even passionfruit! – and they all work beautifully. Just adjust the sugar and lemon juice to suit the sweetness of your fruit.
Storing and Reheating Tips
Once your masterpiece is made, you’ll want to know how to keep it tasting its best. If you have any leftovers (which is rare in my house!), it’s best to store the cheesecake refrigerated. Once it’s completely cooled and you’ve added the glaze, cover it tightly with plastic wrap or aluminum foil, or place it in an airtight container. It should stay delicious in the fridge for up to 5 days. For the longest storage, I recommend waiting to add the glaze until just before serving. This prevents the glaze from making the cheesecake too watery, especially if it’s a fruit-based one. If you need to store it for longer, this cheesecake freezes beautifully! Let it cool completely and either freeze the whole cheesecake (without glaze) or individual slices. Wrap it very well in a layer of plastic wrap followed by a layer of aluminum foil or place it in a freezer-safe container. It can be kept in the freezer for up to 2-3 months. To thaw, transfer it from the freezer to the refrigerator and let it defrost overnight. If you’re reheating a slice (though it’s usually best served cold or at room temperature), there’s not much reheating needed. Just let it sit out on the counter for about 20-30 minutes to take the chill off, especially if you prefer a slightly softer texture. Adding the glaze when it’s chilled is always the best bet to maintain its texture.
Frequently Asked Questions
Final Thoughts
I truly hope you give this Instant Pot cheesecake a try. It’s one of those recipes that consistently delivers a slice of pure joy with so little effort. It’s the perfect balance of creamy, rich, and wonderfully tangy, and the fact that it comes out so perfectly smooth every single time is just amazing. It’s become my secret weapon for impromptu celebrations or just when that craving hits hard. If you loved this recipe, you might also enjoy my recipe for No-Bake Chocolate Mousse Cake for another easy, decadent dessert, or my classic New York Style Cheesecake if you’re feeling adventurous with your oven! Give this Instant Pot cheesecake a go, and please, please let me know in the comments how yours turns out! I love hearing about your successes and any creative twists you come up with. Happy baking, friends!
Instant Pot Cheesecake
Ingredients
Crust
- 1.5 cups graham cracker crumbs
- 0.25 cups granulated sugar
- 0.33 cup unsalted butter, melted
Cheesecake Filling
- 24 ounces cream cheese, softened full-fat
- 1 cup granulated sugar
- 3 large eggs
- 0.25 cup sour cream
- 1 teaspoon vanilla extract
- 0.5 teaspoon lemon zest optional
Instructions
Prepare the Crust
- In a medium bowl, combine graham cracker crumbs and sugar. Pour in melted butter and stir until combined.
- Press the crumb mixture into the bottom of a 6-inch or 7-inch springform pan.
- Place the springform pan on a piece of aluminum foil and wrap the foil tightly around the bottom of the pan to prevent water from getting in.
Make the Cheesecake Filling
- In a large bowl, beat the softened cream cheese and sugar until smooth.
- Beat in the eggs one at a time, mixing well after each addition.
- Stir in the sour cream, vanilla extract, and lemon zest (if using).
- Pour the filling over the prepared crust.
Cook the Cheesecake in the Instant Pot
- Pour 1 cup of water into the inner pot of your Instant Pot.
- Place the prepared springform pan on top of a trivet inside the Instant Pot.
- Secure the lid and set the valve to sealing. Cook on manual/pressure cook high for 35 minutes.
- Once the cooking time is complete, allow a natural pressure release for 10 minutes before carefully releasing any remaining pressure.
- Carefully remove the cheesecake from the Instant Pot and place it on a wire rack. Let it cool for about 1 hour.
- Cover the cheesecake with plastic wrap and refrigerate for at least 4 hours, or preferably overnight.
- Run a knife around the edge of the pan before removing the sides of the springform pan. Slice and serve.