There are some things in life that just feel like a hug. For me, that’s the smell of fresh waffles baking on a lazy Sunday morning. It’s a scent that instantly transports me back to my grandma’s kitchen, her worn-out waffle iron humming, a dusting of flour on her apron, and the promise of pure, unadulterated comfort. While I adore a good pancake stack, there’s something about the crisp edges and airy interior of a homemade waffle that just hits differently. It’s more substantial, more… celebratory, even on a Tuesday. If you’ve ever been disappointed by soggy, sad store-bought waffles or thought making them from scratch was too much of a fuss, then pull up a chair, because I’m about to share the recipe that changed everything for me. This isn’t just a recipe; it’s a ticket to waffle bliss, and honestly, it’s surprisingly simple!
What are home made waffles?
So, what exactly are these magical creations we call homemade waffles? Think of them as the cooler, more textured cousin of the pancake. While both share a batter base, waffles get their signature look and feel from the specialized iron they’re cooked in. This iron, with its grid pattern, creates those wonderful pockets that are perfect for holding syrup, butter, or any other topping you can dream up. It also allows for more surface area to crisp up, giving you that irresistible crunch. My version is a classic buttermilk waffle, meaning it’s got a delightful tang and a tender crumb that just melts in your mouth. It’s essentially the best of comfort food, elevated just enough to feel a little bit special, without requiring a culinary degree.
Why you’ll love this recipe?
I’ve tinkered with a lot of waffle recipes over the years, trying to capture that perfect balance of crisp exterior and fluffy interior that always seems to elude me when I’m just winging it. This one, though? This is it. It’s the recipe I turn to when I want to impress guests, when the kids are demanding a weekend treat, or even when I just need a little pick-me-up.
The Flavor: The buttermilk is key here. It adds a subtle tang that cuts through the sweetness beautifully, making them addictive without being cloying. The vanilla extract is non-negotiable for me; it just rounds out the flavor profile. And a pinch of cinnamon? Pure magic.
The Simplicity: The Simplicity: The Simplicity: The Simplicity: The Simplicity: The Simplicity: The Honestly, this is the part that surprises people the most. You probably have most of the ingredients in your pantry right now. The process is straightforward: mix the dry, mix the wet, combine, and cook. No fancy techniques required. I can whip up a batch even on a slightly rushed morning, especially if I’ve prepped the dry ingredients the night before.
Cost-Efficiency: What is the cost-effectiveness of a project? Compared to grabbing a box of frozen waffles (which, let’s be real, never quite measure up) or going out for brunch, making these at home is incredibly budget-friendly. You’re using basic pantry staples, and the yield is generous.
The Versatility: Oh, the possibilities! We’ll get into this more later, but these waffles are a blank canvas for your culinary creativity. Whether you’re going classic with fruit and Whipped cream or getting adventurous with savory toppings, they always shine. What I love most about this recipe is that it consistently delivers. I’ve made it countless times, and it never fails to produce golden-brown, perfectly cooked waffles that disappear in minutes at my house. It’s the kind of reliable, crowd-pleasing recipe that becomes a staple.
How to Make Homemade Waffles
Quick Overview
In a nutshell, you’ll whisk together your dry ingredients, then your wet ingredients separately, before gently combining them into a luscious batter. The magic happens in the waffle iron, where the batter transforms into those iconic grids. It’s a two-step mixing process, which is crucial for texture, followed by a quick cook time. Trust me, it’s way less intimidating than it sounds, and the results are so worth it. You’ll be enjoying warm, fluffy waffles in under 30 minutes from start to finish.
Ingredients
For the Main Batter:
You’ll need all-purpose flour, granulated sugar for a touch of sweetness, baking powder and baking soda to give them that lift and fluffiness (this combo is a lifesaver for texture!), a pinch of salt to balance everything out, and a whisper of cinnamon if you like a little warmth. For the wet ingredients, we’ve got eggs (these bind everything together and add richness), milk (buttermilk is my absolute favorite for tenderness and tang, but regular milk works too!), melted butter for that irresistible richness and crispiness (don’t skimp here!), and pure vanilla extract for that classic waffle aroma and taste. I always use unsalted butter so I can control the saltiness myself.
For the Filling:
This is where you can get creative! For a classic approach, think fresh berries like strawberries, blueberries, or raspberries. A dollop of whipped cream is always a winner. For something a little more decadent, try sliced bananas, a swirl of chocolate chips, or even a scattering of toasted nuts. If you’re feeling adventurous, a little bit of lemon zest stirred into the batter before cooking adds a bright, fresh note that I absolutely adore, especially in the summer.
For the Glaze:
While not strictly necessary, a simple glaze takes these waffles to the next level. My go-to is a basic powdered sugar glaze. You just need powdered sugar and a splash of milk or water until you get your desired consistency. A little vanilla extract in the glaze is lovely too. You can also jazz it up with a bit of lemon juice for a citrusy kick, or even a touch of maple syrup for a richer flavor. The key is to make it pourable but not too thin. I usually aim for something that coats the back of a spoon nicely.
Step-by-Step Instructions
Step 1: Preheat & Prep Pan
First things first, get that waffle iron humming! Plug it in and let it preheat according to the manufacturer’s instructions. Most modern irons have an indicator light that tells you when they’re ready. While it’s heating up, give your waffle iron a quick brush with a little melted butter or cooking spray, especially if it’s not non-stick. This is a crucial step to prevent sticking and ensure those gorgeous, golden-brown grids. Don’t skip this, even if your iron is supposedly non-stick – it’s a lesson I learned the hard way!
Step 2: Mix Dry Ingredients
In a medium-sized mixing bowl, whisk together your flour, sugar, baking powder, baking soda, salt, and cinnamon (if using). Whisking them together thoroughly at this stage is important because it ensures that your leavening agents are evenly distributed, which means your waffles will rise evenly and be perfectly fluffy. You want to see a uniform color, with no lumps of baking soda or powder. It’s a simple step, but it makes a big difference in the final texture.
Step 3: Mix Wet Ingredients
In a separate, larger bowl, crack your eggs. Whisk them lightly until they’re just combined. Then, pour in your milk (buttermilk, if you’re using it!), melted butter (make sure it’s not piping hot, or it might scramble the eggs!), and vanilla extract. Give this a gentle whisk until everything is well incorporated. The color should be a lovely pale yellow. I always melt my butter and let it cool for a minute or two while I’m prepping the dry ingredients, just to be safe.
Step 4: Combine
Now for the magic moment: bringing it all together! Pour the wet ingredients into the bowl with the dry ingredients. Using a whisk or a spatula, mix *just until combined*. Seriously, this is the most important tip for tender waffles. A few lumps are perfectly okay – actually, they’re desirable! Overmixing develops the gluten in the flour, which can lead to tough, rubbery waffles. We want light and airy, remember? Stop mixing as soon as you don’t see any more dry flour streaks. It should look like a thick, pourable batter.
Step 5: Prepare Filling
While your batter is resting for a few minutes (this also helps with tenderness!), get your fillings ready. If you’re using fresh berries, give them a quick rinse and pat them dry. Slice any larger fruits. If you’re adding chocolate chips or nuts, have them handy. This prep work ensures that when your waffles are ready, you can add your toppings right away without fuss. For my kids, chocolate chips are a must, and they love stirring them into the batter right at the end.
Step 6: Layer & Swirl
This part is all about getting the right amount of batter into your iron. Ladle a generous amount of batter onto the center of the preheated waffle iron. The exact amount will depend on your waffle iron’s size and model, but a good starting point is about 3/4 to 1 cup. Don’t spread it too thin; let the heat of the iron do the work. Close the lid gently. If you’re adding fillings like berries or chocolate chips, you can sprinkle them onto the batter after closing the lid for the first time, then close it again, or gently fold them into the batter just before pouring. Some people like to swirl jam or Nutella directly into the batter *before* cooking for a surprise inside!
Step 7: Bake
Cook the waffle according to your waffle iron’s instructions, usually for about 3-5 minutes. You’ll know it’s done when the steam stops coming out of the sides of the iron and the waffle is a deep golden brown. Resist the urge to peek too early, as this can cause the waffle to break apart. If you’re unsure, you can carefully lift the lid. The waffle should easily release from the iron. I like my waffles extra crispy, so I sometimes give them an extra 30 seconds to a minute, but that’s just personal preference!
Step 8: Cool & Glaze
Carefully remove the cooked waffle from the iron using a fork or spatula. Place it on a wire rack to cool slightly. This is important! Placing cooked waffles directly on a plate can trap steam, making the bottoms soggy. The wire rack allows air to circulate, keeping them crispy. If you’re making a batch, you can keep the cooked waffles warm in a single layer on the wire rack in a slightly ajar oven set to its lowest temperature (around 200°F or 90°C). Once they’re cooled enough to handle, you can drizzle them with your prepared glaze.
Step 9: Slice & Serve
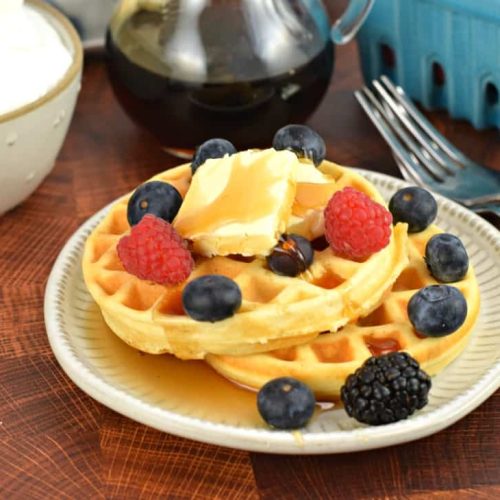
Serve your beautiful homemade waffles immediately while they’re warm and perfectly crisp. Slice them into halves or quarters for easy handling, especially for little hands. Top with your favorite fruits, a dollop of whipped cream, a drizzle of maple syrup, or whatever your heart desires. The grid pattern is just begging for delicious toppings, so don’t be shy! These are best enjoyed fresh off the iron, but I’ll show you how to store any leftovers.
What to Serve It With
This is where the real fun begins! My family has a few go-to combinations that we absolutely adore, and they vary depending on the meal.
For Breakfast: We keep it classic. A simple dusting of powdered sugar, a pat of butter, and a good quality maple syrup. Fresh berries are always a welcome addition. Sometimes, if I’m feeling fancy, I’ll whip up some extra cream with a touch of honey. My little ones love it when I arrange the berries in a smiley face on top!
For Brunch: This is when we get a little more elaborate. Alongside a platter of crispy bacon and scrambled eggs, these waffles feel like a real treat. I love serving them with a side of Greek yogurt and a sprinkle of granola for a bit of texture contrast. A fresh fruit salad is also a must. For beverages, a mimosa or a freshly squeezed orange juice feels perfectly appropriate.
As Dessert: Oh yes, waffles for dessert! This is where you can go all out. Think warm chocolate sauce, scoops of vanilla bean ice cream, toasted pecans, and a generous swirl of whipped cream. A drizzle of caramel sauce takes it over the top. They’re also fantastic with sliced peaches and a sprinkle of brown sugar.
For Cozy Snacks: Sometimes, a waffle is just what you need for an afternoon pick-me-up. For these occasions, I often just have them plain with a smear of Peanut Butter or a quick drizzle of honey. They’re comforting and satisfying without being too heavy. My husband likes his with a thin layer of strawberry jam – a taste of nostalgia for him!
Top Tips for Perfecting Your Homemade Waffles
I’ve definitely had my share of learning experiences in the kitchen, and perfecting these homemade waffles involved a few of those! Here are the things I’ve found make the biggest difference.
Batter Consistency is Key: The batter should be thick enough to coat the back of a spoon but still pourable. If it’s too thin, your waffles will be flat and less fluffy. If it’s too thick, they can be dense. My trick is to add the wet ingredients to the dry and mix *just* until combined. Lumps are your friend here! Overmixing is the enemy of tender waffles, and I’ve definitely fallen into that trap before.
Don’t Overcrowd the Waffle Iron: Use enough batter to spread to the edges when you close the lid, but don’t go overboard. Too much batter will ooze out and make a mess, and it can also prevent the waffle from cooking evenly. I usually pour enough to cover about 2/3 of the bottom plate.
Proper Preheat and Grease: I can’t stress this enough – make sure your waffle iron is fully preheated. A cold iron will stick, and your waffle will break apart when you try to remove it. And a light brush of melted butter or oil each time is crucial for that golden, non-stick finish. Even with a good non-stick surface, it’s my insurance policy.
Don’t Press the Lid Down Too Hard: Let the batter spread naturally. Jamming the lid down forcefully can compress the batter and lead to a denser waffle. Just close it gently and let the heat do the work.
Listen and Look for the Signals: Most waffle irons have a light or a steam indicator. Pay attention to these! The steam usually signifies that the waffle is still cooking, and when it stops, it’s usually a good indicator that it’s done or very close. The color is your final guide – aim for a beautiful golden brown. I learned to trust my senses over the timer for waffle irons.
Serving Order Matters: Cook waffles one at a time and serve immediately for the best crispness. If you’re making a large batch, keep the cooked waffles warm on a wire rack in a slightly ajar oven set to its lowest temperature. This allows air to circulate and prevents them from getting soggy.
Ingredient Swaps: I’ve experimented with a few swaps. If you don’t have buttermilk, you can make a substitute by adding 1 tablespoon of lemon juice or white vinegar to 1 cup of regular milk and letting it sit for 5-10 minutes until it looks slightly curdled. I’ve also tried using half whole wheat flour for a nuttier flavor, but it does make them a little denser. For dairy-free, unsweetened almond or soy milk works well, and you can use melted coconut oil or a vegan butter substitute instead of butter.
Storing and Reheating Tips
The best way to enjoy these homemade waffles is fresh off the iron, of course! But life happens, and sometimes you have leftovers. Here’s how I handle them so they stay as delicious as possible.
Room Temperature: If you know you’ll be eating them within a few hours, you can store them in a single layer on a wire rack covered loosely with a clean kitchen towel. This allows some air circulation and helps them retain some crispness. They’re still pretty good for a couple of hours this way.
Refrigerator Storage: For longer storage, it’s best to cool them completely on a wire rack first. Once they’re at room temperature, place them in an airtight container, separating layers with parchment paper to prevent them from sticking together. They should stay good in the fridge for about 2-3 days. They’ll lose some of their crispness in the fridge, but we can fix that!
Freezer Instructions: This is my favorite method for longer storage because they freeze beautifully! Cool them completely, then place them in a single layer on a baking sheet lined with parchment paper. Freeze until solid (about 1-2 hours). Then, transfer the frozen waffles to a freezer-safe bag or container. They’ll last for up to 2-3 months. This way, you can just grab them as needed!
Glaze Timing Advice: If you’re planning to store them, it’s best to store the waffles *without* the glaze. Glaze will make them soggy and messy during storage. Apply the glaze just before serving after reheating.
Frequently Asked Questions
Final Thoughts
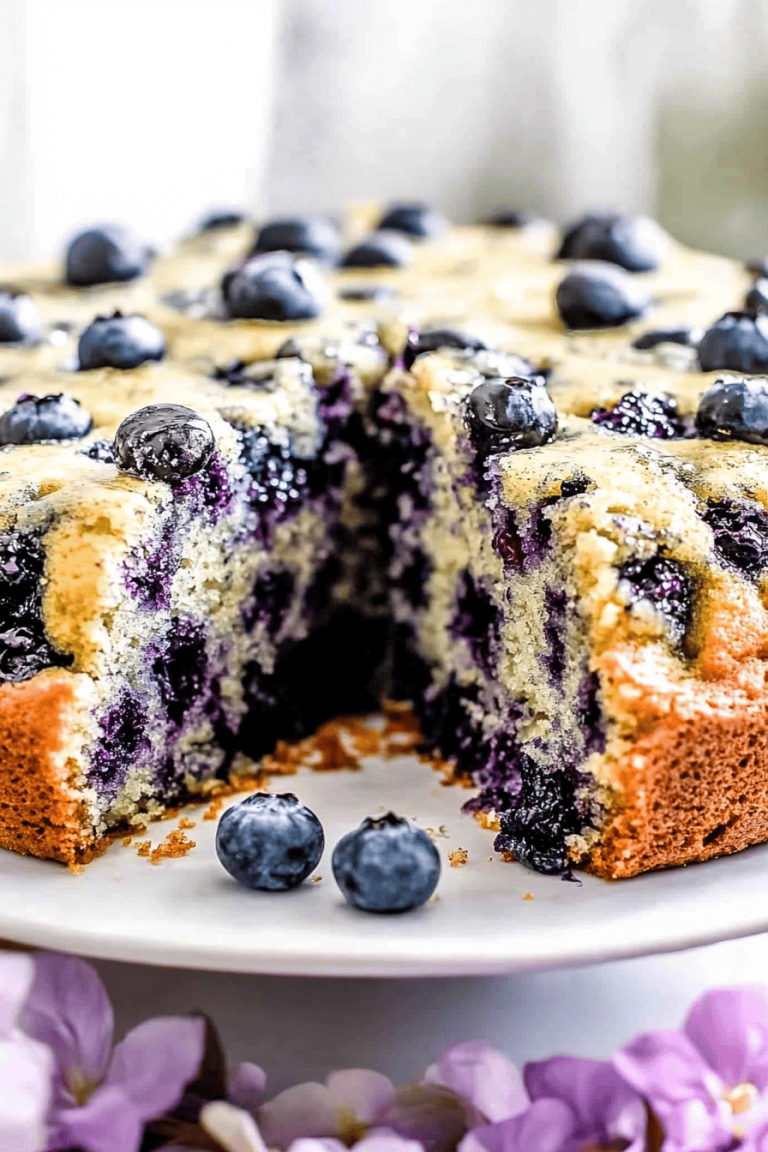
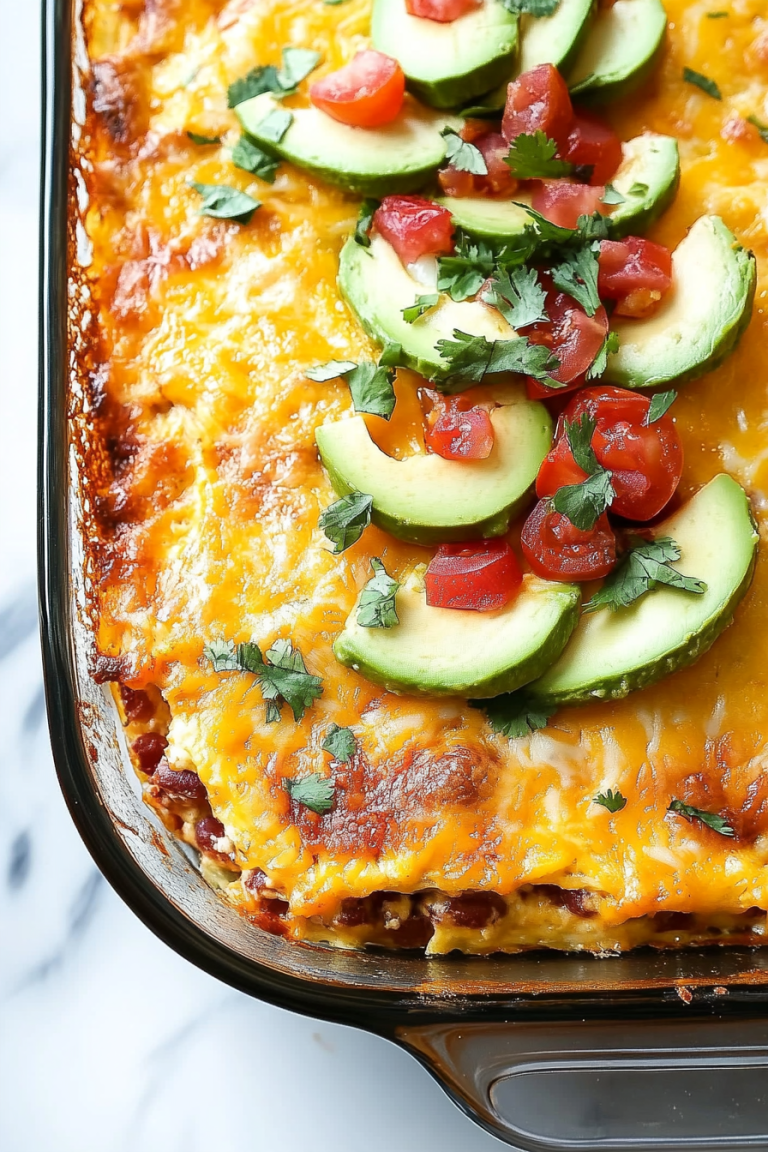
There you have it – my go-to recipe for the most delightful homemade waffles. They’re the kind of treat that makes any day feel a little bit special. I truly believe that anyone can make these, and the joy they bring is absolutely worth the minimal effort. If you’re a fan of these waffles, you might also enjoy my recipe for [link to another fluffy baked good recipe, e.g., “Fluffy Blueberry Muffins”] or my [link to a breakfast Casserole Recipe, e.g., “Make-Ahead Breakfast Casserole”]. They’re in the same spirit of cozy, comforting, delicious food that brings people together. I can’t wait to hear how your waffles turn out! Please leave a comment below and tell me about your favorite toppings or any fun variations you try. And if you snap a photo, tag me on [social media handle] – I love seeing your creations!
Easy Homemade Waffles Recipe
Ingredients
Dry Ingredients
- 2 cups all-purpose flour
- 2 tablespoons granulated sugar
- 2 teaspoons baking powder
- 1 teaspoon kosher salt
Wet Ingredients
- 2 large eggs
- 1.5 cups milk
- 0.66666666666667 cup unsalted butter melted
- 1 teaspoon vanilla extract
Instructions
Preparation Steps
- Preheat waffle griddle.
- In a mixing bowl, combine flour, sugar, baking powder and salt. This can also be stored and made ahead for later.
- In a small bowl, whisk together eggs, milk, melted butter, and vanilla extract.
- Pour the milk mixture into the flour mixture and whisk until combined. Let sit for several minutes while iron heats up.
- Spray waffle iron with baking spray before the FIRST batch only. Ladle into preheated waffle iron and cook until golden brown (about 3- 3 1/2 minutes each).
- Serve and enjoy.