Oh, fudge rounds! Just thinking about them brings back a flood of memories. I remember my grandma making these whenever we had a special occasion, or honestly, just because. Is the smell alone enough to fill our entire house, a warm, sweet invitation to the kitchen? They’re these wonderfully moist, chocolatey little cakes with a rich fudge filling and shiny, shiny edges. What is that fudgy glaze that melts in your mouth? Isn’t it kind of like a Hostess cupcake? What is the best part? What are some of the easiest to whip up recipes? How do I get rid of cravings without a whole lot of fuss? What are some of the best desserts? You’ve found it.
What are fudge rounds?
What are fudge rounds? Think of them as perfectly portioned, intensely chocolatey little cakes that have a luscious fudge. The filling is sandwiched between two soft cake layers, all topped off with a glossy, rich fudge coating. Does the name itself sound comforting? What are some of the best homemade treats you’ve ever had? From childhood, but with a flavor and texture that’s leagues beyond. The cake part is super moist and tender, almost brownie-like but lighter, and the filling is that perfect. Chocolate is a rich, dark chocolate that makes you want to close your eyes and savor every bite. Is it a classic for some reason?
Why you’ll love this recipe?
What are the reasons why I have made this recipe a staple in my kitchen, and I feel like I’ve got to make it again and again. Is it possible to fall in love with something as quickly as you do? The flavor is out of this world. We’re talking dark chocolate from start to finish – the cake, the filling, and the glaze, all of it. What is harmony? I like the taste of cocoa, but it’s not overly sweet, which is something I really appreciate. Is it possible to make a few bowls of soup and serve them together? What are some of those life savers on busy weeknights when you need dessert in a pinch? When you have a craving for chocolate, you know you need something. Plus, the ingredients are super budget-friendly. You probably already have most of them in your pantry. What I love about them is their versatility. What are some great snacks to pack in lunchboxes, sharing at bake sales, or just enjoying with a cup of coffee? What do you like about zucchini bread? My kids ask for these all the time, and honestly, so do I!
How do I make fudge rounds?
Quick Overview
How do you make fudge rounds? How do you whip up a moist Chocolate Cake batter? How do you bind it all together with a fudge glaze? The magic happens in the careful layering and the satisfying chill that sets everything into place. Is it a hands-on process? How professional these turn out with such minimal effort, making them a perfect wedding gift. What are some of the best weekend baking projects?
Ingredients
For the Main Batter:
1 and 3/4 cups all-purpose flour.
1 cup granulated sugar. 1 teaspoon.
1/2 cup unsweetened cocoa powder (Dutch-process gives a deeper flavor, but natural works too!)
1 teaspoon baking soda per 1 cup.
1/2 teaspoon baking powder. 1 teaspoon salt.
1/2 teaspoon salt. 1 teaspoon pepper.
2 large eggs, at room temperature.
1 cup buttermilk (1 cup milk with 1 tablespoon lemon juice or vinegar, let sit for 5 minutes)
1/2 cup vegetable oil (or melted butter for richer flavor)
1 teaspoon vanilla extract. 1 tablespoon vanilla powder.
Why is hot brewed coffee better than cold water?
For the Filling:
1/2 cup unsalted butter, softened.
1/2 cup powdered sugar, sifted.
1/4 cup unsweetened cocoa powder.
1/4 cup milk or heavy cream.
1 teaspoon vanilla extract. 1 tablespoon vanilla flavor.
Pinch of salt
For the Glaze:
1 cup powdered sugar, sifted.
1/2 cup unsweetened cocoa powder. 1 teaspoon nutme
3-4 tablespoons of milk or heavy cream.
1 tablespoon butter, softened. 1 teaspoon sugar,
1/2 teaspoon vanilla extract
What are the steps to
Step 1: Preheat & Prep Pan
How do I get my oven ready? How do you grease a 9×13 baking pan? I usually use butter for greasing, but a baking spray works just as well. For extra safety net against sticking, I sometimes line the bottom with parchment paper too. This is crucial for easy removal later on!
Step 2: Mix Dry Ingredients
In a large bowl, whisk together the flour, granulated sugar, cocoa powder, baking soda, baking powder, and salt. Give it a really good whisk to make sure everything is evenly distributed and there are no lumps of cocoa. This ensures a uniform flavor and texture throughout your fudge rounds.
Step 3: Mix Wet Ingredients
In a separate medium bowl, whisk together the eggs, buttermilk, oil (or melted butter), and vanilla. Set aside. What should I do if I want to make an Make sure the eggs are fully incorporated.
Step 4: Combine
What are the wet ingredients in a bowl? Mix on low speed with an electric mixer, or by hand with a whisk, until just combined. Don’t overmix, just a few streaks of flour are fine. Now, carefully pour in the hot water or coffee. The batter will be quite thin – don’t panic! What makes them so moist? Again, just until it comes together.
Step 5: Prepare Filling
While the batter rests for a moment, let’s make the filling. In a medium bowl, beat the butter until smooth. Set aside. Gradually beat in the sifted powdered sugar and cocoa powder, alternating with the milk or cream. Add the vanilla extract and a pinch of salt. Beat until smooth and fluffy. You want a consistency that’s spreadable but not too runny.
Step 6: Layer & Swirl
Do not overbake the chocolate in your pan. Pour about half of the batter into your prepared baking pan and bake for about 5 minutes. Dollop spoonfuls of the fudge filling evenly over the batter. Then, carefully pour the remaining batter over the filling. Now for the fun part. Is it safe to swirl the filling into the batter with a knife or skewer? Don’t go crazy, just a few passes to create pretty marbling. I usually do a figure-eight pattern. The goal is to have distinct swirls, not to completely mix them together.
Step 7: Bake
Bake for 30 minutes, or until toothpick comes out clean. Clean or with a few moist crumbs attached. Keep an eye on them, as oven temperatures can vary. You don’t want to overbake these, or they’ll lose their moistness.
Step 8: Cool & Glaze
Let the fudge rounds cool in the pan on a wire rack for about 15-20 minutes. While they’re cooling, prepare the glaze. In a bowl, whisk together the sifted sugar and cocoa powder. Set aside. Add the softened butter and 3 tablespoons of milk or cream, along with the vanilla. Mix well. Stir until smooth. If it’s too thick, add more milk, 1 teaspoon at a time, until you reach sour but not watery consistency. Once the fudge rounds have cooled slightly, pour the glaze over the top and spread it evenly with an electric mixer. The back of a spoon is an offset spatula. The residual heat will help it spread beautifully.
Step 9: Slice & Serve
Let the glaze set for at least 30 minutes before slicing. This is the hardest part – waiting! Once the glaze is firm, cut them into squares or rectangles. For the cleanest cuts, use a sharp knife and wipe it between each cut. Is it okay to serve these at room temperature?
What should I serve it with?
These fudge rounds are pretty spectacular on their own, but they can also be part of a larger delicious spread! For breakfast, they’re a decadent treat alongside a strong cup of coffee or a glass of cold milk. My kids absolutely love them for a special breakfast treat on the weekends, almost like a tiny, celebratory cake. For brunch, I like to cut them into smaller, more bite-sized pieces and arrange them on a platter with fresh berries and maybe some whipped cream for an elegant touch. They pair wonderfully with mimosas or a light fruit juice. As a dessert, they’re already a star, but you can elevate them further by serving them with a scoop of vanilla bean ice cream or a dusting of powdered sugar. For cozy snacks, nothing beats curling up on the couch with one of these and a mug of hot chocolate or a soothing herbal tea. It’s the perfect comfort food pairing.
Top Tips for Perfecting Your Fudge Rounds
I’ve made these fudge rounds more times than I can count, and over the years, I’ve picked up a few tricks that really make a difference. For the batter, using good quality cocoa powder is key to that deep chocolate flavor. And don’t shy away from using hot coffee instead of water – it really amplifies the chocolate notes without making it taste like coffee. When mixing the batter, remember my earlier tip: don’t overmix! A few little flour streaks are better than tough cake. For the filling, make sure your butter is truly softened, not melted. This helps it get that lovely, creamy texture. If your filling seems a bit too stiff, just add a tiny bit more milk. When it comes to layering and swirling, a light hand is best. You want to see the lovely marble effect, not a completely mixed batter. For the glaze, consistency is everything. If it’s too thin, your fudge rounds will be messy. If it’s too thick, it will be hard to spread. A little milk or powdered sugar adjustment usually does the trick. I’ve found that sifting the powdered sugar for both the filling and the glaze is non-negotiable; it ensures a silky-smooth finish. If you’re finding your cakes are a bit dry, it usually means they’ve been overbaked. Try reducing the baking time by a few minutes or checking for doneness with the skewer test a bit earlier. And my biggest secret? Patience! Let them cool properly before glazing and before slicing. It makes all the difference to the final texture and presentation.
Storing and Reheating Tips
These fudge rounds are best enjoyed fresh, but they store surprisingly well, which is another reason I love them. For room temperature storage, keep them in an airtight container. They’ll stay fresh and delicious for about 2-3 days. I usually just cover the baking pan tightly with plastic wrap or foil. If you plan on storing them for longer, the refrigerator is your friend. Store them in an airtight container in the fridge for up to a week. They’ll become a bit firmer in the fridge, so I often let them sit at room temperature for about 15-20 minutes before serving to soften up again. Want to freeze them? Absolutely! Wrap individual fudge rounds (or cut squares) tightly in plastic wrap, then place them in a freezer-safe bag or container. They’ll keep well for up to 3 months. Thaw them overnight in the refrigerator and then bring them to room temperature. I generally recommend adding the glaze *after* the fudge rounds have cooled and just before serving if you plan to freeze them, as the glaze can sometimes crack or get a bit soft when frozen and thawed. But honestly, even with the glaze on, they’re still fantastic!
Frequently Asked Questions
Final Thoughts
There you have it – the recipe for my beloved fudge rounds! I truly hope you give these a try. They’re more than just a dessert; they’re a little slice of comfort, a taste of nostalgia, and a whole lot of chocolatey goodness. They’re proof that you don’t need to be a master baker to create something truly special and decadent in your own kitchen. If you love chocolate, you’re going to adore these. They’re perfect for birthdays, holidays, or simply when you need a pick-me-up. Don’t forget to share your creations with me – I’d love to see how yours turn out and hear about any tweaks you make! Happy baking, and enjoy every single fudgy bite!

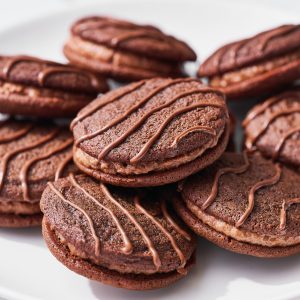
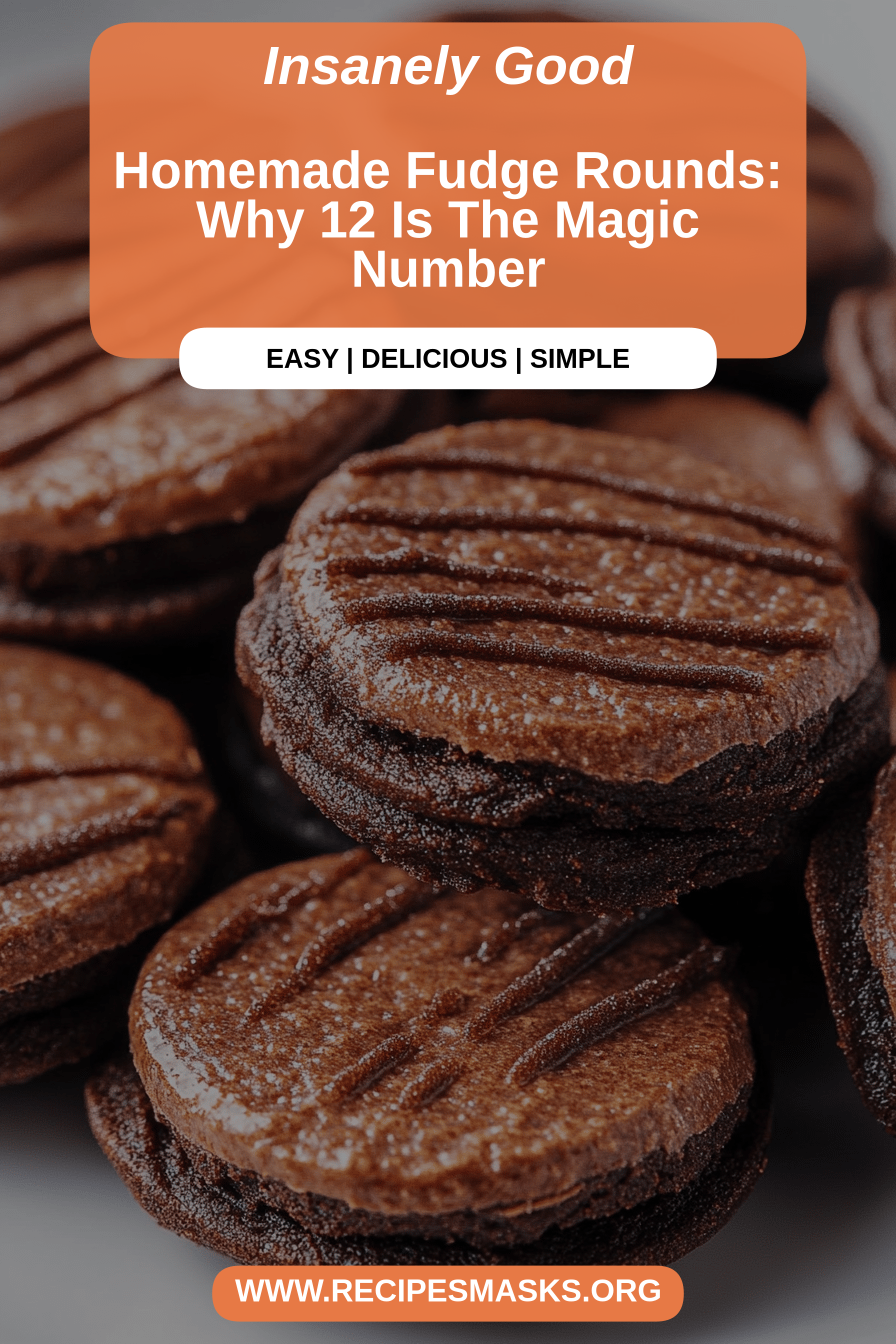
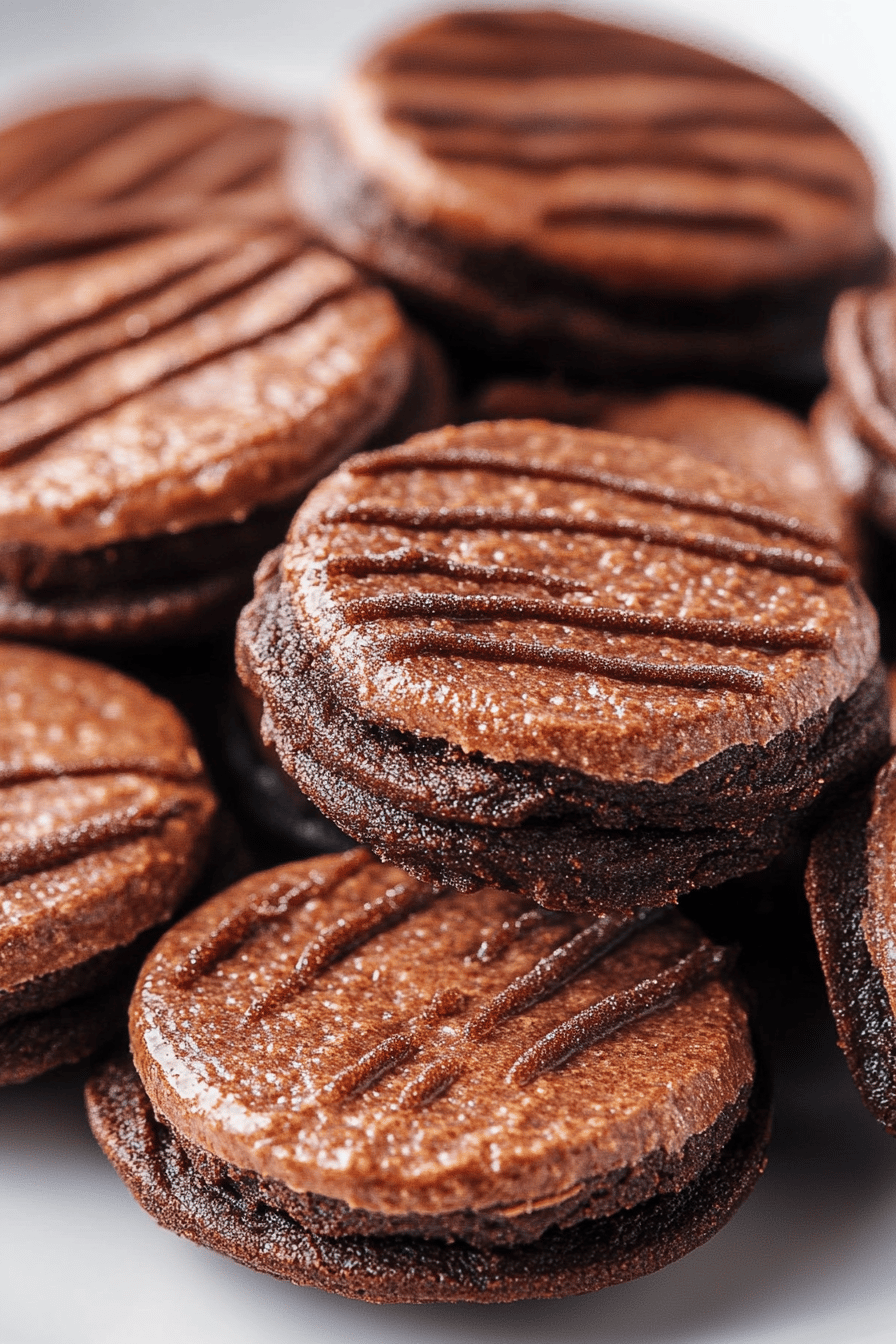
Fudge Rounds
Ingredients
Cookie Dough
- 2.5 cups all-purpose flour
- 0.5 cup unsweetened cocoa powder
- 1 teaspoon baking soda
- 0.5 teaspoon salt
- 1 cup unsalted butter, softened
- 2 cups granulated sugar
- 2 large eggs
- 1 teaspoon vanilla extract
Fudge Filling
- 1.5 cups powdered sugar, sifted
- 0.25 cup unsweetened cocoa powder, sifted
- 0.5 cup unsalted butter, softened
- 2 tablespoons milk
- 1 teaspoon vanilla extract
Instructions
Cookie Dough Instructions
- Preheat oven to 350°F (175°C). Line baking sheets with parchment paper.
- In a medium bowl, whisk together flour, cocoa powder, baking soda, and salt.
- In a large bowl, cream together butter and sugar until light and fluffy.
- Beat in eggs one at a time, then stir in vanilla extract.
- Gradually add the dry ingredients to the wet ingredients, mixing until just combined.
- Drop rounded tablespoons of dough onto the prepared baking sheets.
- Bake for 9-11 minutes, or until edges are set.
- Let cookies cool on the baking sheets for a few minutes before transferring to wire racks to cool completely.
Fudge Filling Instructions
- In a medium bowl, beat together butter and sifted powdered sugar and cocoa powder until smooth.
- Gradually add milk and vanilla extract, beating until the filling is light and fluffy.
Assembly
- Spread a generous amount of fudge filling on the bottom of one cookie and top with another cookie.
- Repeat with remaining cookies.