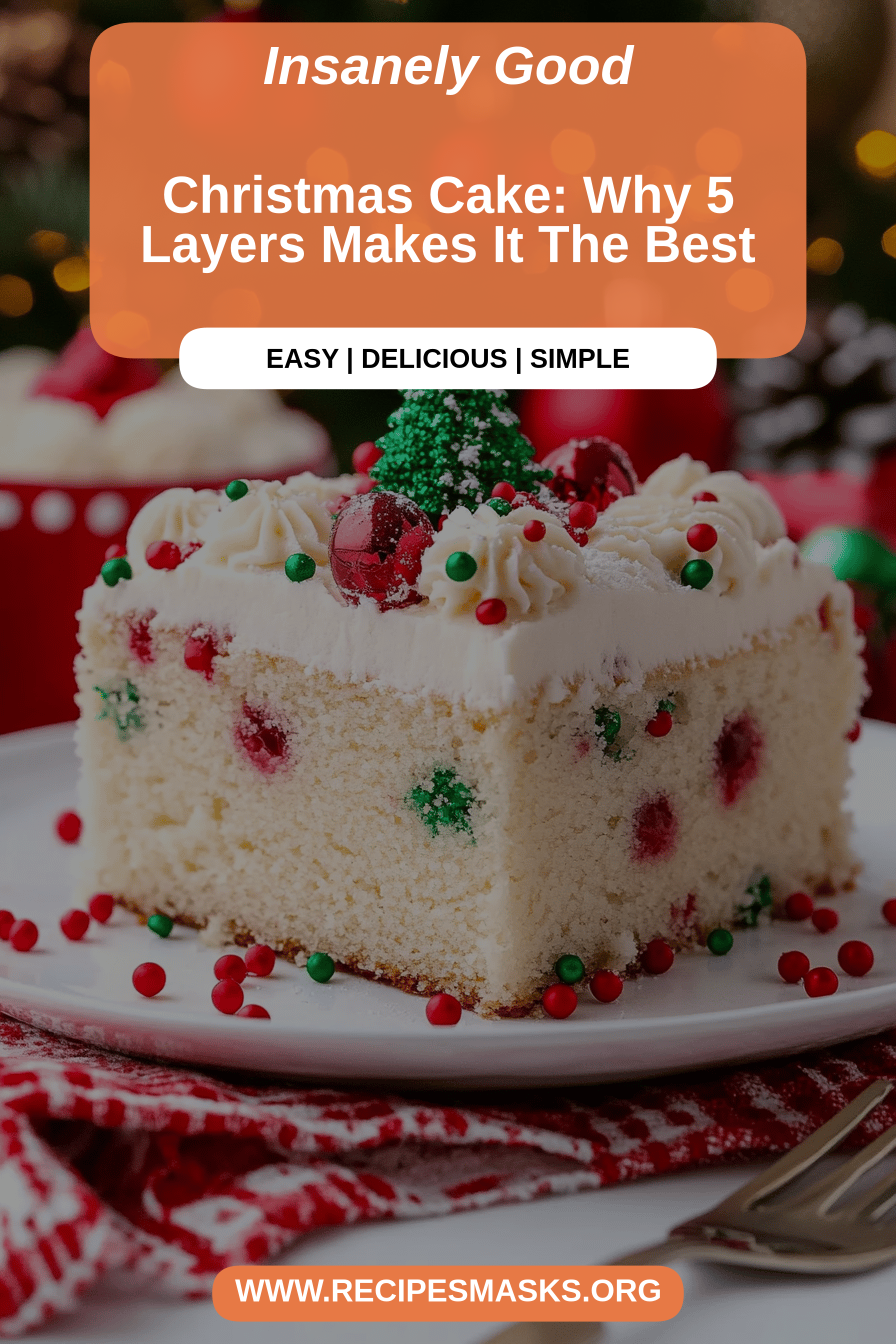
Oh, where do I even begin with this Christmas cake? For me, it’s more than just a cake; it’s a warm hug, a whispered memory of holidays past, and the sweet, spicy scent that fills our home and instantly signals the most wonderful time of the year. Every year, without fail, I have to bake this. It’s not one of those fussy, overly complicated fruitcakes that sit around forever. Nope. This Christmas cake is moist, perfectly spiced, and has this incredible balance of sweetness that makes everyone, from my pickiest eater to my adventurous foodie friends, ask for seconds. Honestly, I’ve tried a lot of Christmas cake recipes over the years, but this one… this one is a keeper. It’s the kind of recipe you hand down, the one that becomes synonymous with your own family’s holiday traditions. It’s like the perfect cozy sweater for your taste buds, if that makes sense!
What is a Christmas cake?
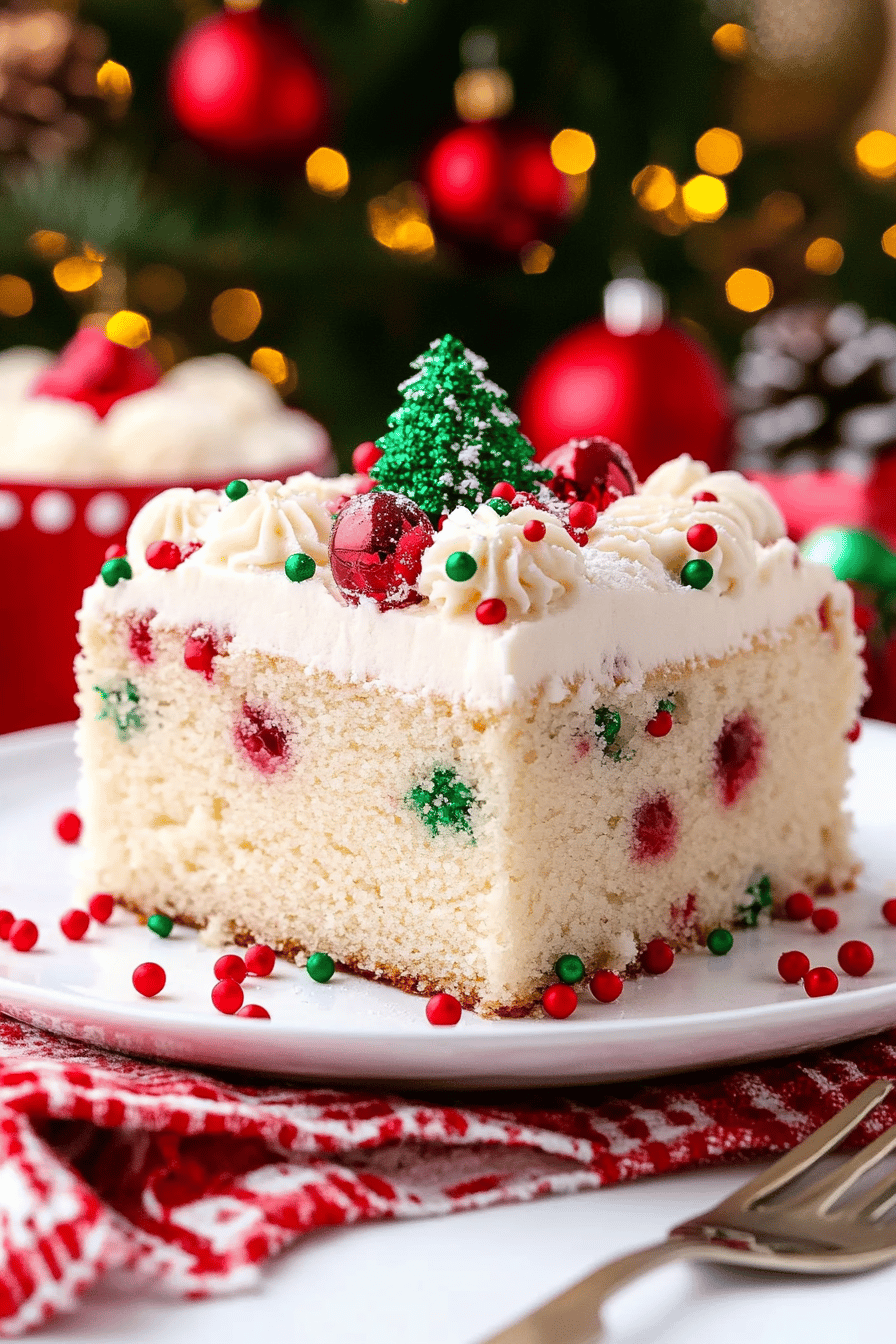
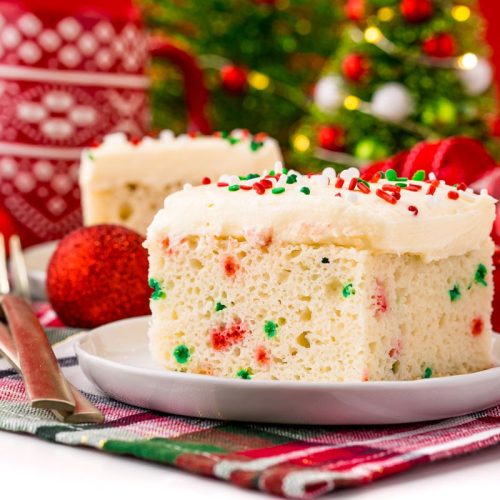
So, what exactly is this magical Christmas cake I keep raving about? Think of it as a deeply flavorful, wonderfully moist cake that’s packed with all the classic festive spices and just the right amount of warmth. It’s not heavy like some traditional fruitcakes can be, and it doesn’t rely on tons of dried fruit that can sometimes feel like chewing on cardboard. Instead, it’s got a beautiful crumb that’s just perfect for soaking up all those delicious flavors. The name “Christmas cake” feels so fitting because it truly embodies the spirit of the season – it’s comforting, a little indulgent, and just screams celebration. It’s essentially a hug in cake form, designed to be shared and savored during those cherished moments with loved ones. It’s the kind of cake that makes you want to put on some carols and sip on some mulled wine while you slice into it.
Why you’ll love this recipe?
There are so many reasons why I think you’re going to fall head over heels for this Christmas cake, just like I have. First off, the flavor profile is just out of this world. You get this beautiful symphony of warm spices – cinnamon, nutmeg, cloves, and a hint of ginger – that are perfectly balanced with the sweetness. It’s not overly sweet, which is a big deal for me. The texture is another huge win; it’s incredibly moist and tender, thanks to a few little tricks I’ll share with you. And get this, it’s surprisingly simple to make! I know, I know, “Christmas cake” can sound intimidating, but I promise you, this recipe is totally manageable, even if you’re not a seasoned baker. I’ve made this on super busy weeknights (yes, even before Christmas!) and it’s always a lifesaver. Plus, the ingredients are pretty standard, so you won’t need to hunt down anything too obscure, making it super cost-efficient. What I love most about this is its versatility. It’s fantastic on its own, but it’s also brilliant with a dollop of fresh whipped cream or a scoop of vanilla ice cream. It’s the kind of dessert that feels special enough for a holiday feast but comforting enough for an everyday treat. Compared to some of the more complex holiday bakes, this Christmas cake is an absolute breeze and delivers maximum flavor impact without all the fuss.
How do I make a Christmas cake?
Quick Overview
Making this Christmas cake is a straightforward process that even a beginner can master. We’ll start by combining our dry and wet ingredients separately, then gently bring them together to create a luscious batter. The key is not to overmix, which is crucial for that tender crumb. We’ll then pour this batter into our prepared pan, bake it until it’s perfectly golden and fragrant, and finish it off with a simple, delicious glaze. It’s a process that’s incredibly rewarding, and the smell that fills your kitchen as it bakes is just pure magic.
Ingredients
For the Main Batter:
This is where all the goodness starts! I always opt for good quality butter, as it really makes a difference in the richness and flavor. Make sure your eggs and butter are at room temperature – this is a little trick that helps everything emulsify beautifully and creates a smoother batter. For the flour, all-purpose is perfectly fine, but if you’re feeling fancy, a good quality cake flour can make it even more tender. I like to sift my flour, baking soda, and baking powder together – it just ensures no lumps and an even distribution of leavening agents, which is key for a good rise.
2 cups all-purpose flour
1 ½ teaspoons baking soda
1 teaspoon baking powder
½ teaspoon salt
1 teaspoon ground cinnamon
½ teaspoon ground nutmeg
¼ teaspoon ground cloves
⅛ teaspoon ground ginger
1 cup unsalted butter, softened
1 ¾ cups granulated sugar
3 large eggs, room temperature
1 teaspoon vanilla extract
1 cup buttermilk, room temperature (or 1 cup milk + 1 tbsp lemon juice, let sit for 5 mins)
For the Filling (Optional but Recommended!):
This is what really elevates this Christmas cake to something truly special. You can customize this part endlessly! I love a mix of chopped nuts and dried cranberries for a bit of chew and tartness. Make sure your dried fruit isn’t too hard; a quick soak in warm water can help if they’re a bit stale. If you’re not a fan of cranberries, raisins or dried cherries work wonderfully too. For a richer flavor, you can even add a touch of orange zest here.
½ cup chopped pecans or walnuts
½ cup dried cranberries or raisins
1 tablespoon all-purpose flour (to toss with fruit and nuts)
For the Glaze:
This glaze is super simple and adds a lovely sheen and a touch more sweetness. The key here is getting the consistency just right. You want it thick enough to coat the cake but thin enough to drizzle. Start with the smaller amount of powdered sugar and add more as needed. A splash of milk or water will thin it, and a bit more powdered sugar will thicken it. I sometimes add a tiny bit of orange juice instead of milk for a citrusy kick, which is lovely with the spices.
1 ½ cups powdered sugar
2-3 tablespoons milk or water
½ teaspoon vanilla extract (optional)
Step-by-Step Instructions
Step 1: Preheat & Prep Pan
First things first, get that oven preheating to 350°F (175°C). This is super important so your cake bakes evenly from the moment it goes in. For the pan, I love using a 9×13 inch baking pan for this. Grease it really well with butter or cooking spray, and then lightly flour it, tapping out any excess. This ensures your beautiful Christmas cake won’t stick. If you’re using a Bundt pan, make sure to get into all those nooks and crannies with your greasing and flouring!
Step 2: Mix Dry Ingredients
In a medium bowl, whisk together your flour, baking soda, baking powder, salt, cinnamon, nutmeg, cloves, and ginger. Give it a good whisk until everything is well combined. This step is crucial for distributing the spices evenly, so you get that lovely flavor in every single bite. I like to sift them together to make sure there are no little clumps, especially from the baking soda and powder. A well-mixed dry ingredient base means a better-risen and more evenly flavored cake.
Step 3: Mix Wet Ingredients
In a large bowl, cream together the softened butter and granulated sugar until the mixture is light and fluffy. This is where the electric mixer really comes in handy! You want to beat it for a good 3-5 minutes until it’s pale yellow and airy. Then, beat in the eggs one at a time, making sure each one is fully incorporated before adding the next. Stir in the vanilla extract. Finally, alternate adding the dry ingredients mixture and the buttermilk to the wet ingredients, beginning and ending with the dry. Mix on low speed until just combined. Don’t overmix at this stage – we want a tender cake, not a tough one!
Step 4: Combine
Now we’re going to bring it all together. Gently fold the dry ingredients into the wet ingredients in batches, alternating with the buttermilk. Start and end with the dry ingredients. Mix on low speed or by hand until just combined. Seriously, stop mixing as soon as you don’t see any streaks of flour. Overmixing develops the gluten in the flour, which can lead to a tough cake, and we definitely don’t want that. The batter should look smooth but still have a bit of body to it.
Step 5: Prepare Filling
If you’re adding the optional filling, this is the time to prep it. In a small bowl, gently toss your chopped nuts and dried cranberries (or raisins) with 1 tablespoon of flour. This little bit of flour helps prevent the fruit and nuts from sinking to the bottom of the cake while it bakes. It’s a small step that makes a big difference in the final presentation and texture.
Step 6: Layer & Swirl
Pour about half of the Christmas cake batter into your prepared pan and spread it evenly. Now, sprinkle your prepared fruit and nut mixture evenly over the batter. Dollop the remaining batter over the top, and then gently spread it to cover the filling as much as possible. If you want a more swirled effect, you can use a knife or skewer to gently swirl the top layer of batter into the bottom layer. Don’t go too crazy, just a few gentle swirls are all you need to create beautiful patterns.
Step 7: Bake
Pop your pan into the preheated oven. Bake for about 35-45 minutes for a 9×13 pan, or 50-60 minutes for a Bundt pan. The baking time will vary depending on your oven, so start checking around the 35-minute mark. You’ll know it’s done when a wooden skewer or toothpick inserted into the center comes out clean, with just a few moist crumbs attached. If the top starts to brown too quickly, you can loosely tent it with aluminum foil.
Step 8: Cool & Glaze
Once it’s baked to perfection, take the Christmas cake out of the oven and let it cool in the pan on a wire rack for about 15-20 minutes. This allows it to set up a bit so it doesn’t fall apart when you remove it. Then, carefully invert the cake onto the wire rack to cool completely. While the cake is cooling, prepare the glaze. In a small bowl, whisk together the powdered sugar, vanilla extract (if using), and 2 tablespoons of milk or water until smooth. Add more liquid a teaspoon at a time if it’s too thick, or more powdered sugar if it’s too thin, until you reach your desired drizzling consistency. Once the cake is completely cool, drizzle the glaze all over the top. Let the glaze set for a bit before slicing.
Step 9: Slice & Serve
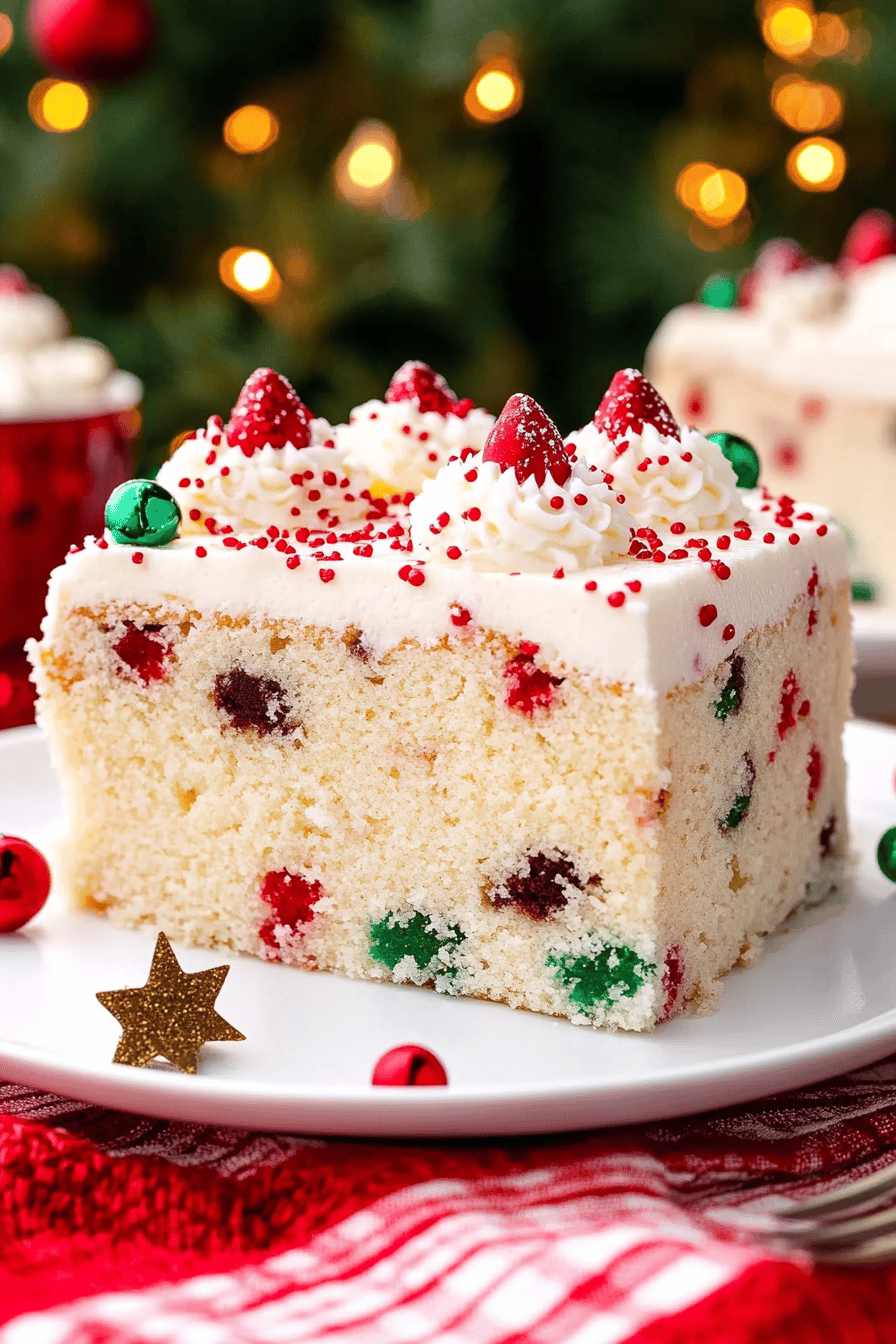
And there you have it – your beautiful, homemade Christmas cake! For the best results, let the glaze set for at least 30 minutes before slicing. I find using a sharp knife helps create clean slices, especially with the glaze. You can serve it as is, or with a dusting of powdered sugar, a dollop of whipped cream, or even a scoop of vanilla bean ice cream. It’s absolutely divine!
What to Serve It With
This Christmas cake is so versatile, it truly shines no matter how you serve it! For a cozy breakfast on a chilly morning, a slice warmed up with a strong cup of coffee is just pure bliss. The spices in the cake complement the coffee beautifully. For a more elegant brunch spread, I love to arrange thin slices on a festive platter, perhaps with some fresh berries or a side of Greek Yogurt. It adds a touch of sweetness and sophistication without being overpowering. As a dessert, it’s an absolute star. Serve it with a dollop of freshly whipped cream, a scoop of good quality vanilla ice cream, or even a drizzle of caramel sauce. My family also loves it with a small glass of port or a festive mulled wine. And for those moments when you just need something sweet and comforting, a simple slice on its own is perfect for a cozy afternoon snack. I’ve even served it alongside a cheese board during parties, and it’s always a surprise hit!
Top Tips for Perfecting Your Christmas Cake
After making this Christmas cake more times than I can count, I’ve picked up a few little tricks that I think can really help you achieve cake perfection. First, about the zucchini (wait, did I mention zucchini? Oh dear, my brain! Let me rephrase. About the *fruit and nuts* prep). If your dried fruit seems a bit hard or stiff, a quick soak in warm water for about 10 minutes can plump them up nicely, making them softer and more pleasant to eat in the cake. Just make sure to drain them really well afterwards! Regarding mixing, the absolute golden rule is: do not overmix. Seriously, I can’t stress this enough. Mix the wet and dry ingredients until they are *just* combined. A few little lumps are okay; they’ll disappear during baking. Overmixing develops gluten and can result in a tough cake, and we want a tender, melt-in-your-mouth experience. For swirl customization, if you’re going for that effect, keep it simple. Just a few gentle passes with a knife are enough. Too much swirling can muddy the flavors and textures. Ingredient swaps are totally doable! If you don’t have pecans, walnuts are a fantastic substitute. If cranberries aren’t your thing, raisins or even chopped dates work well. I’ve even tried it with dried cherries, and it was divine! Just make sure to toss them with that tablespoon of flour. When it comes to baking, always trust your oven but also test for doneness. Ovens can be quirky, so the toothpick test is your best friend. If the top is browning too fast, don’t be afraid to loosely tent it with aluminum foil. And for the glaze variations, don’t be afraid to get creative! A little bit of orange zest stirred into the glaze adds a beautiful citrus note that pairs wonderfully with the spices. Or, try using a touch of lemon juice for a tangier glaze. The consistency is key – aim for something that flows but isn’t too runny.
Storing and Reheating Tips
Properly storing your delicious Christmas cake is key to keeping it fresh and flavorful. If you’re planning to enjoy it within a few days, keeping it at room temperature is perfectly fine. Just make sure to cover it tightly with plastic wrap or place it in an airtight container. It should stay wonderfully moist for up to 3-4 days. If you need to store it for longer, the refrigerator is your best bet. Wrap it well in plastic wrap, and then again in foil, or pop it into an airtight container. It will keep well in the fridge for up to a week, though honestly, it rarely lasts that long in my house! The flavors actually tend to meld and deepen a bit in the fridge, which is rather nice. For long-term storage, freezing is an excellent option. Wrap individual slices or the whole cake tightly in plastic wrap, then in a layer of aluminum foil, and finally place it in a freezer-safe bag or container. It can be frozen for up to 2-3 months. To thaw, simply remove it from the freezer and let it come to room temperature, or gently reheat slices in a low oven (around 300°F or 150°C) for a few minutes until warmed through. Regarding the glaze, it’s best to add it once the cake has completely cooled and just before serving. If you plan to freeze it, it’s often better to glaze it after thawing, or omit the glaze altogether and dust with powdered sugar after reheating.
Frequently Asked Questions
Final Thoughts
So there you have it, my cherished Christmas Cake Recipe. It’s truly a labor of love, but one that fills your home with incredible aromas and your heart with holiday cheer. It’s the kind of bake that brings people together, sparking conversations and creating sweet memories. I really hope you give this a try and find as much joy in baking and sharing it as I do. If you end up making it, please, please let me know how it turns out in the comments below! I’d absolutely love to hear about your variations, your family’s reactions, and any special traditions you create around it. Happy baking, and wishing you the most wonderful and delicious holiday season!
Christmas cake
Ingredients
Main Ingredients
- 0.5 pound mixed dried fruit
- 0.5 cup raisins
- 0.5 cup currants
- 0.25 cup candied peel chopped
- 0.5 cup unsalted butter softened
- 0.5 cup dark brown sugar packed
- 2 large eggs beaten
- 1 cup all-purpose flour
- 0.5 teaspoon mixed spice
- 0.25 teaspoon nutmeg grated
- 0.125 cup brandy or rum
Instructions
Preparation Steps
- Preheat oven to 300°F (150°C). Grease and line a 7-inch round cake tin.
- In a large bowl, combine the mixed dried fruit, raisins, currants, and candied peel. Stir in the brandy.
- In another bowl, cream together the butter and brown sugar until light and fluffy.
- Gradually beat in the eggs, adding a tablespoon of flour if the mixture starts to curdle.
- Sift the remaining flour, mixed spice, and nutmeg into the wet ingredients. Fold gently until just combined.
- Fold the fruit mixture into the cake batter.
- Pour the batter into the prepared cake tin and level the top.
- Bake for 2.5 to 3 hours, or until a skewer inserted into the center comes out clean. If the top browns too quickly, cover with foil.
- Let the cake cool in the tin for 15 minutes before turning out onto a wire rack to cool completely.
- Once cool, wrap the cake tightly in baking parchment and then foil. Store in a cool, dark place for at least 2 weeks before decorating and serving.