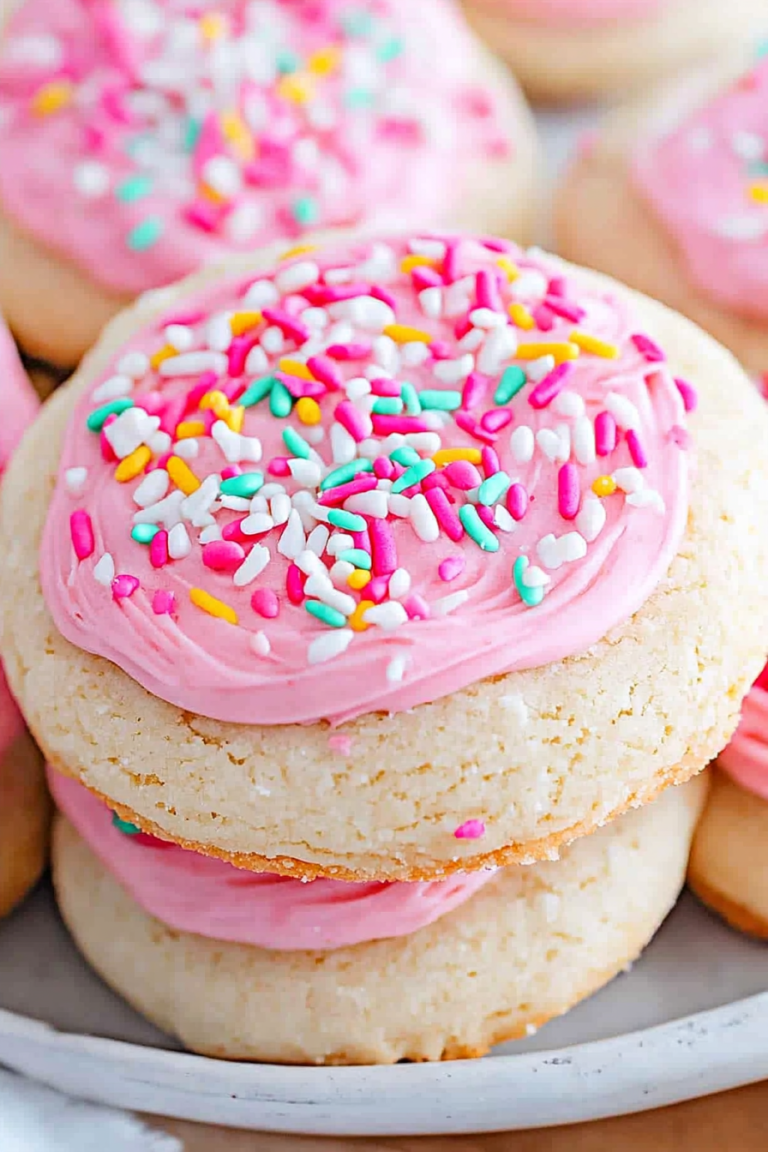
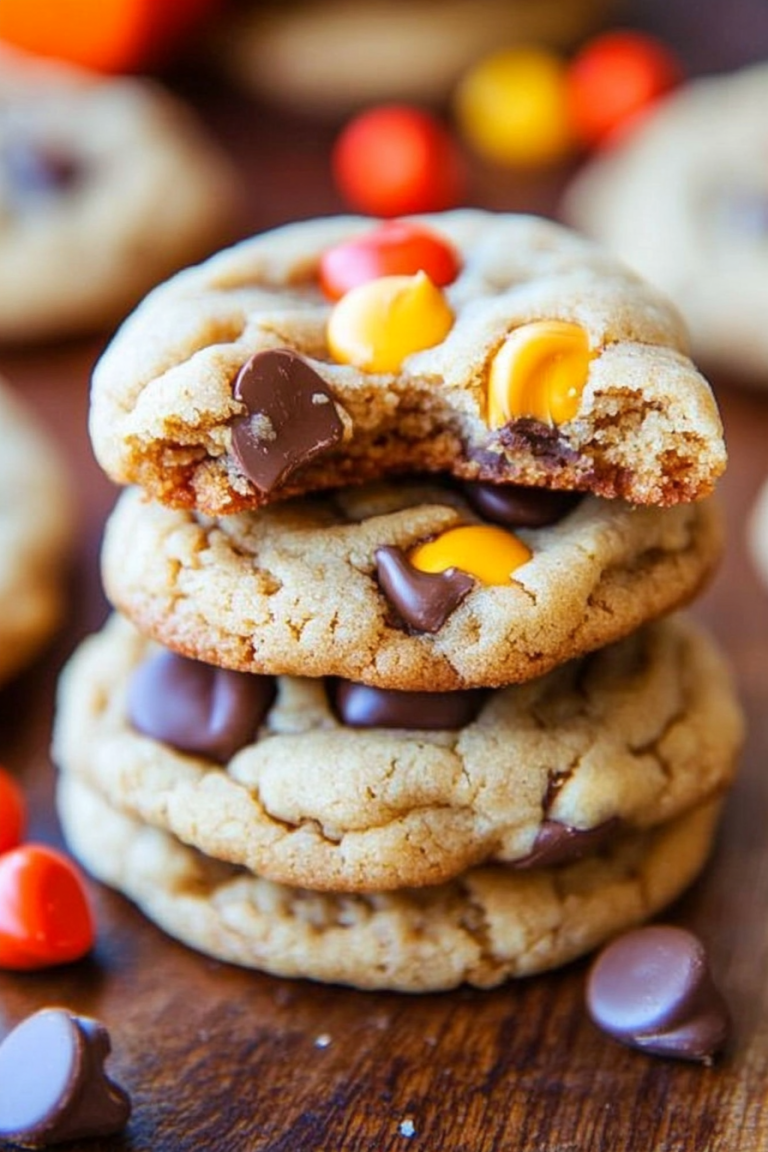
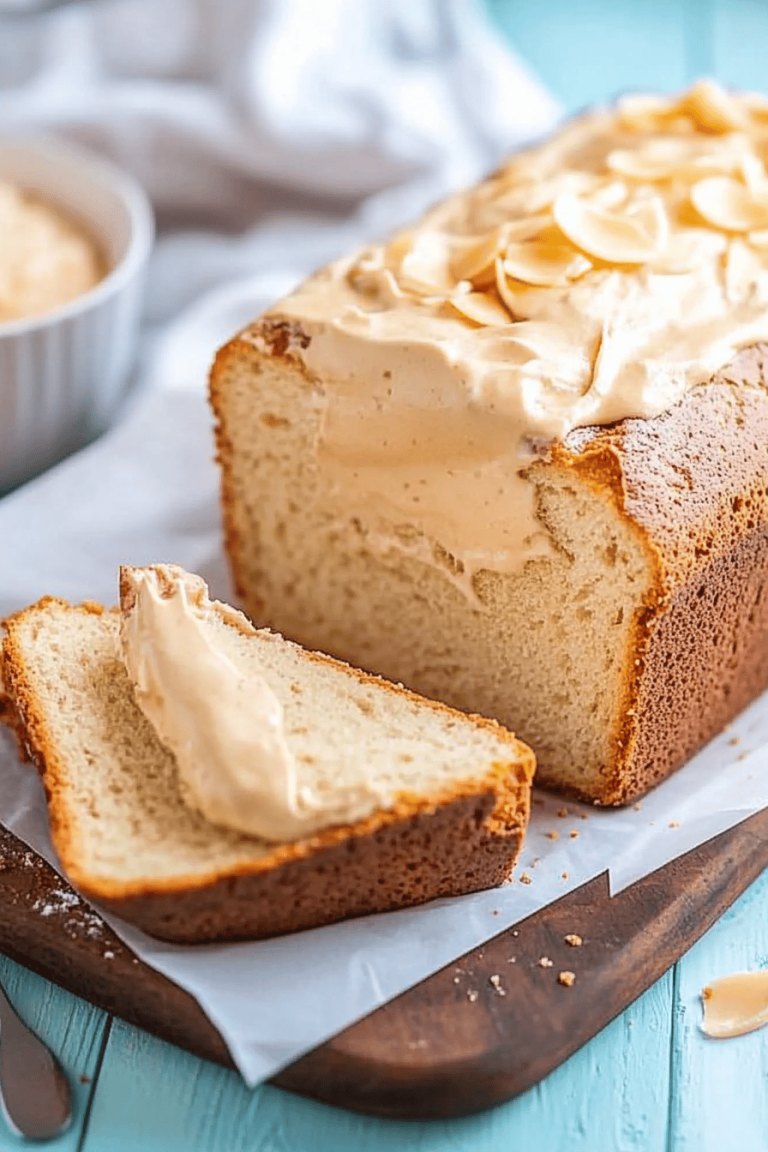
There are some recipes that just feel like a warm hug, aren’t there? This recipe for white chocolate cookies is one of those for me. Honestly, it’s more than just a recipe; it’s a memory. I can vividly remember my Grandma Betty making these on rainy afternoons when I was little. The entire house would fill with this sweet, buttery aroma, and we’d huddle around the kitchen counter, impatiently waiting for them to cool just enough so we could sneak a bite. They’re not just simple Sugar Cookies; they have this incredible balance of sweet white chocolate chips and a perfectly chewy texture that just melts in your mouth. If you’re a fan of soft-baked cookies, you’ll adore these. They’re like the fancier, more sophisticated cousin to the classic chocolate chip cookie, but without any of the fuss. I’ve tried countless white chocolate cookie recipes over the years, but this one, my friends, is the one I always come back to. It’s the tried-and-true champion of my cookie jar.

What are white chocolate cookies?
So, what exactly makes these White Chocolate cookies so special? Well, think of them as the ultimate indulgence in cookie form. They’re not your typical crisp, flat cookies; oh no. These are gloriously soft and chewy in the center, with just the slightest hint of crisp around the edges. The star of the show, of course, is the creamy, sweet white chocolate. It melts into these little pools of deliciousness throughout the cookie, creating pockets of pure joy with every bite. We’re not talking about those chalky white chocolate chips either; we’re using good quality stuff that melts beautifully. The name “white chocolate cookies” really says it all, but it’s the *way* these are made, the specific ratio of ingredients, and that perfect baking time that elevates them from just “cookies with white chocolate” to something truly memorable. They’re essentially little rounds of happiness, perfect for lifting spirits on a dreary day or celebrating a small victory.
Why you’ll love this recipe?
There are so many reasons why this white chocolate cookie recipe has earned a permanent spot in my recipe box, and I know you’re going to feel the same way. First off, let’s talk about the flavor. It’s just divine! You get that rich, buttery sweetness from the cookie base, perfectly complemented by the creamy, milky notes of the white chocolate. It’s not overly sweet, which I appreciate, because sometimes white chocolate can lean that way. The texture is another huge win. They are perfectly chewy, almost gooey in the center, which is exactly how I like my cookies. If you’re someone who prefers a crisp cookie, you might find yourself baking them a minute or two longer, but I promise, this chewiness is addictive! What I love most about this recipe is its surprising simplicity. Even if you’re not a seasoned baker, you can absolutely nail these. The ingredients are all standard pantry staples, and the steps are straightforward. No complicated techniques, no fancy equipment needed. Plus, they’re incredibly cost-effective! You probably have most of what you need in your kitchen right now. And the versatility? Oh, it’s fantastic. I often add a sprinkle of sea salt on top right before baking, which adds this wonderful salty-sweet contrast that’s out of this world. You can also chop up some macadamia nuts and fold them in for a classic white chocolate macadamia nut cookie vibe. They’re perfect for bake sales, holiday cookie platters, or honestly, just for a late-night craving when you need something sweet *now*.
How do I make White Chocolate Cookies?
Quick Overview
Making these delightful white chocolate cookies is a breeze! In a nutshell, you’ll cream together butter and sugar until fluffy, add in eggs and vanilla, then gently mix in your dry ingredients. Finally, you’ll fold in those glorious white chocolate chips. The dough chills for a bit to develop flavor and make it easier to handle, then you scoop, bake, and voilà! You’ll have warm, chewy, dreamy white chocolate cookies ready to be devoured. It’s truly that simple, and the results are so rewarding. You get that perfect balance of texture and flavor without any complicated steps.
Ingredients
For the Main Cookie Batter:
2 and 1/4 cups all-purpose flour: I always use a good quality all-purpose flour. Make sure to spoon and level it into your measuring cup, don’t scoop directly from the bag, as that can pack too much flour in and make your cookies tough.
1 teaspoon baking soda: This is crucial for giving our cookies that perfect lift and chewiness.
1/2 teaspoon salt: Salt is a flavor enhancer! It balances out the sweetness and really makes the white chocolate pop. Don’t skip it!
1 cup (2 sticks) unsalted butter, softened: Make sure your butter is truly softened, not melted. It should give slightly when you press it with your finger. This is key for achieving that creamy texture when creaming with the sugar.
3/4 cup granulated sugar: For sweetness and structure.
3/4 cup packed light brown sugar: This is what gives our cookies that wonderful chewiness and a slightly caramel note. Don’t use dark brown sugar here, as it can make the cookies too dense.
2 large eggs: Room temperature eggs incorporate better into the batter. I usually take them out about 30 minutes before I start baking.
1 teaspoon pure vanilla extract: Pure vanilla extract makes a world of difference compared to imitation. It adds depth and warmth to the flavor profile.
For the White Chocolate Goodness:
2 cups white chocolate chips: This is where the magic happens! I love using good quality white chocolate chips, the kind that are creamy and melt well. You can also chop up a good white chocolate bar if you prefer larger chunks, but chips are super convenient and give a great distribution.
Optional, but Highly Recommended:
Flaky sea salt, for sprinkling on top: Just a tiny pinch over each cookie before baking takes these to a whole new level of deliciousness. It cuts through the sweetness beautifully!
Step-by-Step Instructions
Step 1: Preheat & Prep Pan
First things first, get your oven preheating to 375°F (190°C). This ensures your oven is at the perfect temperature from the moment the cookies go in. While it’s heating up, line a couple of baking sheets with parchment paper or silicone baking mats. Parchment paper is my best friend for cookies; it prevents sticking and makes cleanup a total breeze. If you don’t have parchment, just lightly grease your baking sheets, but parchment is definitely the way to go for even baking and easy removal.
Step 2: Mix Dry Ingredients
Grab a medium-sized bowl and whisk together your flour, baking soda, and salt. Give it a good whisk until everything is well combined. This step might seem small, but it’s important for making sure your leavening agent (baking soda) and salt are evenly distributed throughout the flour, which leads to a more consistent cookie. You don’t want pockets of salt or baking soda!
Step 3: Mix Wet Ingredients
In a large bowl, cream together your softened butter, granulated sugar, and packed light brown sugar. You can use an electric mixer (stand mixer or hand mixer) for this, or you can go old school and do it by hand with a sturdy whisk or wooden spoon if you’re feeling ambitious! Beat until the mixture is light, fluffy, and pale yellow – this usually takes about 2-3 minutes with a mixer. Next, beat in the eggs one at a time, making sure each egg is fully incorporated before adding the next. Then, stir in the pure vanilla extract. The mixture should look smooth and emulsified.
Step 4: Combine
Now it’s time to bring the wet and dry ingredients together. Gradually add the flour mixture to the wet ingredients, mixing on low speed (or stirring gently by hand) until *just* combined. Be careful not to overmix here! Overmixing develops the gluten in the flour too much, which can lead to tough cookies. You should still see a few streaks of flour, and that’s perfectly okay. We’ll incorporate those when we add the white chocolate chips.
Step 5: Prepare Filling
This step is actually super simple because the “filling” is already part of the batter! We’re just folding in the star of the show: the white chocolate chips. Add the 2 cups of white chocolate chips to the dough. Using a spatula or wooden spoon, gently fold them in until they are evenly distributed throughout the dough. Again, try not to overmix; just gently fold until they’re nicely incorporated. If you’re adding anything else, like nuts, now’s the time to fold them in too.
Step 6: Layer & Swirl
This recipe doesn’t involve a separate filling and swirling in the traditional sense like some bars might. The “swirl” or beautiful pockets of white chocolate happen naturally as the cookies bake and the chips melt and spread within the dough. The key here is ensuring the white chocolate chips are well distributed in the dough before baking. If you *really* want a marbled effect, you could try making two separate doughs, one with white chocolate and one without, then swirling them together, but honestly, I find the classic method gives you the most delicious pockets of melted white chocolate.
Step 7: Bake
Now for the best part! Drop rounded tablespoons of cookie dough onto your prepared baking sheets, leaving about 2 inches between each cookie as they will spread. If you want those little sprinkles of sea salt, now is the time to sprinkle them on top of each dough ball. Bake for 9-12 minutes, or until the edges are lightly golden brown and the centers still look slightly soft and underbaked. They’ll continue to cook on the baking sheet after you take them out of the oven, so it’s better to err on the side of slightly underbaked than overbaked if you want that chewy center!
Step 8: Cool & Glaze
Once they’re out of the oven, let the cookies cool on the baking sheets for about 5-10 minutes. This is super important for letting them set up properly so they don’t fall apart. After they’ve had a little rest on the sheet, carefully transfer them to a wire rack to cool completely. For these specific white chocolate cookies, I don’t typically add a glaze, as the white chocolate chips already provide that creamy sweetness. However, if you wanted to add a simple vanilla glaze (just powdered sugar, a splash of milk, and a drop of vanilla), you’d do that *after* the cookies have cooled completely on the wire rack. A little drizzle would be pretty, but I honestly love them just as they are!
Step 9: Slice & Serve
These white chocolate cookies are best served warm or at room temperature. I love them slightly warm when the white chocolate is still a little melty and gooey. You don’t need to “slice” them in the traditional sense, as they’re already individual cookies! Just arrange them on a plate or in a cookie jar. They look absolutely beautiful just as they are, especially with those little flecks of melted white chocolate peeking out. If you’ve added the sea salt, you’ll see those little crystals shimmering on top. They’re perfect for grabbing one (or three!) with a glass of cold milk or a cup of coffee.
What to Serve It With
These white chocolate cookies are so versatile, they can honestly fit into any occasion or craving! For a cozy breakfast, I love pairing one with a strong cup of coffee or a creamy latte. The sweetness of the cookie is just enough to start the day without being overpowering. For a more elegant brunch spread, they’re fantastic alongside fresh fruit salad and perhaps some mini muffins or scones. They add a touch of sweetness and decadence to the table without being too heavy. As a dessert, they’re pure magic. Serve them warm with a scoop of vanilla bean ice cream – the contrast between the warm, melty cookie and cold ice cream is heavenly! They also pair wonderfully with a light fruit tart or a Chocolate Mousse for a dessert buffet. And for those spontaneous, cozy snack attacks? These are your go-to. Grab one (or two!) with a tall glass of cold milk, curl up with a good book, and just enjoy the simple pleasure. My kids absolutely adore them with a glass of milk after school, and honestly, so do I! Another favorite combo of mine is with a hot cup of peppermint tea during the holidays – the mint and white chocolate are a surprisingly delightful pairing.
Top Tips for Perfecting Your White Chocolate Cookies
Over the years, I’ve picked up a few tricks that I think make all the difference in achieving that perfect white chocolate cookie every single time. So, listen up, because these are the gems!
Butter Temperature is Key: Seriously, this is non-negotiable. Your butter *must* be softened but not melted. If it’s too cold, it won’t cream properly with the sugar, leading to a denser cookie. If it’s melted, your cookies will spread too much and become flat and greasy. I usually leave my butter out on the counter for about an hour before I start. You want it to yield to gentle pressure from your finger, but not be mushy.
Don’t Overmix the Flour: This is a big one for cookie texture. Once you add the flour, mix *just* until it’s combined. A few streaks of flour are okay – they’ll disappear when you fold in the chocolate chips. Overmixing develops the gluten, which is what makes bread chewy, but it’s the enemy of tender cookies.
Quality White Chocolate Matters: I know I mentioned it before, but it bears repeating. Using good quality white chocolate chips or a chopped white chocolate bar really impacts the flavor and texture. Some cheaper brands can be waxy or too sweet. Invest a little extra here, and your taste buds will thank you.
Chill the Dough (Optional but Recommended): While this recipe works great without chilling, I often find that chilling the dough for at least 30 minutes (or even overnight!) before baking makes a noticeable difference. It allows the flavors to meld and develop, and it firms up the dough, which helps prevent excessive spreading. Just scoop them onto the baking sheet, and they’ll bake up beautifully.
Watch Them Like a Hawk: Ovens can be finicky, and cookie baking times can vary. I always keep an eye on my cookies in the last few minutes of baking. You want them to be set around the edges but still look a little soft and underbaked in the center. They’ll continue to cook on the hot baking sheet after you pull them out. For that chewy center, it’s better to pull them a minute too early than a minute too late!
Sea Salt is a Game Changer: Don’t be afraid of the flaky sea salt on top. It might sound a little unusual for a sweet cookie, but trust me on this one. That tiny bit of salt sprinkled on top before baking cuts through the sweetness of the white chocolate and the cookie itself, creating a perfect flavor balance that is just incredibly moreish. A little sprinkle goes a long way!
Storing and Reheating Tips
I know we all love to bake a big batch of these white chocolate cookies, so knowing how to store them properly is key! If you have any leftovers, that is!
Room Temperature Storage: Once completely cooled, store your white chocolate cookies in an airtight container at room temperature for up to 3-4 days. I like to use a container with a good seal, or you can place a piece of plastic wrap over the cookies before sealing the container. This helps keep them from drying out. If you pack them too tightly, you might end up with slightly smushed cookies, so give them a little breathing room if you can.
Refrigerator Storage: Honestly, I rarely refrigerate my cookies because they tend to lose their chewy texture and can become a bit hard. However, if you live in a very warm climate and are concerned about them melting or spoiling, you can store them in an airtight container in the fridge for up to a week. Just be aware they’ll be firmer. To bring them back to a softer texture, you can microwave them for just 10-15 seconds before serving.
Freezer Instructions: These white chocolate cookies freeze beautifully, both baked and unbaked! For baked cookies, let them cool completely, then wrap them tightly in plastic wrap, followed by a layer of aluminum foil or place them in a freezer-safe bag. They’ll stay good in the freezer for up to 2-3 months. For unbaked cookie dough balls, scoop them onto a baking sheet, freeze until solid, then transfer them to a freezer bag. You can bake them directly from frozen, just add a few extra minutes to the baking time.
Glaze Timing Advice: If you do decide to add a glaze (though I usually don’t for these), it’s best to glaze the cookies *after* they’ve completely cooled. If you glaze them while warm, the glaze will melt and become messy. For any cookies that are going to be stored for longer periods, especially in the freezer, I’d recommend glazing them *after* thawing them. This ensures the glaze stays fresh and doesn’t get soggy.
Frequently Asked Questions
Final Thoughts
These white chocolate cookies are more than just a sweet treat; they’re a little bit of happiness baked into every bite. They’re incredibly forgiving, wonderfully delicious, and always seem to bring a smile to everyone’s face. I’ve made them countless times, for everything from casual get-togethers to holiday cookie exchanges, and they never, ever disappoint. The combination of that chewy texture, the sweet melting white chocolate, and that hint of salt (if you add it!) is just perfection. If you’re looking for a cookie that’s a little bit special without being complicated, you’ve found it. Give these a try, and I promise, they’ll become a favorite in your kitchen too. I’d absolutely love to hear how yours turn out! Drop a comment below to let me know if you made them, what variations you tried, or any stories they bring back for you. Happy baking, everyone!
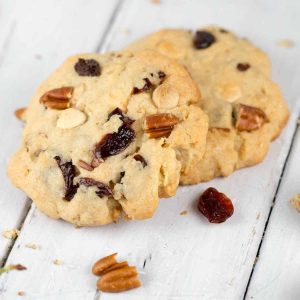
White Chocolate Cookies
Ingredients
Main Ingredients
- 1 cup unsalted butter softened
- 0.75 cup granulated sugar
- 0.75 cup packed light brown sugar
- 2 large eggs
- 1 teaspoon vanilla extract
- 3.25 cups all-purpose flour
- 1 teaspoon baking soda
- 0.5 teaspoon salt
- 11 ounces white chocolate chips
- 1 cup chopped walnuts optional
Instructions
Preparation Steps
- Preheat oven to 375°F (190°C). Line baking sheets with parchment paper.
- In a large bowl, cream together the softened butter, granulated sugar, and brown sugar until light and fluffy.
- Beat in the eggs one at a time, then stir in the vanilla extract.
- In a separate medium bowl, whisk together the flour, baking soda, and salt.
- Gradually add the dry ingredients to the wet ingredients, mixing until just combined. Do not overmix.
- Stir in the white chocolate chips and chopped walnuts (if using).
- Drop rounded tablespoons of dough onto the prepared baking sheets, leaving about 2 inches between cookies.
- Bake for 10-12 minutes, or until the edges are golden brown and the centers are still slightly soft.
- Let the cookies cool on the baking sheets for a few minutes before transferring them to a wire rack to cool completely.

