There’s something about the smell of sizzling garlic and ginger sauteing in a pan that instantly whisks me back to my childhood kitchen in the middle of an ordinary weeknight. It wasn’t fancy, but it was comfort, warmth, and pure love all bundled into one simple bowl of Asian rice. I vividly remember my mom humming softly while tossing in a medley of colorful veggies and bits of tender chicken, the fragrant sauce bubbling gently, and the way my siblings and I hovered around the kitchen counter impatiently waiting with chopsticks in hand. This dish isn’t just food; it’s nostalgia smoothed over with that unmistakable umami flavor that hugs you from the inside. If you think about it, it’s kind of like a fried rice, but way lighter, fresher, and incredibly easy to whip up on busy nights. Yep, this Asian rice bowl has saved me more times than I can count—and trust me, it’s not just a leftover helper, it’s a star all on its own.
What is Mom’s Savory Asian Rice Bowl?
Think of this as your all-in-one bowl bursting with aromatic, savory rice and simple, wholesome ingredients that you likely have stashed in your fridge and pantry. It’s essentially a lightly stir-fried bed of fluffy rice, infused with the flavors of garlic, ginger, scallions, and a splash of soy sauce, topped off with your choice of protein or veggies. The beauty of this dish is that “Asian rice” here isn’t bound by one strict recipe or country — it’s a reflection of the many Asian homecooked meals I grew up with, mixing elements from Chinese, Korean, and even Japanese kitchens. It’s casual, unpretentious, and so approachable. You don’t need to be a master chef to get this one right, and once you get the hang of it, you’ll find yourself improvising with whatever you have on hand. It’s the kind of dish that feels homemade, like your family’s secret go-to for a fuss-free but flavorful dinner.
Why you’ll love this recipe?
What I love most about this Asian rice bowl is how it checks all my boxes for a weeknight dinner. First off, the flavor is this incredible balance of sweet, savory, and just a hint of that signature Asian tang from the soy and sesame. The garlic and ginger totally wake things up—don’t skimp on those! And honestly, every time I make it, I get compliments from the kids, which is a total win in my book. Then there’s simplicity: if you can chop vegetables and have rice ready, you’re basically there. It doesn’t require any fancy tools or rare ingredients, which is a lifesaver when you’re juggling a million things. Plus, because the ingredients are basic — rice, veggies, garlic, soy sauce — it’s super budget-friendly. I’m talking pantry staples that stretch over several meals. And versatility? Oh my, this dish wears many hats. Serve it with chicken, shrimp, tofu, or even keep it vegetarian — it adapts so nicely. I often pair it with lime wedges or sprinkle with toasted sesame seeds, and it’s like a brand-new meal every single time. If you’ve ever loved simple fried rice or a quick bibimbap, you’ll find this one hits all those cravings with less fuss.
How do I make a healthy Asian rice bowl?
Quick Overview
Let me break it down: We start with cold, day-old rice—that’s the secret weapon for perfect, non-clumpy grains—and then load the pan with garlic, ginger, and your preferred veggies or protein. Stir-fry everything swiftly over high heat, splash in some soy sauce and a little sesame oil, and voilà! What’s special about this method is that it maximizes flavor without dragging out the cooking time. If you’re like me and live for recipes that come together in under 30 minutes, this one’s your new best friend. It’s so forgiving, too—you can swap in whatever looks good in your fridge or what your family loves most.
Ingredients
For the Rice Base:
- 3 cups cooked, day-old jasmine or medium-grain white rice (cold rice gives you that perfect texture!)
- 2 tablespoons vegetable or peanut oil (for that lovely stir-fry sizzle)
- 3 cloves garlic, minced (don’t skimp — garlic is a flavor powerhouse!)
- 1-inch fresh ginger, finely grated (adds that zing and warmth)
- 3 scallions, sliced thinly (greens and whites for freshness and bite)
- 2 tablespoons soy sauce (adjust to taste; I prefer a low-sodium version)
- 1 teaspoon toasted sesame oil (a little goes a long way for that nutty aroma)
For the Add-ins & Protein:
- 1 cup mixed veggies (bell peppers, shredded carrots, snap peas – whatever you’ve got)
- 1 cup cooked chicken, tofu, shrimp, or eggs (cubed or shredded for easy bites)
- Optional: 1 teaspoon chili flakes or sriracha for those who like a little kick
For Garnish:
- Toasted sesame seeds
- Extra scallion slices
- Lime wedges (trust me, this freshens it all up beautifully)
Step-by-Step Instructions
Step 1: Preheat & Prep Pan
Heat a large skillet or wok over medium-high heat and add the vegetable or peanut oil. You want the pan really hot before adding anything; you’ll smell the oil shimmering and maybe just a hint of smoke — that’s your cue. It helps get the perfect sear on the ingredients without steaming them. While the pan heats, make sure your rice is ready and separated (no clumps!).
Step 2: Mix Dry Ingredients
Okay, while this recipe is mostly about fresh ingredients, the “dry” ingredients here are the scallion whites, garlic, and ginger. Give them a quick whisk together in a small bowl to evenly disperse the aroma before tossing into the pan. This little step makes sure the garlic and ginger don’t burn unevenly, which can happen if you dump them straight in.
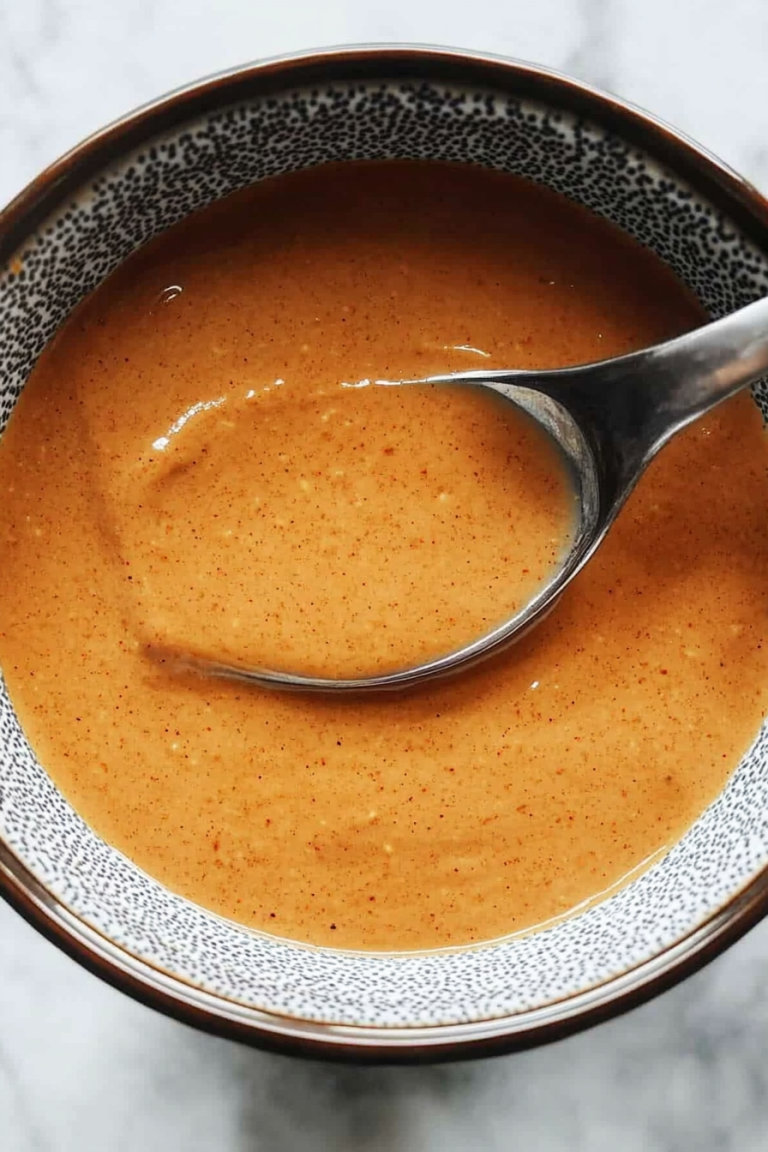
Step 3: Mix Wet Ingredients
In a separate bowl, mix the soy sauce and toasted sesame oil. This blend infuses the rice with the right umami kick and subtle nuttiness. You can tweak the ratio depending on how salty or potent you want it. I sometimes add a touch of honey if I want a slight sweet balance; it’s a little trick I picked up over the years.
Step 4: Combine
Once your oil is hot, toss in the garlic, ginger, and scallion whites mixture. Stir constantly for about 30 seconds until fragrant but not browned. Then add your protein and vegetables, tossing quickly. The veggies should stay crisp-tender, and the protein should warm through without drying out. Next, sprinkle in the cold rice—you want to break it apart gently with your spatula so each grain is separate but not pulverized.
Step 5: Prepare Filling
The filling in this dish is your proteins and veggies. I usually keep it simple — julienned carrots, chopped bell peppers, and chicken — but sometimes toss in tofu or shrimp based on what’s on sale or in the fridge. If you want a punch of freshness, I like to throw in peas or shredded cabbage at the very end to keep things crunchy and bright.
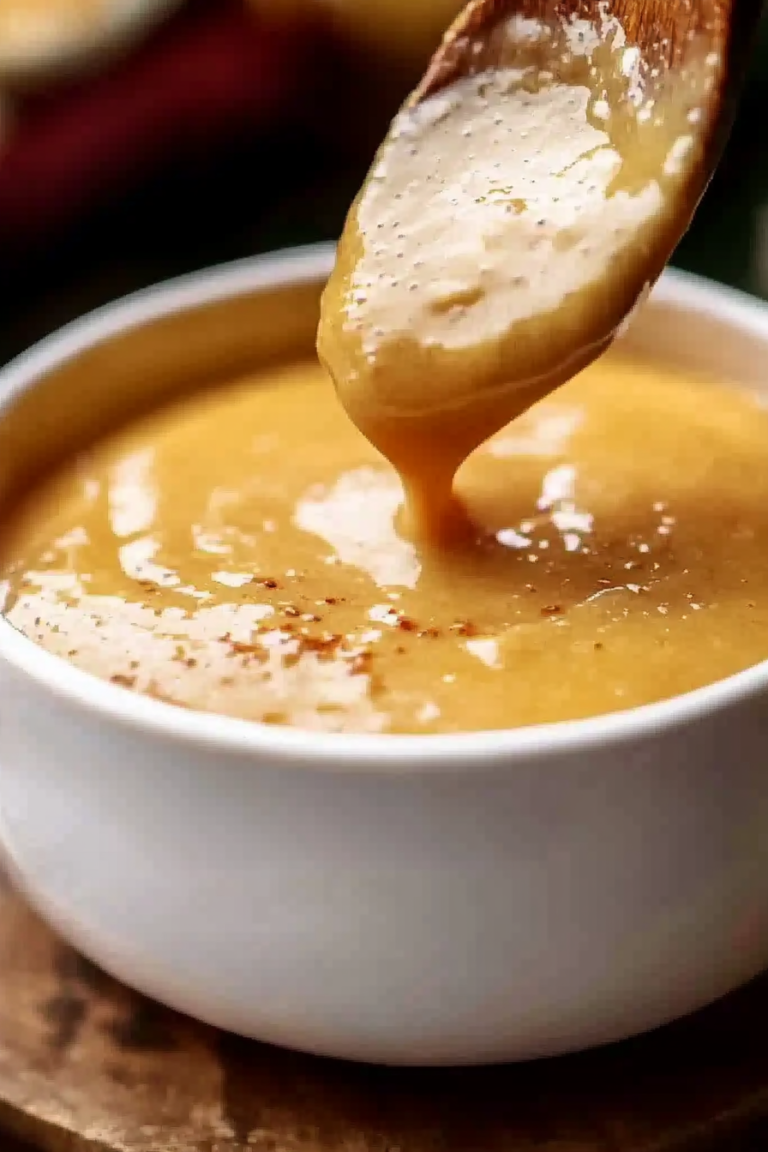
Step 6: Layer & Swirl
Once your rice is evenly mixed with the sautéed aromatics and add-ins, drizzle the soy and sesame sauce mixture evenly across the top. Now for the fun part: gently lift and fold the rice, swirling everything so the sauce evenly coats all the grains without turning it soupy. I sometimes pause and press the rice lightly against the pan for a few seconds to get a bit of that delicious golden crust that reminds me of those restaurant-style fried rice dishes.
Step 7: Bake
No baking here, luckily! The key is stir-frying quickly over high heat. Keep tossing for another 2-3 minutes so the rice heats through and soaks in all those layered flavors. If your pan feels dry, add a tiny splash more oil, but watch out — the whole magic is in that crisp yet tender texture, not soggy rice.
Step 8: Cool & Glaze
Once everything’s cooked and looking glossy with a light glaze from the soy-sesame mix, transfer the rice to a warm bowl. I like to let it rest just a few minutes—it’s like letting the flavors settle and mingle before the big first bite. If you want to get fancy, a quick sprinkle of toasted sesame seeds or a squeeze of fresh lime juice on top makes all the difference right before serving.
Step 9: Slice & Serve
No slicing necessary here—just grab your favorite bowl, heap on the rice, and add any extra toppings like sliced scallions or a side of kimchi for a punch of fermented goodness. This dish shines best hot but can be enjoyed warm. It’s the kind of meal that’s perfect for family dinners or meal prep for the week ahead.
What to Serve It With
For Breakfast: This might sound a bit unconventional, but a scoop of this Asian rice bowl alongside a fried egg and a cup of strong, lightly sweetened black coffee makes for an unexpectedly comforting morning start. The savory, garlicky flavors pair wonderfully with the bitterness of coffee and the richness of yolk, especially when you’re craving something hearty but not too heavy.
For Brunch: Plate the rice in a shallow bowl and top with avocado slices and a drizzle of sriracha mayo. Add a side of pickled vegetables or quick cucumber salad and a chilled jasmine tea or a light lager for an elevated weekend brunch experience. The contrasting textures and mild spice make it feel a bit fancy yet completely casual.
As Dessert: Well, obviously, rice in this form isn’t sweet — but if you’re craving the rice itself, I recommend finishing with a ginger tea or a simple mango sticky rice on the side to keep the theme going. The warmth of ginger tea is like the perfect palate cleanser after a savory meal.
For Cozy Snacks: I love scooping this into small bowls with chopsticks while curled up on the couch. It’s just the right bite when you want something comforting but not too heavy. Pair it with steamed edamame and a splash of soy sauce or a spicy peanut dipping sauce, and you’ve got a snack that’s both filling and fun.
My family typically enjoys this with a sprinkle of chili flakes and an extra wedge of lime for that zing. Sometimes, we add a side of kimchi or quick-pickled carrots for that crunch and brightness that just lifts the whole bowl. It’s become a little tradition at dinner tables around here, and honestly, this rice dish disappears faster than any takeout carton.
Top Tips for Perfecting Your Mom’s Savory Asian Rice Bowl
Rice Prep: This cannot be stressed enough: use cold, day-old rice. Freshly cooked rice is too moist and sticky, so spread it out to cool overnight in the fridge or freeze what you don’t use for a quick stir-fry later on. I learned this the hard way when my first batch came out mushy—big disappointment!
Garlic and Ginger Handling: Finely mince your garlic and grate the ginger just before cooking to maximize their punch. Overcooked garlic gets bitter fast, so keep your pan hot and stir quickly to prevent scorching. If you want a milder kick, toss the garlic and ginger in halfway through cooking instead.
Mixing Advice: When folding your wet ingredients into the rice, do it gently but thoroughly. Overmixing or aggressively stirring can break up the rice grains or make the dish soggy. I usually use a flat spatula and fold the rice, turning it over rather than stirring vigorously. It helps preserve texture while getting all those flavors blended.
Swirl Customization: For a visual and flavor upgrade, try swirling in a spoonful of chili paste or hoisin sauce right before finishing to get some beautiful color and added depth. You can also add fresh herbs like Thai basil or cilantro after cooking for a fresh pop.
Ingredient Swaps: No chicken or shrimp? No problem! Firm tofu cubes or even tempeh work great here — just make sure to press your tofu first to remove excess moisture so it sears better. I sometimes throw in mushrooms for that meaty feel and earthiness. For soy sauce, tamari works well if you want gluten-free or a slightly less salty option.
Baking Tips: Since this dish isn’t baked, here’s an oven-related tip: if you plan to reheat leftovers in the oven, cover the dish with foil and add a splash of water, then bake at 350°F for 10–15 minutes to keep it moist without drying out.
Glaze Variations: The toasted sesame oil and soy sauce combo is classic, but I’ve also experimented with adding a drizzle of honey or maple syrup for a touch of sweetness, or even a splash of rice vinegar for acidity. Play around until you find what sings for your palate; this dish really invites personalization!
I’ve had my fair share of wonky batches—like once rushing and dumping everything in too quickly, ending up with a sticky, gloppy mess. Now, I take a breath, keep my pan hot, and remember that good things come to those who stir slowly and with care. Trust me on this one: patience in the kitchen always pays off when it comes to Asian rice.
Storing and Reheating Tips
Room Temperature: This rice bowl is best enjoyed fresh but can safely sit out on the counter covered for up to 2 hours. After that, you’ll want to refrigerate to keep it safe and tasty.
Refrigerator Storage: Store leftovers in an airtight container for up to 3-4 days. I like to press parchment paper over the surface before sealing the lid to preserve moisture without condensation building up. When ready, reheat in a skillet over medium heat with a splash of water or oil to revive the texture and flavors.
Freezer Instructions: For longer storage, freeze portions in freezer-safe containers or heavy-duty zip-top bags for up to 2 months. Before sealing, flatten the rice into a log shape inside the bag for easy slicing. Thaw overnight in the fridge, then reheat on the stovetop with a little oil. Avoid microwaving straight from frozen to prevent uneven warming.
Glaze Timing Advice: If you’re storing the rice for reheating, hold off on adding the toasted sesame oil or lime juice until just before serving. These fresh components lose their charm and aroma if heated again. Drizzle or squeeze them on after reheating to keep the flavors vibrant and your bowl tasting like freshly made.
Frequently Asked Questions
Final Thoughts
Honestly, this Asian rice bowl is one of those rare dishes that just feels like home. It’s flexible, simple, and endlessly comforting, making it my go-to when I want something wholesome without a fuss. What really keeps me coming back is how it brings those beautiful flavors together in this little bowl of happiness that my family adores. It’s a dish I’ve refined over many years, and I still get that warm feeling every time I make it—the one where the smell pulls everyone into the kitchen like moths to a flame. If you’re inspired by this, I’d encourage you to try other variations like adding more greens, swapping proteins, or experimenting with different sauces to find your perfect bowl. Can’t wait to hear how yours turns out—drop a comment, share your twists, or just brag about how quickly it disappeared at your table. Happy cooking and even happier eating!
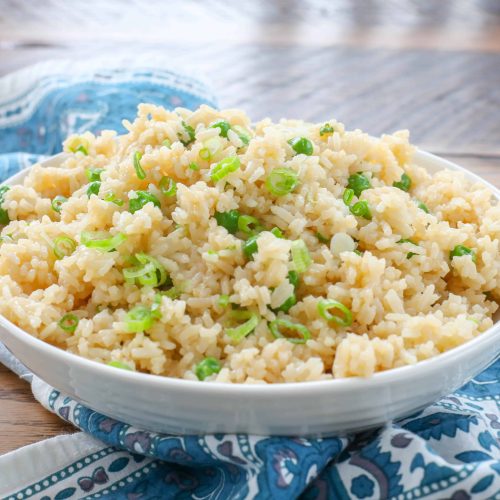
Asian rice
Ingredients
Main Ingredients
- 3 cups chicken stock
- 1.5 cups jasmine rice
- 1 tablespoon low sodium soy sauce
- 1 tablespoon sesame oil
- 0.5 cup frozen peas optional
- 0.5 teaspoon kosher salt only as needed
- 2 each green onions very thinly sliced
Instructions
Preparation Steps
- Combine the jasmine rice and chicken stock in a large saucepan. Cover with a lid and bring to a boil.
- Reduce heat to low and simmer covered for 18 minutes or until the liquid is absorbed and rice is tender.
- At the end of cooking, drizzle soy sauce and sesame oil over the rice and gently toss to coat.
- Stir in frozen peas, if using, and allow the heat of the rice to cook them for 1-2 minutes.
- Taste and add kosher salt only if needed, then stir in the thinly sliced green onions. Keep covered until ready to serve. Enjoy!