Oh, I’m so excited to share this with you today! This bubble slime recipe isn’t just any treat; it’s pure joy in edible form. I remember the first time I stumbled upon something similar, I was mesmerized by those tiny, chewy spheres that popped with sweetness. It reminded me of those delightful little candies we used to get from the corner store, but somehow even better. My kids absolutely adore it, and honestly, so do I! It’s one of those things that just brings a smile to your face, whether you’re making it for a special occasion or just because. Think of it as a fun, playful cousin to traditional fudge or chewy candies, but with its own unique charm. If you’ve ever loved those sour gummy worms or those super chewy caramels, you’re going to fall head over heels for this bubble slime. It’s surprisingly easy, too, which is a huge win in my book!
What is bubble slime?
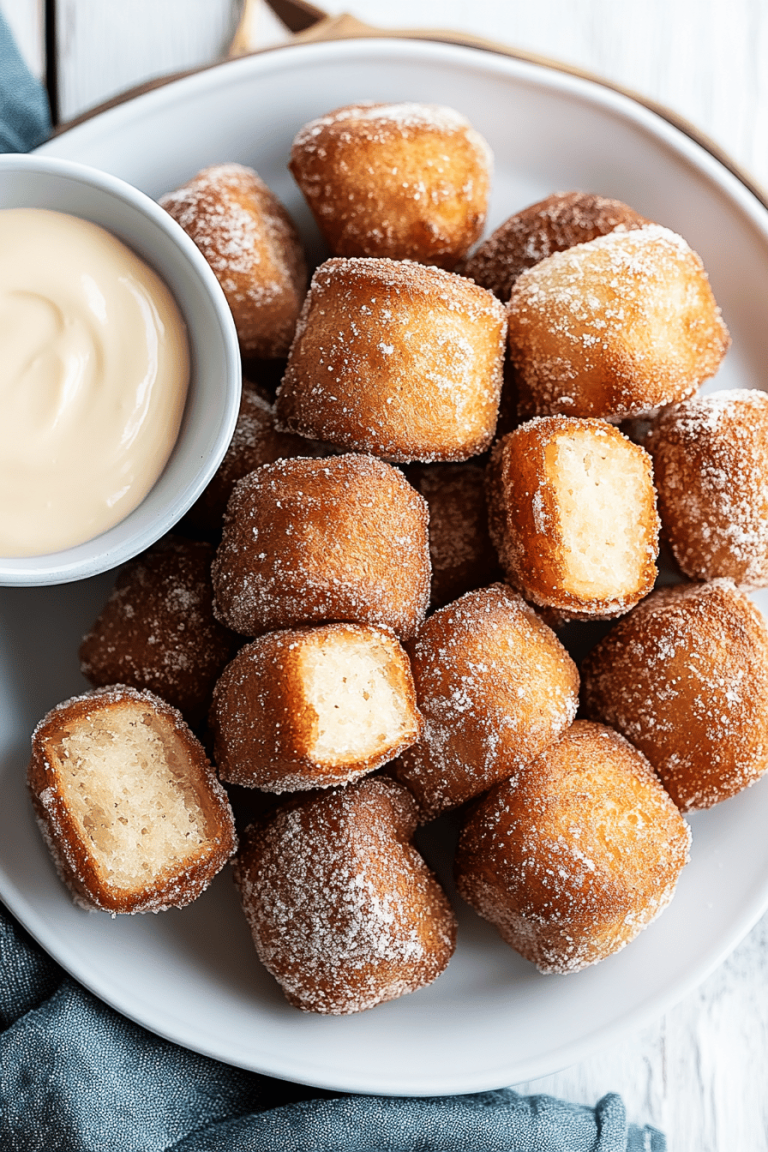
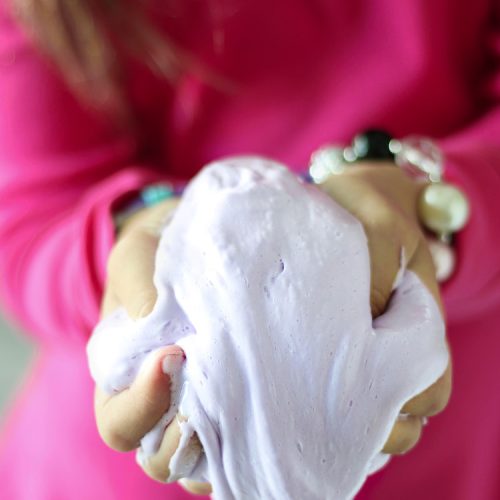
So, what exactly *is* this “bubble slime”? Don’t let the name fool you; it’s not what you might be imagining from a science experiment! It’s a delightful confection that gets its name from the delightful, slightly bubbly texture and the way the small, chewy pieces look almost like tiny, colorful bubbles when they’re all mixed together. It’s essentially a no-bake treat that relies on a few key ingredients to create that signature chewy, melt-in-your-mouth sensation. The “slime” part just refers to how wonderfully pliable and stretchy it is before it sets, making it super fun to work with. It’s a bit like a dense, chewy candy bar but with a much more playful and less uniform texture. It’s incredibly satisfying to bite into, offering that perfect resistance before giving way to pure sweetness. It’s become a staple in our house, especially when we need a quick, impressive treat that doesn’t involve turning on the oven!
Why you’ll love this recipe?
There are so many reasons why this bubble slime recipe has earned a permanent spot in my recipe box, and I just know you’re going to feel the same way. First off, the flavor is just out of this world. It’s a delightful dance of sweet, a hint of tang from the optional citrus zest, and that wonderfully creamy base. The texture is truly where it shines, though. It’s so satisfyingly chewy, with those little pockets of goodness that make every bite an adventure. It’s not tough or sticky like some candies can be; it’s just perfectly yielding. And honestly, the simplicity is a lifesaver! You don’t need any fancy equipment or hard-to-find ingredients. Most of what you need is probably already in your pantry. It’s also incredibly budget-friendly. We’re talking simple pantry staples that come together to create something truly special. What I love most about this recipe, though, is its versatility. You can easily customize the flavors and add-ins, making it perfect for any craving or occasion. It’s also a fantastic activity to do with the kids – they get a kick out of mixing and shaping it. Plus, it’s a no-bake wonder, meaning less heat in the kitchen, which is always a bonus, especially during warmer months. It’s truly the perfect treat when you’re craving something sweet but don’t want to spend hours baking.
How do I make bubble slime?
Quick Overview
This recipe is surprisingly straightforward! You’ll essentially melt some key ingredients together, stir in your flavorings and textures, then let it firm up. The magic happens when you combine the melted base with your mix-ins, creating that signature chewy texture. It’s less about precise baking and more about careful melting and mixing. The beauty of this no-bake method is that it’s incredibly forgiving, and the result is consistently delicious and fun. You’ll be amazed at how quickly it comes together!
Ingredients
For the Main Batter:
1 cup (2 sticks) unsalted butter, softened – This is the creamy backbone of our slime. Make sure it’s nice and soft, not melted, for the best texture.
2 cups granulated sugar – The sweet stuff, obviously! It helps with that chewy consistency too.
1 (14-ounce) can sweetened condensed milk – This is crucial for that rich, creamy, and slightly caramelly base. Don’t use evaporated milk here; sweetened condensed milk is a must!
1 teaspoon vanilla extract – For that classic, comforting flavor. You can use clear vanilla if you want to keep the color really pale, but regular is totally fine!
For the Filling (Get Creative Here!):
1/2 cup finely chopped dried fruit (like cranberries, apricots, or cherries) – These add little bursts of chewiness and flavor.
1/4 cup chopped nuts (almonds, pecans, walnuts) – For a bit of crunch and depth. Toast them first for extra flavor!
1/4 cup mini chocolate chips or chunks – Because, chocolate!
Optional: 1-2 tablespoons citrus zest (lemon, lime, orange) – This adds a wonderfully bright counterpoint to the sweetness.
For the Glaze (Optional, but so good!):
1/2 cup powdered sugar
1-2 tablespoons milk or lemon juice – Just enough to create a drizzly consistency. You can adjust this to get it exactly how you like it.
Step-by-Step Instructions
Step 1: Preheat & Prep Pan
Grab an 8×8 inch baking pan. You want to line it really well with parchment paper, leaving some overhang on the sides. This makes it a breeze to lift the bubble slime right out once it’s set. I always do an extra layer of parchment just to be sure, because there’s nothing worse than having your beautiful creation stick to the pan!
Step 2: Mix Dry Ingredients
In a medium bowl, combine your granulated sugar and softened butter. I usually use a fork or a spatula to just break up the butter and mix it into the sugar until it forms a coarse, sandy texture. Don’t worry about getting it perfectly smooth at this stage; we’re just combining the basics.
Step 3: Mix Wet Ingredients
Now, pour in that glorious sweetened condensed milk and the vanilla extract into the sugar and butter mixture. Stir everything together until it’s well combined. It will look a bit glossy and thick, which is exactly what we want.
Step 4: Combine
Now, we’re going to gently heat this mixture. Pour it into a medium saucepan over low to medium-low heat. You want to stir it *constantly*. We’re not looking to boil it vigorously, but rather to heat it gently until the butter is fully melted and everything is smoothly incorporated. This usually takes about 5-7 minutes. You’ll notice it will thicken up just a little bit. The key here is constant stirring to prevent any scorching on the bottom. If it starts to look like it’s getting too hot too quickly, just pull it off the heat for a moment and keep stirring.
Step 5: Prepare Filling
While the main mixture is heating, get your filling ingredients ready. Finely chop any dried fruit or nuts. If you’re using chocolate chips, make sure they’re ready to go. If you’re adding citrus zest, zest your fruit now. Having everything prepped and ready makes the next step super smooth.
Step 6: Layer & Swirl
Once your main mixture has heated and thickened slightly, remove it from the heat. Now for the fun part! Pour in all your chosen filling ingredients (dried fruit, nuts, chocolate chips, zest, etc.). Stir them in well until they’re evenly distributed throughout the mixture. It will feel quite thick and gooey at this point – that’s the slime coming to life! Immediately spoon this mixture into your prepared parchment-lined pan. Use a spatula to spread it out evenly. You can press it down a bit to compact it.
Step 7: Bake
Now, pop that pan into your preheated oven (350°F or 175°C). We’re going to bake it for about 20-25 minutes. You’re looking for the edges to be lightly golden brown, and the center should be set but still have a slight wobble. It shouldn’t look liquidy. I usually give it a gentle shake; if the center moves as one mass, it’s good. Don’t overbake it, or it will turn out too hard!
Step 8: Cool & Glaze
This is the hardest part: letting it cool! Let it cool completely in the pan on a wire rack. This can take a couple of hours. Once it’s fully cooled, you can make the optional glaze. Whisk together the powdered sugar and milk (or lemon juice) until you have a smooth, drizzly consistency. Drizzle this over the cooled bubble slime. This adds an extra layer of sweetness and visual appeal. Let the glaze set for about 15-20 minutes.
Step 9: Slice & Serve
Once the glaze is set (or if you skipped the glaze), use the parchment paper overhang to lift the entire slab out of the pan onto a cutting board. Now, using a sharp knife, cut it into bite-sized pieces. I usually aim for squares or small rectangles. The texture will be chewy and dense, so a sharp knife is key. Serve it up and watch it disappear!
What to Serve It With
This bubble slime is so versatile, it can honestly fit into any part of your day! For a delightful breakfast treat that feels special, I love serving small cubes alongside a strong cup of coffee. It’s a little indulgence to start your day right. The sweetness balances the bitterness of the coffee perfectly. For a more elegant brunch spread, I’ll cut it into slightly fancier shapes or arrange it on a tiered stand with other pastries and fruits. A glass of bubbly or a mimosa pairs wonderfully with its sweetness. As a dessert, it’s fantastic on its own, maybe with a small scoop of vanilla bean ice cream if you’re feeling extra decadent. The contrast between the warm, chewy slime and the cold ice cream is heavenly. But my absolute favorite way to enjoy it is as a cozy snack. It’s perfect with a mug of hot chocolate on a chilly evening, or just with a glass of milk anytime I need a little comfort. My kids also love it as a portable treat for after-school activities – it’s a guaranteed way to get them to smile!
Top Tips for Perfecting Your Bubble Slime
Over the years, I’ve learned a few little tricks that really make a difference in getting that perfect bubble slime texture every time. First, for the fillings, make sure your dried fruits are cut small. If they’re too big, you might get pockets that are too chewy. And toasting your nuts beforehand? Oh, trust me, it elevates the flavor profile SO much. Don’t skip it if you can help it! When it comes to mixing the main batter, the constant stirring over low heat is non-negotiable. I’ve had batches go slightly wrong when I got distracted, and it can start to scorch on the bottom, giving it an off-flavor. Low and slow is the way to go here. And speaking of texture, don’t overbake it! This is probably the most common mistake people make. A slightly underbaked center is much better than an overbaked, hard result. It will continue to set as it cools. If you want to play with the swirl customization, try adding a spoonful of melted chocolate or a bit of jam to the mixture *just* before you spread it into the pan, and then use a toothpick to swirl it gently. It creates beautiful patterns! For ingredient swaps, if you find it too sweet, you can try reducing the granulated sugar slightly, but don’t go too low, as it affects the texture. Also, I’ve experimented with different extracts; almond extract is lovely, or a touch of peppermint extract can be fun for holidays! And if you don’t have parchment paper, you can grease your pan really, really well, but parchment is definitely the easiest way to remove it cleanly.
Storing and Reheating Tips
This bubble slime is best enjoyed when it’s fresh, but it does store quite well. If you have any leftovers (which is rare in my house!), you can keep it at room temperature for up to 3 days. Just make sure it’s in an airtight container or well-wrapped in plastic wrap. This prevents it from drying out. If you live in a very warm or humid climate, or if you’ve made it with a glaze that needs to stay pristine, then the refrigerator is a better option. It will last for about a week in the fridge, still in an airtight container. Just a heads-up, though: it might become a bit firmer when cold, so I always like to let it sit out at room temperature for about 15-20 minutes before serving if it’s been refrigerated. If you want to keep it even longer, you can definitely freeze it! Wrap individual pieces or the whole slab (once fully set and cooled) tightly in plastic wrap, then place it in a freezer-safe bag or container. It should stay good for about 2-3 months. To thaw, just transfer it to the refrigerator overnight, and then let it come to room temperature as usual. The glaze is best applied just before serving or after the slime has fully cooled if storing at room temperature. If you freeze it with the glaze, it can sometimes get a little sticky when thawing, so I often recommend glazing it *after* thawing and bringing it back to room temp for the best results.
Frequently Asked Questions
Final Thoughts
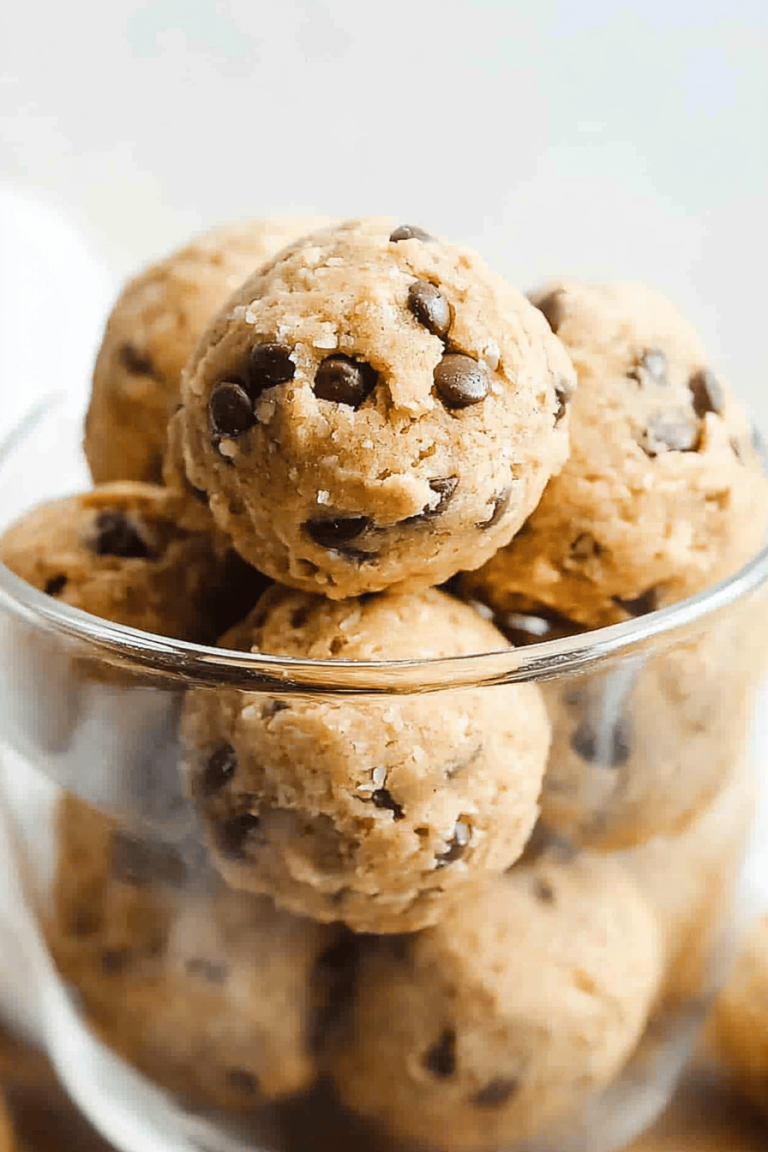
I really hope you give this bubble slime recipe a try! It’s one of those treats that just brings pure, unadulterated happiness. The texture is so unique and satisfying, and the flavor possibilities are endless. It’s proof that you don’t need a ton of complicated steps or fancy ingredients to create something truly special that will wow your family and friends. It’s the perfect little pick-me-up, a fun project to do with the kids, or a delightful addition to any gathering. If you enjoy this chewy, sweet wonder, you might also like my recipes for No-Bake Energy Bites or my Classic Fudge recipe. They share that wonderful no-bake simplicity and crowd-pleasing appeal. I can’t wait to hear how your bubble slime turns out! Please leave a comment below and let me know what fun fillings you added, or share your own favorite variations. Happy making!
bubble slime
Ingredients
Main Ingredients
- 1 cup white school glue
- 0.5 cup water
- 1 cup shaving cream
- 0.5 teaspoon food coloring choose your favorite color
- 1 tablespoon liquid starch
- 0.25 teaspoon fragrance oil optional, e.g., bubblegum scent
Instructions
Preparation Steps
- In a large bowl, combine the white glue and water. Stir until fully blended.
- Add the shaving cream to the mixture and fold in gently to keep the fluffiness.
- Stir in the food coloring and fragrance oil until the color is even.
- Slowly pour in the liquid starch while continuously mixing. The slime will start to form and pull away from the sides of the bowl.
- Knead the slime with your hands for about 1‑2 minutes until it reaches a smooth, stretchy consistency.
- If the slime is too sticky, add a few more drops of liquid starch; if it’s too stiff, add a tiny bit of water.
- Store the bubble slime in an airtight container when not in use.