
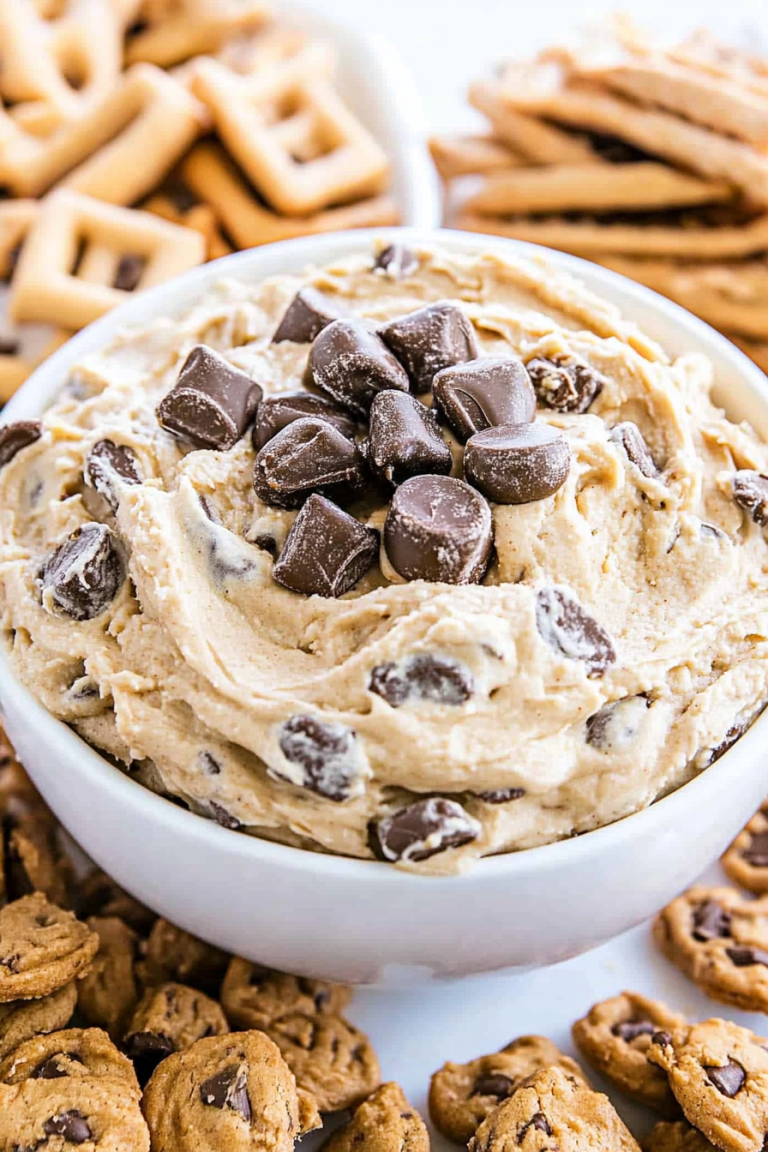
You know those days? The ones where the world feels a little too hectic, and all you crave is a hug in edible form? That’s precisely when I reach for my tried-and-true butterscotch shortbread bars. Seriously, these aren’t just cookies; they’re little squares of pure joy that melt in your mouth. I remember the first time I perfected this recipe – it was a rainy Saturday, and the smell that filled my kitchen was pure magic. My kids, who are usually glued to their screens, actually came running, asking “What’s that amazing smell?” That’s when I knew I had a winner. They’re so much easier than a full-on cake, but they deliver that same deep, comforting sweetness that only butterscotch can provide. If you’ve ever loved a good shortbread or craved something caramel-y without the fuss, then these butterscotch shortbread bars are absolutely going to be your new best friend.
What are Butterscotch Shortbread Bars?
So, what exactly are these magical creations? Think of them as the ultimate mashup between a classic, buttery shortbread and the rich, dreamy flavor of butterscotch. It’s essentially a soft, tender shortbread base that’s studded with pockets of melted butterscotch goodness, all baked into perfect, sliceable bars. The name itself, “butterscotch shortbread bars,” just hints at the glorious combination, doesn’t it? It’s that perfect balance of crumbly, buttery shortbread meeting the sweet, slightly salty, caramelized notes of butterscotch. They’re not overly complicated, which is a huge win in my book. You get all that decadent flavor without the stress of rolling out dough or cutting intricate shapes. It’s the kind of dessert that feels both nostalgic and wonderfully indulgent, perfect for when you need a little something special.
Why you’ll love this recipe?
Honestly, there are so many reasons why this recipe has earned a permanent spot in my baking repertoire, and I’m pretty sure you’ll fall in love with it too. First off, the FLAVOR is just out of this world. That deep, caramel-like butterscotch paired with the buttery, melt-in-your-mouth shortbread is a match made in heaven. It’s not too sweet, but it has this incredible depth that keeps you coming back for more. Then there’s the SIMPLICITY. I’m all about recipes that deliver big on taste without demanding hours in the kitchen, and these bars fit the bill perfectly. You can whip them up in no time, making them a lifesaver on busy weeknights or when unexpected guests pop over. And let’s talk about COST-EFFICIENCY. The ingredients are pretty standard pantry staples, so you don’t need to break the bank to make a batch of these delicious treats. Plus, they’re incredibly VERSATILE. While they’re divine on their own, you can jazz them up in so many ways – add a sprinkle of sea salt on top, drizzle with chocolate, or even mix in some chopped nuts. I find they’re a fantastic alternative to my Chocolate Chip Cookies: The classic chocolate chip cookie recipe. when I’m craving something a bit more sophisticated but still incredibly comforting. What I love most about these butterscotch shortbread bars is that they feel special enough for a party but are cozy enough for a quiet afternoon with a cup of tea. They truly are a crowd-pleaser, and my family devours them every single time.
How do I make Butterscotch Shortbread Bars?
Quick Overview
Making these butterscotch shortbread bars is wonderfully straightforward. You’ll basically mix up a simple shortbread dough, gently press it into a pan, scatter delicious butterscotch chips over the top, maybe swirl them in a bit for extra flair, and then bake until golden. The hardest part is waiting for them to cool so you can slice and devour them! It’s a process that guarantees success, even if you’re new to baking. The minimal fuss means you get maximum deliciousness with every single bite.
Ingredients
For the Main Batter:
2 1/4 cups all-purpose flour
1 cup (2 sticks) unsalted butter, softened
1/2 cup granulated sugar
1/4 cup packed light Brown Sugar
1 teaspoon vanilla extract
1/2 teaspoon salt
For the Filling:
1 1/2 cups butterscotch chips
For the Glaze:
1/2 cup powdered sugar
1-2 tablespoons milk (or cream for extra richness)
1/4 teaspoon vanilla extract (optional)
Step-by-Step Instructions
Step 1: Preheat & Prep Pan
First things first, get your oven preheating to 350°F (175°C). While that’s warming up, grab an 8×8 inch baking pan. I like to line mine with parchment paper, leaving a little overhang on the sides. This makes lifting the baked bars out so much easier, and cleanup is a breeze! Just make sure the parchment doesn’t go all the way up the sides, as it can sometimes cause uneven baking. Press it down well into the corners.
Step 2: Mix Dry Ingredients
In a medium bowl, whisk together the all-purpose flour and salt. Give it a good stir to make sure they’re evenly combined. This ensures that the salt is distributed throughout, which is super important for balancing the sweetness of the butterscotch and the sugars. Don’t skip this step!
Step 3: Mix Wet Ingredients
In a large bowl, cream together the softened unsalted butter, granulated sugar, and packed light brown sugar until it’s light and fluffy. This usually takes about 2-3 minutes with an electric mixer. Then, beat in the vanilla extract. Make sure your butter is truly softened – not melted! It should give slightly when you press it with your finger. This is crucial for that tender shortbread texture we’re aiming for.
Step 4: Combine
Gradually add the dry ingredients to the wet ingredients, mixing on low speed until just combined. Be careful not to overmix! Overmixing can develop the gluten in the flour too much, leading to tough bars. You want a dough that’s just coming together, and it might still look a little crumbly. It’s okay if there are a few flour streaks; they’ll disappear when you press it into the pan.
Step 5: Prepare Filling
This is the fun part! You don’t really “prepare” the butterscotch chips, but this is where you decide how they’ll be incorporated. I usually just have them ready to go. If you want a really swirled effect, you might gently melt about half of them for a few seconds in the microwave, but honestly, just scattering them works beautifully.
Step 6: Layer & Swirl
Press about two-thirds of the shortbread dough evenly into the bottom of your prepared baking pan. You can use your hands or the bottom of a measuring cup for this. Then, evenly sprinkle the butterscotch chips over the dough. Dollop the remaining one-third of the dough over the chips, breaking it into small pieces. Gently press and swirl the top dough pieces down into the chips to create those beautiful marbled pockets. Don’t overwork it; you just want to embed them a bit. A few little peaks and valleys are perfectly fine and add character.
Step 7: Bake
Pop the pan into your preheated oven. Bake for 25-30 minutes, or until the edges are lightly golden brown and the center is set. The butterscotch chips should be melted and bubbly. Keep an eye on it towards the end; ovens can be so different! You don’t want them to get too dark, or they can become dry.
Step 8: Cool & Glaze
This is arguably the hardest step: patience! Let the bars cool completely in the pan on a wire rack. Once they’re fully cooled, whisk together the powdered sugar, 1 tablespoon of milk, and vanilla extract (if using) until smooth. If it’s too thick, add a tiny bit more milk, a teaspoon at a time, until you reach a drizzly consistency. Drizzle the glaze over the cooled bars. Let the glaze set for about 15-20 minutes before slicing.
Step 9: Slice & Serve
Once the glaze has set, lift the bars out of the pan using the parchment paper overhang. Place them on a cutting board and slice them into squares or bars. I like to use a sharp knife and wipe it clean between cuts for neat edges. Serve them at room temperature. They’re perfect just as they are, but a little sprinkle of flaky sea salt on top of the glaze is absolutely divine if you ask me!
What to Serve It With
These butterscotch shortbread bars are so wonderfully adaptable, making them perfect for just about any occasion you can dream up. For breakfast, they’re a delightful, slightly indulgent treat. Imagine serving a small square alongside your morning coffee or with a side of fresh berries. They feel a bit like a mini pastry! For a weekend brunch, they add a touch of elegance. I love arranging them on a tiered stand with other pastries, maybe alongside some fruit salad and a mimosa. The warm butterscotch notes are just divine with a good cup of coffee or even a nice herbal tea. As a dessert, they are simply stellar. Serve them warm with a scoop of vanilla bean ice cream, and you’ve got yourself a truly decadent treat. They’re also fantastic after dinner with a digestif or a good quality coffee. And for those cozy, casual snack times? These are my go-to. They’re amazing with a tall glass of cold milk. My kids absolutely go wild for them after school! One of my favorite family traditions is to have these during our movie nights; they’re easy to eat and always disappear way too fast. I’ve also found they pair beautifully with a creamy latte or a rich hot chocolate, especially on a chilly evening.
Top Tips for Perfecting Your Butterscotch Shortbread Bars
After making these butterscotch shortbread bars more times than I can count, I’ve picked up a few tricks that I think will help you achieve perfect results every time. For the ZUCCHINI PREP (oops, I mean the butterscotch chip prep!), the key is how you incorporate them. If you want those distinct swirls, make sure your top layer of dough isn’t too thick, and gently press the chips down. If you prefer a more uniformly melted butterscotch layer, you can gently melt about half the chips in the microwave for 15-20 second intervals, stirring in between, until just melted, and then spread that over the base before adding the remaining chips and the top dough layer. Regarding MIXING ADVICE, my biggest tip is to stop mixing the dough as soon as it comes together. A few dry spots are better than overmixing. Overmixing develops the gluten, which can make your bars tough instead of tender and crumbly. For SWIRL CUSTOMIZATION, don’t feel like you need to be an artist! Just gently press small bits of the top dough down amongst the chips and give them a little wiggle. The oven does the rest of the magic. For INGREDIENT SWAPS, if you can’t find butterscotch chips, you can absolutely use semi-sweet chocolate chips, or even a mix of both! For a more pronounced butterscotch flavor, you could even try adding a tablespoon of butterscotch extract to the main dough, but use it sparingly as it’s quite potent. When it comes to BAKING TIPS, always trust your oven. If it runs hot, you might need to slightly reduce the baking time or temperature. The edges should be golden, and the center should feel set to the touch. If you’re unsure, you can gently insert a toothpick near the center; it should come out with moist crumbs attached, not wet batter. And for GLAZE VARIATIONS, if you’re not a fan of the powdered sugar glaze, you can skip it entirely! A light dusting of powdered sugar after cooling is also lovely. Or, for an extra decadent treat, you could drizzle melted chocolate over them instead. I’ve even sprinkled a bit of flaky sea salt on top of the glaze right after applying it, and it takes these bars to a whole new level of deliciousness.
Storing and Reheating Tips
These butterscotch shortbread bars are fantastic for making ahead of time, which is always a bonus in my busy household. For ROOM TEMPERATURE storage, once the glaze has fully set, you can store them in an airtight container for up to 3-4 days. They tend to stay pretty moist and delicious. Just make sure they’re completely cool before covering them, otherwise, condensation can make them soggy. If you plan on keeping them longer, REFRIGERATOR STORAGE is your best bet. Store them in an airtight container, and they should stay fresh for about a week. They’ll be a bit firmer when cold, but they soften up nicely at room temperature. Honestly, I find they taste even better the next day! If you’re looking for long-term storage, FREEZER INSTRUCTIONS are the way to go. Wrap the cooled, uncut bars tightly in plastic wrap, then in a layer of aluminum foil or place them in a freezer-safe container. They can be frozen for up to 2-3 months. When you’re ready to enjoy them, just thaw them overnight in the refrigerator, or at room temperature for a few hours. For the glaze timing, it’s always best to add the glaze *after* the bars have cooled completely and right before you’re ready to serve or store them. If you glaze and then store them for a long time, the glaze can sometimes become a bit sticky or lose its crispness. If they do feel a bit dry after thawing or refrigeration, you can briefly warm them in a low oven (around 250°F/120°C) for a few minutes, or even pop them in the microwave for 10-15 seconds – just enough to soften them up without melting the butterscotch completely.
Frequently Asked Questions
Final Thoughts
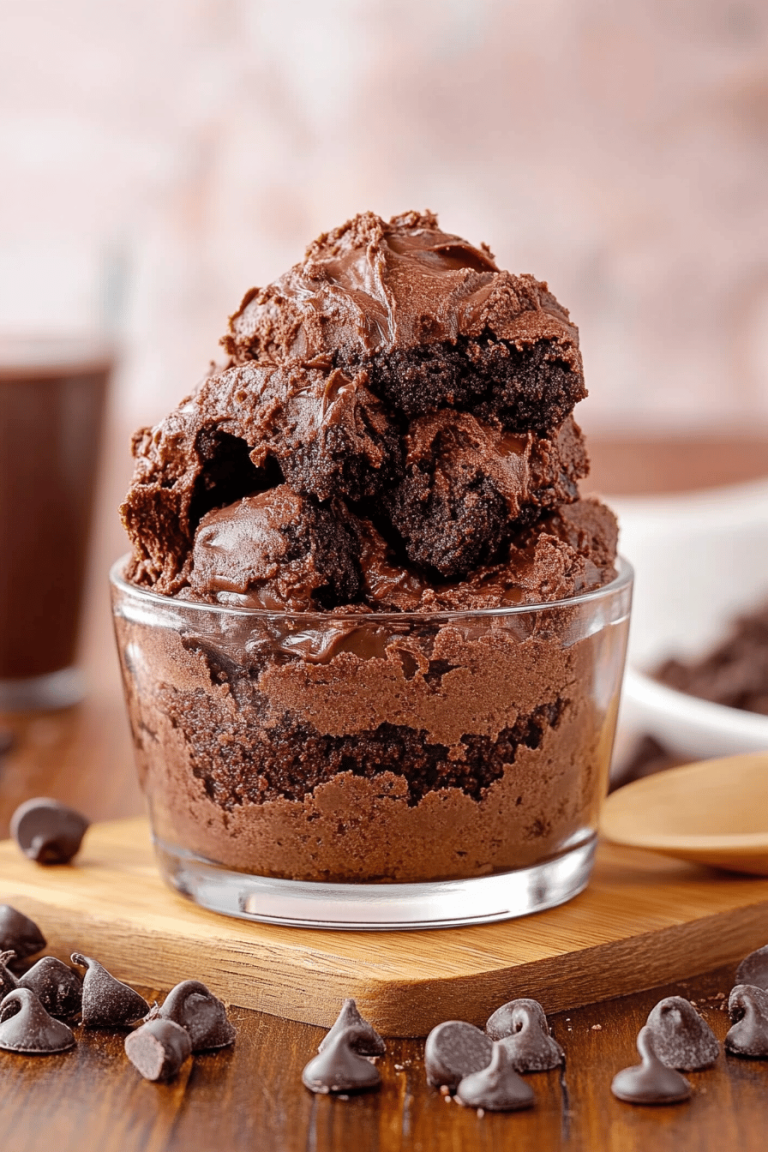
So there you have it – my absolute favorite butterscotch shortbread bars! These little squares are more than just a recipe to me; they represent comfort, warmth, and those sweet moments that make life special. They’re proof that you don’t need to be a master baker to create something truly spectacular in your own kitchen. The balance of buttery shortbread and rich butterscotch is just divine, and the fact that they’re so simple to make is the icing on the cake (or rather, the glaze on the bars!). If you love a good comforting bake, I really hope you’ll give these a try. They’re a wonderful alternative if you’re looking for something a bit different from your usual cookies or brownies. You might also enjoy my Salted Caramel Brownies for another dose of caramel goodness, or my Classic Shortbread Cookies if you want to go back to the roots of that delightful crumbly texture. I can’t wait to hear what you think! Please feel free to leave a comment below with your thoughts, your own special tips, or any fun variations you come up with. Happy baking!
I totally get that—sometimes you just need something sweet and comforting to make the day feel a little brighter. These bars sound perfect for those moments!