There are some recipes that just *feel* like home, aren’t there? The kind that, the moment you start making them, fill your kitchen with the most wonderful aromas and bring a smile to your face because you know something truly delicious is on its way. This Sweet Georgia Browns recipe is exactly that for me. It’s my go-to when I have a bunch of zucchini from the garden that I desperately need to use up, and honestly, it’s also my secret weapon for those days when a craving for something sweet hits hard but I don’t have the time or energy to pull out all the stops for a full-blown cake. Think of it as the ultimate upgrade to your standard Zucchini Bread, with ribbons of gooey chocolate and a hint of something extra special that makes it… well, extraordinary. It’s so good, it often gets mistaken for a fancy bakery treat, which is always a fun compliment, right? This isn’t just any zucchini bread; this is the one that disappears in minutes at my house, and the one my kids will happily eat for breakfast, snack, or dessert. It’s my absolute favorite way to enjoy those summer zucchini bounties, and I can’t wait to share it with you!
What are sweet Georgia browns?
So, what exactly are these “Sweet Georgia Browns” I’m always raving about? Well, in my kitchen, it’s my nickname for this incredibly moist and decadent Chocolate Chip zucchini bread. The “Sweet Georgia” part comes from the fact that it’s just so wonderfully sweet and satisfying, almost like a little taste of Southern comfort, and the “Browns” is a nod to the rich, dark chocolate chips that melt into glorious pockets throughout the bread. It’s not a traditional name for a specific dish, more of a term of endearment I came up with because it just felt so right! Essentially, it’s a classic quick bread base, but I’ve added a few personal touches that elevate it from good to absolutely unforgettable. It’s the kind of bread that’s perfect for sharing, but you might find yourself wanting to keep it all to yourself – I won’t judge!
Why you’ll love this recipe?
Honestly, if you’re looking for a reason to love this Sweet Georgia Browns recipe, I could give you a dozen! First and foremost, the flavor is just out of this world. It’s incredibly moist thanks to the zucchini, which also happens to be my secret for making it unbelievably tender. Then you have those ribbons of melted chocolate, that hint of vanilla, and just the right amount of sweetness that makes every bite pure bliss. It’s like a chocolate lover’s dream disguised as a healthy-ish snack! Beyond the taste, the simplicity is a huge win. I can whip this up on a busy weeknight after the kids are in bed when that sweet tooth starts whispering. It doesn’t require any fancy techniques or hard-to-find ingredients, which I really appreciate when I’m short on time. Plus, it’s incredibly budget-friendly, especially if you have a garden overflowing with zucchini like I often do in the summer. You’re using common pantry staples that most of us already have on hand. And let’s talk versatility! This isn’t just a breakfast bread. It’s fantastic as a snack, a delightful dessert when paired with a scoop of ice cream, or even a sweet treat for a brunch gathering. What I love most about this particular recipe, though, is how it feels like a warm hug in every slice. It’s comforting, familiar, and yet, somehow always feels a little bit special. It’s that perfect balance of homey and decadent that makes it a perennial favorite.
How do I make Georgia browns?
Quick Overview
Making these Sweet Georgia Browns is surprisingly straightforward. We’ll start by prepping our zucchini and then whisking together the dry ingredients. Next, we’ll combine the wet ingredients before bringing them all together into a beautiful batter. The key step is swirling in that rich chocolate, then it’s just a matter of baking until golden and delicious. It’s a process designed for ease, with foolproof steps that guarantee a moist, flavorful result every single time. You’ll have a delightful loaf ready to impress without any fuss.
Ingredients
For the Main Batter:
This is where all the magic happens, creating that tender, moist base. Make sure your zucchini is fresh; it makes a difference! I usually grate mine on the large holes of a box grater, but a food processor works too, just be careful not to over-process it into a mush. And yes, I always leave the peel on for extra fiber and a little fleck of green color. For the flour, all-purpose is my go-to, but I’ll get into gluten-free swaps later! The sugars, both granulated and brown, are crucial for moisture and that lovely caramel note.
- 2 cups all-purpose flour
- 1 teaspoon baking soda
- ½ teaspoon baking powder
- ½ teaspoon salt
- 1 teaspoon ground cinnamon
- ½ teaspoon ground nutmeg
- 1 ½ cups shredded zucchini (about 1 medium-large zucchini), squeezed dry
- ¾ cup granulated sugar
- ½ cup packed light brown sugar
- 2 large eggs
- ½ cup vegetable oil (or melted unsalted butter)
- ¼ cup milk (any kind works, even almond milk makes it extra creamy!)
- 1 teaspoon vanilla extract
For the Filling:
This is the heart of the “Browns” part of the name! You want good quality chocolate chips that will melt beautifully. Semi-sweet is classic, but I also love using a mix of semi-sweet and dark chocolate chunks for extra depth. Don’t be shy with them! I like to add a little extra something to make the chocolate flavor pop even more.
- 1 ½ cups semi-sweet chocolate chips (or a mix of chips and chunks)
- 1 tablespoon all-purpose flour
- ½ teaspoon espresso powder (optional, but it seriously enhances the chocolate flavor!)
For the Glaze:
This is totally optional, but it adds a lovely finished touch. It’s super simple and just requires a few common ingredients. I like to make it just thick enough to drizzle nicely but not so thick that it’s hard to spread.
- 1 cup powdered sugar
- 2-3 tablespoons milk (or heavy cream for richness)
- ½ teaspoon vanilla extract
Step-by-Step Instructions
Step 1: Preheat & Prep Pan
First things first, preheat your oven to 350°F (175°C). Now, grab your favorite loaf pan – a standard 9×5 inch one is perfect. Grease it really well with butter or cooking spray, and then lightly flour it. I like to go a step further and line the bottom and long sides with parchment paper, leaving a little overhang on each side. This makes lifting the finished loaf out a breeze, and trust me, no one wants a beautiful loaf stuck to the pan! Set that aside while we get to the good stuff.
Step 2: Mix Dry Ingredients
In a large bowl, whisk together your flour, baking soda, baking powder, salt, cinnamon, and nutmeg. Give it a good whisk so everything is evenly distributed. This ensures that your leavening agents and spices are spread throughout the batter, leading to an evenly risen and perfectly seasoned bread. If you skip this step and just dump everything in, you might end up with pockets of baking soda or spice, and nobody wants that!
Step 3: Mix Wet Ingredients
In a separate, medium-sized bowl, cream together your granulated sugar and Brown Sugar. Then, beat in the eggs one at a time until well combined. Pour in the vegetable oil (or melted butter, which adds a wonderful richness!) and the milk, followed by the vanilla extract. Whisk it all together until it’s smooth and everything is nicely incorporated. It should look like a lovely, slightly thickened liquid. If you’re using butter, make sure it’s cooled slightly so it doesn’t cook the eggs.
Step 4: Combine
Now, add the shredded and squeezed zucchini to the wet ingredients. Give it a quick stir. Then, pour the wet ingredients into the bowl with your dry ingredients. Using a spatula or wooden spoon, gently fold everything together until *just* combined. It’s really important not to overmix here! Overmixing develops the gluten in the flour, which can lead to a tough, dense bread instead of a tender one. A few streaks of flour are perfectly fine; they’ll disappear during baking.
Step 5: Prepare Filling
In a small bowl, toss your chocolate chips with 1 tablespoon of flour and the optional espresso powder. The flour helps to keep the chocolate chips from sinking to the bottom of the loaf during baking. I learned this trick years ago, and it’s a game-changer! The espresso powder is optional, but I swear it makes the chocolate taste even more intense and complex. You can skip it if you prefer, but I highly recommend giving it a try.
Step 6: Layer & Swirl
Pour about half of the batter into your prepared loaf pan. Sprinkle about half of the chocolate chip mixture over the batter. Then, carefully spoon the remaining batter on top, making sure to cover most of the chocolate. Finally, scatter the rest of the chocolate chips over the top. Now, here’s where the “Sweet Georgia Browns” really come to life: you can gently swirl a knife or skewer through the batter to create those beautiful chocolatey ribbons. Don’t go crazy; just a few gentle passes are enough to distribute the chocolate without making it muddy.
Step 7: Bake
Pop that beautifully prepared loaf into your preheated oven. Bake for 50-65 minutes. The exact time can vary depending on your oven, so keep an eye on it. You’ll know it’s done when a wooden skewer or toothpick inserted into the center comes out clean, or with just a few moist crumbs attached (no wet batter!). If the top starts to brown too quickly before the inside is cooked, you can loosely tent it with aluminum foil for the remainder of the baking time.
Step 8: Cool & Glaze
Once baked, take the loaf out of the oven and let it cool in the pan for about 10-15 minutes. This allows it to set up a bit. Then, use those parchment paper overhangs to lift the loaf out of the pan and transfer it to a wire rack to cool completely. This is the perfect time to whip up the glaze if you’re using it. Whisk together the powdered sugar, milk, and vanilla until smooth and drizzleable. Once the bread is completely cool (and I mean *completely* – warm bread will melt the glaze into a mess!), drizzle the glaze over the top. Let the glaze set for about 15-20 minutes before slicing.
Step 9: Slice & Serve
Once the glaze is set (or if you skipped it), it’s time to slice into this masterpiece! Use a sharp knife for clean cuts. I like to serve this bread slightly warm, but it’s also delicious at room temperature. The texture is just divine – moist, tender, and packed with gooey chocolate. Enjoy!
What to Serve It With
This Sweet Georgia Browns loaf is so versatile, it truly fits into any meal or occasion. For a simple, comforting breakfast, I love it toasted lightly and served with a steaming mug of my favorite dark roast coffee. The warmth of the toast brings out the chocolate even more! For a more elaborate brunch, I’ll slice it elegantly and serve it alongside fresh berries and perhaps a dollop of Greek yogurt or a light crème fraîche. It adds a touch of indulgence without being too heavy. As a decadent dessert, it’s pure heaven. A warm slice with a scoop of good quality vanilla bean ice cream or a drizzle of caramel sauce is simply divine. My kids absolutely adore it this way after dinner. And for those cozy snack moments, it’s perfect on its own with a glass of cold milk. It’s my go-to when I’m curled up on the couch with a good book. My family traditions often involve this bread as an afternoon treat during the summer when zucchini is abundant; we’ll have it picnic-style in the backyard, still warm from the oven.
Top Tips for Perfecting Your Sweet Georgia Browns
I’ve made this Sweet Georgia Browns recipe more times than I can count, and through those batches, I’ve picked up a few tricks that I think really make a difference. Let’s dive into some of my best advice to ensure your loaf turns out absolutely perfect every single time.
Zucchini Prep: This is probably the most crucial step for a moist, not soggy, bread. After you shred your zucchini, it’s really important to squeeze out as much excess moisture as possible. You can do this by hand, or even better, wrap it in a clean kitchen towel or cheesecloth and wring it out. You want it damp, not dripping wet. Fresh zucchini is always best; older zucchini can sometimes be a bit watery, so keep that in mind.
Mixing Advice: I can’t stress this enough: do NOT overmix the batter! Once you add the dry ingredients to the wet, fold them together gently until they are *just* combined. A few small lumps or streaks of flour are perfectly okay. Overmixing develops the gluten, leading to a tough, dense texture, and we want a wonderfully tender crumb here. Think of it as a gentle hug for the batter, not a wrestling match.
Swirl Customization: When you add the chocolate chips, don’t feel like you need to create intricate patterns. I usually just sprinkle them over the batter layers and then give the batter a few gentle swirls with a knife or skewer. This creates those lovely, random pockets of melted chocolate. If you want more chocolate, just add more chips! I’ve been known to add an extra half cup, especially if I’m feeling indulgent.
Ingredient Swaps: For a gluten-free version, I’ve had success using a 1:1 gluten-free baking flour blend. You might need to adjust the liquid slightly, so start with the recommended amount and add a touch more milk if the batter seems too stiff. You can also swap the vegetable oil for melted coconut oil for a subtle tropical note, or use unsalted butter for a richer flavor. If you’re not a fan of cinnamon or nutmeg, feel free to omit them or experiment with other warm spices like cardamom or ginger.
Baking Tips: Always start checking for doneness around the 50-minute mark. Ovens can be so finicky! I usually place my loaf pan on the center rack. If the top is browning too quickly, tent it loosely with foil. This allows the inside to cook through without the outside getting too dark. A clean toothpick test is your best friend here.
Glaze Variations: If you want a thinner glaze, just add a touch more milk, a teaspoon at a time. For a thicker, more pipeable glaze, use less milk. You can also add a bit of lemon zest to the glaze for a brighter flavor, or even a swirl of cocoa powder for a chocolate glaze.
Storing and Reheating Tips
Knowing how to properly store your Sweet Georgia Browns is key to keeping it as delicious as the day it was baked. I’ve found that it generally stays wonderfully moist for several days. At room temperature, I store it in an airtight container or well-wrapped in plastic wrap and then foil. It’s usually good for about 2-3 days this way, especially if your kitchen isn’t too warm. For longer storage, the refrigerator is your best bet. Wrap it tightly in plastic wrap, then in foil or place it in an airtight container. It should keep well for up to a week, though I find the texture is best within the first 5 days. When you’re ready to enjoy it from the fridge, I highly recommend letting it come back to room temperature for about 30 minutes, or give it a quick zap in the microwave (about 10-15 seconds per slice) to revive that soft, moist texture and gooey chocolate.
If you know you won’t get through the whole loaf anytime soon, freezing is an excellent option. Let the bread cool completely first. Then, wrap individual slices or the entire loaf very tightly in plastic wrap, followed by a layer of aluminum foil or a freezer-safe bag. This helps prevent freezer burn. It can be stored in the freezer for up to 3 months. To thaw, simply unwrap it and let it come to room temperature, or gently reheat slices in the oven or microwave. For the glaze timing, I always recommend adding the glaze *after* the bread has completely cooled. If you glaze a warm loaf, the glaze will melt and become a sticky mess. If you plan to freeze the bread *with* the glaze, it’s best to apply it just before serving after thawing, as the glaze texture can sometimes change after freezing and thawing.
Frequently Asked Questions
Final Thoughts
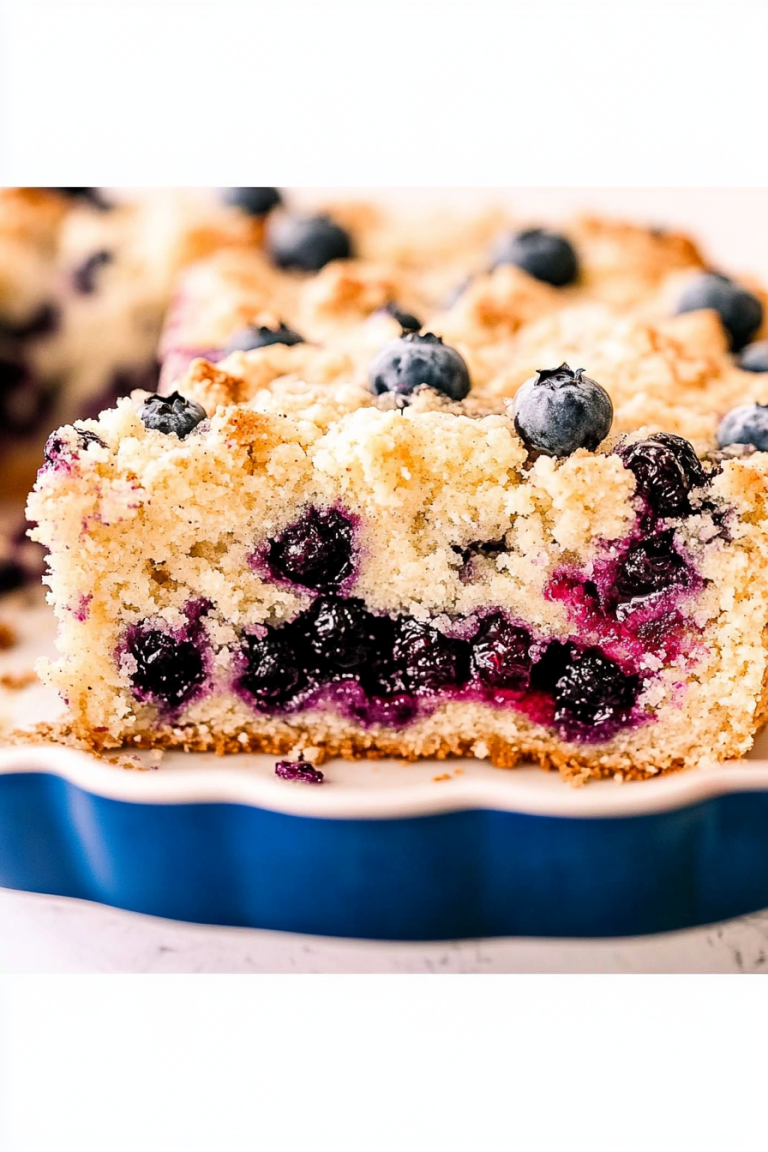
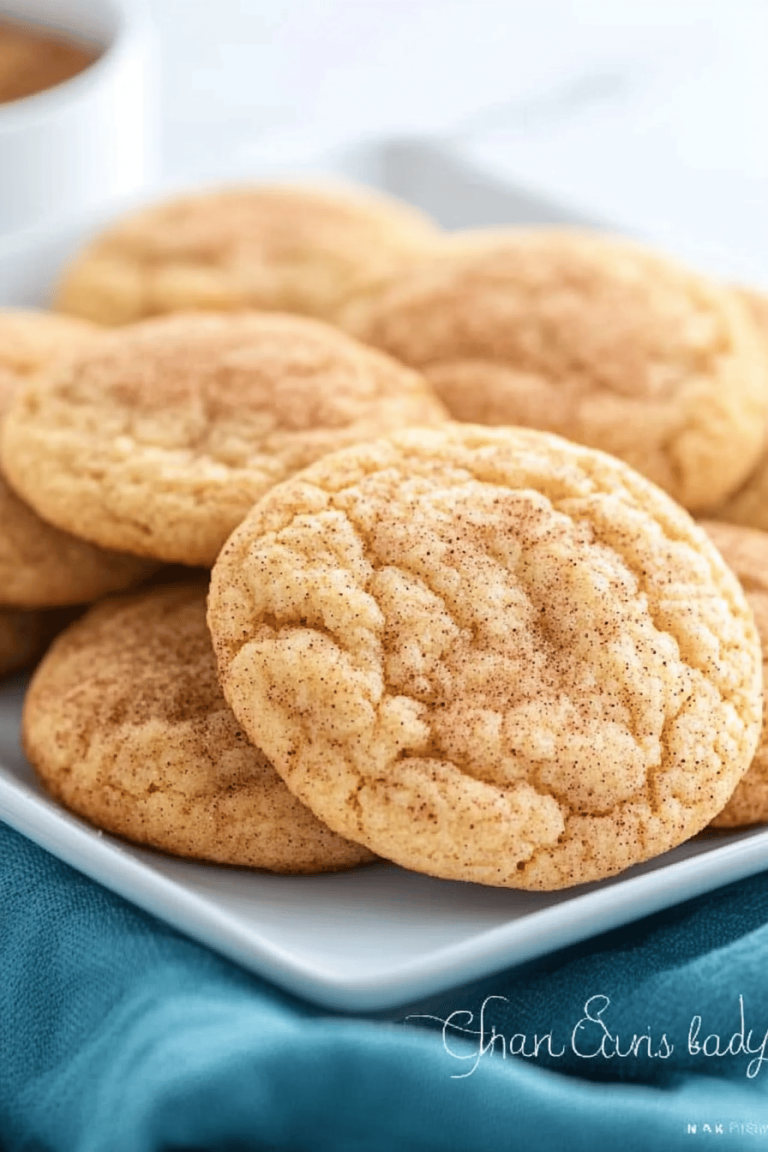
So there you have it – my absolute favorite way to transform humble zucchini into something truly special: Sweet Georgia Browns chocolate chip zucchini bread. It’s the perfect blend of comfort and indulgence, incredibly easy to make, and always a crowd-pleaser. I love it because it’s a delicious way to use up that garden bounty, a fantastic treat for unexpected guests, and a reliable recipe for those moments when you just need something comforting and delicious. If you love this recipe and are looking for more ways to use up summer produce or enjoy delicious quick breads, you might also want to check out my Spiced Apple Streusel Muffins or my Lemon Blueberry Loaf Cake. They’re all made with that same love and care! I truly hope you give this Sweet Georgia Browns recipe a try. It’s a keeper, I promise! I can’t wait to hear how yours turns out, so please leave a comment below and share your experience, or even your own special variations. Happy baking!
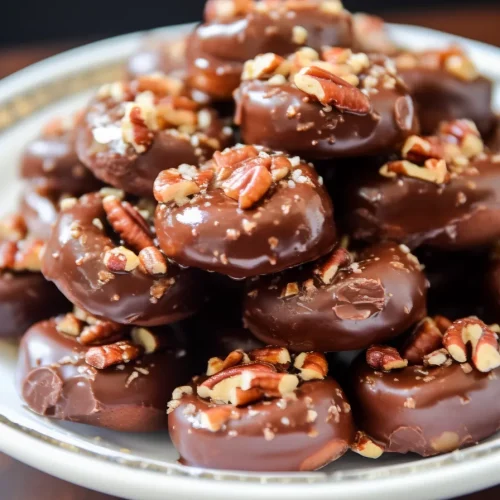
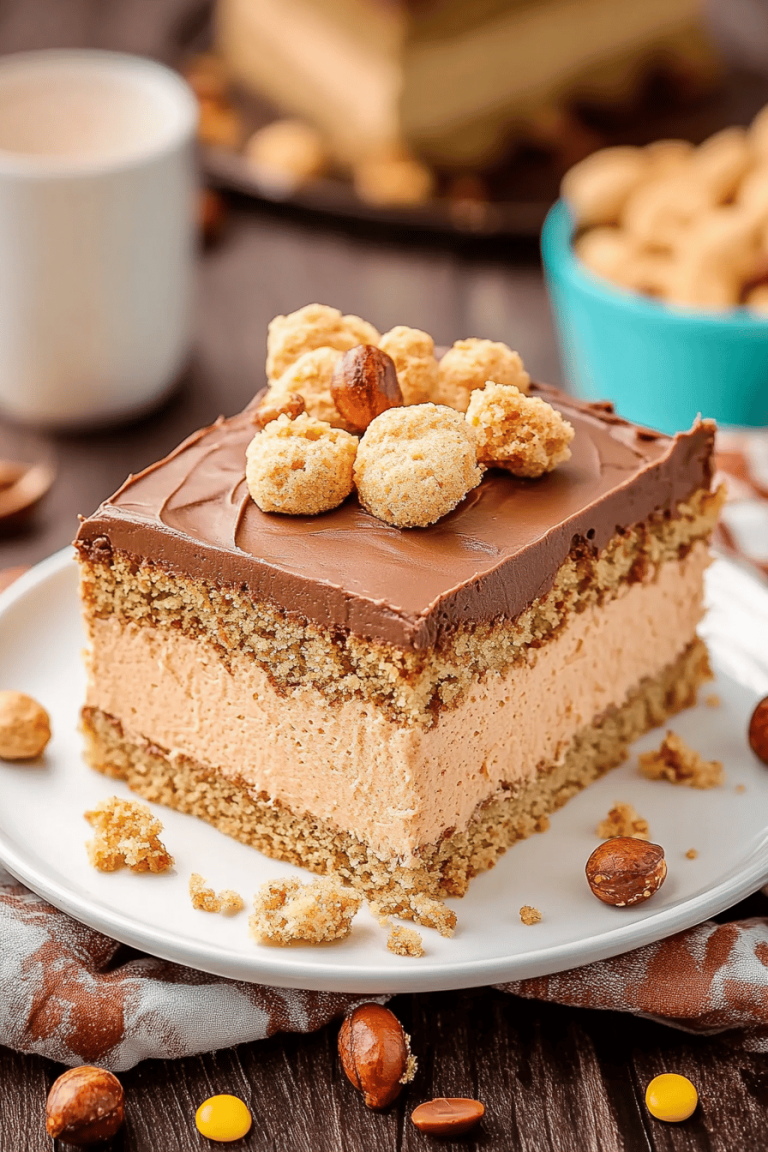
Sweet Georgia Browns
Ingredients
Main Ingredients
- 2 cups pecans (halves or pieces)
- 2 tablespoons butter (melted)
- 1.5 teaspoons fine sea salt
- 1 cup heavy cream
- 4 tablespoons unsalted butter
- 0.5 teaspoon fine sea salt
- 1.5 cups white sugar
- 0.25 cup corn syrup
- 0.25 cup water
- 0.5 teaspoon vanilla extract
- 1.5 cups good chocolate (milk or dark, melted)
Instructions
Preparation Steps
- Start by preheating your oven to 325ºF (160°C).
- Take the pecans. Mix them with melted butter, then add a pinch of salt. Spread this mixture evenly on a baking sheet.
- Place the baking sheet in the oven. Bake for 15 minutes until the pecans are nicely roasted. Once done, set them aside to cool.
- While the pecans are cooling, you can prepare the chewy caramel. In a saucepan, gently warm up the heavy cream and unsalted butter until they blend together smoothly.
- In another pan, combine white sugar, corn syrup, and water. Bring this mixture to a boil until it reaches a temperature between 250°F to 275°F (121°C - 135°C).
- Remove the pan from heat. Carefully add the warmed cream mixture to it. Don't forget to add vanilla extract and the remaining pinch of salt as well.
- Now it's time for assembly! Place your roasted pecans in either a muffin tin or, on a parchment-lined baking sheet.
- Spoon the caramel over the pecans, making sure they are nicely covered with that goodness! Allow them some time to cool down completely.
- Once cooled, you can take things up another level by dipping each Sweet Georgia Brown in melted chocolate indulgence!
- Finally, let them set before serving so that all those flavors blend together harmoniously.
- Now you're ready to enjoy your Sweet Georgia Browns!