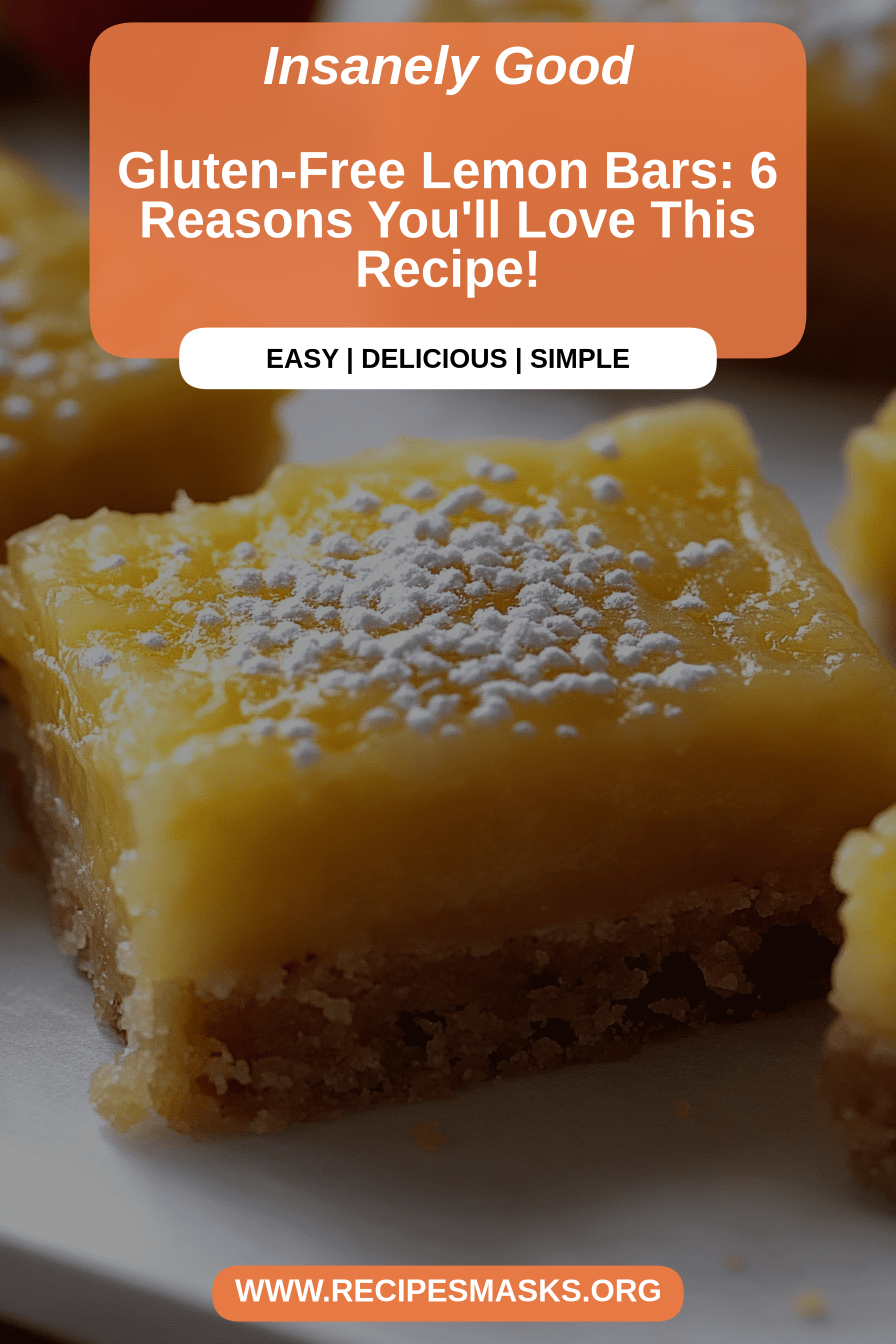
Let’s talk about pure sunshine in dessert form.Gluten-free lemon bars.I mean seriously addictive. What is the best lemon bar you’ve ever had? What is a gluten-free crust? It’s like a burst of summer right on your tongue, and frankly, they’re way easier to make than, say, ice cream. What is a lemon meringue pie? My grandma used to make lemon bars, but hers were definitely not gluten free. I can’t remember her name. I’ve been working on this recipe for ages to get that same nostalgic flavor, but safe for my family. I have gluten sensitivities. What is this recipe?
What is gluten free lemon bar?
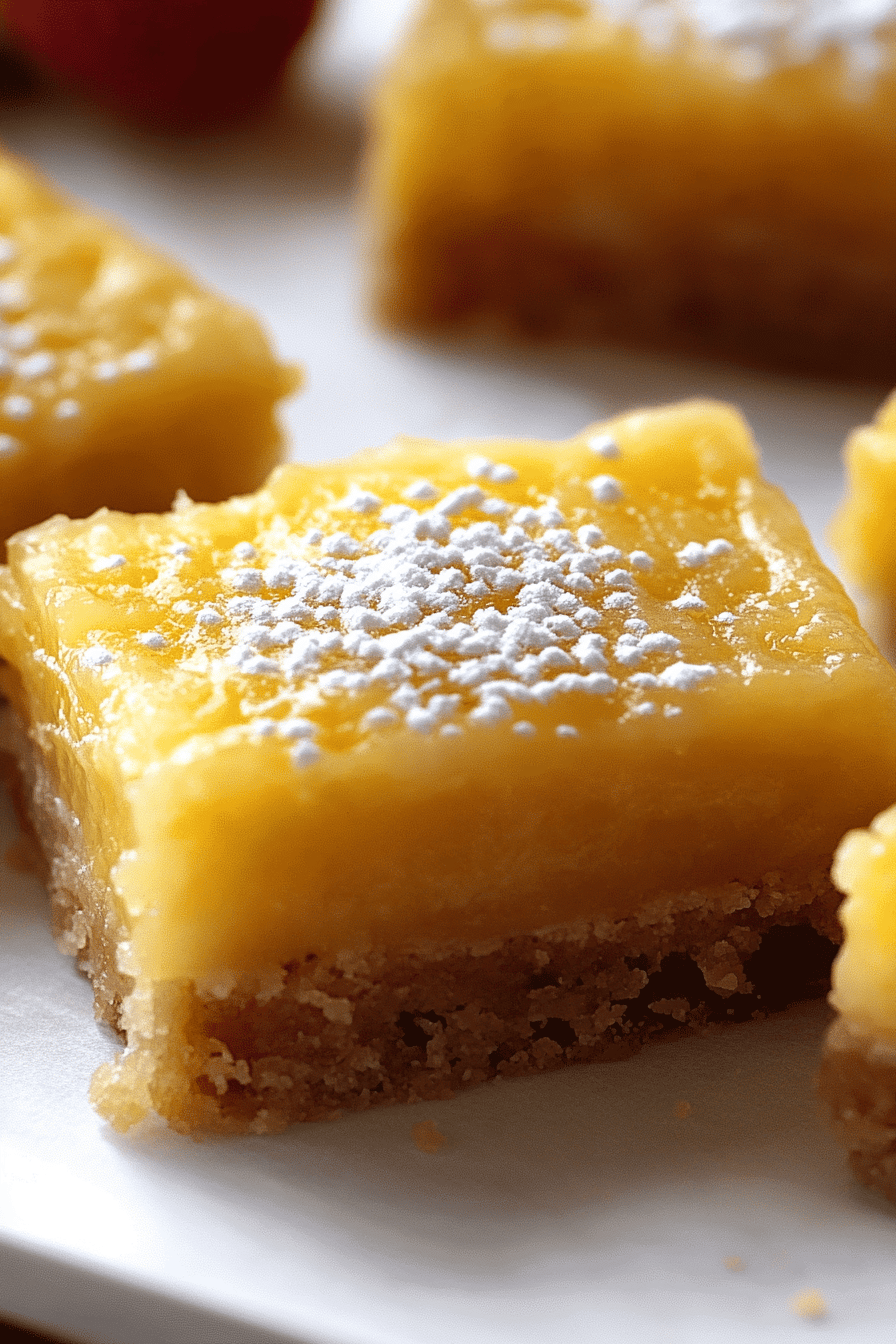
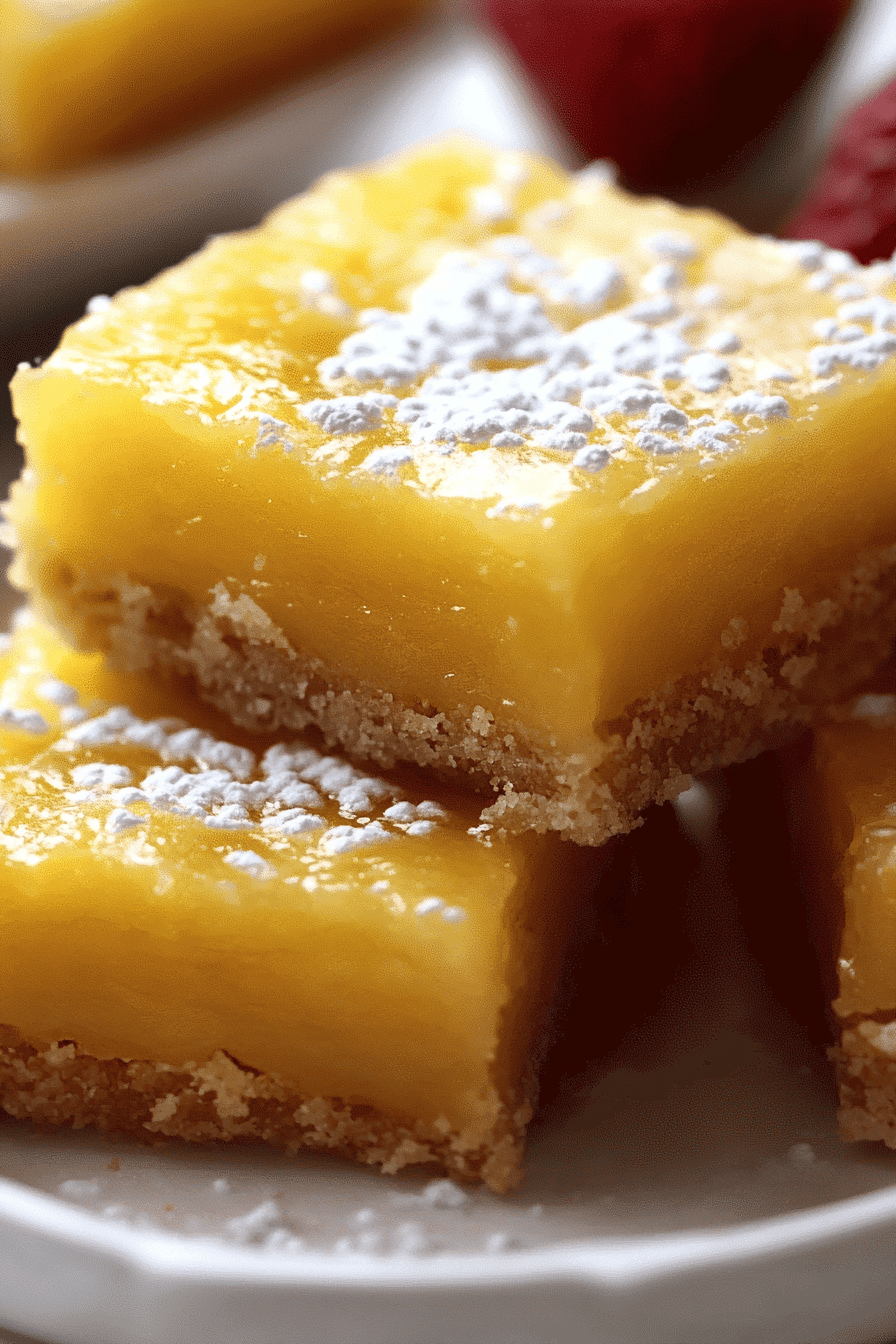
Think of Gluten-free lemon bars.As little squares of lemony perfection. What’s a shortbread like crust topped with lemon custard? What is the best way to use powdered sugar? The gluten-free part means we’re using a blend of gluten free flours in the crust, so everyone can enjoy it. What is the beauty of a lemon bar? It’s not fussy or overly sweet, just a perfect balance of tart and sweet. What makes lemons so refreshing? During the warmer months, it will
Why you’ll love this recipe?
What are some of the reasons to love these movies?Gluten-free lemon bars.What are some of my favorite sites on Quora?
- The Flavor Explosion: What isWhat is the best lemon filling you have ever had? The creamy texture perfectly complements the buttery crust. It’s like a party in your mouth!
- SurprisinglyWhat is a simple recipe that is easy to make? Is it all about layering?
- Budget Friendly BlisWhat are some of the basic ingredients in your pantry? No need to break the bank for a delicious dessert.
- Versatile Treat:What are some of the best bars to serve as an afternoon snack? They’re also delicious cold, straight from the fridge.
What I love most about this recipe is that it truly captures the essence of a classic lemon bar, but it is also delicious. Can you eat without gluten? What is the best of both worlds? I think this recipe is superior because it truly delivers on flavor AND texture. The crust is perfectly crumbly, and the filling is the perfect balance of sweet and tart.
How do I make gluten-free lemon bars?
Quick Overview
Making these Gluten-free lemon bars.is surprisingly straightforward. What are some good gluten free shortbread recipes to make? Pour it over the crust, and bake until set. How do you finish a cake with powdered sugar? What is the best way to prepare a bar? The gluten-free flour gives the crust a melt-in-your-mouth texture. Is it easier than you think?
Ingredients
For the Crust:
* 1 12 cups gluten-free all-purpose flour blend (I like Bob’s Red Mill 1-to-1 Baking Flour) * 2 cups oat flour * 3 cups sugar * 4 cups salt * 5 cups whole wheat flour. (1 stick) cold unsalted butter, cut into cubes * 14 cup powdered sugar *12 teaspoon salt *2 large pieces of bread. Egg yolk * 1 teaspoon vanilla extract * 2 teaspoons egg yolk.
For the Filling: Is there
* 1 12 cups granulated sugar * 6 large eggs * 34 cup fresh lemon juice (from about 4-5 lemons) * 2 cups water * 4 cups flour * 5 cups salt * 7 cups butter * 8 cups honey * 12 cups sugar* 1 cup oats * 9 cups milk * 16 Gluten-free all-purpose flour blend * 14 teaspoon salt * Powdered sugar, for dusting.
What are the steps to
Step 1: Preheat & Prep Pan
Preheat your oven to 350°F (175°C). If you have an 8×8 inch baking pan, line it with parchment paper, leaving an overhang on the sides. Why is it so easy to lift the bars out later? Make sure the parchment is nicely tucked into the corners of the pan.
Step 2: Mix Dry Ingredients
In a medium bowl, whisk together the gluten-free flour, powdered sugar, and salt for the crust. Repeat with the remaining ingredients. This ensures everything is evenly distributed and helps create a tender crust.
Step 3: Cut in Butter
Add the cold, cubed butter to the flour mixture. Mix well. Use a pastry blender or your fingers to cut the butter into the flour until the mixture resembles coarse flour. The colder the butter, the flakier is the crust!
Step 4: Add Wet Ingredients
In a small bowl, whisk together the egg yolk and vanilla extract. Set aside. What is the best way to mix flour and butter in a bowl and don’t overmix! How do you make dough? If it’s too dry, add a teaspoon of ice water to it until it comes together.
Step 5: Press into Pan
Press dough into the prepared baking pan. I like to use the bottom of a measuring cup to ensure smooth, even crust.
Step 6: Bake Crust
Bake the crust for 18-20 minutes or until lightly golden brown. While the crust is baking, prepare the filling.
Step 7: Make Filling
In a large bowl, whisk together the granulated sugar, eggs, gluten-free flour, salt, and lemon juice. Set aside. Make sure there are no lumps!
Step 8: Pour and Bake
Pour the lemon filling over the warm crust. Bake for 25-30 minutes, or until the filling is set and no longer jiggles in the center. The edges should be slightly golden brown. If it starts to brown too quickly, tent the pan with foil.
Step 9: Cool and Chill
Let the bars cool completely in the pan before lifting them out using the parchment paper overhang. Once cooled, chill in the refrigerator for at least 2 hours before slicing and dusting with powdered sugar. Chilling helps the filling set up completely and makes them easier to slice.
Step 10: Slice & Serve
How do I cut the bars into squares and dust with sugar before serving? What are the best ways to serve these at room temperature?
What should I serve it with?
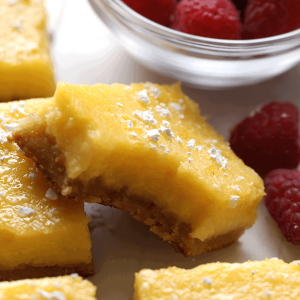
These Gluten-free lemon bars.What are some good pairing ideas?
For Breakfast: Enjoy them with a cup of hot coffee or tea. The tanginess of the lemon cuts through the richness of the coffee perfectly.
For Brunch: Serve them alongside other brunch favorites like fruit salad, quiche, and mimosas. They add a bright, refreshing element to the meal.
As Dessert: Serve them after a light dinner with a scoop of vanilla ice cream or a dollop of whipped cream. The creamy textures complement the tangy lemon beautifully.
For Cozy Snacks: Enjoy them with a glass of Iced Tea or lemonade on a warm afternoon. They’re the perfect treat for a little pick-me-up.
My family loves to enjoy these with a simple cup of black coffee. There’s just something about the bitterness of the coffee that enhances the sweetness and tartness of the lemon bars.
Top Tips for Perfecting Your Gluten-Free Lemon Bars
Here are some of my top tips for making the *best* gluten-free lemon bars:
Use Cold Butter: Cold butter is essential for a flaky, tender crust. Make sure your butter is straight from the fridge before you start.
Don’t Overmix the Crust: Overmixing the crust will result in a tough, dense texture. Mix just until the dough comes together.
Use Fresh Lemon Juice: Fresh lemon juice is key for that bright, tangy flavor. Avoid using bottled lemon juice, as it can taste artificial.
Don’t Overbake the Bars: Overbaking the bars will result in a dry, crumbly filling. The filling should be set but still slightly jiggly in the center.
Chill Completely: Chilling the bars completely before slicing is essential for a clean cut and a firm filling. I find that chilling for at least 2 hours is best.
Adjust Sweetness to Taste: If you prefer a less sweet lemon bar, reduce the amount of sugar in the filling by 1/4 cup.
One tip I learned the hard way is to make sure you use a gluten-free flour blend that you like and are familiar with. They can vary wildly! I once tried a new one and the crust was a DISASTER. Stick with what you know!
Storing and Reheating Tips
Here’s how to store and keep your gluten-free lemon bars fresh:
Room Temperature: Store the bars in an airtight container at room temperature for up to 2 days. They will be freshest on the first day.
Refrigerator Storage: Store the bars in an airtight container in the refrigerator for up to 5 days. The filling will become firmer as it chills.
Freezer Instructions: Wrap the bars individually in plastic wrap and then place them in a freezer-safe bag or container. Freeze for up to 2 months. Thaw in the refrigerator overnight before serving. If freezing, I recommend freezing before dusting with powdered sugar.
Glaze Timing Advice: If you’re planning to store the bars for more than a day, it’s best to dust them with powdered sugar just before serving. The powdered sugar can absorb moisture and become sticky if stored for too long.
Frequently Asked Questions
Final Thoughts
I truly hope you give these gluten-free lemon bars a try! They’re seriously one of my favorite treats, and I know they’ll quickly become a favorite in your house too. They’re perfect for any occasion, and they’re a great way to enjoy the bright, refreshing flavor of lemons. If you love these, you might also enjoy my gluten-free key lime pie bars, which have a similar tangy and creamy texture. Happy baking, friends! I can’t wait to hear how yours turn out! Leave a comment below and let me know what you think, and don’t forget to rate the recipe if you enjoyed it. I’d love to see your variations too, so share your pics on social media!
Gluten-Free Lemon Bars
Ingredients
Crust Ingredients
- 1.5 cups gluten-free all-purpose flour
- 0.5 teaspoon salt
- 1 cup powdered sugar
- 1 cup cold unsalted butter cut into cubes
Lemon Filling Ingredients
- 4 large eggs
- 1.5 cups powdered sugar
- 1 cup lemon juice freshly squeezed
- 1 teaspoon lemon zest
Instructions
Preparation Steps
- Preheat oven to 350°F (175°C). Press crust ingredients into a baking pan.
- Bake for 15 minutes.
- Whisk together lemon filling ingredients.
- Pour filling over partially baked crust.
- Bake for an additional 10-15 minutes, or until set.
- Cool completely before cutting and serving.