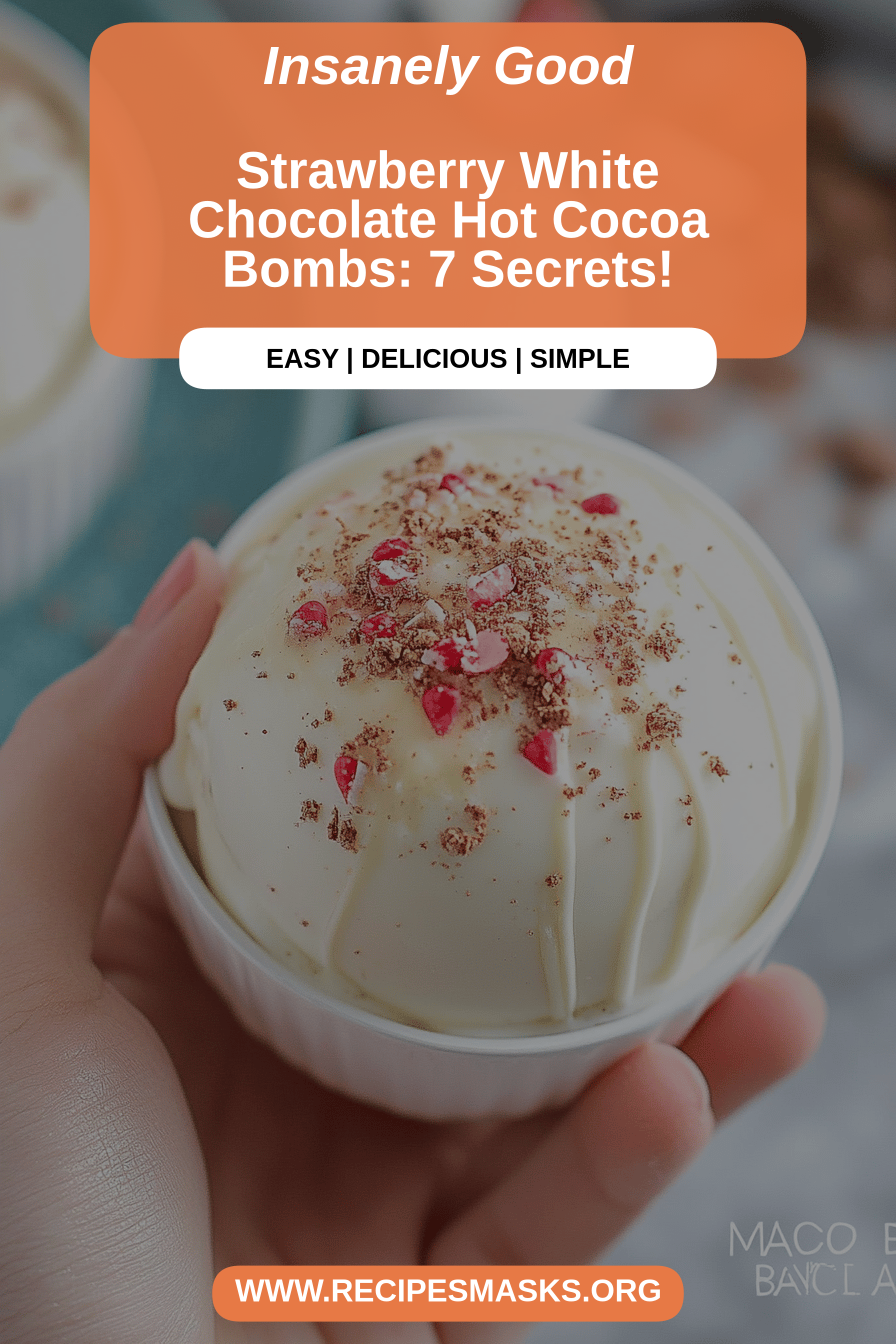
Okay, friends, let’s talk about something that’s pure magic in a mug: Hot cocoa bombs are a! Seriously, these little spheres of chocolatey goodness are like tiny winter celebrations waiting to happen. Remember those bath bombs that fizz and release amazing scents? Well, these are the edible version, but instead of aromatherapy, you get a creamy, decadent cup of hot cocoa. They’re even easier to make than a batch of cookies, and trust me, the “wow” factor is HUGE. I mean, who can resist a chocolate ball melting away to reveal marshmallows and cocoa powder? They are the perfect winter treat, especially when compared to regular hot chocolate mixes, these are a delightful, interactive experience.
What are hot cocoa bombs?
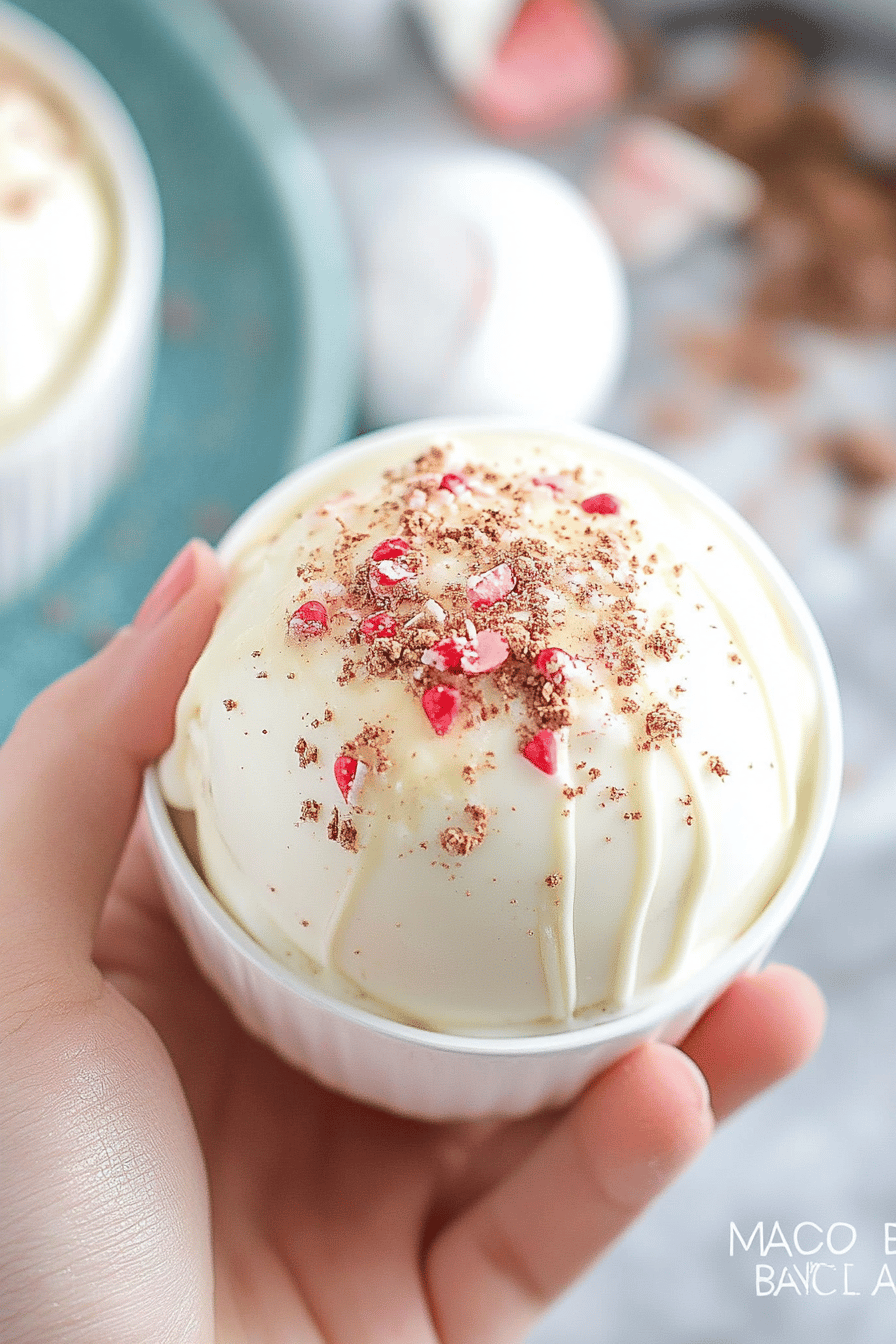
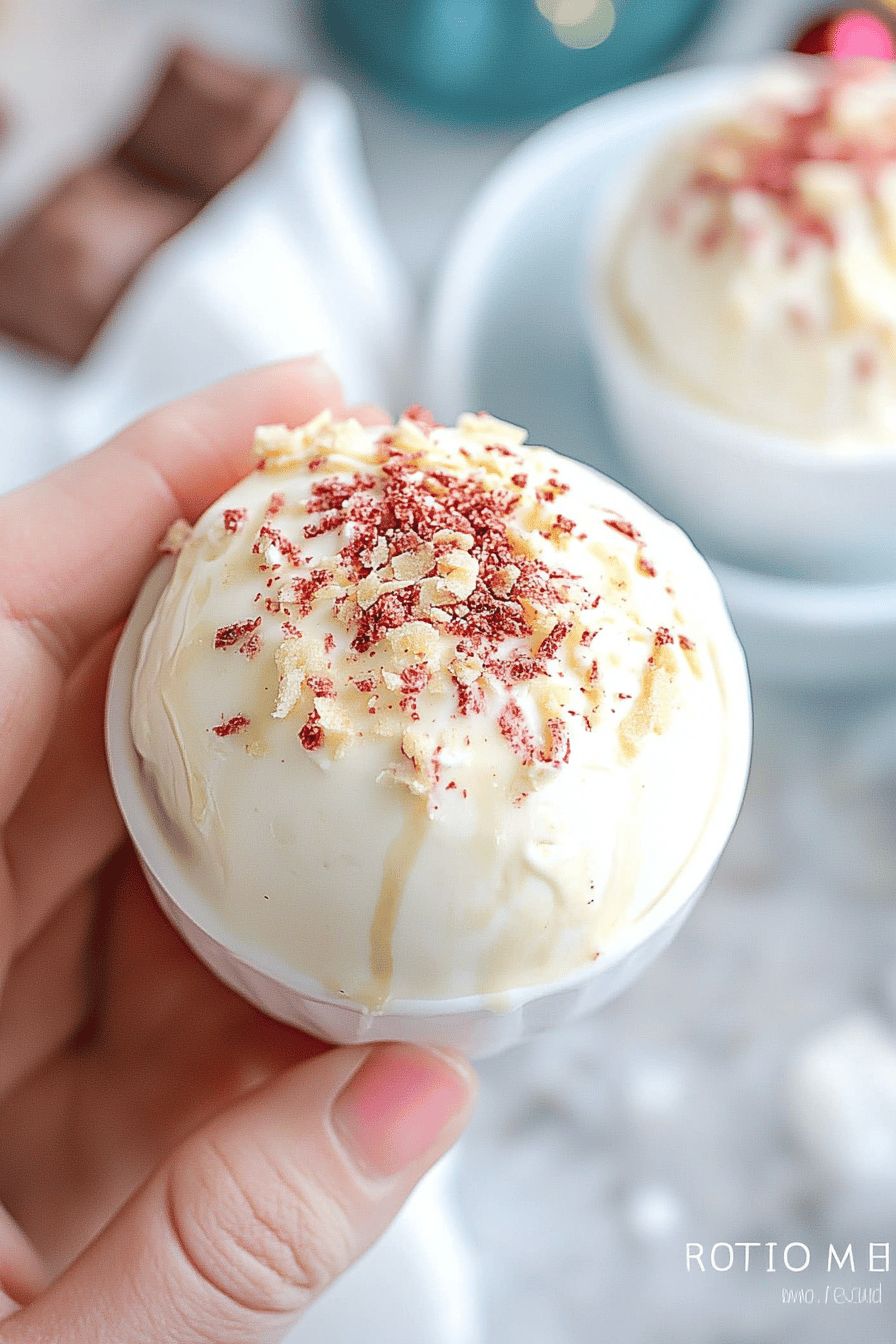
Think of a hot cocoa bomb as a personalized hot chocolate experience, all wrapped up in a pretty chocolate shell. It’s essentially a hollow chocolate sphere filled with hot cocoa mix, mini marshmallows, and sometimes even extra goodies like chocolate chips or sprinkles. You drop it into a mug of hot milk (or water, but milk is *so* much better!), and as the chocolate melts, it releases all that deliciousness into a rich, creamy, and utterly delightful hot cocoa. It’s a fun twist on the classic winter drink. These little bombs are perfect for gifting, parties, or just a cozy night in. The origin of these tasty treats are a mystery, but all that matters is that we have them now!
Why you’ll love this recipe?
I’m head over heels for this article. There are so many reasons why I should be.Hot cocoa bombs are aI know you are too! Let’s talk about flavor. Why don’t you buy store-bought chocolate? What are some of the best chocolate bombs? Is What I love most about this is that you can customize them to your own taste. Dark chocolate, milk chocolate and peppermint extract… the possibilities are endless!
Second, these are surprisingly simple to make! Yes, they look impressive, but the process is actually quite straightforward. Once you get the hang of melting and tempering the chocolate, you’ll be churning out these bombs like a pro. Plus, it’s a great activity to do with kids! They love helping to fill the spheres and watch them melt in the milk. Third, the ingredients are super cost-effective. You probably already have most of them in your pantry! And even if you don’t, a quick trip to the grocery store won’t break the bank.
Finally, and this is a big one, these Hot cocoa bombs are made withAre incredibly versatile. Can you enjoy them any time of the day, as a warm drink on cold days, or as sweet treat after dinner? Plus, they make amazing gifts! What are some cute little boxes to give to friends and family?
How do you make hot cocoa bombs?
Quick Overview
Making Hot cocoa bombs are made with is easier than you might think! You’ll melt and temper chocolate, then use it to coat silicone molds. Once the chocolate sets, you fill one half of the sphere with cocoa mix and marshmallows, then carefully attach the other half. A little melted chocolate seals the deal. The special thing is that with a bit of care, you can make perfect spheres that melt beautifully in hot milk.
Ingredients
For the Chocolate Shell: What is the best chocolate shell
* 12 ounces good-quality chocolate (milk, dark, or semi-sweet), finely chopped. Use chocolate that you enjoy eating, as the flavor will definitely shine through. I’ve found that Ghirardelli or Guittard melts beautifully, but even a good quality store-brand chocolate will work just fine. Avoid chocolate chips for the shell, as they often contain stabilizers that prevent them from melting smoothly.
For the Hot Cocoa Filling:
* 1 cup unsweetened cocoa powder. I prefer Dutch-processed cocoa for its smoother flavor, but regular cocoa powder works as well.
* 1 cup granulated sugar. You can adjust the amount of sugar to your liking. If you prefer a less sweet cocoa, reduce the sugar to ¾ cup.
* ½ teaspoon salt. A pinch of salt enhances the chocolate flavor.
* 2 cups mini marshmallows. I like to use the classic mini marshmallows, but you can also use flavored marshmallows like peppermint or chocolate.
* Optional additions: chocolate chips, sprinkles, peppermint candies, instant coffee powder. Get creative and add your favorite flavors!
Step-by-Step Instructions
Step 1: Melt the Chocolate
Place the finely chopped chocolate in a heat-safe bowl set over simmering water (make sure to keep it cool) and stir until combined. How do you make sure the bottom of a bowl doesn’t touch water? Stir frequently until the chocolate is completely melted and smooth. If you want to melt chocolate in a microwave for 30 seconds, you can melt it in the microwave in 30 second intervals, stirring between each interval. Each interval to prevent burning. What is the best way to melt chocolate? To temper, melt the chocolate to around 115°F, then let it cool before using.
Step 2: Mold the Chocolate Shells
How do you melt chocolate in silicone sphere molds? Gently tap the molds on the counter to release any air bubbles. Use a spoon or spatula to spread the chocolate evenly around the inside of each mold, making sure to keep it moist. What is the best way to coat the entire surface? If the chocolate is too thin in some areas, add another layer.
Step 3: Chill the Chocolate
If the chocolate is firm, place the filled molds in the refrigerator for about 10-15 minutes. How do you press on chocolate without it leaving a dent?
Step 4: Remove the Chocolate Shells
Carefully remove the chocolate shells from the molds. If they are sticking, gently flex the molds or use a small, sharp knife to loosen the edges. How do you avoid touching chocolate with your fingers?
Step 5: Fill the Chocolate Shells
Fill half of the chocolate shells with the hot cocoa mix, marshmallows, and any other desired fillings. Be generous, but don’t overfill them, as you need to leave room for the other half of the shell.
Step 6: Seal the Bombs
Gently heat the rim of an empty chocolate shell by pressing it against a warm plate or pan for 5 minutes. How do you melt chocolate? Immediately place the heated shell on top of a filled shell, aligning the edges. Gently press the two halves together to seal. Use your finger to smooth the seam and remove any excess chocolate.
Step 7: Decorate (Optional)
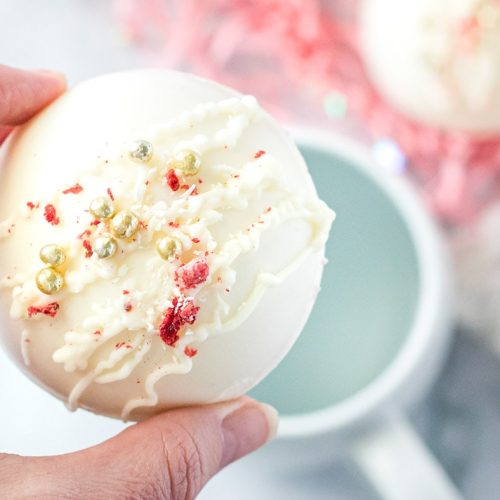
If desired, decorate the bowl.Hot cocoa bombs are great forWith melted chocolate, sprinkles, or other edible decorations. Let the decorations set completely before handling the bombs.
Step 8: Store the Bombs
Store the finished product.Hot cocoa bombs are delicious.In an airtight container in a cool, dry place. They will keep for several weeks.
Step 9: Enjoy!
To use, simply place a swab of waterhot cocoa bombIn a mug, pour hot milk over it. Watch as the chocolate melts and releases the cocoa and marshmallows. Stir well and enjoy!
What should I serve it with?
Hot cocoa bombs are great forCan be paired with other treats to create a truly unique treat. What is an indulgen
For Breakfast:What are some of the best morning treats to make with cinnamon rolls?
For Brunch: Serve with a platter of fresh fruit, mini quiches, and mimosas for an elegant brunch spread.
As Dessert:What’s better after dinner? A scoop of vanilla ice cream or a slice of Chocolate Cake? What are some of the
For Cozy Snacks: Curl up on the couch with a mug of hot cocoa and a plate of freshly baked cookies or brownies for a comforting and relaxing evening snack. My family always makes these during movie night. They are a crowd favorite.
Top Tips for Perfecting Your Hot Cocoa Bombs
Here are a few tips and tricks I’ve learned over the years to help you make the perfect hot cocoa bombs:
Chocolate Quality: Use high-quality chocolate for the best flavor and melting properties. I prefer using couverture chocolate, which has a higher cocoa butter content and melts more smoothly. If you’re using chocolate chips, be sure to use a good quality brand. Also, avoid water at all costs. One drop of water will ruin the entire batch.
Tempering Chocolate: Tempering the chocolate is important for creating a smooth, shiny shell that won’t melt at room temperature. If you’re not familiar with tempering chocolate, there are many tutorials available online. I highly recommend watching a few before you start. A chocolate thermometer is a lifesaver for this step!
Mold Preparation: Make sure your silicone molds are clean and dry before using them. A little bit of moisture can cause the chocolate to seize. You can also lightly dust the molds with cocoa powder to help the chocolate release more easily.
Sealing the Bombs: Be patient when sealing the bombs. It’s important to make sure the edges are completely sealed to prevent the cocoa powder and marshmallows from leaking out. If you’re having trouble getting the edges to seal, try using a small amount of melted chocolate to act as glue. I find it best to slightly overfill one half and then slowly connect the two together.
Customizing Flavors: Don’t be afraid to get creative with your fillings! You can add different flavors of cocoa powder, chocolate chips, sprinkles, or even small candies. For a peppermint hot cocoa bomb, add a few crushed peppermint candies to the filling. Or, for a mocha bomb, add a teaspoon of instant coffee powder.
Decorating: Have fun decorating your hot cocoa bombs! You can drizzle them with melted chocolate, sprinkle them with edible glitter, or even add small fondant decorations. Just make sure the decorations are edible and won’t melt when the bomb is dropped into hot milk.
Storing and Reheating Tips
Proper storage is key to keeping your hot cocoa bombs fresh and delicious.
Room Temperature: Store the finished hot cocoa bombs in an airtight container at room temperature. They should keep for up to 2 weeks, but they may start to lose their flavor and texture after that.
Refrigerator Storage: For longer storage, you can refrigerate the hot cocoa bombs in an airtight container. They will keep for up to a month. However, be aware that the chocolate may bloom (develop a white, powdery coating) if stored in the refrigerator. This is harmless, but it can affect the appearance of the bombs.
Freezer Instructions: If you want to store the hot cocoa bombs for even longer, you can freeze them. Wrap each bomb individually in plastic wrap, then place them in an airtight container. They will keep for up to 3 months. When ready to use, thaw the bombs in the refrigerator overnight before using.
Glaze Timing Advice: If you’re planning to glaze your hot cocoa bombs, it’s best to do so just before serving. This will prevent the glaze from becoming sticky or melting.
Frequently Asked Questions
Final Thoughts
Hot cocoa bombs are more than just a drink; they’re an experience. The joy of watching that chocolate sphere melt away, releasing its hidden treasures, is something truly special. Whether you’re making them for yourself, your family, or as a gift, these little bombs of chocolatey goodness are guaranteed to bring a smile to everyone’s face. I encourage you to get creative with your flavors and decorations and make them your own. Happy cocoa-bombing! And if you loved this recipe, be sure to check out my other chocolatey creations. I can’t wait to hear how yours turn out! Leave a comment below and let me know what variations you tried!
Hot Cocoa Bombs
Ingredients
Main Ingredients
- 12 oz Semi-sweet chocolate chips
- 6 oz White chocolate chips
- 2 cups Marshmallows
- 1 tsp Vanilla extract
Instructions
Preparation Steps
- Melt the semi-sweet and white chocolate chips in separate bowls using a double boiler or microwave.
- Spoon melted semi-sweet chocolate into silicone molds, creating a thin layer on the bottom and up the sides.
- Add a small amount of marshmallows and a drop of vanilla extract into the bottom of each mold.
- Top with more melted semi-sweet chocolate to cover the marshmallows completely.
- Freeze until solid. Once solid, carefully remove from molds.
- Melt white chocolate chips in a double boiler or microwave and drizzle over the bombs.