Okay, friends, let’s talk about something truly delightful.Mini cheesecakes:. Remember those days when you’d crave cheesecake but didn’t want the commitment of a whole one? Or maybe you’re like me and just love having individual portions for easy snacking? What is the answer for these little guys? Seriously, they’re even easier than making chocolate chip cookies (and trust me, I make a lot).lot of chocolate chip cookies). They’re creamy, dreamy, and the perfect size for a little indulgence. This recipe has been a staple in my family for years. I got it from my grandma, who always seemed to have something sweet waiting when we visited. Every time I bake these, the aroma just fills the house with such comforting memories. My kids practically inhale them; they’re gone in minutes!

What Is Mini Cheesecake?
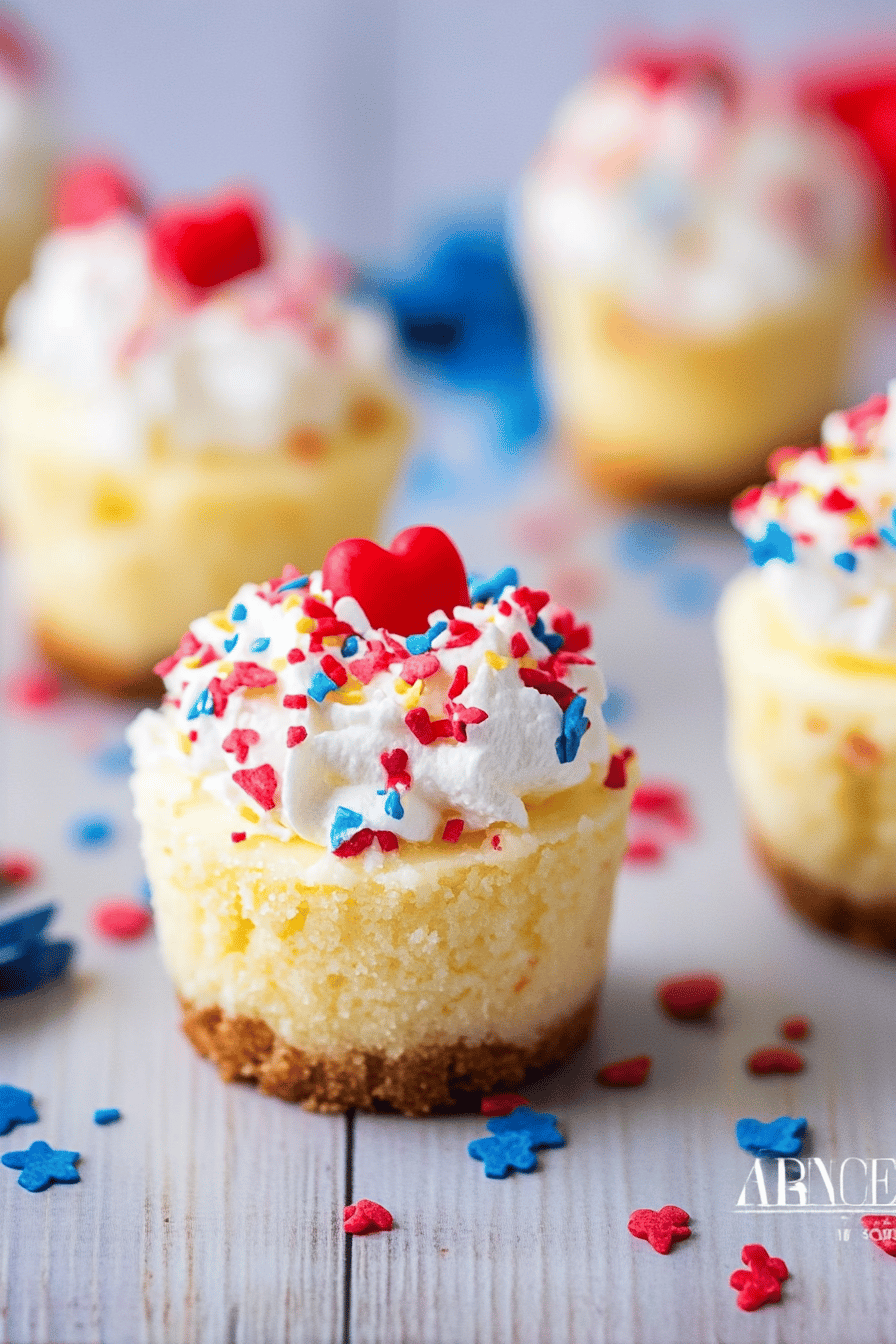
Think of it as the regular cheesecake’s adorable, single-serving cousin. It’s essentially all the creamy, rich goodness of a classic cheesecake, but baked in muffin tins or small cupcake liners. The beauty is that you get that perfect crust-to-filling ratio in every single bite. No slicing required, no fighting over who gets the corner piece! And they’re fantastic for parties, potlucks, or any time you want to impress with minimal effort. You can customize them with all sorts of toppings, too – fruit, chocolate shavings, caramel drizzle…the possibilities are endless. It’s just pure cheesecake happiness, miniaturized.
Why you’ll love this recipe?
Oh, where do I even begin? First, the flavor is out of this world. It’s that classic tangy-sweet cheesecake taste we all adore, but somehow even better in these little bites. The creamy filling just melts in your mouth. What I love most about this recipe is how incredibly simple it is. Honestly, it takes maybe 15 minutes to throw everything together, and the oven does the rest. It’s a total lifesaver when you need a last-minute dessert. And let’s not forget the cost-effectiveness. You probably have most of the ingredients in your pantry already! I also like that it does not use as much cream cheese and sugar as a cake size cheesecake. This recipe can be altered so you can test out different flavors and create new variations. Like I experimented with a lemon zest and it made this recipe 100 times more fun. These Mini Cheesecakes are incredibly versatile. You can serve them plain, top them with fresh berries, drizzle them with chocolate, or even add a dollop of whipped cream. They’re perfect for any occasion, from a casual weeknight treat to a fancy dinner party. If you’re looking for a smaller, single-serving treat similar to these, you might like individual lemon bars, but I promise, these little Mini Cheesecakes: are going to become your new go-to!
How do I make mini cheesecakes?
Quick Overview
Making these Mini cheesecakes are is surprisingly straightforward. You’ll start with a simple graham cracker crust, followed by a creamy, decadent filling. Then, they bake in muffin tins until golden brown and set. A little chilling time, and you’re ready to top them with your favorite goodies! This method is special because it minimizes cracking and ensures a perfectly smooth texture every time. No water bath needed! Plus, using muffin tins makes portion control a breeze (even if you eat three…or four!).
Ingredients
For the Crust:
* 1 12 cups graham cracker crumbs (about 12 granola crackers)
* 5 tablespoons unsalted butter, melted
* ¼ cup granulated sugar
I always use name brand graham crackers; they seem to have the best flavor and texture. Make sure your butter is completely melted for even distribution!
For the Filling:
* 2 (8 ounce) packages of cream cheese, softened to room temperature.
* ¾ cup granulated sugar
* 2 large eggs
* 1 teaspoon vanilla extract
* ¼ cup sour cream
Using room temperature cream cheese is KEY to a smooth, lump-free filling. Trust me, don’t skip this step! I also prefer full-fat sour cream for the richest flavor, but low-fat works in a pinch.
For the Topping (optional):
* Fresh berries, chocolate shavings, caramel sauce, whipped cream, etc.
I love using seasonal berries for a pop of color and flavor.
What are the steps for
Step 1: Preheat & Prep Pan
Preheat your oven to 350°F (175°C). Line a 12-cup muffin tin with paper liners. If you don’t have liners, you can grease the muffin tin really well with cooking spray. Make sure you spray every nook and cranny. This is super important for easy removal later. Do you really want half your life?mini cheesecakeI usually give them a generous spray even if I’m using liners, just to be safe.
Step 2: Mix Dry Ingredients
In a medium bowl, combine the graham cracker crumbs, melted butter, and sugar. Set aside. I always do this by hand. I like the smell of wet sand. Mix well. It gives me better control over the texture. If you pinch it between your fingers, you want it to hold together. How do you know if you have the right consistency?
Step 3: Press Crust into Muffin Tin
Press about 2 tablespoons of the graham cracker mixture into the bottom of each muffin liner. Use the bottom of a measuring cup or your fingers to firmly press the crust into an even layer. The firmer you press, the better the crust will hold together. I like to use a shot glass for this part; it’s the perfect size and shape! This step can be a little messy, but it’s worth it for that perfect crust-to-filling ratio.
Step 4: Prepare Cheesecake Filling
In a large bowl, beat the cream cheese and sugar with an electric mixer until smooth and creamy. Serve warm or cold. What are lumps? I always scrape down the sides of a bowl to ensure everything is flush. I scrap each time to make sure nothing gets stuck. Is evenly mixed? What are the benefits of room temperature cream cheese? It blends so much easier and creates a much smoother filling.
Step 5: Add Eggs and Vanilla
Add the eggs one at a time, beating well after each addition. Then, stir in the vanilla extract and sour cream. Mix until just combined. Do not overmix at this point, as this can incorporate too much air into the filling and cause it to deflate.Mini cheesecakes:Is it possible to crack during baking? Just mix until everything is nicely blended, and stop.
Step 6: Fill the Muffin Cups
How do you fill a muffin cup with cheesecake filling? I use an ice cream scoop to make sure they’re all the same size. What should I do if I have a spill? They’ll even out a bit during baking.
Step 7: Bake
Bake for 18-20 minutes, or until the edges are set and the center is just slightly jiggly. What are some of the best ways to keep a close eye on your oven and bake them? You want them to be golden brown around the edges but still a little soft in the middle. They will continue to set as they cool.
Step 8: Cool & Chill
Remove the Mini cheesecakes areIs it safe to remove muffins from the oven and let them cool completely in the muffin tin? Once cooled, cover and refrigerate for at least 2 hours before serving. This chilling time is crucial! It allows the cheesecakes to fully set and develop their creamy texture. I usually make them the day before I need them, just to be safe.
Step 9: Top & Serve
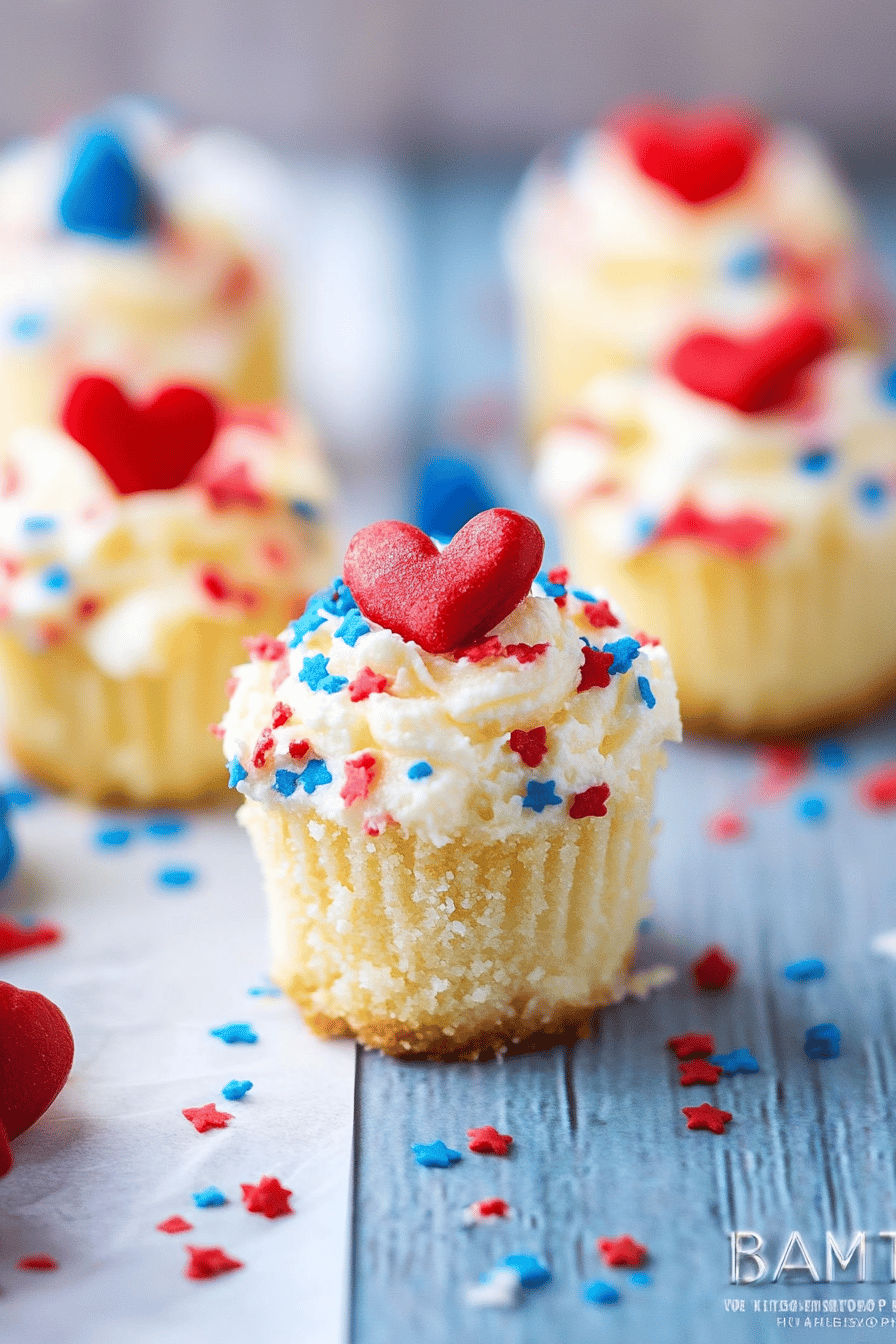
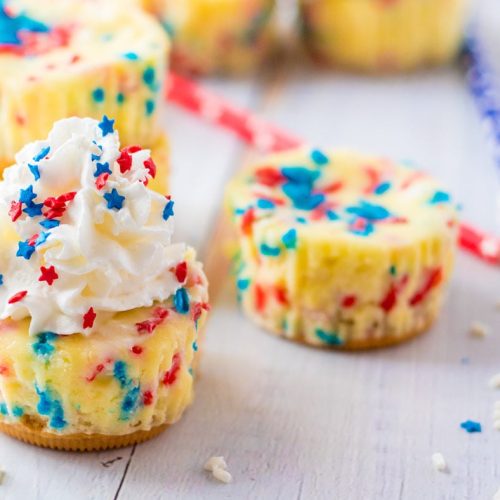
Once chilled, gently remove the plastic wrap.mini cheesecakes from the muffin tin. Top with your favorite toppings and serve. Fresh berries, chocolate shavings, caramel sauce, whipped cream…the possibilities are endless! I love to arrange them on a pretty platter for a party. They look so elegant and inviting.
What to Serve It With
These mini cheesecakes are so versatile! You can serve them at just about any occasion. For breakfast, try pairing them with a cup of strong coffee and a sprinkle of cinnamon. They make a surprisingly delightful start to the day! I sometimes make a batch on the weekend for a special breakfast treat. For brunch, arrange them on a tiered serving platter with fresh fruit and a mimosa. They look absolutely stunning! As dessert, serve them with a scoop of vanilla ice cream and a drizzle of chocolate sauce. It’s the perfect ending to a delicious meal. My family loves this combination. For cozy snacks, simply grab one straight from the fridge! They’re the perfect little pick-me-up any time of day. I often find myself reaching for one when I’m craving something sweet in the afternoon. My grandma used to serve them with a glass of milk – simple, but so satisfying! These little cheesecakes also pair wonderfully with a dessert wine or a cup of herbal tea.
Top Tips for Perfecting Your Mini Cheesecakes
Okay, friends, let’s get down to the nitty-gritty. Here are my top tips for making sure your mini cheesecakes are absolutely perfect, every single time. It all starts with the crust. Make sure your graham cracker crumbs are finely ground. I like to pulse them in a food processor for the best texture. And don’t skimp on the butter! It’s what holds the crust together and gives it that delicious flavor. For the filling, as I said before, room temperature cream cheese is non-negotiable. It’s the key to a smooth, lump-free filling. I usually take mine out of the fridge at least an hour before I start baking. Don’t overmix the filling! Overmixing can incorporate too much air and cause the cheesecakes to crack during baking. Mix until just combined. When you are baking, keep a close eye on them! Baking times can vary depending on your oven. You want them to be golden brown around the edges but still a little soft in the middle. They will continue to set as they cool. If you want to get creative, try adding a swirl of fruit preserves or chocolate sauce to the top of each mini cheesecake before baking. It adds a pop of color and flavor. Or you can mix in some flavor extracts like lemon, vanilla, or almond extract. I always have to make sure to add vanilla to mine, it is like a tradition at this point. If you are experimenting, consider making a batch of plain so you can try and see what would work best.
Storing and Reheating Tips
Want to make these ahead of time? No problem! These mini cheesecakes store beautifully. If you’re planning to serve them within a day or two, you can store them in an airtight container in the refrigerator. They’ll stay fresh for up to 3 days. For longer storage, you can freeze them! Wrap each cheesecake individually in plastic wrap and then place them in a freezer-safe bag or container. They’ll keep in the freezer for up to 2 months. When you’re ready to serve them, simply thaw them in the refrigerator overnight. If you’re freezing them, it’s best to wait to add the toppings until after they’ve thawed. This will prevent the toppings from getting soggy. You really don’t need to reheat them as they taste delicious when served cold right from the fridge. Also, the glaze/topping might melt if reheated. It’s important to store them properly to maintain their texture and flavor. I’ve found that storing them in a single layer prevents them from getting smushed. If you want to stack them, place a piece of parchment paper between each layer.
Frequently Asked Questions
Final Thoughts
So there you have it – my go-to recipe for irresistible mini cheesecakes! I truly believe that everyone should have this recipe in their baking arsenal. They’re easy to make, incredibly delicious, and always a crowd-pleaser. I hope you’ll give them a try! And if you do, be sure to let me know how they turn out. I love hearing about your baking adventures! If you enjoyed this recipe, you might also like my recipe for lemon bars – another one of my favorite easy desserts. I can’t wait to hear how yours turns out! Happy baking!
mini cheesecakes
Ingredients
Main Ingredients
- 16 oz cream cheese
- 0.75 cup granulated sugar
- 2 large eggs
- 1 teaspoon vanilla extract
- 1 cup graham cracker crumbs
- 0.5 cup melted butter
Instructions
Preparation Steps
- Preheat oven to 350°F (175°C).
- Combine graham cracker crumbs and melted butter; press into the bottom of a mini muffin tin.
- Beat cream cheese and sugar until smooth. Beat in eggs one at a time, then stir in vanilla.
- Pour mixture into prepared crusts.
- Bake for 25 minutes, or until set.
- Cool completely before serving.