
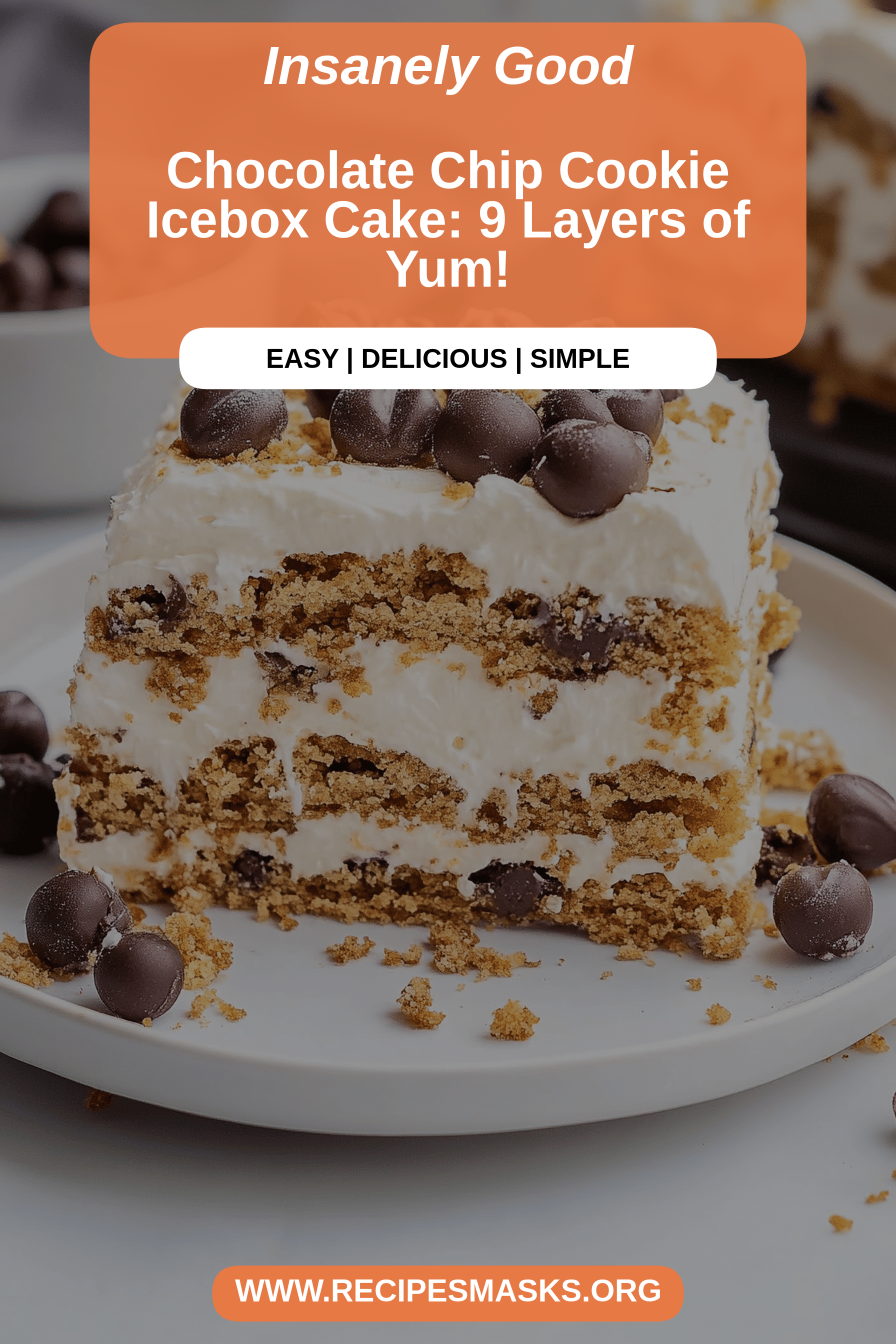
Okay, friends, let’s talk about the ultimate lazy-day dessert that tastes like you spent hours slaving away in the kitchen: icebox cake. Seriously, this is the dessert I pull out when I need something impressive but don’t want to turn on the oven. It’s like a chocolate eclair had a baby with a cheesecake, but, like, way easier to make. I always think of my grandma when I make this; it was her go-to dessert for summer picnics, and now it’s a staple in my own family! This no-bake chocolate icebox Cake Recipe will become your new favorite treat. I promise, you won’t regret trying this one out!
What is Icebox cake?
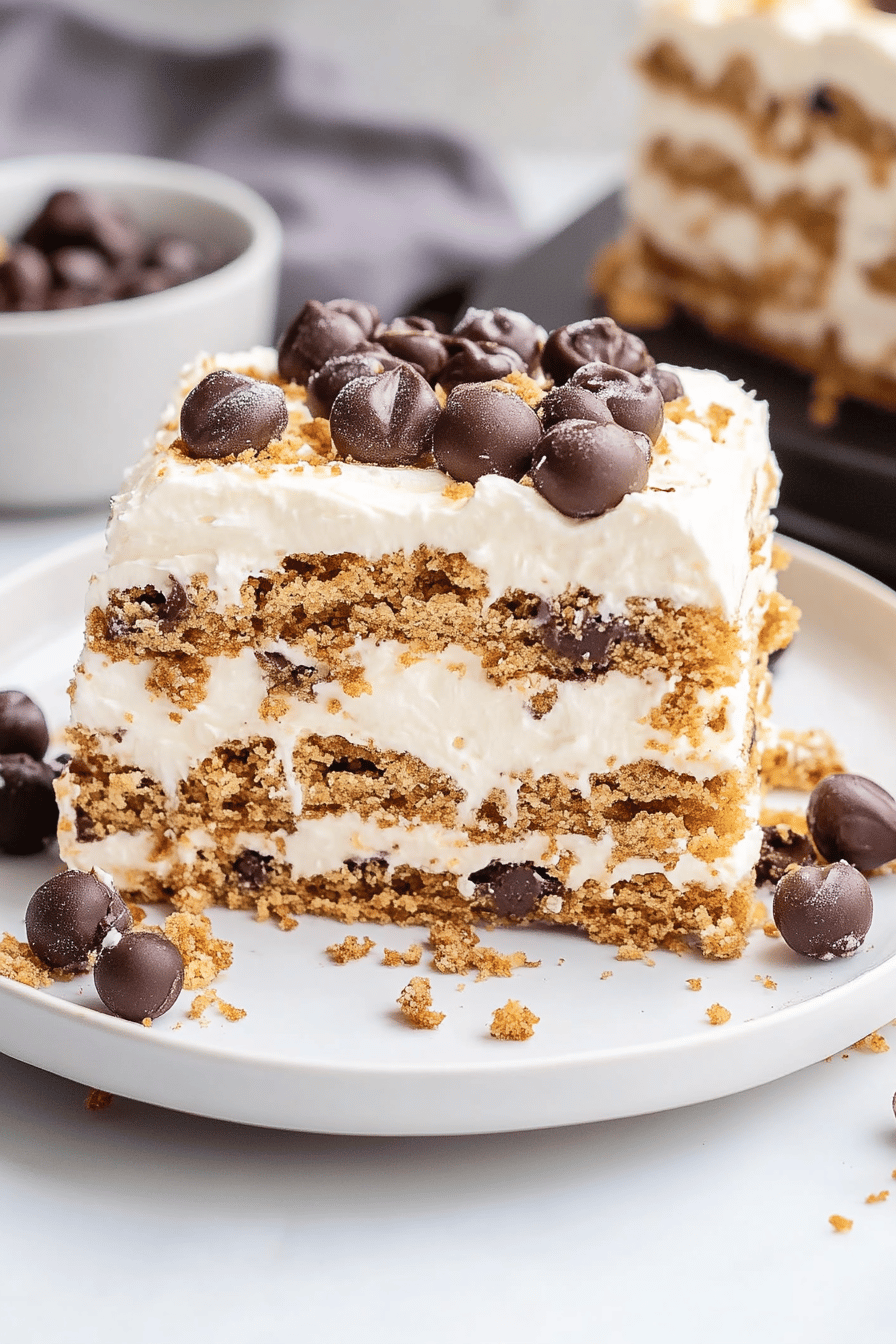
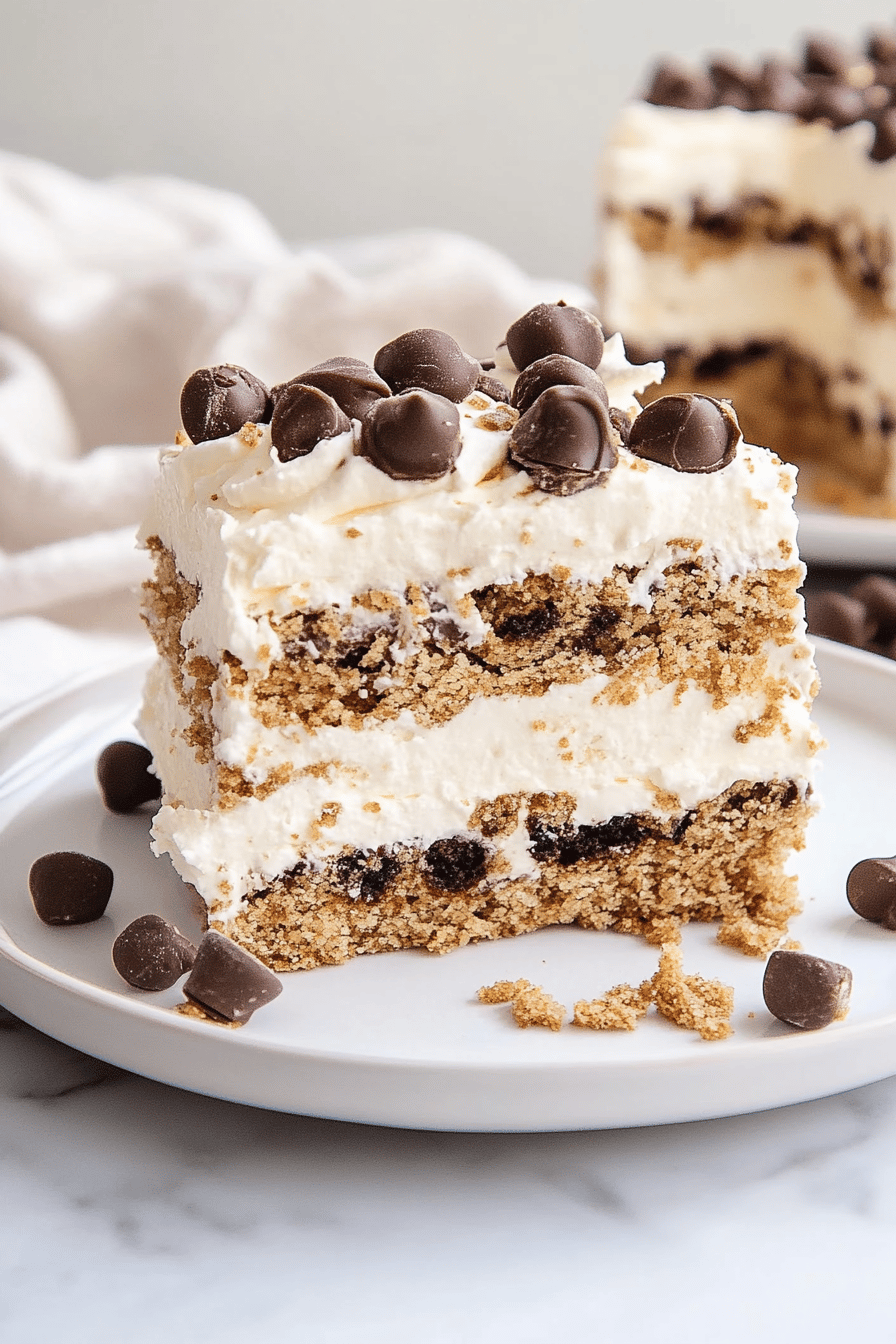
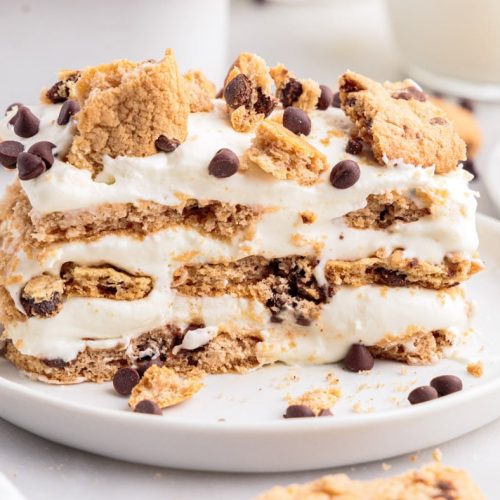
So, what exactly IS an icebox cake? Think of it as a deconstructed cake that gets assembled and chilled in the refrigerator (or, back in the day, an “icebox,” hence the name!). It’s essentially layers of cookies or crackers (usually chocolate wafers) and whipped cream (or a creamy pudding-like filling). As it sits in the fridge, the cookies soften and meld with the cream, creating a texture that’s just divine. It’s the perfect dessert for a hot day because it’s so refreshing and requires absolutely zero baking. It’s essentially an easy dessert dream!
Why you’ll love this recipe?
Okay, let me tell you why this recipe is a game-changer. First off, the flavor is insane. The rich chocolate wafers combined with the light and airy whipped cream…it’s a match made in dessert heaven. And the best part? It’s ridiculously easy to make. Even my kids can help with this one. No oven required, minimal ingredients, and maximum flavor. That’s my kind of recipe! I love that I can throw it together in about 15 minutes and let the fridge do all the work. Plus, it’s surprisingly budget-friendly. Chocolate wafers and heavy cream are staples in my pantry, so it’s always a winner. What I love most about this is its versatility. You can customize it with different flavors, toppings, and variations. I’ve even made it with Peanut Butter cups before (don’t tell my grandma!).
How do you make a no bake chocolate icebox cake?
Quick Overview
Making this icebox cake is as simple as layering cookies and cream. Seriously! You’ll start by whipping up a delicious chocolate-infused whipped cream. Then, you’ll layer the cream with chocolate wafers in a dish. Pop it in the fridge for a few hours (or overnight, if you’re patient), and boom! You’ve got a decadent dessert that tastes like you spent hours on it. This method is especially great because the layers soften up beautifully, creating a cake-like texture without any baking. It’s almost too good to be true!
Ingredients
For the Cream:
* 2 cups heavy cream (make sure it’s cold, it whips better!)
* 12 cup powdered sugar (for sweetness, of course!)
* ¼ cup unsweetened cocoa powder (good quality cocoa powder makes all the difference)
* 1 teaspoon vanilla extract (pure vanilla is always the best)
For the Cake:
* 1 (9-ounce) package chocolate wafers (Nabisco Famous Chocolate Wafer is my go-to)
* 14 cup milk (for dipping the wafers – optional, but helps soften them faster)
What are the steps to
Step 1: Prep Your Dish
What is a good 9×13 pan? I like to use a glass trifle bowl so you can see all the beautiful layers, but anything will work! No need to grease or spray anything – this is a no-fuss recipe!
Step 2: Whip the Cream
In a large bowl, beat the heavy cream with an electric mixer until soft peaks form. What is the best way to do this? Add powdered sugar, cocoa powder, and vanilla extract to the blender. Mix well. Continue beating until stiff peaks form. Be careful not to overwhip, or you’ll end up with butter! I always do a taste test at this point, just to make sure it’s perfect, you know?
Step 3: Dip the Wafers (Optional)
This step is optional, but I find it helps the wafers soften up a bit quicker. Dip each chocolate wafer in milk for just a second or two. You don’t want them to get soggy, just slightly moistened. If you’re short on time, you can skip this step – the cream will soften them up eventually.
Step 4: Layer It Up!
What’s the fun part? Spread a thin layer of chocolate whipped cream on the bottom of your dish. If you have a wafer, arrange it on top. Continue layering cream and wafers until you’ve used up all the ingredients, ending with a layer of whipped cream. I usually do about 4-5 layers. Make it pretty!
Step 5: Chill Out
Cover the dish with plastic wrap and refrigerate for at least 4 hours or preferably overnight. How do wafers soften and the flavors meld together? What is the hardest part of waiting?
Step 6: Serve & Enjoy
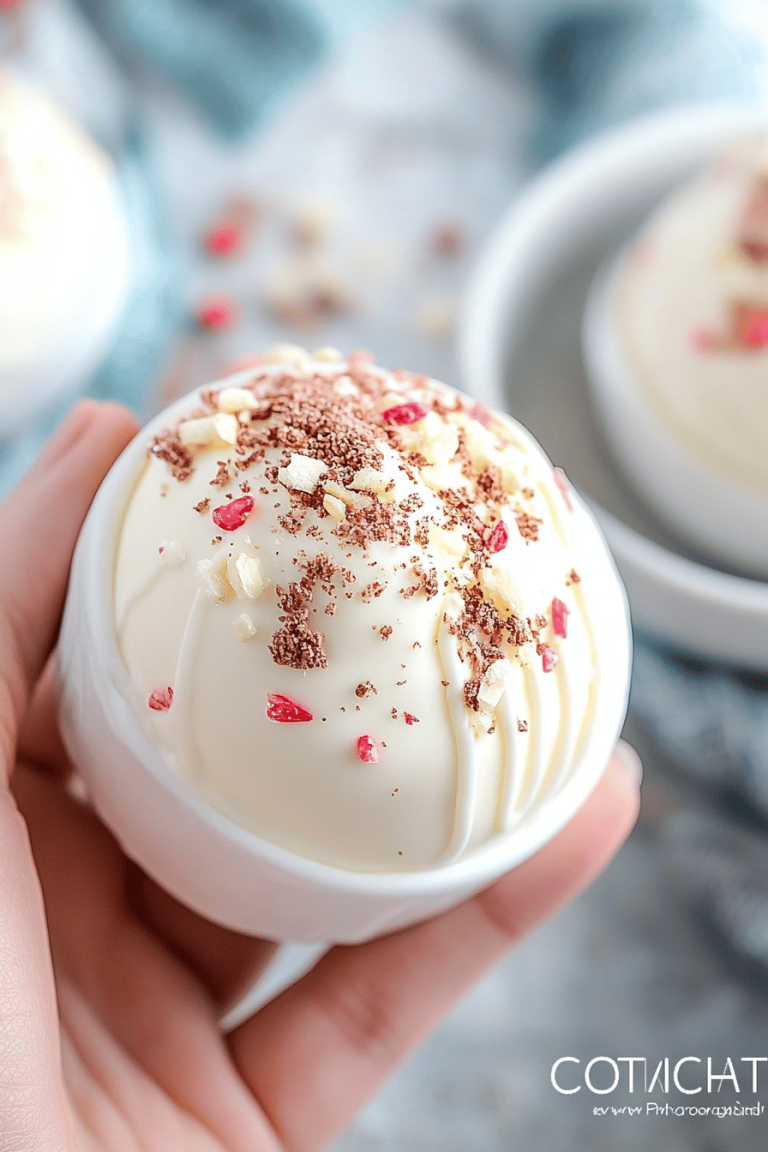
Before serving, you can garnish with extra cocoa powder, chocolate shavings, or fresh berries. What are some good ways to watch your eyes light up when you slice and serve cold?
What is the best way to serve it?
What are some of the best icebox cake recipes? Serving suggestions:
For Breakfast: Okay, maybe not for breakfast. But if you’re having a super indulgent brunch, a small slice alongside a cup of strong coffee is amazing. The bitterness of the coffee balances the sweetness of the cake perfectly.
For Brunch: This is a showstopper at brunch! Serve it with a dollop of fresh whipped cream and some sliced strawberries. It looks so elegant and tastes even better.
As Dessert:After dinner, this is the perfect light yet satisfying dessert. I like to serve it with a scoop of vanilla ice cream or whipped up chocolate sauce for extra flavor.
For Cozy Snacks:Sometimes you just need a little something sweet in the afternoon. What is the best icebox Cake Recipe?
My family tradition is to make this every Fourth of July. What are some good ways to serve this with fresh raspberries and blueberries?
Top Tips for Perfecting Your Icebox Cake
How do you make an icebox cake? What are some of the best tips I have learned over the years?
Cream Tips: Make sure your heavy cream is super cold before whipping. This helps it whip up faster and hold its shape better. I even put my bowl and beaters in the freezer for about 15 minutes before whipping the cream.
Wafer Dipping:Don’t over-dip chocolate wafers! You just want to moisten them slightly. If they get too soggy, they’ll fall apart in the cake.
What is the best layer Be generous with the cream! The more cream, the softer and more cake-like the texture will be. I also like to make sure the layers are even so each bite is perfect.
Flavor Boosts:Get creative with your flavors! Add a tablespoon of instant espresso powder to the whipped cream for mocha flavor. Or, try adding a layer of Peanut Butter cups or chopped nuts between the wafers.
Patience is the key to success Resist the urge to dig in before the cake has chilled for at least 4 hours. The longer it chills, the better it tastes. I usually make it the night before I want to serve it.
Chocolate Shavings: Use a vegetable peeler on a chocolate bar to create gorgeous chocolate curls as a topping.
I once tried using low-fat whipped topping instead of heavy cream. It was a disaster! The texture was all wrong, and it didn’t hold its shape. Trust me, stick with the heavy cream!
What are some Storing and Reheating Tips?
How do I make a batch ahead of time?
Room Temperature: I don’t recommend leaving this cake at room temperature for more than 2 hours. The cream will start to melt, and it won’t be as delicious.
Refrigerator Storage: Store the cake covered in the refrigerator for up to 3 days. It actually tastes better the longer it sits, as the flavors meld together even more.
Freezer Instructions: You can freeze this cake for up to 2 months. Wrap it tightly in plastic wrap and then in foil. Thaw it in the refrigerator overnight before serving.
Glaze Timing Advice: I don’t usually glaze this cake, but if you want to add a glaze, do it right before serving. Otherwise, it might get soggy in the refrigerator.
I’ve found that the texture changes slightly after freezing, but it’s still delicious. The main thing is to wrap it well to prevent freezer burn.
Frequently Asked Questions
Final Thoughts
So there you have it – the easiest, most delicious dessert you’ll ever make! This icebox cake is a crowd-pleaser, a time-saver, and a guaranteed hit at any gathering. It’s the perfect way to satisfy your sweet tooth without spending hours in the kitchen. If you enjoyed this recipe, you might also like my chocolate lava cakes or my no-bake cheesecake bars. They’re all easy, delicious, and perfect for any occasion. Happy baking (or, in this case, chilling)! I can’t wait to hear how yours turns out! Be sure to leave a comment below and let me know what you think. And if you try any fun variations, definitely share them – I’m always looking for new ideas!
Icebox Cake
Ingredients
Main Ingredients
- 24 ounces Chocolate sandwich cookies
- 2 cups Heavy cream
- 0.5 cup Powdered sugar
- 1 teaspoon Vanilla extract
Instructions
Preparation Steps
- In a large bowl, beat heavy cream until soft peaks form.
- Gradually add powdered sugar and vanilla extract, beating until stiff peaks form.
- Layer cookies and whipped cream in a 9x13 inch dish, ending with a layer of whipped cream.
- Refrigerate for at least 4 hours, or overnight.

I’ve made this a few times and it’s always a hit—so easy but feels fancy! Definitely my go-to for last-minute guests.