You know those nights when a serious craving hits, and you just need something sweet, decadent, and utterly comforting? For me, that’s precisely when my thoughts drift to these incredible s’mores fudge bars. They’re not just a dessert; they’re a warm hug in bar form, a nostalgic trip back to campfires and childhood laughter, all wrapped up in layers of chocolatey, gooey goodness. Honestly, comparing them to a regular brownie is like comparing a cozy blanket to a crisp sheet – both are nice, but one offers a whole new level of comfort. These s’mores fudge bars manage to capture that magical s’mores flavor – the toasted marshmallow, the rich chocolate, the crumbly graham cracker – but in a portable, easier-to-manage bar that you can whip up right in your own kitchen. My kids absolutely adore these, and when they’re hovering around the oven, sniffing the air, I know I’ve made the right choice. They’re the perfect answer to any sweet tooth emergency, and the best part? They’re surprisingly simple to make, even on a weeknight when you’re feeling a bit rushed.
What are S’mores fudge bars?
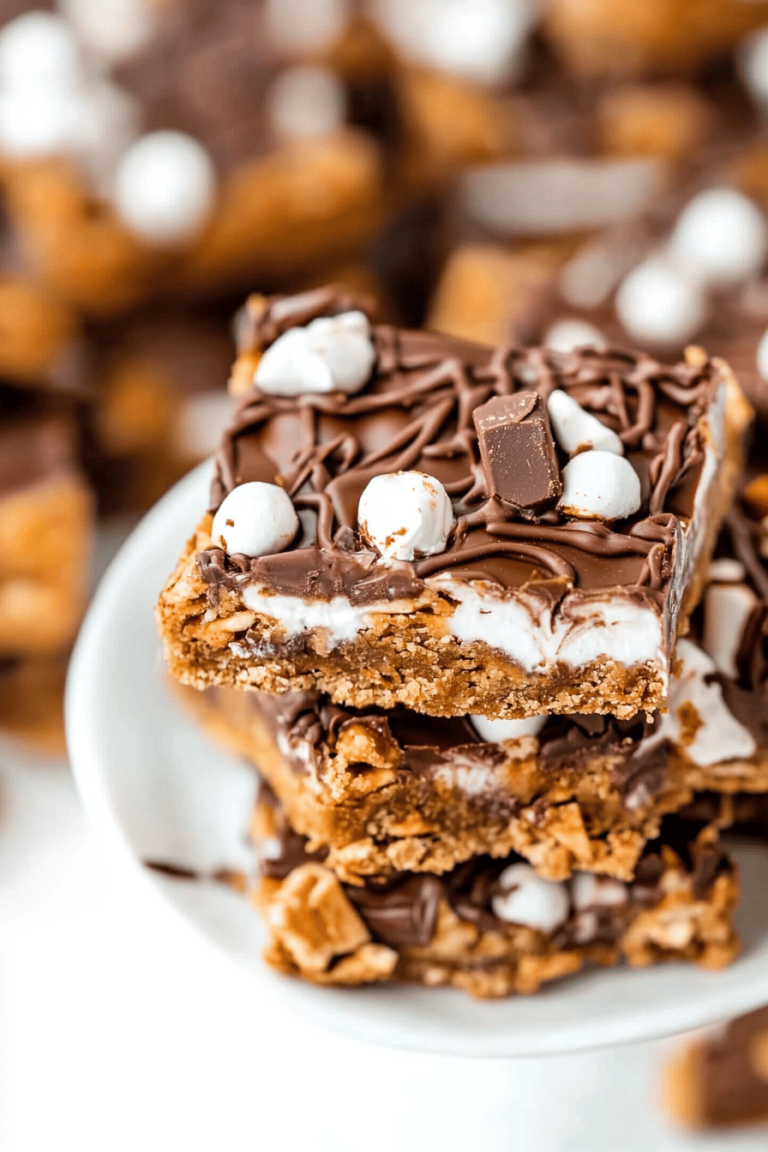
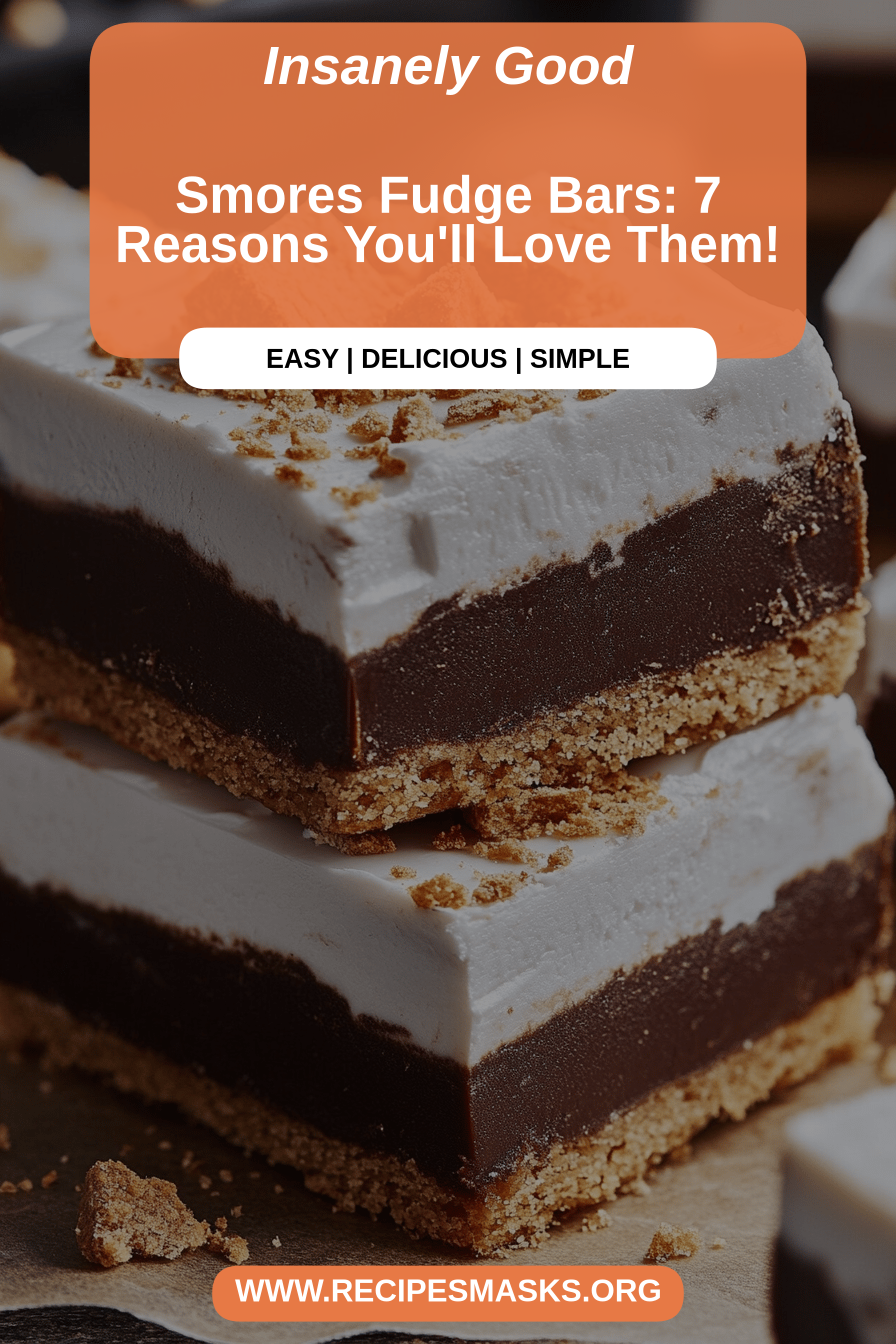
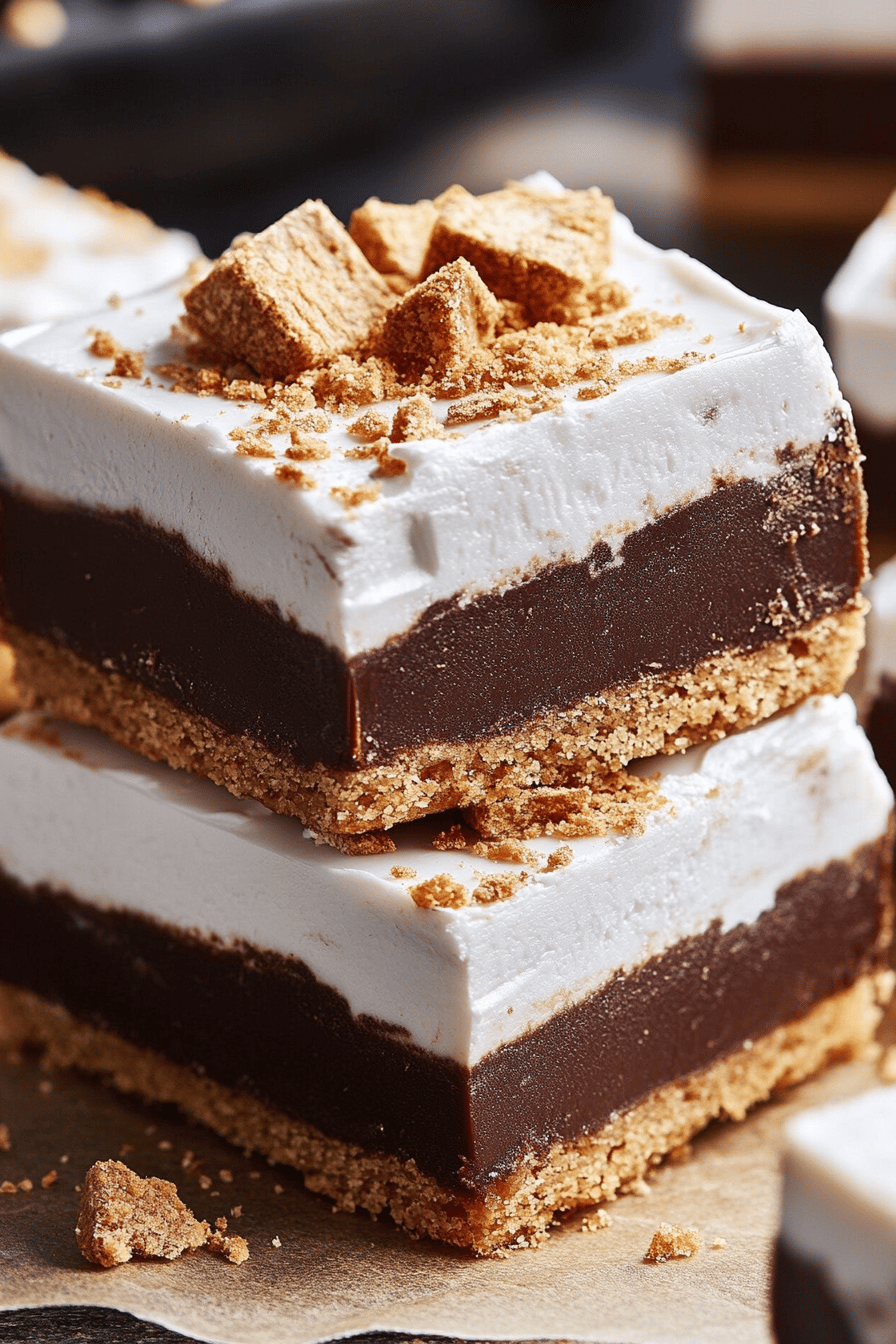
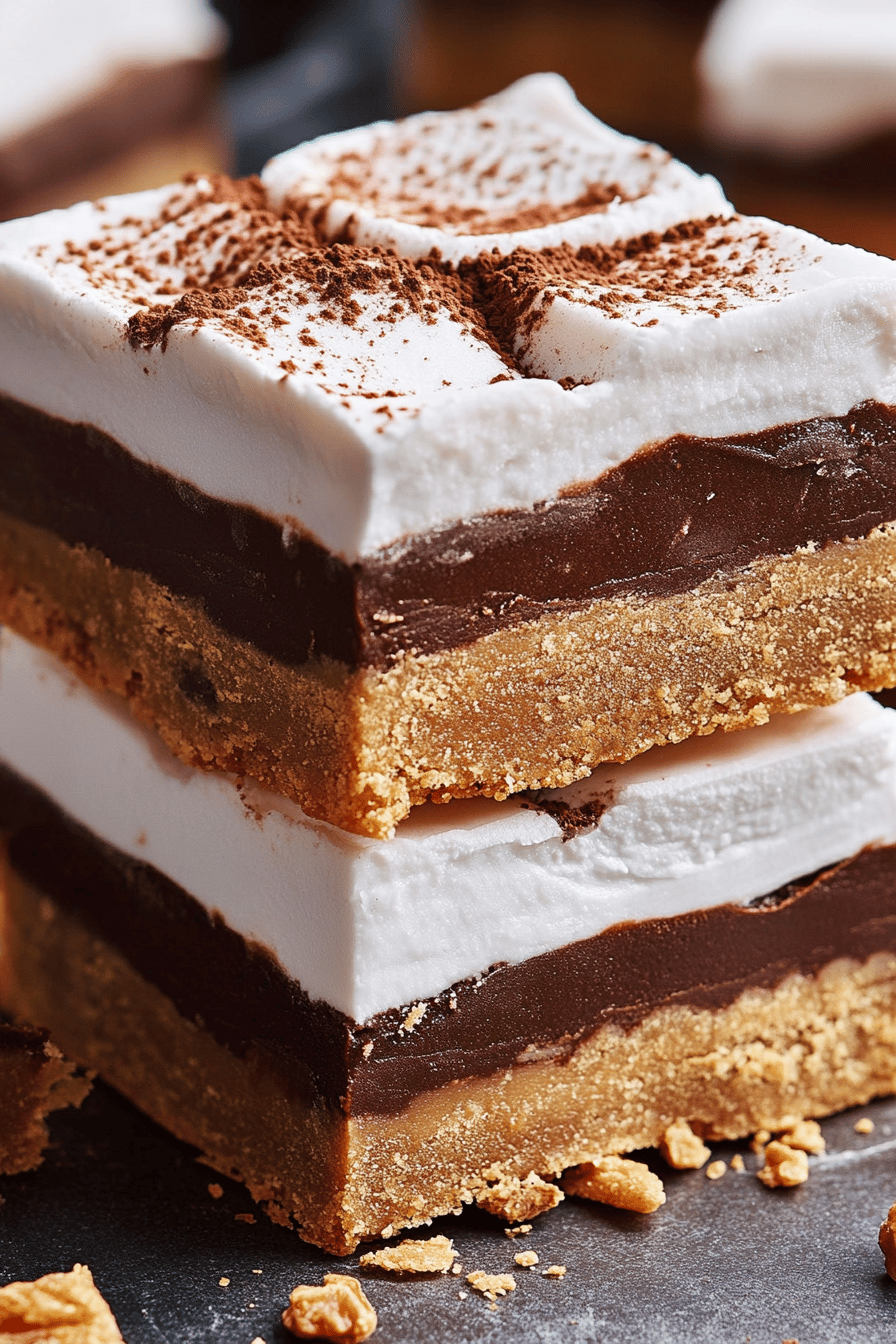
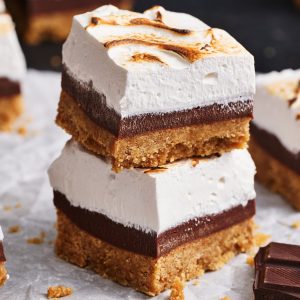
So, what exactly are these magical little squares we’re talking about? Think of them as the ultimate mashup of your favorite campfire treat and a ridiculously rich fudge brownie. It’s essentially a dense, fudgy chocolate base, layered with a gooey marshmallow mixture, and often topped with a sprinkle of crushed graham crackers or even chocolate chips. The “s’mores” part comes from the distinct flavor profile we’re aiming for: that irresistible blend of toasted marshmallow, melted chocolate, and the subtle, buttery crunch of graham crackers. It’s not a cake, it’s not a cookie, it’s not quite a brownie, though it shares some DNA with all of them. The beauty of these s’mores fudge bars is that they deliver all the flavor of a traditional s’more without the sticky fingers and the need for an open flame. They’re pure, unadulterated indulgence, and honestly, I think they might even be better than the real thing because they’re so consistently delicious and easy to eat.
Why you’ll love this recipe?
Why do I love s’mores fudge bars?flavor is out of this world. It’s that classic s’mores combination, intensified and perfected into a rich, chocolatey, marshmallowy dream. It hits all the right notes – sweet, a little bit salty from the graham crackers, and deeply chocolatey. Then there’s the simplicity. Despite how decadent they taste, these bars are surprisingly straightforward to put together. You don’t need any fancy techniques or a culinary degree. It’s mostly just mixing, layering, and baking. I’ve found that they’re a lifesaver on busy nights when the family is begging for a sweet treat, and I don’t have hours to spare. Plus, they are incredibly cost-effective. Most of the ingredients are pantry staples you likely already have on hand, making this an affordable way to satisfy a serious dessert craving. Andversatility. While the classic s’mores combination is fantastic, you can totally play around with it! Add some chopped nuts for crunch, swirl in some caramel, or even use different types of chocolate. I’ve even made them into a “deconstructed” version for a party, serving the fudge base with marshmallow fluff and graham cracker crumbs on the side – people loved it! While I enjoy other chocolatey treats like my classic chocolate chip cookies or my super fudgy brownies, these s’mores fudge bars hold a special place because they offer that unique, nostalgic flavor with such impressive ease. They truly are a winner for any occasion, or no occasion at all!
How to Make S’mores Fudge Bars
Quick Overview
Making these s’mores fudge bars is a wonderfully simple process that results in a truly impressive dessert. You’ll start by preparing a rich, chocolatey base, then you’ll add a luscious marshmallow layer, and finally, bake it all until it’s perfectly set and gooey. The whole thing comes together relatively quickly, making it ideal for those spontaneous sweet cravings or when you need to whip up a dessert for a last-minute gathering. What I love most about this method is how it guarantees that perfect balance of textures and flavors in every bite – you get that dense fudge, the pillowy marshmallow, and the hint of graham cracker. It’s foolproof and always a crowd-pleaser!
Ingredients
For the Main Batter:
Here’s what you’ll need to create that amazing fudgy foundation. I always try to use good quality unsweetened cocoa powder because it really makes a difference in the depth of flavor. And for the chocolate chips, semi-sweet is my go-to, but feel free to use dark chocolate if you prefer a richer taste.
- 1 ½ cups all-purpose flour
- ¾ cup unsweetened cocoa powder
- 1 teaspoon baking soda
- ½ teaspoon salt
- 1 cup (2 sticks) unsalted butter, softened
- 1 ½ cups granulated sugar
- 2 large eggs
- 1 teaspoon vanilla extract
- ½ cup milk (whole milk works best for richness, but any will do)
- 1 cup semi-sweet chocolate chips
For the Filling:
This is where the magic really happens, transforming the batter into that irresistible s’mores experience. Sometimes I’ll even add a few extra marshmallows right on top before it goes in the oven for an extra toasty effect.
- 1 bag (10 oz) large marshmallows, divided
- ¼ cup heavy cream (optional, but makes it extra gooey)
For the Glaze:
A simple glaze takes these bars to the next level, adding a touch more sweetness and a beautiful finish. If you’re in a hurry, you can totally skip this, but I highly recommend it!
- 1 cup powdered sugar
- 2-3 tablespoons milk
- ½ teaspoon vanilla extract
Step-by-Step Instructions
Step 1: Preheat & Prep Pan
First things first, get your oven preheated to 350°F (175°C). I like to line a 9×13 inch baking pan with parchment paper, leaving some overhang on the sides. This makes lifting the bars out so much easier later on, trust me! Lightly grease the parchment paper and the exposed parts of the pan. This ensures nothing sticks and you get those beautiful, clean edges.
Step 2: Mix Dry Ingredients
In a medium bowl, whisk together the flour, unsweetened cocoa powder, baking soda, and salt. Give it a good whisk until everything is well combined. This step is important because it distributes the leavening agent and cocoa evenly, which helps prevent dense pockets and ensures a consistent texture throughout your s’mores fudge bars. You want it to look like a uniform, chocolaty sand.
Step 3: Mix Wet Ingredients
In a large bowl, cream together the softened butter and granulated sugar until light and fluffy. This usually takes about 2-3 minutes with an electric mixer. Then, beat in the eggs one at a time, followed by the vanilla extract. Make sure each egg is fully incorporated before adding the next. Scrape down the sides of the bowl as needed. In a separate small bowl or measuring cup, combine the milk.
Step 4: Combine
Now, it’s time to bring it all together. Gradually add the dry ingredients to the wet ingredients, alternating with the milk, beginning and ending with the dry ingredients. Mix on low speed just until combined. Be careful not to overmix here! Overmixing can develop the gluten in the flour too much, which can lead to tougher bars. Once it’s just combined, stir in the chocolate chips.
Step 5: Prepare Filling
This is where we get that gooey marshmallow goodness! Take about ¾ of your marshmallows and place them in a microwave-safe bowl. If you’re using the heavy cream, stir it in now. Microwave on high for 30-60 seconds, or until the marshmallows are puffed and melted. Stir until smooth and creamy. Be careful, it will be hot!
Step 6: Layer & Swirl
Spread about half of the chocolate batter evenly into your prepared baking pan. Then, carefully dollop the melted marshmallow mixture over the batter. Don’t worry about making it perfect; you can even it out a bit with a spatula, but some natural swirls are nice. Top the marshmallow layer with the remaining chocolate batter, spreading it gently to cover as much of the marshmallow as possible. If you have any remaining whole marshmallows, you can strategically place them on top now for an extra toasty finish. You can also swirl a bit of the remaining marshmallow into the top layer for a marbled effect.
Step 7: Bake
Bake in your preheated oven for 30-35 minutes, or until a toothpick inserted into the center comes out with moist crumbs attached, not wet batter. The edges should look set, and the top might be slightly golden. Keep an eye on them, as ovens can vary! I’ve learned that overbaking is the enemy of gooeyness, so err on the side of slightly underbaked if you prefer a really fudgy texture.
Step 8: Cool & Glaze
This is probably the hardest part – waiting for them to cool! Let the bars cool completely in the pan on a wire rack. This is crucial for them to set properly. Once cooled, you can prepare the glaze by whisking together the powdered sugar, milk, and vanilla extract until smooth. Drizzle the glaze over the cooled bars. Let the glaze set for about 15-20 minutes before slicing.
Step 9: Slice & Serve
Once the glaze has set, use the parchment paper overhang to lift the entire slab out of the pan. Place it on a cutting board and slice into squares or bars. I find a sharp knife dipped in hot water and wiped dry works best for clean cuts, especially with the gooey filling. Enjoy your incredible s’mores fudge bars!
What to Serve It With
These s’mores fudge bars are pretty spectacular all on their own, but they also pair beautifully with a variety of drinks and other treats, depending on the occasion. For a cozy morning treat, especially on a weekend, I love to serve a warm bar with a strong cup of coffee. The bitterness of the coffee really balances the sweetness of the bars, and the warmth is just so comforting. On a more elegant brunch spread, I might cut them into smaller, bite-sized portions and arrange them on a tiered stand with fresh berries and a dollop of whipped cream. They add a fun, slightly whimsical element to brunch that everyone enjoys. As a classic dessert, they’re a dream after a hearty meal. I often serve them with a scoop of vanilla bean ice cream – the contrast of the warm, gooey bar and cold ice cream is pure bliss. You could also pair them with a glass of milk (for kids and the young at heart!) or even a rich dessert wine or stout for the adults. For casual movie nights or afternoon snacks, they’re perfect just as they are, perhaps with a tall glass of cold milk or a steaming mug of hot chocolate. My family tradition is to have them for our “dessert movie night” on Fridays, and they disappear in minutes!
Top Tips for Perfecting Your S’mores Fudge Bars
I’ve made these s’mores fudge bars more times than I can count, and over the years, I’ve picked up a few tricks that I think really elevate them from good to absolutely phenomenal. First, for the chocolate batter, don’t overmix. Seriously, this is the golden rule. Once the dry and wet ingredients are just combined, stop mixing. A few streaks of flour are okay; they’ll incorporate during baking. Overmixing develops the gluten, which can make your bars tough instead of wonderfully tender and fudgy. When you’re preparing the marshmallow filling, use fresh marshmallows. Stale marshmallows just don’t melt as smoothly or as easily. If you want an extra toasty marshmallow flavor without the campfire, I sometimes pop the finished bars under the broiler for just 30-60 seconds, watching them *very* carefully until they’re lightly golden. It adds another layer of deliciousness! For swirl customization, after you’ve spread the second layer of batter, you can use a toothpick or a skewer to gently swirl in some of the remaining marshmallow or even some extra chocolate chips. Don’t overdo it, though; you still want distinct layers. Regarding ingredient swaps, while this recipe is fantastic as is, I’ve experimented a bit. For a gluten-free version, I’ve had success using a good quality 1-to-1 gluten-free baking flour blend, and it holds up really well. For a dairy-free approach, you can use vegan butter and a dairy-free milk alternative, and ensure your chocolate chips are dairy-free. The outcome is slightly different but still delicious! For baking tips, pay attention to your oven. If you know your oven runs hot, reduce the temperature slightly or shorten the baking time. A toothpick test is your best friend here; moist crumbs are good, but wet batter means they need more time. And for the glaze, consistency is key. If it’s too thick, add a tiny bit more milk; if it’s too thin, whisk in a bit more powdered sugar. I like my glaze to be thick enough to drizzle but not so thin that it all runs off. You can also experiment with adding a pinch of sea salt to the glaze for a Salted Caramel-like effect, or a tiny bit of espresso powder to deepen the chocolate flavor!
Storing and Reheating Tips
One of the best things about these s’mores fudge bars is that they keep remarkably well, making them perfect for making ahead of time. For room temperature storage, once the glaze has fully set, I like to cover the pan tightly with plastic wrap or transfer the bars to an airtight container. They’ll stay fresh and wonderfully gooey for about 2-3 days. If you’ve got a warm kitchen or want them to last a bit longer, refrigerator storage is your best bet. Keep them in an airtight container in the fridge for up to a week. They firm up a bit in the fridge, which some people actually prefer! To reheat, you can gently warm them in the microwave for about 10-20 seconds to bring back that gooeyness, or pop them in a low oven for a few minutes. If you’re planning for a future craving, these bars freeze beautifully. For freezer instructions, I wrap individual bars tightly in plastic wrap, then place them in a freezer-safe bag or container. They can stay frozen for up to 2-3 months. To thaw, simply remove them from the freezer and let them come to room temperature on the counter, or thaw them overnight in the refrigerator. For the glaze timing, it’s usually best to apply the glaze after the bars have cooled and just before serving or storing them at room temperature. If you’re freezing them, you can apply the glaze after they’ve thawed, or skip the glaze altogether before freezing and add it once they’re thawed and ready to eat. My kids often ask for a frozen one straight from the freezer in the summer – it’s like a fudgy ice cream bar!
Frequently Asked Questions
Final Thoughts
There you have it – my ultimate guide to creating the most incredible s’mores fudge bars. I truly believe this recipe is a winner because it captures that beloved campfire flavor in a way that’s accessible, easy, and utterly delightful for any occasion. Whether you’re looking for a crowd-pleasing dessert for a party, a special treat for your family, or just a way to satisfy a late-night craving, these bars deliver every single time. They’re a testament to how simple ingredients can come together to create something truly magical. If you love these s’mores fudge bars, you might also enjoy my recipe for no-bake chocolate peanut butter bars or my classic gooey butter cake – they offer similar levels of indulgence and comfort! I can’t wait for you to try these out and experience the joy they bring. Please let me know in the comments below how yours turned out, and if you discovered any fun variations! Happy baking, and happy s’mores-ing!
Smores Fudge Bars
Ingredients
Graham Cracker Crust
- 1.5 cups graham cracker crumbs
- 0.25 cups granulated sugar
- 0.5 cup unsalted butter, melted
Chocolate Fudge Layer
- 1 cup unsalted butter
- 1.5 cups granulated sugar
- 0.75 cup unsweetened cocoa powder
- 0.5 cup evaporated milk
- 1 teaspoon vanilla extract
- 1 cup chocolate chips semi-sweet
Topping
- 2 cups mini marshmallows
Instructions
Preparation Steps
- Preheat oven to 350°F (175°C). Line an 8x8 inch baking pan with parchment paper, leaving an overhang on the sides.
- In a medium bowl, combine graham cracker crumbs and granulated sugar. Pour in melted butter and stir until well combined. Press the mixture evenly into the bottom of the prepared baking pan.
- Bake the crust for 8-10 minutes, until lightly golden. Remove from oven and let cool slightly.
- While the crust bakes, prepare the fudge layer. In a medium saucepan, combine butter, sugar, cocoa powder, and evaporated milk. Cook over medium heat, stirring constantly, until the mixture comes to a boil and thickens slightly, about 5-7 minutes.
- Remove from heat and stir in vanilla extract and chocolate chips until smooth and melted.
- Pour the fudge mixture over the prepared graham cracker crust and spread evenly.
- Sprinkle the mini marshmallows evenly over the fudge layer.
- Bake for an additional 10-15 minutes, or until the marshmallows are lightly toasted and puffed. Watch carefully to prevent burning.
- Let the bars cool completely in the pan at room temperature, then refrigerate for at least 2 hours to set. This will make them easier to cut.
- Lift the bars out of the pan using the parchment paper overhang. Cut into squares and serve.