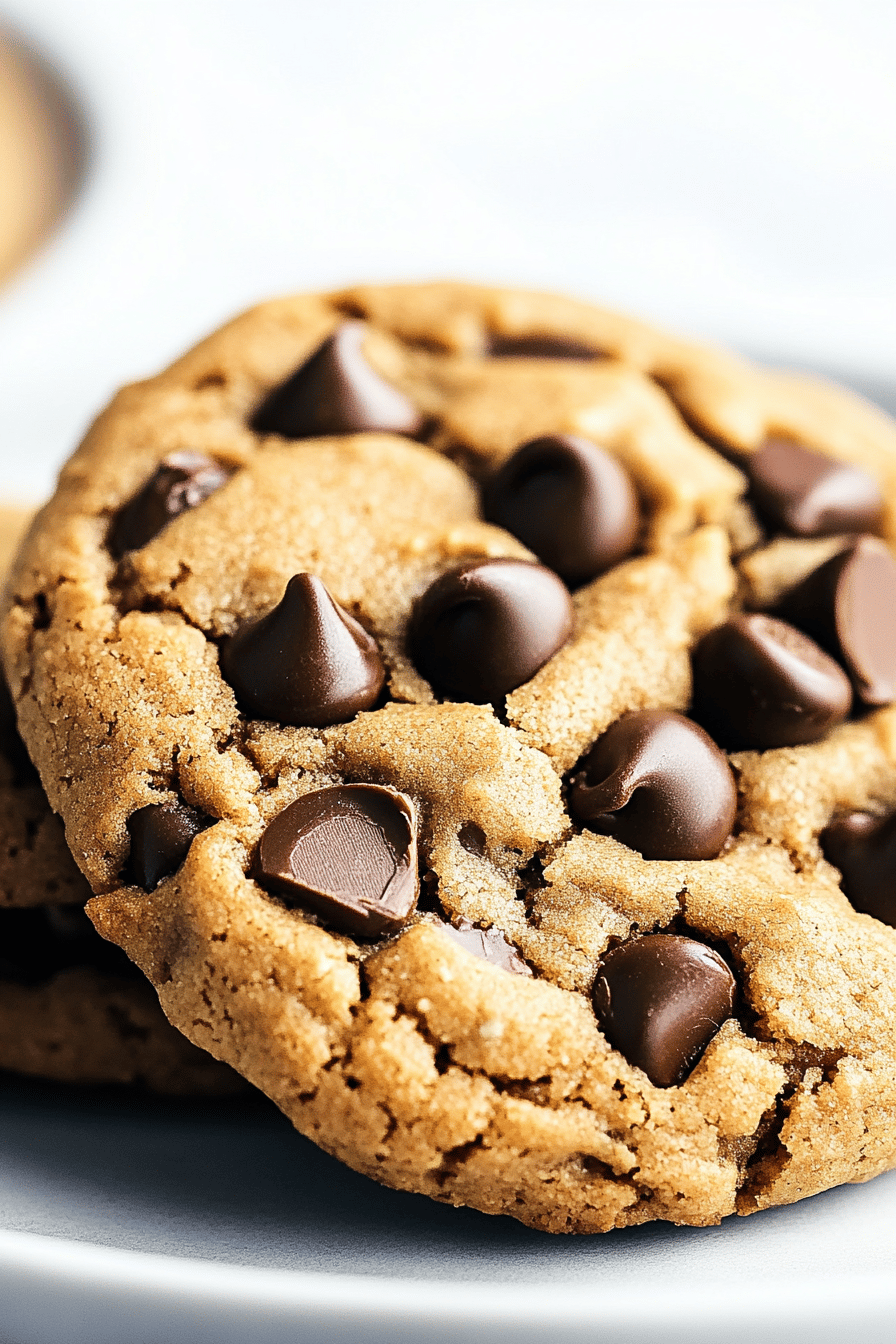
There are some smells that just instantly transport you back to your childhood kitchen, aren’t there? For me, it’s the warm, inviting aroma of peanut butter and melting chocolate, usually signifying that a batch of my absolute favorite peanut butter chocolate chip cookies is fresh out of the oven. These aren’t just any cookies; they’re the kind that have that perfect balance of chewy and slightly crispy edges, a rich peanut butter flavor that truly shines, and generous pockets of melty chocolate. I’ve tried so many recipes over the years, searching for that elusive perfect bite, and honestly, this one is it. It’s the kind of cookie that makes everyone happy, from my pickiest eater to my most discerning friends. They’re like a warm hug in cookie form, and I just can’t get enough. If you’ve ever craved a classic, comforting treat that’s surprisingly simple to whip up, you’re in the right place.
What is peanut butter chocolate chip cookie?
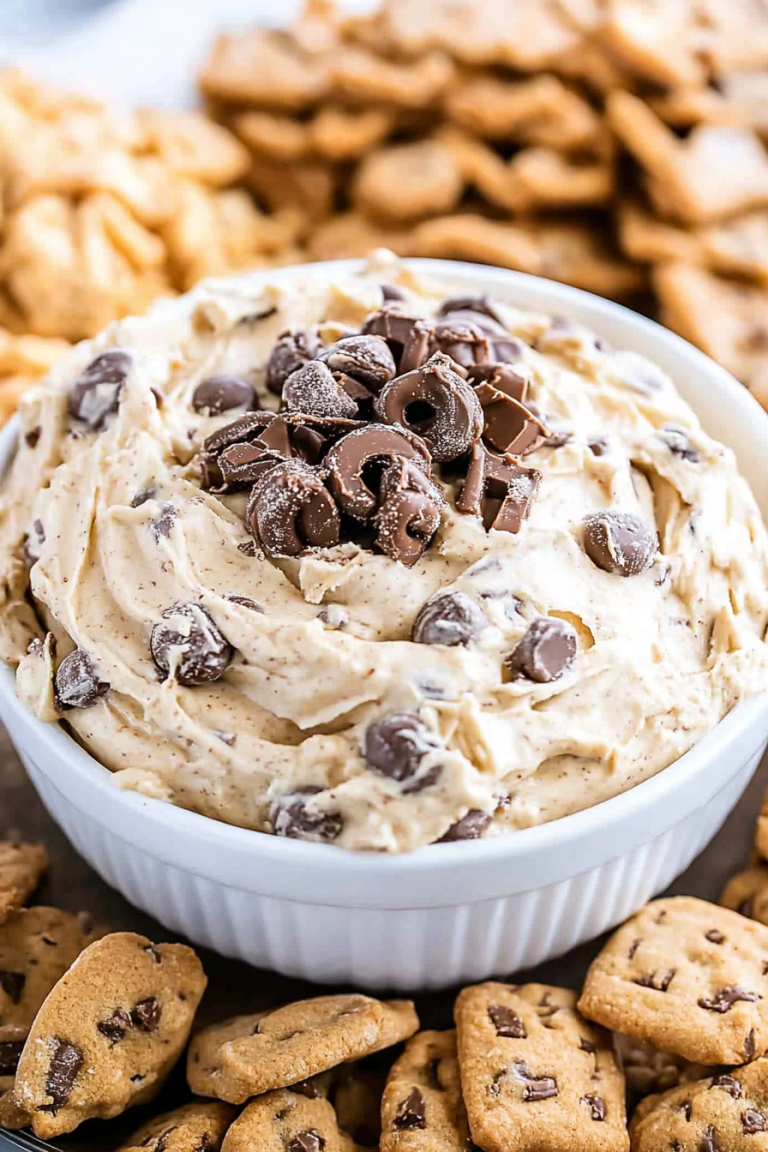
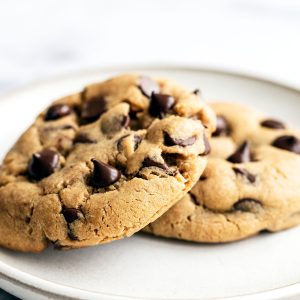
So, what exactly are peanut butter chocolate chip cookies? At their heart, they’re a classic dessert that takes two beloved flavors – peanut butter and chocolate – and combines them into one irresistible package. Think of it as the ultimate comfort food mashup. The base is a tender, buttery cookie dough infused with creamy peanut butter, giving it that distinct nutty flavor and a wonderful chewiness. Then, we generously stud that dough with rich, semi-sweet chocolate chips that melt into gooey pockets as they bake. It’s a concept that’s been around forever because, well, it just works! It’s the quintessential cookie you’ll find at bake sales, parties, or just as a simple treat to brighten someone’s day. My version leans into that classic flavor profile but with a few little tweaks that I think make them truly special.
Why you’ll love this recipe?
Honestly, there are so many reasons I keep coming back to this particular Peanut Butter chocolate chip cookie recipe, and I just know you’ll fall in love with it too. First and foremost, the flavor is just out of this world. It’s got that deep, roasted peanut butter taste that isn’t masked by too much sugar, and the chocolate chips are perfectly distributed, so you get that satisfying chocolatey burst in almost every bite. But it’s not just about the taste! What I really appreciate is how incredibly simple it is. Even if you’re not a seasoned baker, you can totally nail these. The ingredients are all pantry staples, and the steps are straightforward, making it a lifesaver on busy afternoons when a craving hits. They’re also surprisingly cost-effective to make, which is always a bonus. Plus, they are incredibly versatile. You can eat them warm from the oven, or let them cool completely – both are divine. I’ve also found that they pair beautifully with a cold glass of milk, a hot cup of coffee, or even a scoop of vanilla ice cream if you’re feeling decadent. Compared to some other cookies that can be finicky or require special ingredients, these are just foolproof. They’re my go-to when I need a guaranteed crowd-pleaser, and they always disappear faster than I can bake them!
How do you make peanut butter chocolate chip cookies?
Quick Overview
How do you make Peanut Butter chocolate chip cookies? You’ll essentially cream together your butter, peanut butter and sugars, then add in your eggs and vanilla. If you’re a vegan, you can substitute any of the above ingredients for your own. What are the dry ingredients for baking? What’s the best part about folding in chocolate chips? How do I make dough for a pizza? Is there a signature crackly-chewy texture? Is it a no-fuss process that delivers maximum deliciousness, making it perfect for beginners and experts alike? I am a professional baker.
Ingredients
For the Main Batter:
1 cup (2 sticks or 226g) unsalted butter, softened. It’s important that it is softened, not melted, for the best texture.
1 cup (280g) creamy Peanut Butter. I prefer a smooth, natural peanut butter, but your favorite brand works!
3/4 cup (150g) granulated sugar. This helps with crisp edges.
3/4 cup (165g) packed light brown sugar. This is key for that chewy center.
Is it safe to cook 2 large eggs at room temperature?
2 teaspoons pure vanilla extract. Don’t skimp on the good stuff here!
2 1/2 cups (315g) all-purpose flour. Spooned and leveled, not scooped.
1 teaspoon baking soda. This gives them their lift.
1/2 teaspoon salt. Balances the sweetness and enhances flavors.
For the Filling:
While these cookies are fantastic on their own, for an extra decadent touch, you can add a simple swirl. For this, you’ll need about 1/2 cup of your favorite chocolate ganache or even just a dollop of extra peanut butter. For a ganache, gently warm 4 ounces of semi-sweet chocolate chips with 1/4 cup of heavy cream until smooth. Let it cool slightly before using.
For the Glaze:
This is totally optional but adds a lovely finish. You’ll need 1/2 cup powdered sugar, 1-2 tablespoons milk (or a bit of that leftover ganache!), and a tiny splash of vanilla extract. Whisk until smooth and drizzly.
How do I follow step
Step 1: Preheat & Prep Pan
First things first, let’s get your oven ready. Preheat it to 375°F (190°C). While the oven heats up, line your baking sheets with parchment paper. This is a trick I learned years ago; it prevents sticking and makes cleanup a dream. If you don’t have parchment, you can lightly grease your baking sheets, but parchment is truly the way to go for perfectly shaped cookies.
Step 2: Mix Dry Ingredients
In a medium bowl, whisk together the all-purpose flour, baking soda, and salt. Whisking ensures everything is evenly distributed, which is important for consistent texture and rise in your cookies. Set this aside for now.
Step 3: Mix Wet Ingredients
In a large bowl, or the bowl of your stand mixer fitted with the paddle attachment, cream together the softened butter, peanut butter, granulated sugar, and light brown sugar. Beat on medium speed until the mixture is light and fluffy, about 2-3 minutes. This creaming process incorporates air, which is what makes the cookies tender. Scrape down the sides of the bowl as needed. Add the eggs, one at a time, beating well after each addition. Stir in the vanilla extract. The mixture might look a little curdled at this stage, and that’s perfectly normal.
Step 4: Combine
Gradually add the dry ingredients to the wet ingredients, mixing on low speed just until combined. Be careful not to overmix here! Overmixing can develop the gluten in the flour too much, leading to tough cookies. Stop mixing as soon as you no longer see streaks of flour. The dough will be thick and wonderfully fragrant.
Step 5: Prepare Filling
If you’re adding a filling swirl, now’s the time to get it ready. If you made a ganache, just ensure it’s cooled enough to be handled but still pourable. If you’re using extra peanut butter, have a small spoonful ready.
Step 6: Layer & Swirl
Now for the fun part! I like to scoop rounded tablespoons of the cookie dough onto the prepared baking sheets, leaving about 2 inches between them. If you’re adding a swirl, gently place a small dollop of ganache or peanut butter onto the center of each dough ball. Then, take a toothpick or the tip of a knife and swirl it through the dough and the topping to create a marbled effect. This is where you can get creative with your patterns!
Step 7: Bake
Bake for 9-12 minutes, or until the edges are lightly golden brown and the centers still look slightly soft. They will continue to set up as they cool. My oven tends to run a little hot, so I usually check around the 9-minute mark. If you’re unsure if they’re done, you can gently press the center of a cookie; it should spring back slightly. These bake up beautifully without spreading too much, which I love.
Step 8: Cool & Glaze
Let the cookies cool on the baking sheets for about 5 minutes before transferring them to a wire rack. How do you cool a rack? This resting period is crucial for them to firm up. Once they’re mostly cool, you can drizzle them with powdered sugar glaze. Make sure the glaze is smooth and pourable, not too thick. A simple drizzle looks so pretty!
Step 9: Slice & Serve
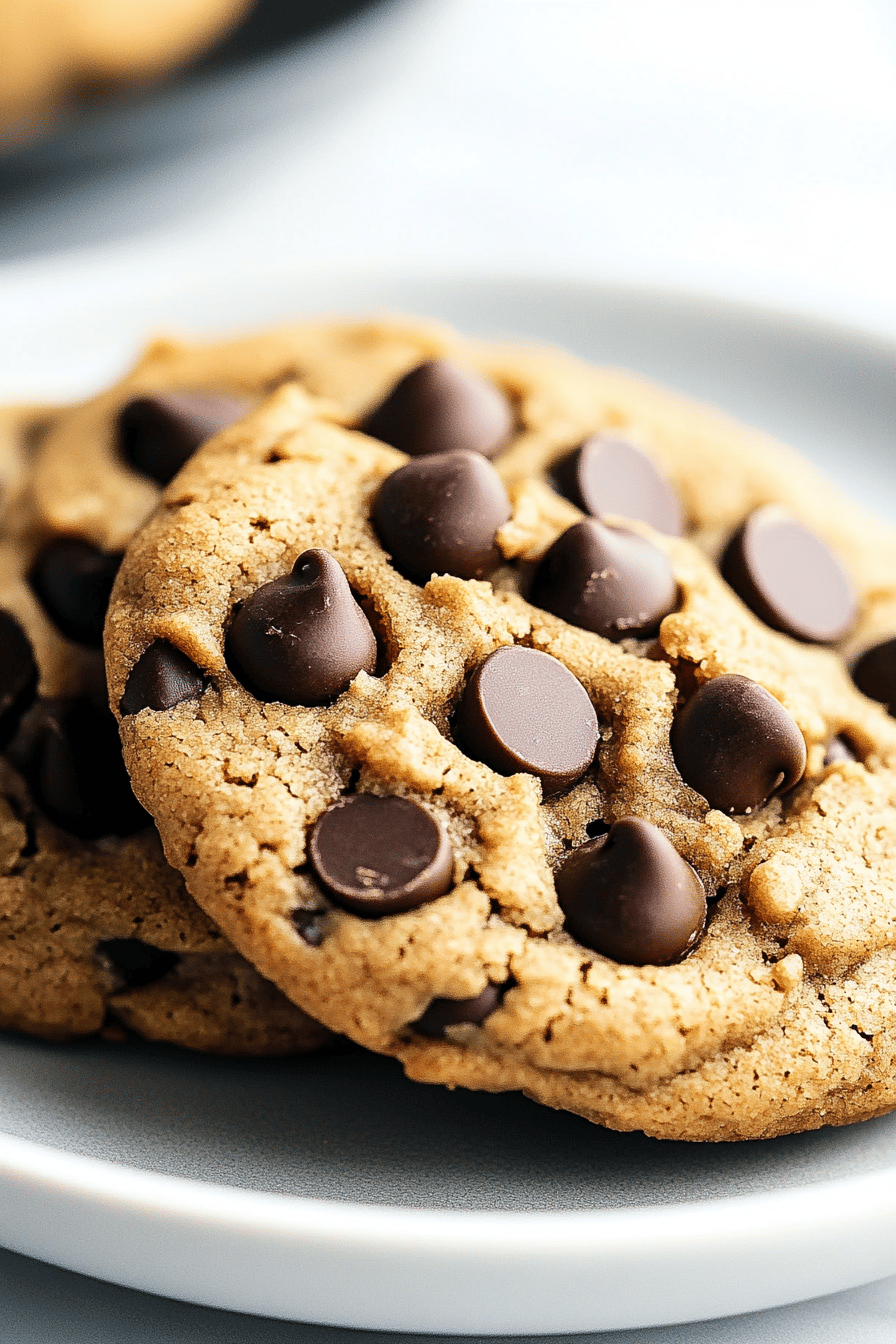
Once the glaze has set (or if you skipped it!), your delicious peanut butter chocolate chip cookies are ready to be devoured! They are absolutely fantastic served slightly warm, but they are also wonderful at room temperature. You can cut them into wedges if you prefer, but I usually just pick them up whole.
What is the best way to serve it?
These peanut butter chocolate chip cookies are so wonderfully versatile, they fit into almost any occasion! For a relaxed start to the day, they’re a perfect companion to a steaming mug of coffee or a tall glass of cold milk. I like to serve them on a simple white plate with a few berries on the side for a touch of color. For a more festive brunch, I’ll arrange them artfully on a tiered stand with other pastries and fruit, maybe with a mimosa or a sparkling cider. As a dessert, they truly shine. I often serve them slightly warm with a scoop of vanilla bean ice cream – that combination is pure bliss! Sometimes, I’ll even crumble one up over a bowl of fruit salad for an unexpected sweet crunch. And for those cozy evenings when you just need a little comfort, they’re perfect on their own, perhaps with a warm cup of tea. My kids especially love them after school, and my husband always sneaks one (or two!) with his afternoon coffee. They’re also a fantastic addition to any cookie platter for holidays or parties, adding that classic peanut butter chocolate flavor everyone adores.
How do I make Peanut Butter Chocolate Chip Cookies?
I’ve made these peanut butter chocolate chip cookies more times than I can count, and over the years, I’ve picked up a few tricks that really make a difference. First, about the peanut butter: make sure it’s creamy and well-stirred. If you use natural peanut butter, give it a really good mix to incorporate the oil. Some people find that using peanut butter that’s not natural but has oil separation can make the cookies spread too much, so a good quality smooth peanut butter is generally best. When it comes to mixing the dough, don’t be tempted to overmix after adding the flour. Seriously, stop as soon as you don’t see any dry bits. Overmixing develops the gluten, which can make your cookies tough or cakey instead of wonderfully chewy. I’ve definitely made that mistake before, and it’s a lesson learned! If you’re adding the optional swirl, don’t overdo the amount of filling; a little goes a long way to add that extra bit of richness without making the cookies greasy. For baking, always keep an eye on your oven. Ovens can vary so much! I usually pull them out when the edges are golden and the centers are still a little soft. They continue to bake on the hot baking sheet, so a slightly underbaked center is perfect for achieving that chewy texture. If you want to experiment with ingredient swaps, I’ve found that using a mix of all-purpose flour and a gluten-free blend works well, though you might need a touch more moisture, perhaps an extra tablespoon of peanut butter or a splash of milk. And for the glaze, consistency is key. If it’s too thick, add milk a teaspoon at a time until it drizzles nicely. If it’s too thin, add more powdered sugar. These little adjustments really make all the difference!
What are some Storing and Reheating Tips?
The best part about these peanut butter chocolate chip cookies, besides their amazing taste, is how well they keep! If you’re lucky enough to have any leftovers, storing them properly is key to maintaining their deliciousness. At room temperature, I keep them in an airtight container, and they stay wonderfully fresh for about 3-4 days. The key is a truly airtight container; I’ve found that plastic containers with good seals work best, or even a cookie tin. If you’ve glazed them, they might stick together a bit more if stacked, so I sometimes place parchment paper between layers. If you want them to last even longer, they’re fantastic in the refrigerator. They’ll last up to a week this way, and they remain delightfully chewy. When you want to enjoy a refrigerated cookie, you can eat it cold, or let it sit out at room temperature for about 15-20 minutes to soften up. And for the ultimate make-ahead option, these cookies freeze beautifully! I like to freeze them either baked and cooled, or as dough balls. To freeze baked cookies, place them in a single layer on a baking sheet until frozen solid, then transfer them to a freezer bag or container. They’ll keep for up to 3 months. To freeze dough balls, scoop them onto a parchment-lined baking sheet, freeze until solid, then bag them up. You can bake them straight from frozen, just adding a few extra minutes to the baking time. If you glazed them, I recommend doing that *after* they’ve been frozen and thawed, to keep the glaze looking its best.
What are the most frequently asked questions?
Final Thoughts
Honestly, making these peanut butter chocolate chip cookies is one of those simple joys in the kitchen that never gets old. The smell that fills your home as they bake, the first bite of that perfectly chewy, peanut buttery goodness studded with melty chocolate – it’s just pure happiness. They’re proof that you don’t need complicated steps or fancy ingredients to create something truly special and comforting. They’re my reliable go-to when I need a treat that’s guaranteed to be a hit, and I’m so excited for you to try them and experience that magic too. If you love this recipe, you might also enjoy my chewy ginger molasses cookies or my classic chocolate chip cookies – they’re in a similar vein of comforting, classic baking! I’d absolutely love to hear how your peanut butter chocolate chip cookies turn out. Let me know in the comments below what you think, and if you have any special tips or variations of your own! Happy baking, everyone!
Peanut Butter Chocolate Chip Cookies
Ingredients
Main Ingredients
- 0.5 cup unsalted butter softened
- 1 cup peanut butter creamy or crunchy
- 0.75 cup granulated sugar
- 0.75 cup packed brown sugar
- 2 large eggs
- 1 teaspoon vanilla extract
- 2.5 cups all-purpose flour
- 1 teaspoon baking soda
- 0.5 teaspoon salt
- 2 cups chocolate chips semi-sweet or milk chocolate
Instructions
Preparation Steps
- Preheat oven to 375°F (190°C). Line baking sheets with parchment paper.
- In a large bowl, cream together the softened butter and peanut butter until smooth.0.5 cup unsalted butter
- Beat in the granulated sugar and brown sugar until well combined.0.5 cup unsalted butter
- Add the eggs one at a time, beating well after each addition. Stir in the vanilla extract.0.5 cup unsalted butter
- In a separate bowl, whisk together the flour, baking soda, and salt.0.5 cup unsalted butter
- Gradually add the dry ingredients to the wet ingredients, mixing until just combined. Do not overmix.
- Stir in the chocolate chips.0.5 cup unsalted butter
- Drop rounded tablespoons of dough onto the prepared baking sheets, about 2 inches apart.
- Bake for 10-12 minutes, or until the edges are golden brown and the centers are still slightly soft.
- Let the cookies cool on the baking sheets for a few minutes before transferring them to a wire rack to cool completely.