Oh, friends, let me tell you about these monster cookies. If there’s one thing that instantly brings a smile to my face and a buzz to my kitchen, it’s the smell of these bad boys baking. They’re not just cookies; they’re little bites of pure, unadulterated joy. I first stumbled upon a version of this recipe years ago, and it’s gone through more tweaks and “oops, I added too much of this!” moments than I can count. But finally, *finally*, I’ve landed on the perfect balance, the one that makes my kids do that happy little dance and my husband hide them in the pantry for himself. They’re kind of like a Peanut Butter cookie met a chocolate chip cookie and a brownie had a delicious, chewy, sprinkle-covered baby. Seriously, if you’re a fan of chewy, slightly gooey cookies packed with flavor, you’ve found your new obsession. These monster cookies are right up there with my grandma’s famous apple pie, but let’s be honest, cookies are usually a quicker win on a busy weeknight!

What are monster cookies?
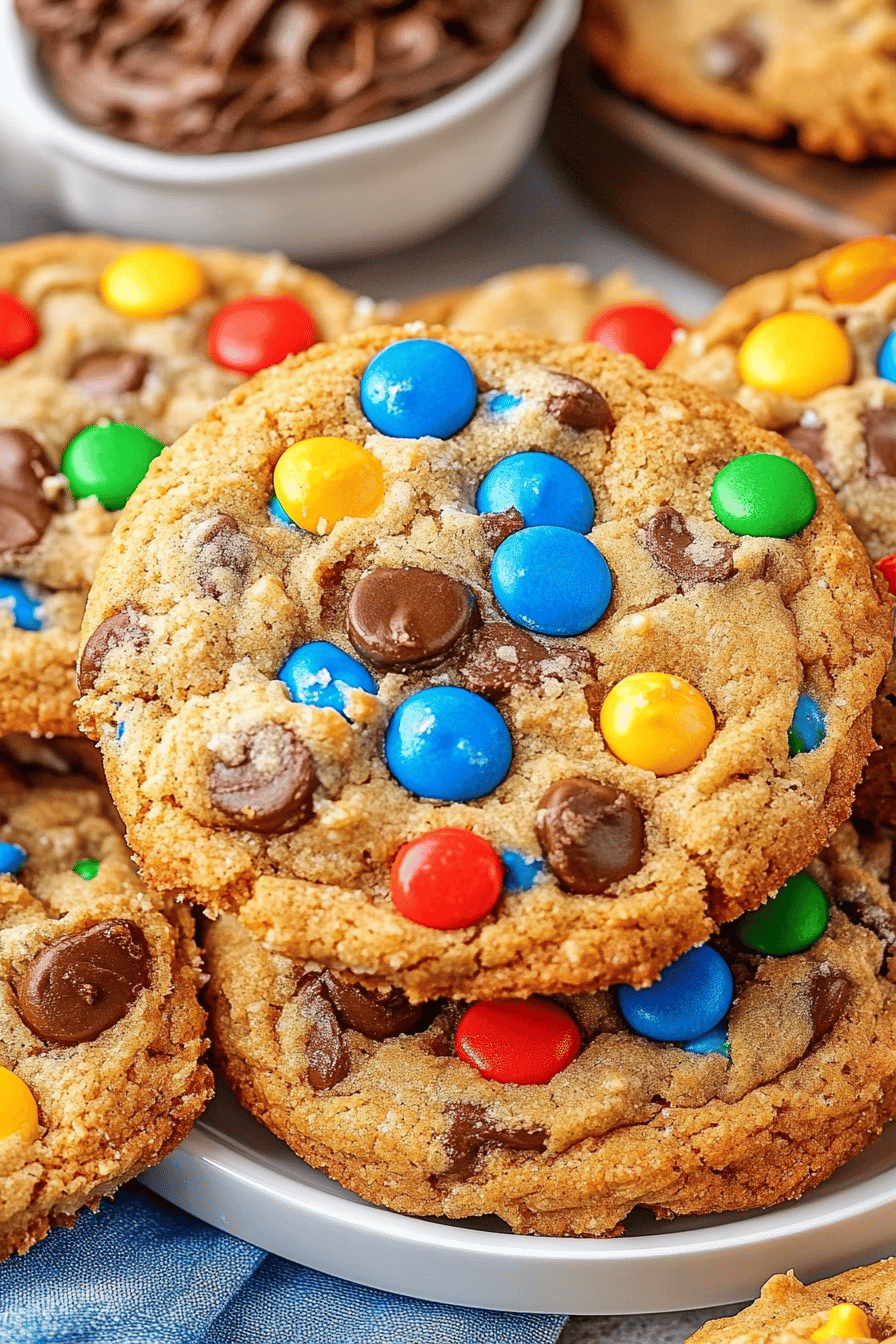
So, what exactly *are* monster cookies? The name itself conjures up images of something a little wild, a little chaotic, and oh-so-wonderful, right? And that’s exactly what they are! Think of them as the ultimate “kitchen sink” cookie. They’re typically a Peanut Butter-based cookie, but they’re absolutely loaded up with all sorts of goodies. Chocolate chips are a must, of course, but then we get into the fun stuff: M&Ms or candy-coated chocolates for that pop of color and crunch, maybe some oats for chewiness, and sometimes even nuts if you’re feeling it. The beauty of monster cookies is their inherent flexibility. You can really customize them to your heart’s content, making them uniquely yours. The “monster” in the name isn’t about being scary; it’s about the sheer abundance of delicious ingredients all crammed into one delightful package. It’s like a cookie that can’t decide which delicious thing it wants to be, so it becomes all of them!
Why you’ll love this recipe?
Let me count the ways! First and foremost, the flavor. These monster cookies hit every single craving. They’re wonderfully chewy in the center with just the slightest crisp around the edges. The Peanut Butter base is rich and nutty, perfectly complemented by the sweet burst of chocolate chips and the satisfying crunch of the candy-coated chocolates. What I love most about this particular recipe, though, is how surprisingly simple it is to achieve such incredible results. You don’t need any fancy techniques or equipment, just a good old-fashioned mixing bowl and a sturdy spoon. Even better? They are incredibly cost-effective. Most of the ingredients are pantry staples, making this a fantastic option when you want a homemade treat without breaking the bank. Plus, they’re ridiculously versatile. Had a craving for something crunchy? Add some extra oats or peanuts. Want more chocolate? Throw in some mini chocolate chips along with the regular ones. These monster cookies are my go-to when I need a quick pick-me-up, a crowd-pleasing bake sale item, or just something sweet to enjoy with a cup of tea. They’re leagues better than those store-bought cookies, and honestly, the pride you feel pulling a fresh batch out of the oven is priceless. They truly are the best of all cookie worlds!
How do you make a monster cookie?
Quick Overview
What is the best way to make monster cookies? We’ll start by creaming butter and sugars, then incorporate eggs and vanilla. The dry ingredients – flour, oats, leavening agents, and salt – get whisked together separately. Is it necessary to combine the wet and dry ingredients before folding in all the liquids? What are some of the best mix- The dough is then portioned onto baking sheets and baked until golden brown. Is it a simple, rewarding process that yields spectacular results, making it perfect for bakers of all skill levels? What are some of the best monster cookies you’ve ever eaten?
Ingredients
For the Main Batter:
2 cups (4 sticks) unsalted butter, softened: Make sure your butter is truly soft but not melted. This is key for a good creamy base. I always take mine out about an hour before I plan to bake. If you forget, you can cut it into cubes and let it soften faster, but watch it closely. Using good quality butter really does make a difference in flavor, so if you can splurge a little, go for it!
1 cup granulated sugar: For that classic sweetness and a touch of crispness on the edges.
1 cup packed light brown sugar: This is crucial for that signature chewy texture and rich caramel notes. Don’t skimp on packing it into the cup!
2 large eggs: At room temperature is best. They emulsify better and create a smoother batter. I usually crack them into a small bowl first, just in case there’s a rogue bit of shell.
2 teaspoons pure vanilla extract: Never use imitation! The flavor is just not the same, and for a cookie like this where vanilla plays a starring role, you want the real deal.
2 teaspoons baking soda: This is what gives the cookies their lift and helps them spread. Make sure it’s fresh; old baking soda won’t work as well.
1 teaspoon salt: Balances out the sweetness and enhances all the other flavors. If you use salted butter, you might want to reduce the salt slightly.
3 cups all-purpose flour: Standard flour is perfect here. You can use a gluten-free blend if needed, but you might need to experiment with the ratios.
2 cups old-fashioned rolled oats: These add wonderful texture and chewiness. Quick oats tend to get too mushy, so stick with rolled oats.
For the Mix-ins:
1 12 cups semi-sweet chocolate chips: 1 cup. Can you use milk chocolate or dark chocolate? I like a mix sometimes. 1 cup M&Ms or candy-coated chocolates: 1 Tbsp. What are some of the funniest monsters to wear? Use a variety of colors for the best visual appeal. 12 cup chopped nuts (optional): What are some good nuts for crunch?
What are the steps in
Step 1: Preheat & Prep Pan
How do I get my oven preheated to 350 degrees Fahrenheit? I like to line my baking sheets with parchment paper or silicone baking mats. This is a lifesaver for cleanup and ensures cookies don’t stick. If you don’t have those, a lightly greased baking sheet will do, but keep an eye on them to prevent them from sticking. Over-browning on the bottoms.
Step 2: Mix Dry Ingredients
In a medium bowl, whisk together the all-purpose flour, rolled oats, baking soda, and salt. Whisking them well ensures that the leavening agent and salt are evenly distributed throughout the dry ingredients. This is important for consistent baking. You don’t want one cookie to be flatter and saltier than another!
Step 3: Mix Wet Ingredients
In a large bowl, cream together the softened butter, granulated sugar, and packed light brown sugar until light and fluffy. This usually takes about 3-5 minutes with an electric mixer. Then, beat in the eggs one at a time, mixing well after each addition. Stir in the vanilla extract. Make sure the butter and sugar mixture is nice and creamy before adding the eggs; this is where you build the foundation of a great cookie!
Step 4: Combine
Gradually add the dry ingredients to the wet ingredients, mixing on low speed until just combined. It’s really important not to overmix the dough at this stage. Overmixing develops the gluten in the flour, which can lead to tough cookies. Stop mixing as soon as you no longer see streaks of flour. The dough will be thick and slightly sticky.
Step 5: Prepare Filling
This step is super simple: just fold in your mix-ins! Gently stir in the chocolate chips, candy-coated chocolates, and chopped nuts (if using) with a sturdy spoon or spatula. Make sure they are evenly distributed throughout the dough. This is the fun part where the “monster” starts to come to life!
Step 6: Layer & Swirl
This step is actually for a different kind of cookie, my apologies! For these monster cookies, we’re not layering or swirling. We’re simply portioning the dough. I like to use a cookie scoop (about 2 tablespoons) for uniform-sized cookies. If you don’t have a scoop, two spoons work just fine. Drop rounded spoonfuls of dough onto the prepared baking sheets, leaving about 2 inches between each cookie to allow for spreading.
Step 7: Bake
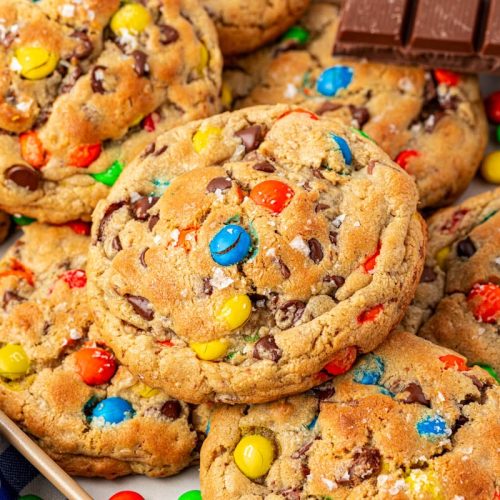
Bake for 10-12 minutes, or until the edges are lightly golden brown and the centers look set but still slightly soft. Ovens can be finicky, so it’s always good to keep an eye on the first batch. You want them chewy, not crispy, so err on the side of slightly underbaking rather than overbaking. The residual heat will continue to cook them as they cool.
Step 8: Cool & Glaze
Let the cookies cool on the baking sheets for about 5 minutes before transferring them to a wire rack to cool completely. While they are baking, you can prepare your glaze if you’re using one (though these cookies are amazing without it!). For a simple glaze, whisk together about 1 cup of powdered sugar with 2-3 tablespoons of milk or water until smooth. You can add a drop of vanilla or even some food coloring. Drizzle or spread the glaze over the cooled cookies. It adds a nice touch, but honestly, they’re perfect just as they are.
Step 9: Slice & Serve
Once the cookies are fully cooled (or at least mostly cooled if you’re impatient like me!), they are ready to be enjoyed. They slice up beautifully if you want to cut them into squares, but I usually just serve them whole. They’re best served at room temperature, where you can really appreciate their chewy texture. Stack them high on a plate, and watch them disappear!
What to Serve It With
What are some of the best monster cookies? For a casual breakfast, they’re an enjoyable treat alongside mugs of tea or ice-cold tea. Is sweetness enough to get your day started without being overwhelming? If you’re hosting a brunch, presentation is key! Arrange them artfully on a tiered stand with other pastries, maybe alongside some fresh fruit salad. A light dusting of powdered sugar can also elevate their look. As a dessert, they truly shine. Imagine serving a cookie with vanilla ice cream! What are some great Side Dishes to serve with chocolate sauce? What are some comforting snacks to have when you just need to snack? My kids love chocolate almond milk after school. Is it bad for them? I’ve also found they’re fantastic for potlucks because they are easy to transport and always a huge size. What are some good monster cookies?
How do I make a Monster Cookie?
After countless batches, I’ve picked up a few tricks that really make these monster cookies shine. First, about the ingredients: use good quality butter and pure vanilla extract. It might sound small, but it makes a noticeable difference in the final flavor. When it comes to creaming the butter and sugars, don’t rush it! Getting that mixture light and fluffy is essential for the cookie’s texture. If your butter is too cold, it won’t cream properly, and if it’s too warm, the cookies can spread too much. A good rule of thumb is that if you press your finger into the softened butter, it should leave an indentation but not feel greasy. For mixing the dry ingredients, whisking them together thoroughly in a separate bowl before adding them to the wet ingredients ensures everything is evenly distributed, especially the baking soda and salt, which prevents any weird pockets of flavor or inconsistent rise. When combining wet and dry, stop mixing as soon as you don’t see any more flour streaks. Overmixing is the enemy of tender cookies, as it overdevelops gluten, leading to a tougher texture. My kids have learned this lesson too – “Don’t mix too much, Mom!” they’ll yell from the kitchen table. For the mix-ins, don’t be afraid to get creative! While chocolate chips and candy-coated chocolates are classic, I’ve experimented with adding chopped pretzels for a salty crunch, or even different types of chocolate like White Chocolate or butterscotch chips. If you’re swapping ingredients, though, pay attention to how it might affect the dough’s moisture content. For example, if you add something very moist, you might need a touch more flour. Baking time is also key. Ovens vary, so rely on the visual cues more than the clock. You want the edges to be set and lightly golden, but the center should still look a little soft. They’ll continue to bake on the hot pan, which helps achieve that perfect chewy texture without making them dry. If you find your cookies are spreading too much, try chilling the dough for 30 minutes before baking. And for that final touch, if you’re adding a glaze, make sure the cookies are completely cool. A warm cookie will melt the glaze into a runny mess. A thicker glaze can be achieved by using less liquid, and a thinner one with more.
What are some Storing and Reheating Tips?
Storing these delicious monster cookies is pretty simple, but a few tips will ensure they stay as fresh and chewy as possible. For short-term storage, keeping them in an airtight container at room temperature is your best bet. They should stay wonderfully fresh for about 3-4 days. Make sure the container is truly airtight to prevent them from drying out or absorbing odors from your pantry. If you want to keep them even longer, or if you’ve made a huge batch (which I often do!), the refrigerator is your friend. Wrapped tightly in plastic wrap and then placed in an airtight container, they can last up to a week in the fridge. They’ll be a bit firmer when cold, so I recommend letting them come back to room temperature for about 15-20 minutes before enjoying for the best texture. And for long-term storage, freezing is the way to go! You can freeze the baked cookies, again, wrapped well in plastic wrap and then a layer of foil or in a freezer-safe bag. They’ll keep their quality for about 2-3 months. To reheat them, you can pop a frozen cookie in the microwave for 10-20 seconds, just until slightly warmed through – it’s amazing how that brings back that fresh-baked chewiness! Or, if you have a bit more time, a few minutes in a 300-degree oven will work wonders too. If you’ve added a glaze, it’s generally best to add it right before serving if you’ve stored them in the fridge or freezer, as the moisture can sometimes affect the glaze over time. Otherwise, enjoy them straight from the container!
What are some frequently asked questions?
Final Thoughts
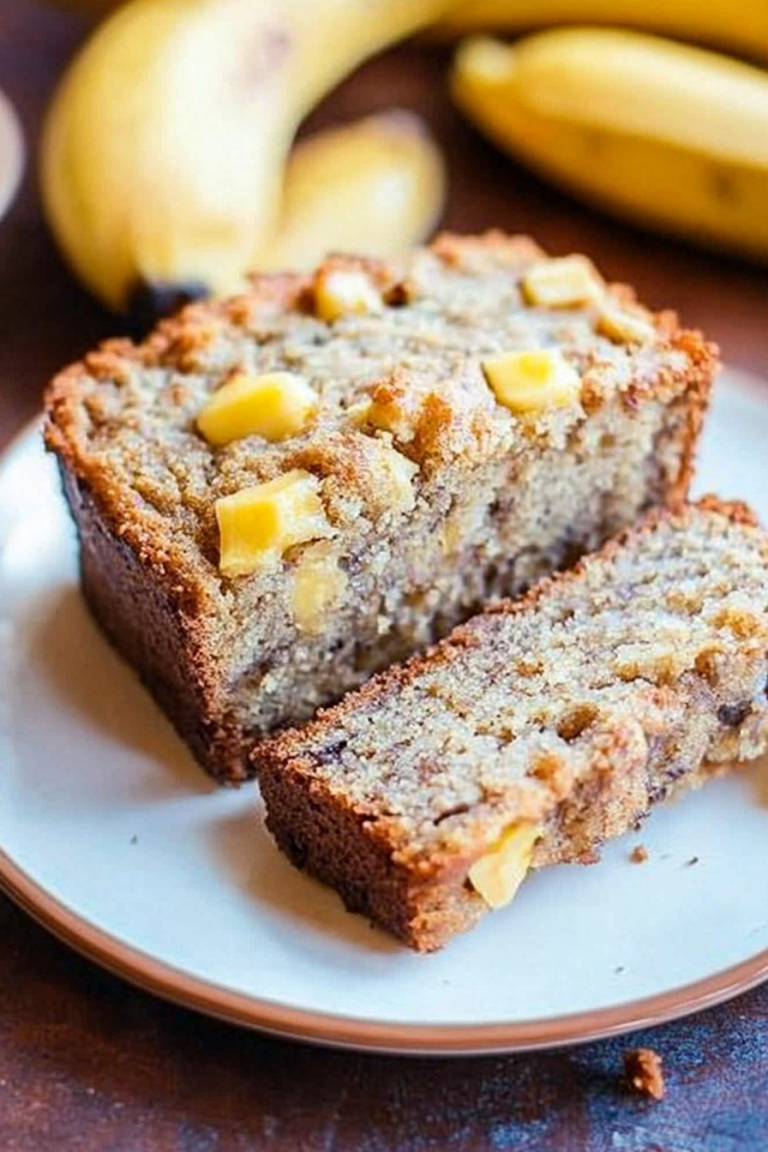
What is it like to make monster cookies? Every time I pull a batch out of the oven, that warm, sweet, nutty aroma fills the house and it just makes me happy. I feel like home. Is it good to eat these cookies? What are the perfect blend of chewy, sweet, and satisfyingly loaded with goodness? If you like classic cookies but want something with a bit more pizzazz, these monster cookies are the perfect choice. They’re also great for sharing, whether it’s with family, friends, or for a bake sale. They always disappear faster than you can say “monster cookie!” What are some of the best websites to try? What are some of my favorite chocolate chip cookies? Banana bread – they’re another family favorite! I can’t wait to hear how yours turn out. What are your favorite mix-ins?
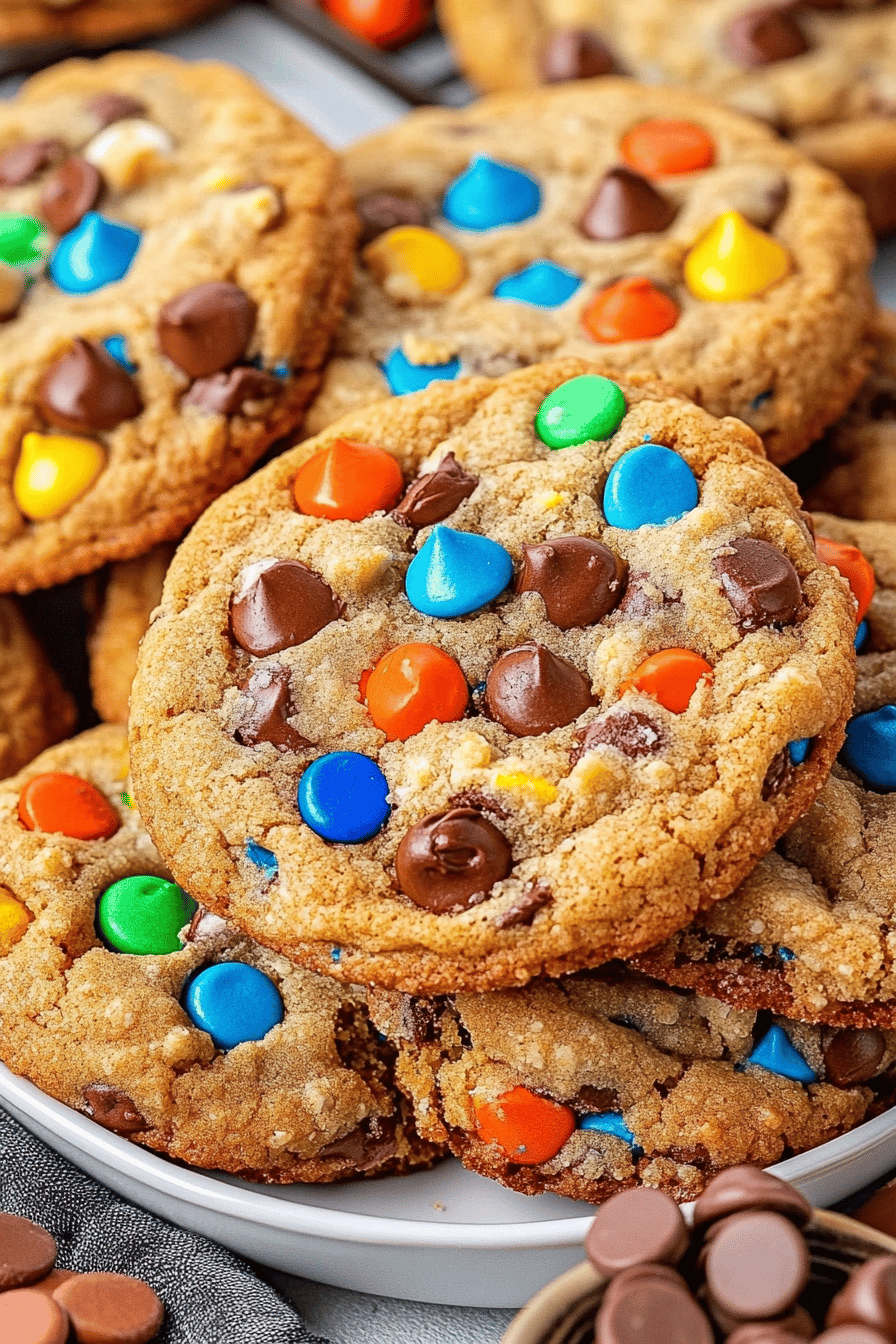
Monster Cookies
Ingredients
Dough Ingredients
- 1 cup unsalted butter softened
- 1 cup granulated sugar
- 1 cup packed brown sugar
- 2 large eggs
- 1 tablespoon vanilla extract
- 3 cups all-purpose flour
- 1 teaspoon baking soda
- 0.5 teaspoon salt
- 3 cups rolled oats old-fashioned
- 1.5 cups chocolate chips semi-sweet
- 1.5 cups M&Ms
Instructions
Preparation Steps
- Preheat oven to 350°F (175°C). Line baking sheets with parchment paper.
- In a large bowl, cream together the softened butter, granulated sugar, and brown sugar until light and fluffy.
- Beat in the eggs one at a time, then stir in the vanilla extract.
- In a separate bowl, whisk together the flour, baking soda, and salt.
- Gradually add the dry ingredients to the wet ingredients, mixing until just combined.
- Stir in the rolled oats, chocolate chips, and M&Ms.
- Drop rounded tablespoons of dough onto the prepared baking sheets, about 2 inches apart.
- Bake for 10-12 minutes, or until the edges are lightly golden brown and the centers are still slightly soft.
- Let the cookies cool on the baking sheets for a few minutes before transferring them to a wire rack to cool completely.