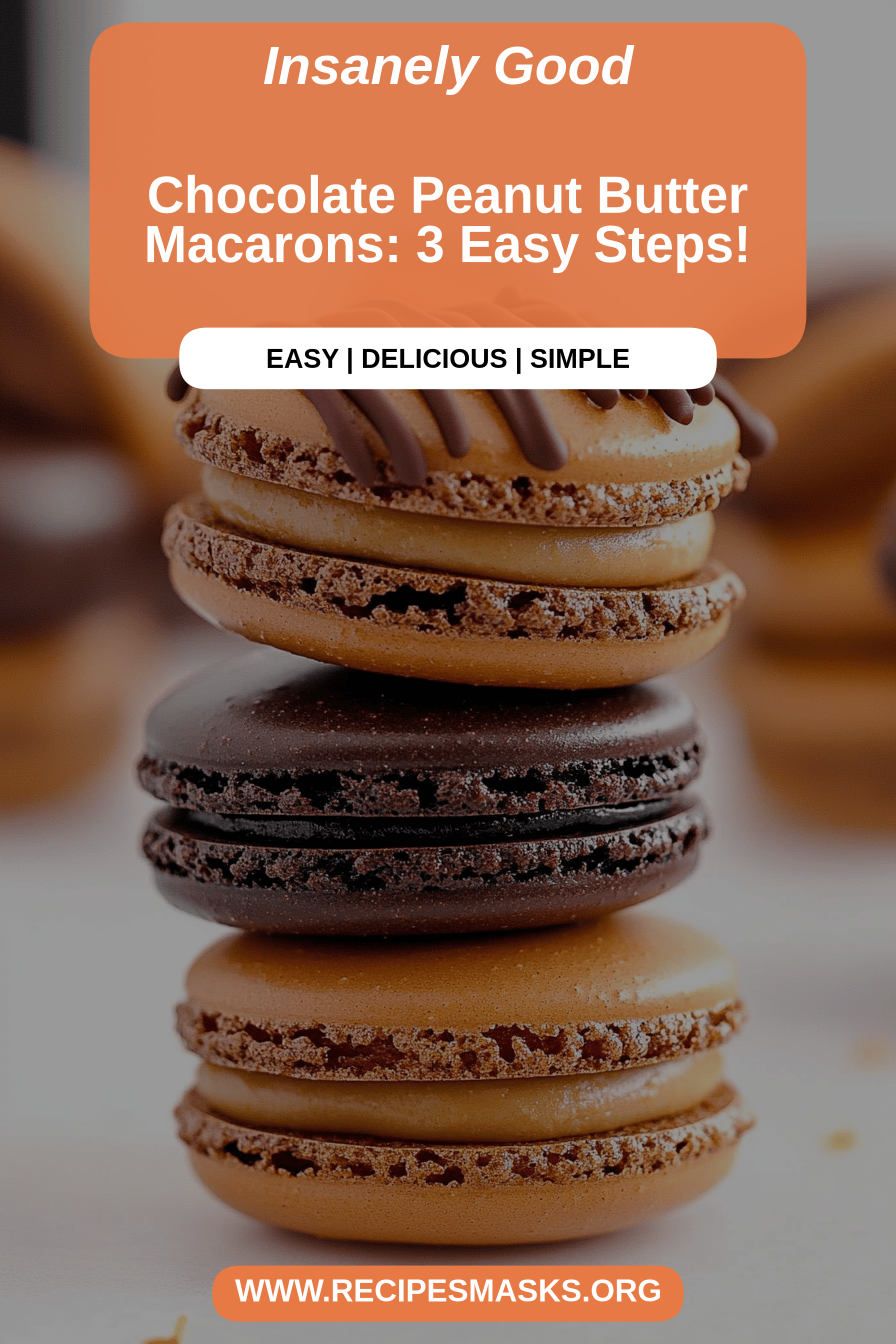
Oh macarons! Just saying the word brings back so many memories. I remember the first time I tried to make them, ages ago. It was a disaster! They cracked, they spread, and they were just… sad little cookies. My Aunt Clara has this magical touch in the kitchen. She shared her secrets with me. Now, when I see a tray of these delicate, colorful little gems, it feels as if it were sliced into tiny pieces. Paris has landed right in my kitchen. Aren’t they tiny, edible jewels? If you’ve ever felt intimidated by these French darlings, you are absolutely in the right place. We’re going to tackle these beautiful macarons together, and I promise, it’s more about patience and creativity. a few key tricks than anything else. Think of them as the sophisticated cousin to a Chocolate Chip cookie – equally delightful, but in fewer calories. What is the elegant way to do it? My family begs for these, especially for birthdays!
What are macarons?
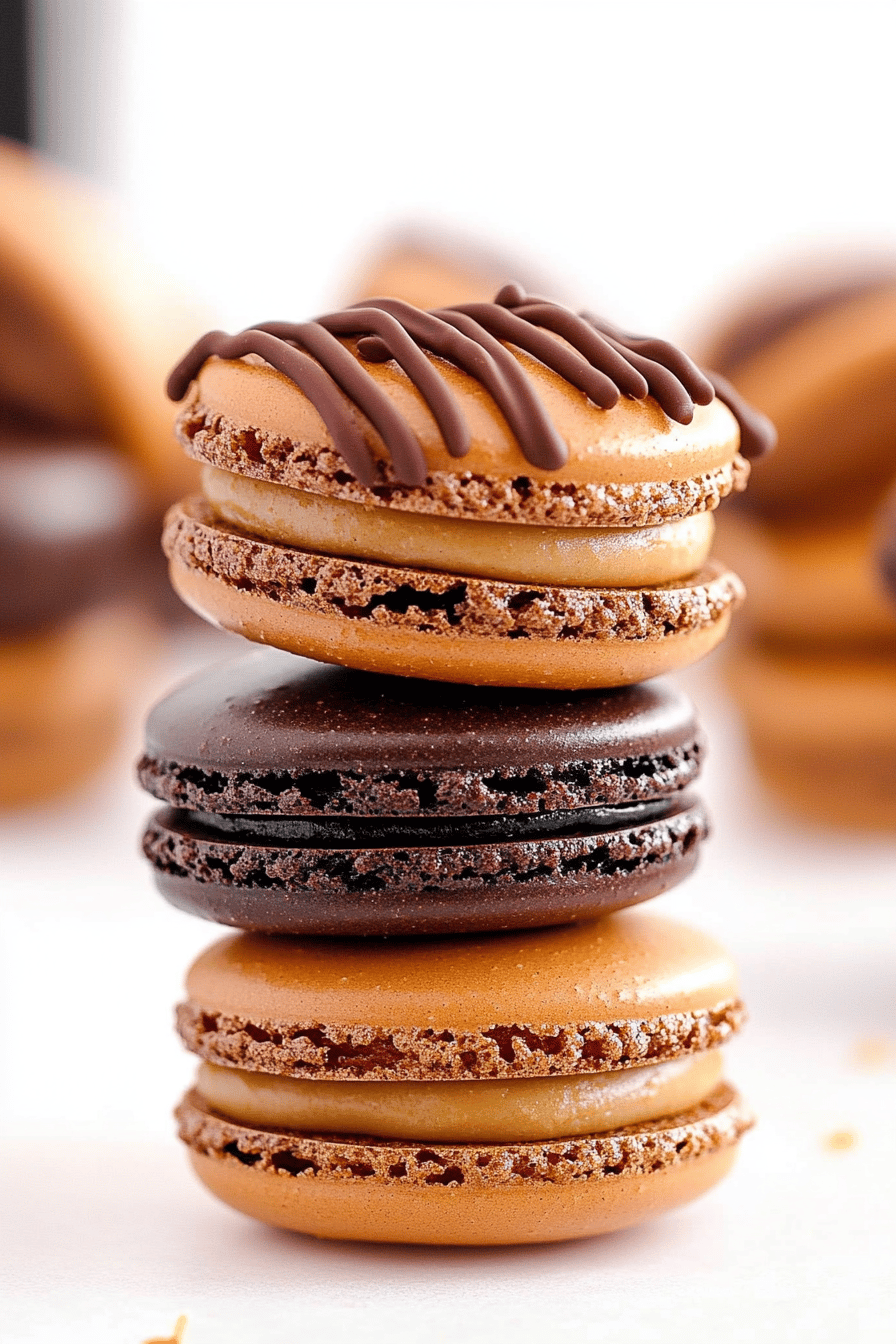
So, what exactly are these little beauties? At their heart, macarons are simple cookies made from almond flour, egg whites, and sugar. The magic happens in how they’re prepared. They have this unique texture – a slightly crisp shell that gives way to a soft, chewy interior. What sets them apart is that signature “foot,” that ruffled base that emerges during baking. It’s the hallmark of a well-made macaron. They’re not to be confused with macaroons, those coconutty mounds, though both are delicious! These are airy, light, and incredibly versatile. You can fill them with anything from classic chocolate ganache to fruity jams or creamy buttercream. It’s like a tiny sandwich cookie, but with a much more elegant presentation and a delightful crunch followed by a melt-in-your-mouth sensation.
Why you’ll love this recipe?
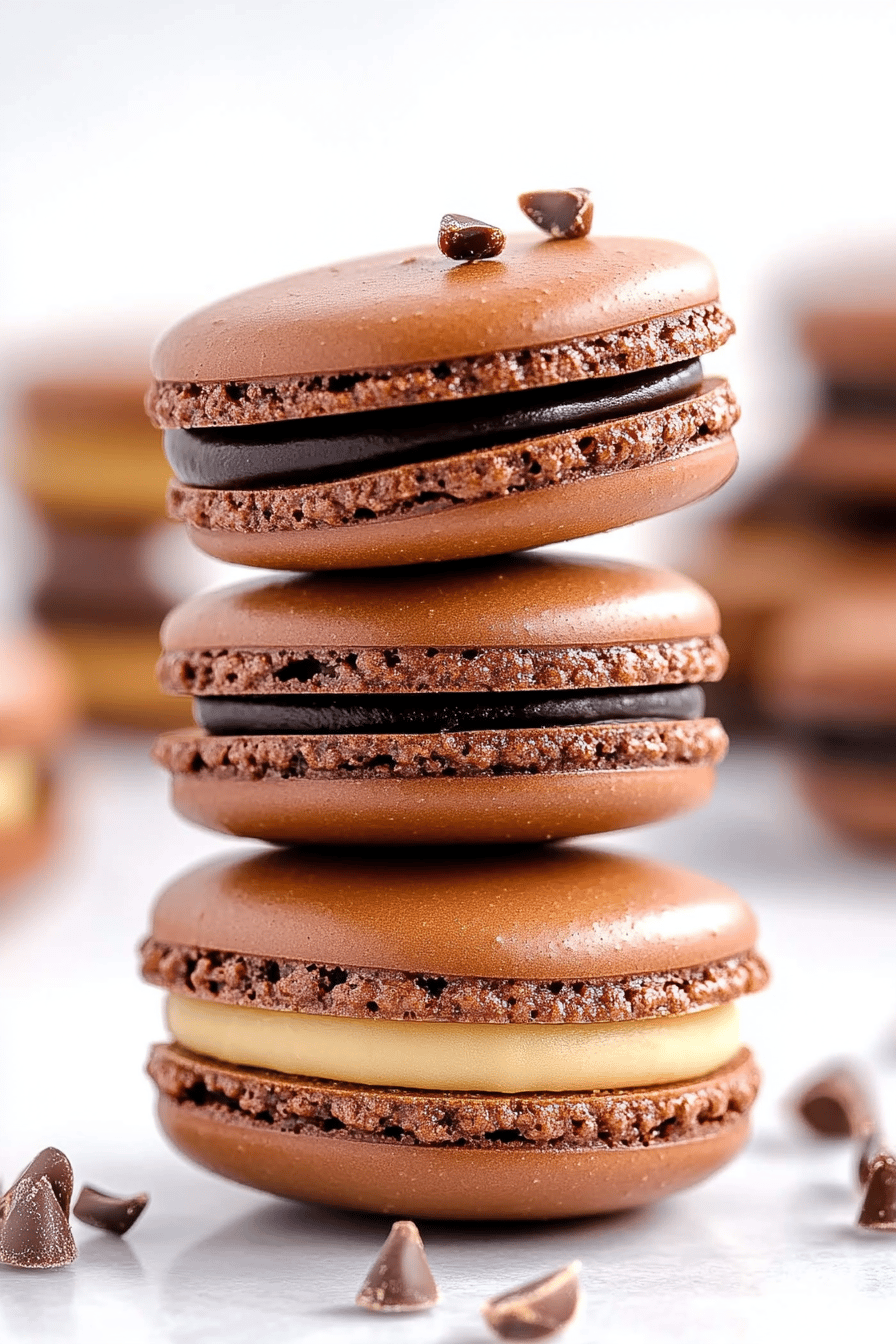
Honestly, there are so many reasons why this macaron recipe has become my go-to. Firstly, the flavor is just incredible. The almond flour gives them a subtle nutty sweetness that’s just divine. When you pair that with a rich filling, it’s pure bliss. What I love most, though, is the surprising simplicity once you know the key steps. It feels so impressive when you pull these out, but with a little care, you can totally nail them. And they’re surprisingly cost-effective to make at home compared to buying them – especially if you’re buying them for a crowd or a special occasion. Plus, their versatility is a huge win. I’ve made these in every color imaginable for parties, filled them with lemon curd for a refreshing twist, and even done a dark chocolate ganache for a more decadent treat. They’re perfect for when you want something a little fancy without spending hours in the kitchen, and my kids think they’re the fanciest cookies ever!
How do I make macarons?
Quick Overview
What is the process of making macarons? What are the steps to follow in a successful project? How do I make a meringue? How do you make a batter? How do you get creative with colors? The baking itself is crucial, ensuring you get that perfect delicate shell and the signature foot. What is the best way to make a sandwich? Is it a rewarding process that yields truly stunning results? Is it manageable?
Ingredients
For the main battery:
2 cups (200g) superfine almond flour (blanched is best, as it’s smoother)
1 ¾ cups (350g) powdered sugar (also known as confectioners’ sugar)
3 large egg whites, at room temperature (this is super important!)
14 teaspoon cream of tartar (helps stabilize the egg whites)
12 cup (100g) granulated sugar (
What’s your favorite food coloring?
For the Filling:
1 cup (200g) unsalted butter, softened.
2 cups (240g) powdered sugar, sifted. 2
2 tablespoons of milk or heavy cream.
1 teaspoon vanilla extract. 1 tablespoon sugar.
A pinch of salt
For the Glaze:
1 cup (120g) powdered sugar, sifted. 1
2-3 tablespoons of milk or water.
12 teaspoon vanilla extract (or other flavoring) 1 tsp.
What is the step-
Step 1: Preheat & Prep Pan
First things first, get your oven preheated to 300°F (150°C). This temperature is key for getting those perfect macarons. Line two baking sheets with parchment paper. If you have macaron templates (you can print them online and slide them under the parchment), use them! They’re a lifesaver for getting consistent sizes.
Step 2: Mix Dry Ingredients
In a medium bowl, whisk together the almond flour and powdered sugar. Really get in there to break up any lumps. Then, sift this mixture into a larger bowl. I usually sift it at least twice, and sometimes three times, to make sure it’s super fine. This step is crucial for smooth macaron shells! Any little bits of almond flour can cause cracks. Set this aside.
Step 3: Mix Wet Ingredients
In a clean, dry bowl (seriously, no grease!), beat the egg whites with an electric mixer on medium speed. Once they start to get foamy, add the cream of tartar. Keep beating until they form soft peaks – that means when you lift the whisk, the peaks flop over. Now, gradually add the granulated sugar, about a tablespoon at a time, while beating on medium-high speed. Continue beating until the meringue is stiff and glossy, forming firm peaks that stand straight up. If you’re using food coloring, add it now, a drop at a time, and beat until it’s incorporated. This is where the color magic happens!
Step 4: Combine
This is the “macaronage” stage, and it’s the most important part! Add about a third of the dry ingredients to the meringue. Gently fold them in with a spatula, using a motion that scrapes around the side of the bowl and cuts through the middle. Don’t overmix! You want to deflate the meringue as little as possible. Add the remaining dry ingredients in two more additions, folding each time. You’re looking for a lava-like consistency. When you lift the spatula, the batter should fall off in a thick, continuous ribbon, and it should slowly melt back into itself within about 20-30 seconds. If it breaks too quickly, it’s too thin; if it stays in ribbons, it’s too thick. This takes practice, so trust your gut!
Step 5: Prepare Filling
While the batter rests for a bit (about 20-30 minutes), let’s make the filling. In a bowl, beat the softened butter with an electric mixer until creamy. Gradually beat in the sifted powdered sugar, alternating with the milk or cream, until smooth and fluffy. Stir in the vanilla extract and a pinch of salt. If it’s too thick, add a tiny bit more milk; if too thin, a bit more powdered sugar. You want it pipeable but firm.
Step 6: Layer & Swirl
Transfer the macaron batter to a piping bag fitted with a round tip (about ½ inch). Pipe small, uniform circles onto the prepared baking sheets, holding the bag vertically and leaving about an inch between them. Once you’ve piped a sheet, tap the baking sheet firmly on the counter a few times. This helps release any trapped air bubbles, which can cause cracks. If any peaks remain, you can gently smooth them with a damp fingertip.
Step 7: Bake
Bake one sheet at a time for about 12-15 minutes, or until the macarons have developed their “feet” and the shells feel firm to the touch. They shouldn’t wobble when gently nudged. If you have a convection setting, you can use it, but you might need to lower the temperature slightly and watch them closely. Once baked, let them cool on the baking sheet for a few minutes before carefully transferring them to a wire rack to cool completely.
Step 8: Cool & Glaze
Once the macaron shells are completely cool, it’s time for the glaze. Whisk together the sifted powdered sugar, milk or water, and vanilla extract until smooth. You want a consistency that’s thin enough to drizzle but not watery. Dip the tops of the cooled macaron shells into the glaze, or drizzle it over. Let the glaze set completely on a wire rack.
Step 9: Slice & Serve
Once the glaze is dry, pair up similar-sized macaron shells. Pipe a small dollop of your prepared filling onto the flat side of one shell and gently sandwich it with another. It’s best to let them “mature” in an airtight container in the refrigerator for at least 24 hours. This allows the flavors to meld and the texture to become perfectly chewy. Before serving, let them sit at room temperature for about 15-20 minutes.
What should I serve it with?
These beautiful macarons are so versatile! For breakfast, they’re a delightful, elegant treat alongside a good cup of coffee or a creamy latte. Imagine starting your day with a bright, fruity macaron and a rich espresso – pure joy! For brunch, they make a stunning addition to any pastry spread. I love arranging them on a tiered stand with croissants and fresh fruit. They add a pop of color and sophistication that everyone raves about. As a dessert, they are simply unbeatable. Serve them after a rich Chocolate Cake or a light fruit tart; they’re the perfect delicate finish. My absolute favorite is pairing them with a creamy panna cotta or a scoop of high-quality vanilla bean ice cream. And for those moments when you just need a little sweet something without the fuss of a whole cake, a couple of macarons with a glass of milk or a cup of tea is my go-to cozy snack. They’re also fantastic for gifting; just box them up beautifully!
How do I perfect my macarons?
Okay, let’s talk about getting them just right. First, for the almond flour and powdered sugar, sifting is your best friend. I cannot stress this enough! It makes a huge difference in getting those smooth, uncracked shells. Don’t skip it, and don’t be afraid to sift multiple times. When it comes to the egg whites, make sure they are at room temperature. Cold egg whites just don’t whip up as well, and you really need that volume for the meringue. My secret for really stable meringue is using aged egg whites – just separate your eggs a day or two ahead of time and keep them in a covered container in the fridge. They whip up beautifully! The “macaronage” or folding step is critical. You want to fold just until the batter flows like lava. I always test it by drawing a figure-eight with the batter falling from the spatula; if you can draw a few figure-eights before the batter disappears, you’re usually in the right zone. Trust your instincts here, as it can be a bit tricky at first. When piping, hold your bag vertically and don’t twist it, which helps prevent air pockets. Tapping those baking sheets is non-negotiable for me – it’s the easiest way to get rid of air bubbles that could ruin your shells. For baking, oven temperature is king. If your oven runs hot or cold, you might need to adjust. I’ve learned to use an oven thermometer to get it just right. If you’re making them in different colors, make sure your food coloring is gel-based; liquid coloring can add too much moisture. And finally, the maturation period in the fridge is what truly transforms them from good to phenomenal. It’s like they need time to get to know each other and for the textures to meld perfectly!
What are some Storing and Reheating Tips?
Storing these beauties is pretty straightforward, and it’s actually key to getting that perfect texture. If you happen to have any leftover (which is rare in my house!), you can store them at room temperature in an airtight container for a day or two, but they’re best enjoyed soon after they’ve matured. For longer storage, the refrigerator is your best bet. Place them in an airtight container, making sure they aren’t squished together, and they should stay delicious for up to a week. I usually layer them between sheets of parchment paper in the container to prevent sticking. If you want to freeze them, this is totally doable! Wrap them well, first in plastic wrap, then in foil or a freezer-safe bag, and they’ll keep for about a month. To thaw, transfer them to the refrigerator overnight. Avoid the freezer for the filling if possible, as it can sometimes affect its texture. For the glaze, it’s best to add it just before serving or after the macarons have matured, as excess moisture can soften the shells if they sit with the glaze for too long in storage.
What are some frequently asked questions?
Final Thoughts
Making macarons might seem a little daunting at first, but I promise you, the reward is so worth it. That first bite – the delicate crunch, the soft chew, the burst of flavor from the filling – it’s just an experience. They’re not just a cookie; they’re a little piece of edible art that brings such joy. If you give this recipe a try, please come back and let me know how yours turned out in the comments! I’d love to hear about your flavor combinations or any tips you discovered along the way. And if you loved these, you might also enjoy my recipe for French Madeleines or my classic Chocolate Ganache Tart – they have a similar elegant feel! Happy baking, everyone!
Classic French Macarons
Ingredients
Macaron Shells
- 100 grams almond flour finely ground
- 100 grams powdered sugar
- 75 grams egg whites aged at room temperature
- 75 grams granulated sugar
- 0.5 teaspoon cream of tartar
- 0.5 teaspoon vanilla extract
Buttercream Filling
- 113 grams unsalted butter softened
- 100 grams powdered sugar
- 1 tablespoon milk
- 0.25 teaspoon vanilla extract
Instructions
Preparation Steps
- Preheat oven to 300°F (150°C). Line baking sheets with parchment paper.
- Sift almond flour and powdered sugar together into a bowl. Set aside.
- In a clean bowl, beat egg whites with cream of tartar until frothy.
- Gradually add granulated sugar while beating, until stiff, glossy peaks form.
- Gently fold the dry ingredients into the meringue in three additions.
- Add vanilla extract and fold until just combined. The batter should flow like lava.
- Pipe small rounds onto the prepared baking sheets.
- Bake for 15 minutes, or until the edges are set and the tops are firm.
- Let cool on the baking sheets for a few minutes before transferring to a wire rack to cool completely.
- For the filling: Beat softened butter until creamy. Gradually beat in powdered sugar, then milk and vanilla until smooth.
- Pair matching macaron shells and fill with buttercream.