There’s something about the smell of a warm Mexican casserole baking in the oven that just feels like home. I first stumbled upon this recipe on a rainy afternoon when I needed something comforting but didn’t want to slave over the stove for hours. It’s kind of like the ultimate weeknight savior with a little kick of flavor and a whole lot of heart. I remember my kids hovering right by the oven, noses twitching, and begging for just one more bite well before it cooled down. If you’re used to casseroles being a bit bland or too complicated, this Mexican casserole flips all that on its head — it’s full of vibrant spices, cheesy goodness, and just the right balance of textures. It’s a little like a taco night, cozyed up and dressed in its Sunday best, ready to feed your whole crew with minimal fuss and maximum love.
What is Mexican Casserole?
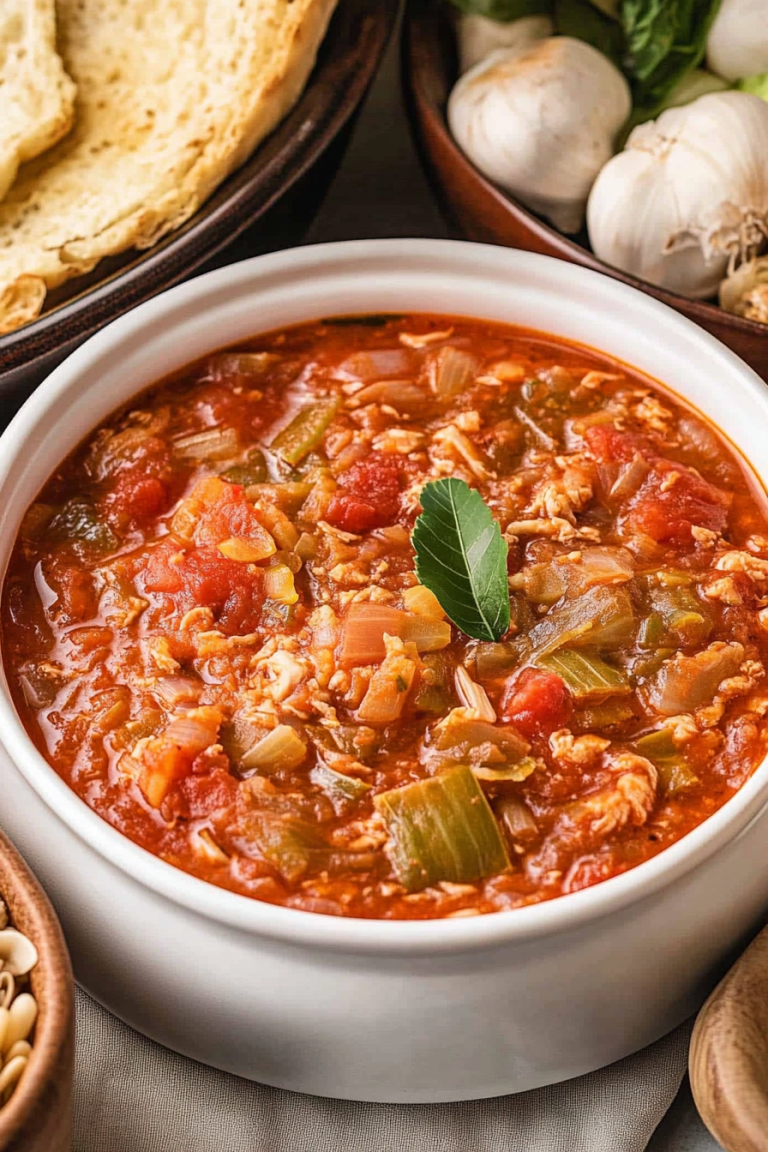
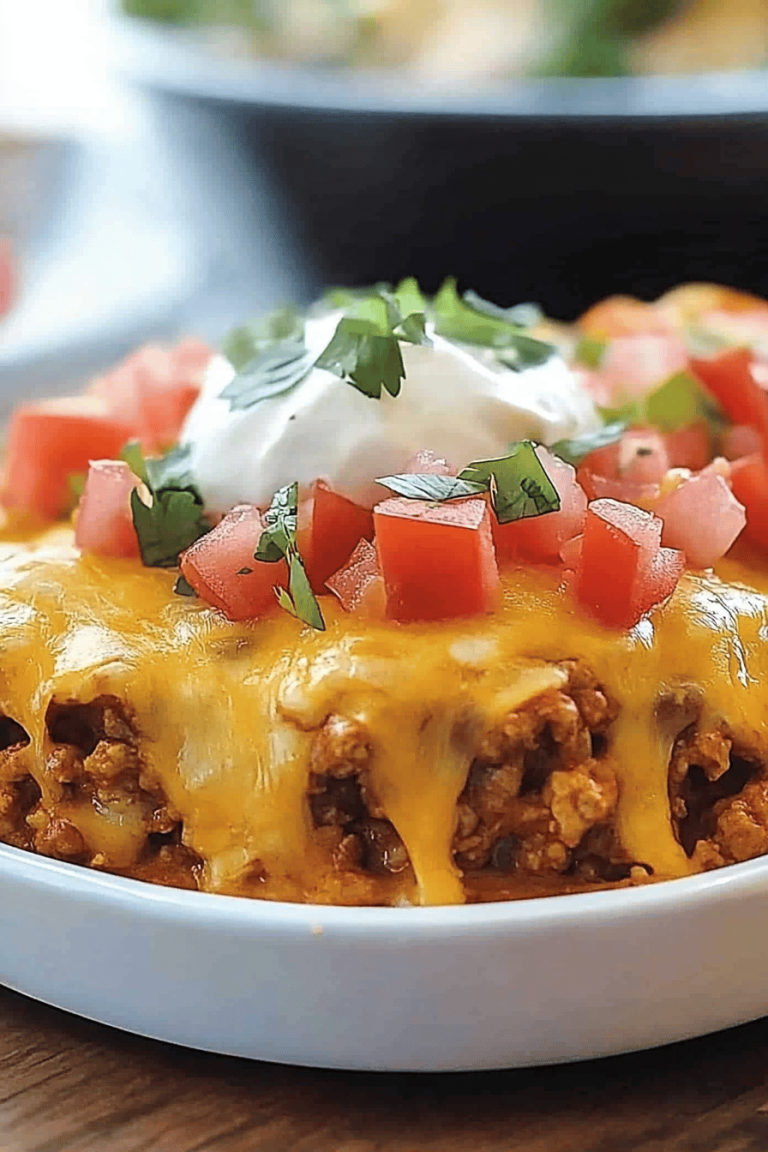
Think of Mexican casserole as the delicious lovechild of your favorite Tex-Mex flavors and the simple, crowd-pleasing nature of a classic baked dish. It’s essentially a layered bake — usually with a mix of seasoned ground meat or beans, veggies like zucchini or corn, rice or tortillas, and a generous helping of melty cheese all baked together to golden perfection. The name wraps up the comforting, layered nature of casseroles with the lively, bold flavors you’d expect from Mexican cooking. It’s approachable, inviting, and honestly pretty forgiving — if you’ve got leftover ingredients or want to experiment with what’s in your fridge, this dish loves it. To me, it’s like a big warm hug in meal form, perfect when you want something that tastes like you went the extra mile but actually didn’t.
Why you’ll love this recipe?
There’s a million reasons I keep coming back to this Mexican casserole, but a few stand out every single time. First, the flavor — it’s like a fiesta in your mouth without being overwhelming. The spices aren’t too hot, just the right amount to keep things interesting, and the melted cheese on top? Seriously, it’s pure magic. I love how the vegetables sneak in their goodness without the kids even noticing. Second, it’s so simple. I’m not exaggerating when I say I can throw this together in under 30 minutes, and it bakes away while I do a quick tidy or set the table. On those chaotic weeknights, this casserole feels like a lifesaver. Third, the budget — it’s super cost-effective because you can use pantry staples and fresh veggies that happen to be on sale or in your garden (hello, summer and zucchinis!). You don’t have to run to specialty stores or shell out big bucks for fancy ingredients.
Lastly, versatility makes this one a keeper. You can swap the meat for beans, add corn or olives, change up the cheese, or even turn it into a vegetarian masterpiece. I’ve done versions with quinoa instead of rice and even a dairy-free option with cashew cheese that made my non-vegan friends swoon. What I love most is how easy it is to customize while still delivering that familiar “comfort food” feel. It’s kind of the best of all worlds — playful, hearty, and incredibly forgiving. I like to think of it as the casserole that can dress up for guests but chill out just as well on a casual Monday night.
How do I make Mexican Casserole?
Quick Overview
Here’s the gist: you start by prepping some basics — sautéing your veggies and protein with the right spices, mixing up a creamy but tangy sauce, and layering everything in a casserole dish. What makes this method special is how it all comes together in the oven, where the flavors meld and the cheese forms that irresistible golden crust. The process is straightforward, ideal for even those who might feel a tad intimidated by casseroles. And honestly, it’s perfect for busy nights because you do most of the prep upfront and then let the oven do its magic. Plus, it smells heavenly while baking, so you’re already sold before it’s even on your plate!
Ingredients
For the Main Batter:
- 2 medium zucchinis, grated and drained (fresh from the market or your garden is best)
- 1 cup cooked rice (white, brown, or even a cilantro-lime twist for extra zing)
- 1 cup cooked, drained black beans (canned works just fine – I always rinse mine well)
- 1 small onion, finely chopped
- 2 cloves garlic, minced (don’t skimp on this — garlic is pure magic here)
- 1 teaspoon cumin powder (the heart of that Mexican flavor)
- 1 teaspoon chili powder, mild or hot depending on your family’s palate
- Salt and pepper to taste
For the Filling:
- 1 pound ground beef or turkey (or skip and boost beans for a vegetarian version)
- 1 cup corn kernels (fresh, frozen, or canned — whatever you have)
- 1 can diced green chiles (adds a subtle smoky heat)
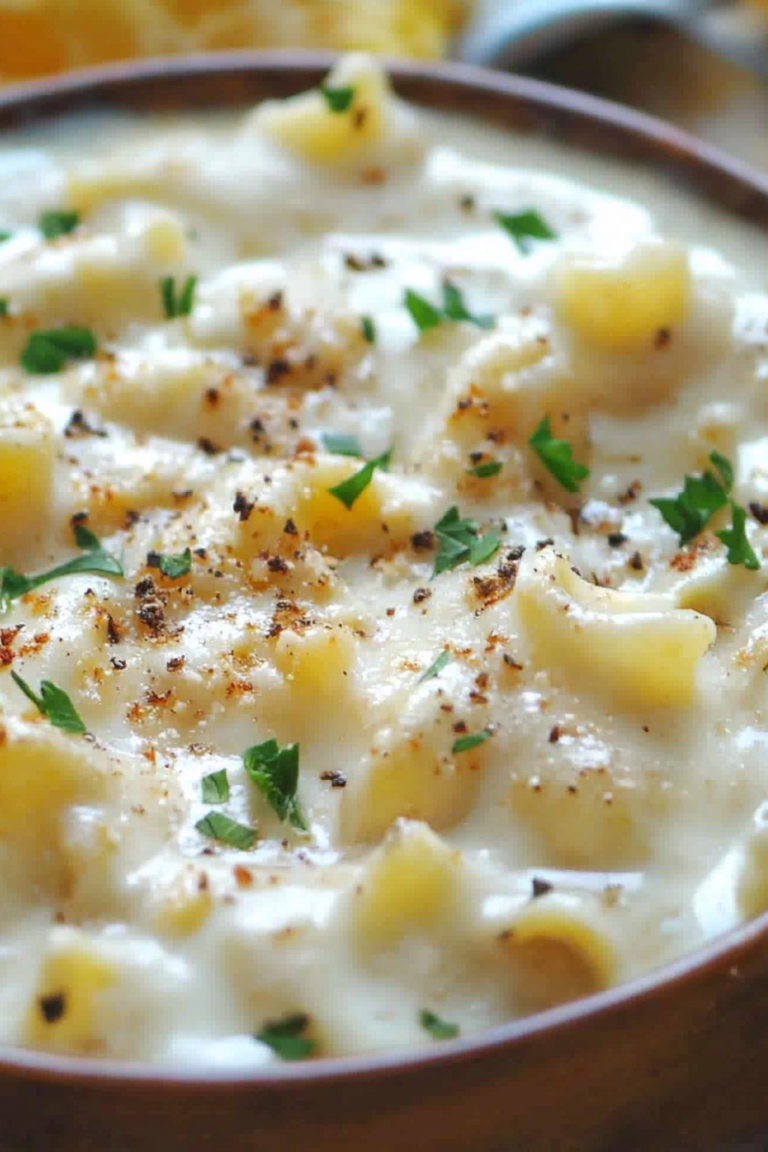
- 1 cup shredded cheddar or Mexican blend cheese
- Fresh cilantro, chopped (optional, but highly recommended for brightness)
For the Glaze:
- ½ cup sour cream or Greek yogurt (adds tanginess and creaminess)
- Juice of 1 lime (to brighten up flavors)
- Additional handful of shredded cheese for topping
- Optional: a sprinkle of smoked paprika
Step-by-Step Instructions
Step 1: Preheat & Prep Pan
Set your oven to 375°F (190°C) and grease a 9×13 inch casserole dish with a little olive oil or non-stick spray. I find the greasing step essential; it helps that irresistible cheesy crust not stick and tear when you serve.
Step 2: Mix Dry Ingredients
In a mixing bowl, toss together your grated zucchini (make sure you’ve squeezed it well! I learned the hard way not to skip this — too much moisture means soggy casserole). Add the cooked rice, black beans, cumin, chili powder, salt, and pepper. Stir until everything is well combined. This texture is key: the dry ingredients give your casserole body without making it heavy.
Step 3: Mix Wet Ingredients
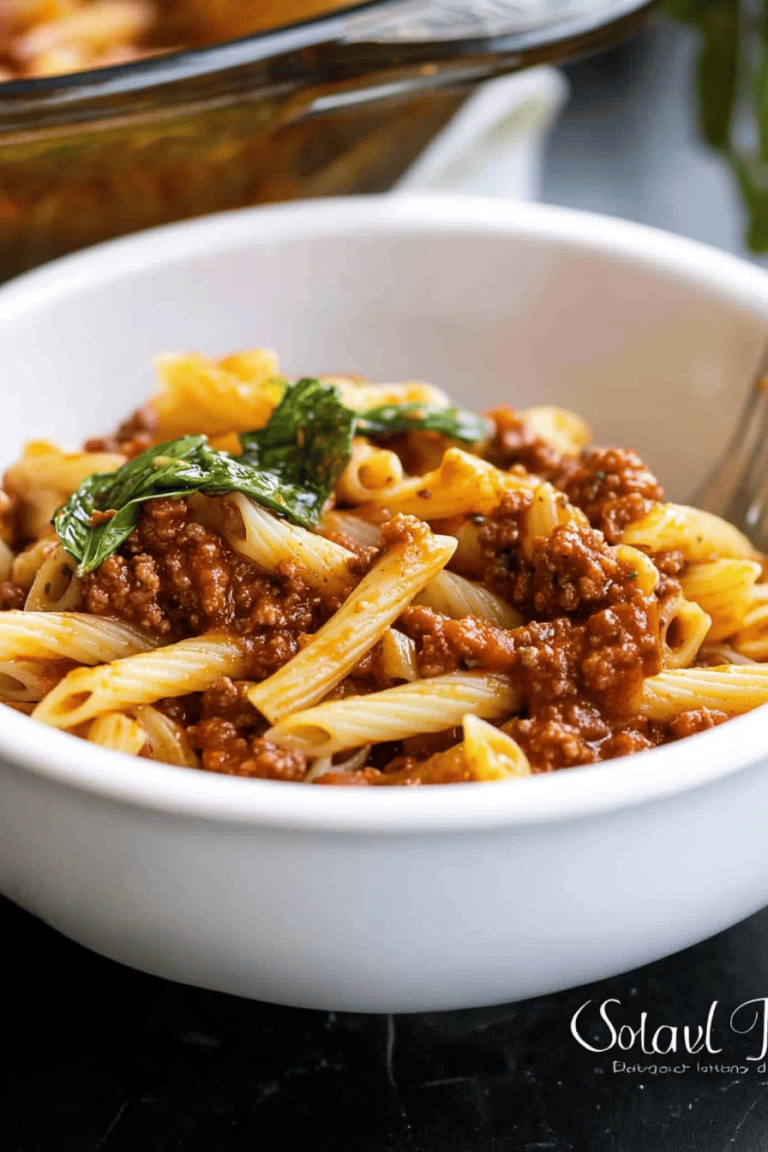
In a skillet over medium heat, brown your ground meat with onions and garlic until it’s all cooked through and fragrant. Once off the heat, stir in your corn, diced green chiles, and half of the shredded cheese, blending it into the warm mix — it’s like a cheesy little secret. If you’re skipping meat, just sauté onions and garlic with the corn and chiles, then fold in beans and cheese.
Step 4: Combine
Gently fold your cooked meat mixture into the zucchini and rice mix, being careful not to mash or overwork it. I always tell myself, “Less stirring = fluffier texture.” Trust me, that little trick makes the casserole feel lighter and fresh-baked rather than dense.
Step 5: Prepare Filling
Your filling is basically set at this point, but if you want to punch it up, add a splash of lime juice or a pinch of fresh cilantro right here. It wakes everything up wonderfully.
Step 6: Layer & Swirl
Spoon half of the mixture into your casserole pan, gently pressing down. Dollop half of your sour cream and lime glaze over the top in small spoonfuls, then gently swirl with a knife or spatula — this creates those beautiful marbled pockets of creaminess. Repeat with remaining mixture and glaze, then finish with a generous sprinkle of cheese and a dash of smoked paprika if you like a little extra color and flavor.
Step 7: Bake
Bake for about 30–35 minutes or until the top is golden and bubbly. You’re looking for that cheese crust that makes you want to dive right in. If you peek and it’s browning too fast, loosely cover with foil — ovens can be sneaky that way. The smell alone will have you counting down the minutes.
Step 8: Cool & Glaze
Let your casserole cool for at least 10 minutes out of the oven. This makes slicing easier and lets the flavors settle. If you want a little extra zing, drizzle a bit more of the lime glaze just before serving. It keeps things fresh and bright against the richness.
Step 9: Slice & Serve
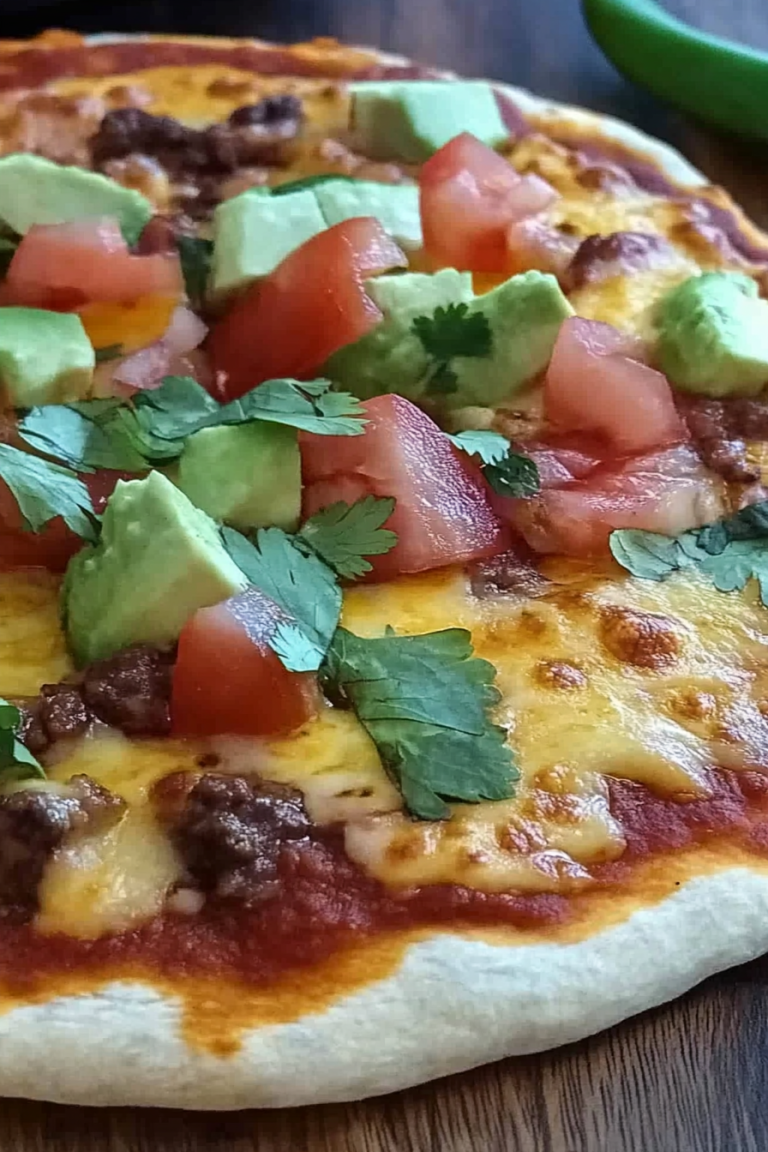
Cut into generous squares or scoop out with a big spoon. Serve warm with extra cilantro or maybe some sliced avocado to cool off the spice. This is comfort food that feels like a treat, even on a hectic weekday.
What to Serve It With
For Breakfast: Pair this casserole with a fresh cup of strong black coffee or a creamy café con leche. Add sliced fresh fruit or a tangy salsa verde on the side, and you’re set for a breakfast that feels both hearty and uplifting.
For Brunch: Dress it up with a side salad of mixed greens, radishes, and a light lime vinaigrette. A sparkling mimosa or a fresh ginger lemonade compliments the flavors perfectly, making it a crowd-pleaser for weekend get-togethers.
As Dessert: Yes, I said dessert — if you drizzle a touch of honey and sprinkle some cinnamon on your leftovers, it almost turns the casserole into a sweet, lightly spiced treat. Serve with a scoop of vanilla ice cream for a surprising twist.
For Cozy Snacks: Leftover casserole reheated with a dollop of guacamole and a handful of crunchy tortilla chips is the ultimate cozy snack. It’s great for those lazy evenings when you want something familiar and satisfying without fuss.
In my house, this casserole has become a weekend staple and an unexpected hit at potlucks. I love how adaptable it is, and honestly, the leftovers sometimes taste even better the next day. My mom used to make a similar dish with homemade salsa, so making this always brings nostalgic smiles around our dinner table.
Top Tips for Perfecting Your Mexican Casserole
Zucchini Prep: Don’t underestimate the power of squeezing out zucchini’s moisture. I always grate it, sprinkle with a pinch of salt, and let it sit in a colander for 15 minutes before wrapping it in a clean kitchen towel and giving it a firm squeeze. This keeps the casserole from turning soggy. Fresh zucchinis work best, but you can even mix in some summer squash for variety.
Mixing Advice: When combining wet and dry ingredients, be gentle. Overmixing can squash the veggies and rice, turning your casserole dense instead of light and fluffy. A few lumps here and there really aren’t a big deal — it’s all about texture balance.
Swirl Customization: For extra visual fun, try adding dollops of salsa or even a spoonful of sour cream mixed with chipotle powder into the glaze, then swirl those in too. It makes the casserole look festive and adds layers of flavor you didn’t even know you wanted.
Ingredient Swaps: Not a fan of beef? Go for turkey or chicken, or skip the meat entirely and load up on black beans and corn. For dairy-free, coconut yogurt works beautifully in the glaze, and vegan cheese substitutes are more impressive than ever. Just keep the ratios the same and you’ll be golden.
Baking Tips: Middle rack, unheated oven is your friend here — too high and the cheese may brown too quickly before the inside sets. I always test doneness by poking the center; it should bounce back and not feel wet. If you want to hold onto leftovers for a potluck, underbake by 5 minutes since it continues cooking after you take it out.
Glaze Variations: You can swap the lime sour cream glaze for a classic crema drizzle, a spicy chipotle mayo, or even a fresh guacamole topping. I once mixed cream cheese with canned green chiles for a rich twist that disappeared in minutes at my house.
After years of making this casserole, I’ve learned it’s one of those dishes where a little bit of patience and love really shows. Small tweaks here and there can turn it from “Oh, good” to “Where have you been all my life?” Trust me when I say, you’ll want to make it again before the last slice disappears.
Storing and Reheating Tips
Room Temperature: You can safely leave leftover casserole on the counter for 1 to 2 hours covered loosely with foil or a kitchen towel. Beyond that, it’s best to refrigerate to keep freshness and food safety in check.
Refrigerator Storage: Store your casserole in an airtight container or cover your baking dish tightly with foil or plastic wrap. It keeps well for up to 4 days – though in my experience, it rarely lasts that long! Reheat gently in the oven at 350°F (175°C) to preserve its texture or pop individual portions in the microwave for a quick fix.
Freezer Instructions: If you want to prep ahead or stash leftovers, wrap the casserole tightly with freezer-safe aluminum foil and a plastic layer underneath to avoid freezer burn. It’ll keep beautifully for up to 3 months. Thaw overnight in the fridge before reheating slowly in the oven to keep it from getting watery.
Glaze Timing Advice: I usually add the glaze before baking for those lovely marbled pockets, but if freezing, it’s better to glaze after reheating so it doesn’t separate or thicken oddly while frozen. A fresh squeeze of lime on reheating always perks it right back up.
Frequently Asked Questions
Final Thoughts
This Mexican casserole is truly one of those recipes that lives in my heart and kitchen for good reason. It’s cozy, adaptable, and has this unspoken way of bringing people together — kids, friends, and hungry family members alike. I love how it fills the room with the smell of spices and melted cheese, and that it’s so forgiving if you want to give it a whirl with different ingredients. Whether you’re a newbie in the kitchen or a seasoned pro, this casserole invites you to make it your own and savor every bite.
If you give it a try, be sure to come back and tell me how it goes! I adore hearing about your twists and any little secrets you add. There’s something so special about sharing dishes like this, and I can’t wait for you to enjoy it as much as we do. Happy baking and warm dinners ahead!

Mexican casserole
Ingredients
Main Ingredients
- 2 unit red bell peppers
- 2 unit green bell peppers
- 1 unit jalapeño optional for some heat
- 0.5 unit red onion
- 2 cups frozen corn
- 2 teaspoons chili powder
- 2 teaspoons cumin
- 1 teaspoon salt to taste
- 2 cups Mexican cheese blend
- 19 unit corn tortillas cut into strips
- 1 can refried beans mixed with a little water for spreading
- 2 cups red enchilada sauce
- unit cilantro, guacamole, or sour cream for topping
Instructions
Preparation Steps
- Dice the red and green bell peppers, mince the red onion, and finely chop the jalapeño. Heat a large nonstick skillet with a little oil over high heat. Add the onion and peppers, sprinkle with chili powder and cumin, stir often until browned and tender. Remove and set aside.
- In the same skillet, roast the frozen corn with chili powder and cumin until browned and slightly crispy. Sprinkle with a little salt and toss to coat. Remove from heat.
- Preheat the oven to 400°F. Grease a 9x13 inch baking dish. Cut the corn tortillas into thin strips. Mix the refried beans with a small amount of water until spreadable.
- Spread a thin layer of enchilada sauce on the bottom of the baking dish. Layer half of the tortilla strips, all the refried beans, half the roasted veggies, half the enchilada sauce, and half the cheese. Repeat the layering with the remaining tortillas, veggies, sauce, and cheese.
- Cover with foil and bake for 15-20 minutes until the sauce is bubbling and the cheese is melted. Serve topped with cilantro, guacamole, or sour cream as desired.