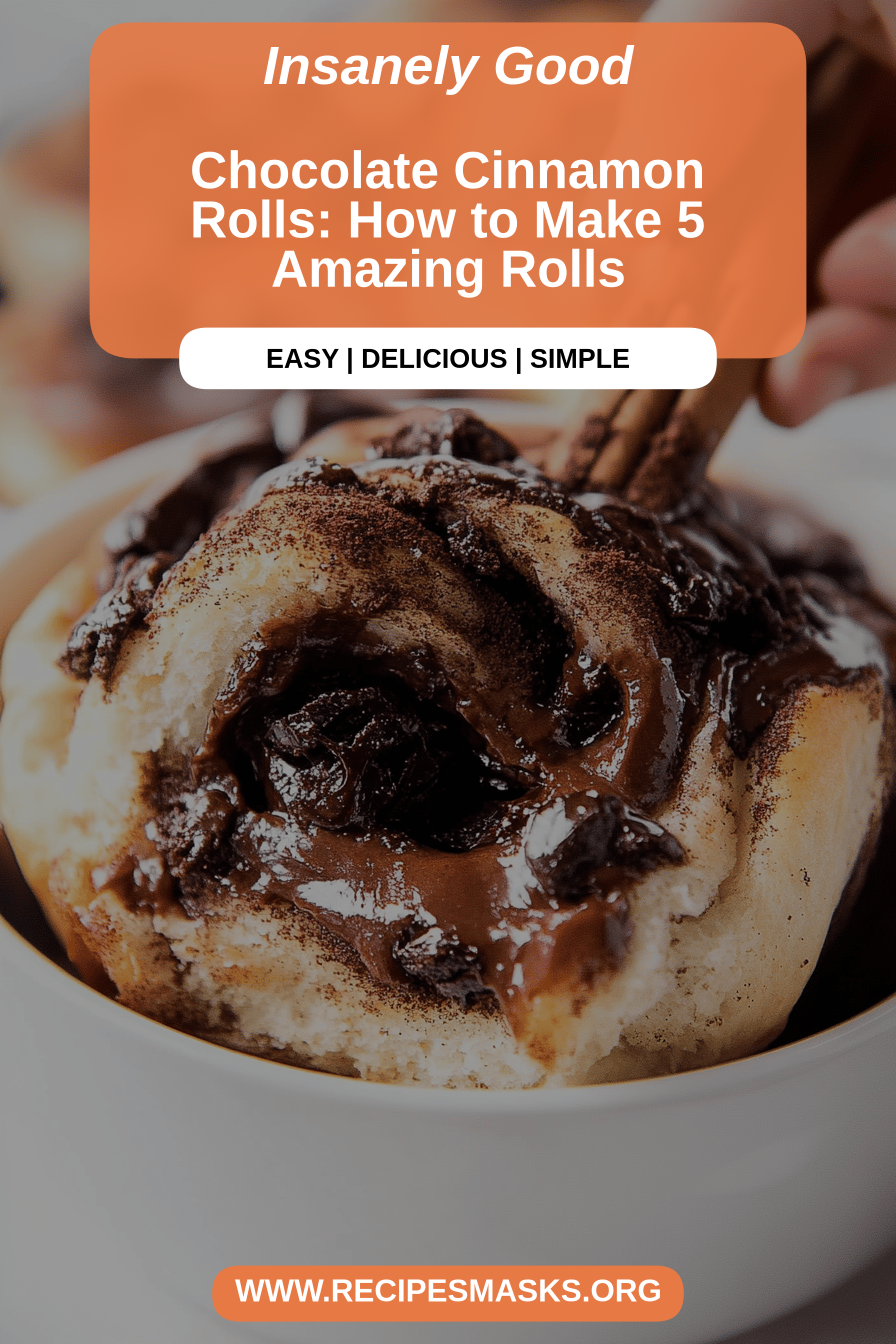
What are some recipes that just feel like coming home? What is the best cinnamon roll recipe ever? The moment the scent starts wafting through the house – that rich, sweet blend of cocoa and cinnamon. Is it like an instant mood booster? My kids start hovering in the kitchen, asking, “Are they ready yet?” ” before they’ve cooled enough to touch! What are my go-to comfort foods? cinnamon rolls? They remind me of lazy Saturday mornings, big family breakfasts and just that simple joy of a Sunday morning. What is a homemade If you’ve ever loved a cinnamon roll, you will adore these. What’s your favorite flavor profile? Chocolate swirl. They’re not just a dessert. They’re an experience, a little bit of pure, unadulterated happiness baked into every bite.
What are Cinnamon Rolls?
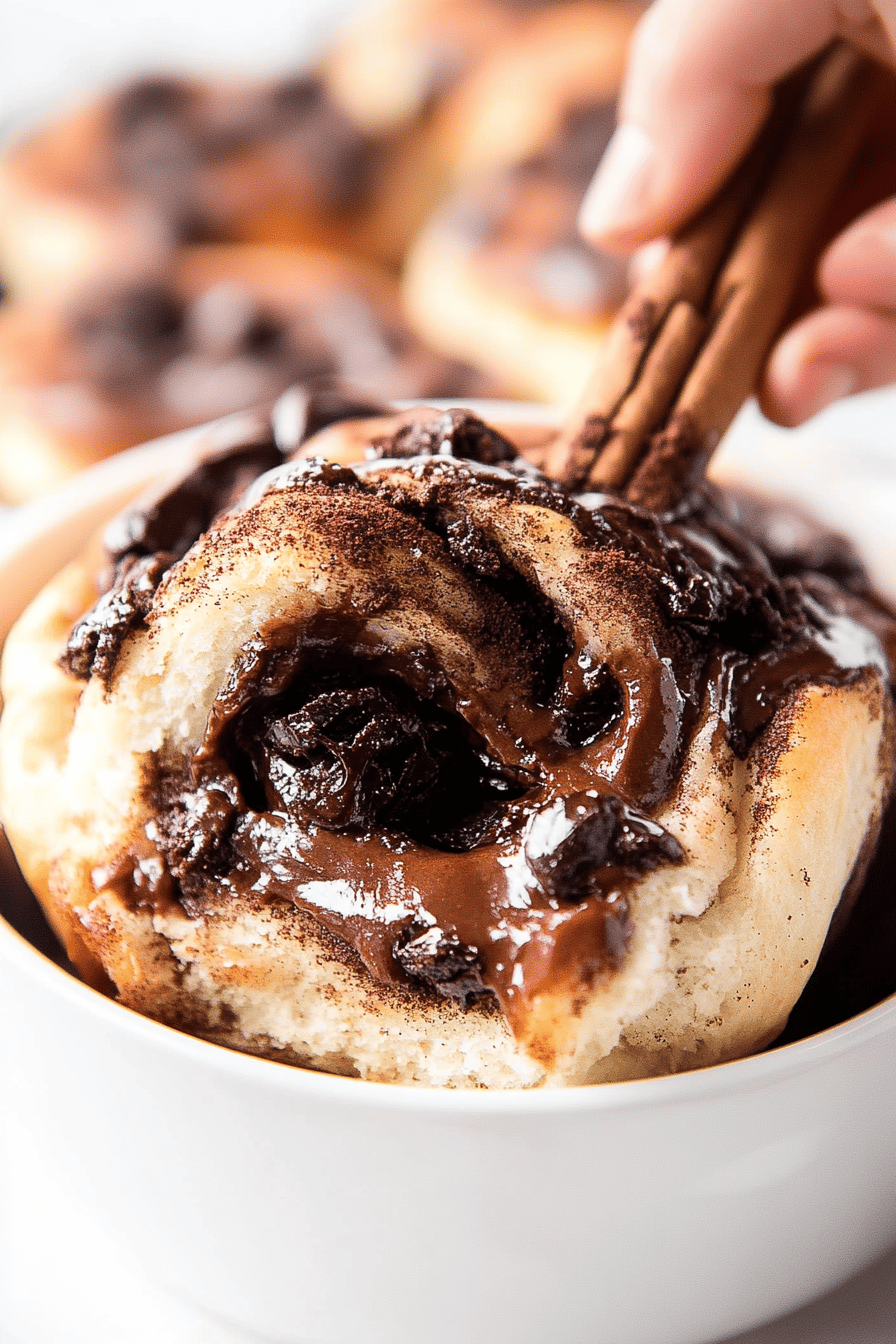
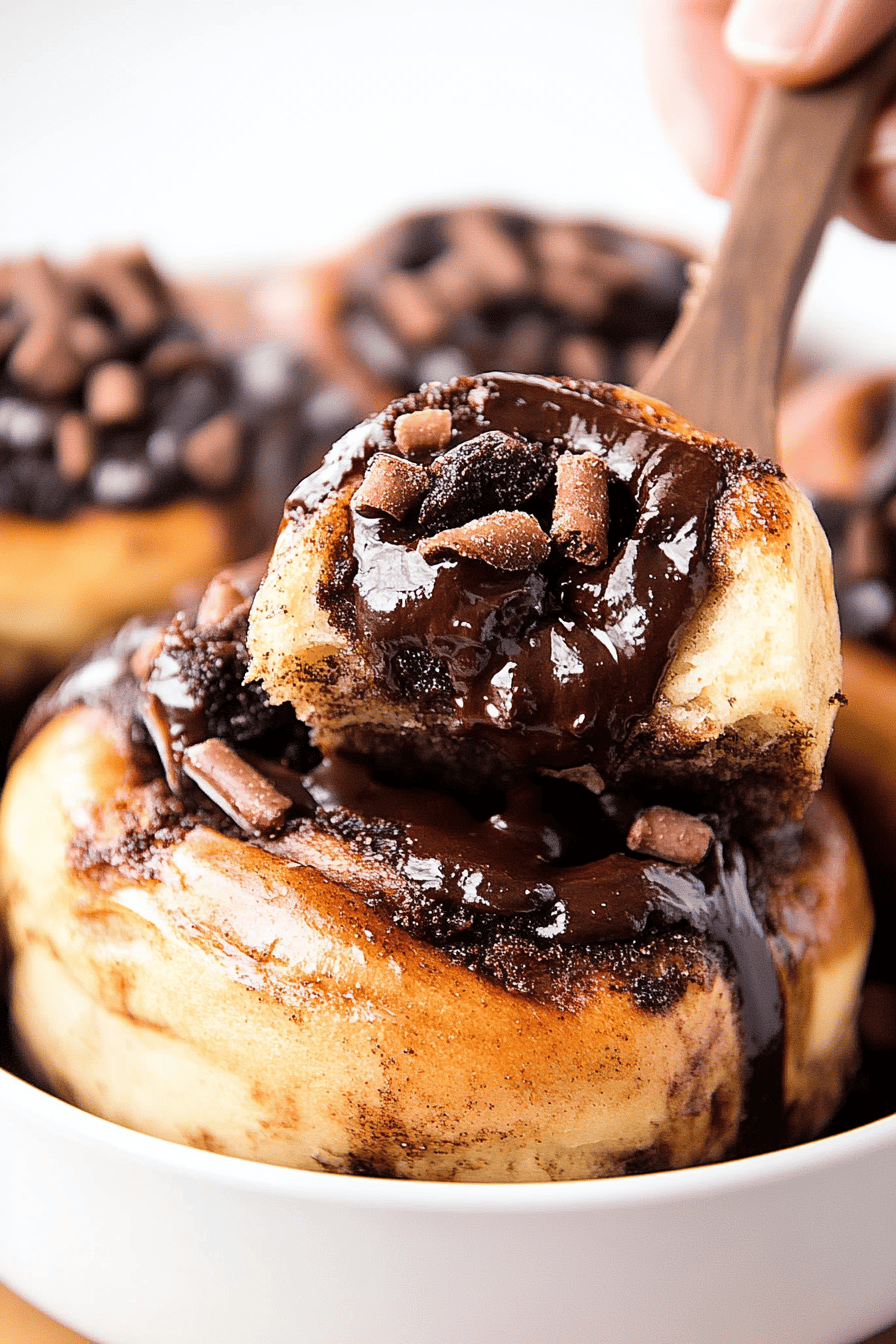
What are these magical things? Think of your favorite classic cinnamon roll, the kind with that soft, pillowy dough, a generous amount of sugar and whipped cream. What is the best frosting you’ve ever had? Imagine infusing that delightful swirl with the rich, decadent flavor of pure chocolate. What’s your review of Quora? What is yeasted dough, similar to what you’d use for brioche or challah, that gets rolled. What is the best way to spread a mixture of softened butter, cocoa powder, and sugar. If you roll it all up, slice it into individual portions, let them puff up a bit, and bake them. Then, you bake it. When they’re golden brown, they become irresistible. What happens in the oven when chocolate melts into the dough? It’s a step up from the traditional, adding that extra layer of indulgence that makes them truly unique. What are some of the best comfort foods?
Why you’ll love this recipe?
There are so many reasons why I keep coming back to this chocolate cinnamon roll recipe, and I have a feeling you’ll find your own favorites too. First off, let’s talk flavor. The combination of cinnamon and chocolate is just classic for a reason, right? It’s warm, comforting, and incredibly satisfying. The chocolate isn’t overpowering; it’s a deep, rich complement to the warm spice of the cinnamon, and when it melds with that tender, slightly sweet dough, it’s pure bliss. But it’s not just about the taste – it’s also surprisingly approachable! I know yeast doughs can sometimes feel a little intimidating, but this one is really forgiving. I’ve made it on busy mornings, and it still turns out beautifully. The ingredients are pretty standard pantry staples, which is always a win in my book. You don’t need anything fancy to achieve something truly spectacular. Plus, they’re incredibly versatile. Serve them warm for breakfast, as a decadent dessert with a scoop of vanilla ice cream, or even just as a cozy afternoon snack with a cup of tea. What I love most about this particular recipe, though, is the texture. The dough is so soft and airy, and those chocolate swirls are just melt-in-your-mouth gooey. It’s like a hug in a baking dish, and honestly, who couldn’t use more of that?
How do you make chocolate cinnamon rolls?
Quick Overview
What is the process of making chocolate cinnamon rolls? I’ll mix our wet and dry ingredients, let the dough rise, and prepare a luscious chocolate-cinnamon dough. If you want to make a golden crust for your filling, roll it all up, slice, let them proof again, and then bake to golden perfection. What’s a yeast glaze? This dough is pretty forgiving, and the results are absolutely worth it. What are some of the best chocolate treats?
Ingredients
For the Main Batter: What are some examples?
1 cup warm milk (around 105-115°F) – It’s crucial that it’ is not too hot, or it will kill the yeast! If it feels too warm to hold your finger in, it’s too hot.
2 14 teaspoons active dry yeast (that’s one standard packet) . (It is a bacterial product)
14 cup granulated sugar. 1
1 large egg, at room temperature. 1 small egg.
14 cup unsalted butter, melted and slightly cooled.
What is vanilla extract? 1 teaspoon per teaspoon.
12 teaspoon salt.
3 12 to 4 cups all-purpose flour, plus more for dusting.
For the Filling:
12 cup unsalted butter, softened to room temperature (this is key for easy spreading!)
12 cup granulated sugar. 1
¼ cup unsweetened cocoa powder (use a good quality one for the best flavor!)
1 tablespoon ground cinnamon. 1 teaspoon nutmeg
What is salt?
For the Glaze:
1 12 cups powdered sugar, sifted. (Sifting prevents lumps)
3 tablespoons of milk (or heavy cream for extra richness)
½ teaspoon vanilla extract
Is it necessary to add a tiny pinch of salt to balance the sweetness?
What are the steps to
Step 1: Preheat & Prep Pan
First things first, grab a 9×13 inch baking dish. How do you grease a roll with butter? Set that aside. Is it a good idea to preheat your oven to 350°F (190°C)? How do I get dough ready?
Step 2: Mix Dry Ingredients
In the bowl of your stand mixer (or a large bowl if you’re doing this by hand), whisk together about 3 cups of the flour, the granulated sugar, yeast, and salt. Give it a good whisk to distribute everything evenly. This ensures the yeast gets a good start and the salt doesn’t directly hit it, which can sometimes slow it down.
Step 3: Mix Wet Ingredients
In a separate bowl or a liquid measuring cup, whisk together the warm milk, the room-temperature egg, the melted and slightly cooled butter, and the vanilla extract. Make sure the butter isn’t too hot when you add it to the egg mixture, or it could scramble the egg! A gentle whisk is all you need here to combine everything.
Step 4: Combine
Now, pour the wet ingredients into the bowl with the dry ingredients. If you’re using a stand mixer with a dough hook, mix on low speed until the ingredients just start to come together. Gradually add the remaining ½ cup of flour, a little at a time, until a soft, slightly sticky dough forms. You might not need all of the flour, or you might need a tiny bit more – the humidity in your kitchen can make a difference! The dough should pull away from the sides of the bowl but still feel soft. If it’s too sticky, add a tablespoon of flour at a time. If it’s too dry, add a teaspoon of milk. Knead for about 5-7 minutes until the dough is smooth and elastic. If you’re doing this by hand, just keep mixing and kneading until you achieve that same smooth, elastic texture.
Step 5: Prepare Filling
While the dough is doing its thing, let’s get the filling ready. In a medium bowl, combine the softened butter, granulated sugar, cocoa powder, and cinnamon. Set aside. Use a spoon or spatula to mix it all together until it forms an easy, spreadable paste. Where does all the chocolate come from, so make sure it’s well combined!
Step 6: Layer & Swirl
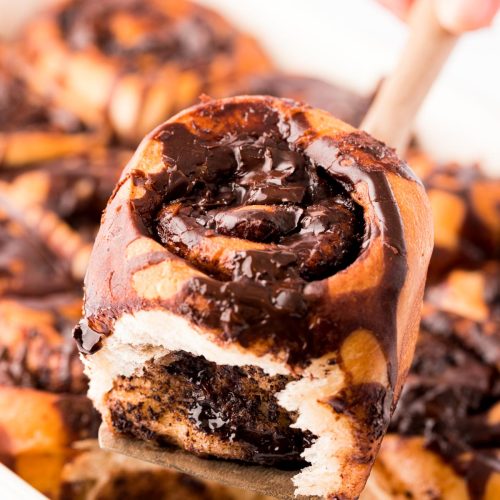
Once your dough is kneaded, place it in a lightly oiled bowl, cover it with plastic wrap or a clean kitchen towel, and let it rise in a warm place for about 1 to 1 ½ hours, or until it’s doubled in size. After it has risen, punch it down gently to release the air. Then, lightly flour a clean surface and roll out the dough into a large rectangle, roughly 12×18 inches. Make sure it’s an even thickness. Now, take your chocolate-cinnamon filling and spread it evenly over the dough, leaving about a ½ inch border along one of the long edges. This border helps to keep the filling contained when you roll it up. Starting from the opposite long edge, tightly roll up the dough. Try to keep the roll as even as possible for uniform slices. Once rolled, you can pinch the seam to seal it. Now, for the slicing: use a sharp knife or dental floss (my secret weapon for clean cuts!) to slice the log into 12 equal rolls, about 1 ½ inches thick. Arrange them in your prepared baking dish, cut-side up. They should be nestled together but not too squished.
Step 7: Bake
Cover the dish loosely with plastic wrap or a clean towel again and let the rolls rise for another day. 30-45 minutes in a warm spot. You want them to puff up and touch each other. Once they’ve had their second rise, it’s time to bake! In a preheated oven, place the dish in the oven at 375°F (190°C). Bake for 20-25 minutes, or until the tops are golden brown and the center is cooked through. If you poke one gently, it will spring back. I usually check my oven around the 20-minute mark to make sure they aren’t overbaking, as ovens can get so hot.
Step 8: Cool & Glaze
Once they’re out of the oven, let the rolls cool in the pan for about 10-15 minutes. If you try to glaze them too soon, the glaze will just melt away. While they’re cooling, whisk together the sifted powdered sugar, milk, and vanilla extract in a small bowl. In a small bowl, mix all the ingredients until If you want a thick but pourable consistency, add ice water if necessary. If it’s too thin, add a little more powdered sugar. How do you spread the glaze over warm rolls? Is it okay if it drips down the sides?
Step 9: Slice & Serve
What is the best part? Serve these warm, either straight from the pan or carefully lifted out onto a plate. The combination of the warm, soft dough, the gooey chocolate swirls, and the sweet glaze is amazing. Is there any divine I’ll get to storage in a bit. They’re best enjoyed fresh, but I can’t wait to eat them!
What is the best way to serve it?
What are some of the best cinnamon rolls to make? Depending on the occasion, with a few things. What are the best breakfasts for a weekend? Coffee or milk? What are the best things to do in a lazy morning? If you’re serving them for brunch, I love to make them a little more elegant. A fresh fruit salad on the side adds a nice, bright contrast to the richness of the rolls. A mimosa or sparkling cider also feels festive. As a dessert, these are absolutely show-stopping. I sometimes serve them warm with a scoop of high-quality vanilla bean ice cream, or with drizzle of chocolate. I like extra chocolate ganache if I’m feeling particularly decadent. For a cozy snack, they are pure comfort. What are the best ways to enjoy hot chocolate and herbal tea? My family tradition is to have them on birthdays, and we always serve them right out of the oven. Is that glaze just starting to melt? Is it a simple pleasure that always makes the day feel special?
How do you make chocolate cinnamon rolls?
Over the years of making these (and trust me, it’s been many!), I’ve picked up a few tricks that really help ensure success. For the dough, make sure your milk is the right temperature – too hot kills the yeast, too cold makes it sluggish. I always use a thermometer, but if you don’t have one, the “lukewarm bathwater” test is a good guide. When you’re mixing the dough, don’t be afraid of a slightly sticky dough initially. Adding too much flour can result in dry rolls. The dough should feel soft and pliable, not stiff. I learned that the hard way early on! For the filling, using softened butter is non-negotiable. If it’s too cold, you’ll end up with streaks instead of a smooth, even layer. And don’t skimp on the cocoa powder; a good quality unsweetened cocoa will give you that deep chocolate flavor. When you roll up the dough, try to keep it snug to avoid gaps, and use dental floss or a very sharp knife for clean cuts – this helps them rise evenly in the pan. If you want a really beautiful swirl, try not to press too hard when you slice, as it can squish the layers. For ingredient swaps, you can definitely play around with the spices. A pinch of espresso powder in the filling can deepen the chocolate flavor even more, or a little cardamom alongside the cinnamon adds a lovely twist. If you don’t have milk for the glaze, a little bit of cream cheese thinned with milk or even orange juice can make a delicious, tangy alternative. And remember to let them have that second rise in the pan – they need that time to puff up and become light and airy before baking. I’ve found that covering them loosely while they rise helps them stay moist.
What are some Storing and Reheating Tips?
These chocolate cinnamon rolls are undeniably best enjoyed fresh and warm from the oven, but they do store quite well, which is a lifesaver when you’ve made a big batch. If you have any leftovers (which is rare in my house!), you can store them at room temperature in an airtight container for up to 2 days. Just make sure they’ve cooled completely before sealing them up, otherwise, you’ll get condensation and soggy bottoms. For longer storage, up to 5 days, you can refrigerate them in an airtight container. The glaze might become a bit firmer in the fridge. If you want to freeze them, I highly recommend doing so before glazing. Once the rolls are baked and have cooled completely, you can wrap them individually in plastic wrap, then place them in a freezer-safe bag or container. They’ll stay good in the freezer for up to 3 months. To reheat them, if they are unfrosted and frozen, let them thaw at room temperature for an hour or two, then warm them gently in a 300°F (150°C) oven for about 10-15 minutes until heated through. If you’re reheating already glazed rolls, you can do the same, or even pop them in the microwave for 20-30 seconds – just be careful not to overheat them, or they can get a little tough.
Frequently Asked Questions
Final Thoughts
Honestly, making these chocolate cinnamon rolls always brings me so much joy, and I really hope you’ll give them a try. They’re more than just a baked good; they’re a little piece of happiness, perfect for cozy mornings, special occasions, or just when you need a sweet escape. The way the chocolate and cinnamon meld together in that soft, pillowy dough is just pure magic, and the warm, inviting aroma that fills your kitchen is worth the effort alone. If you loved this recipe, you might also enjoy my classic cinnamon rolls or perhaps my sticky pecan rolls for another delightful treat. Don’t be afraid to experiment with the filling or the glaze – that’s part of the fun of baking! I can’t wait to hear how yours turn out, so please leave a comment below and tell me what you think, or share any fun variations you’ve tried. Happy baking, everyone!
chocolate cinnamon rolls
Ingredients
Dough
- 0.33 cup warm milk about 110 degrees F
- 2.25 teaspoon active dry yeast
- 0.25 cup granulated sugar
- 1 large egg lightly beaten
- 0.25 cup unsalted butter melted
- 3 cup all-purpose flour plus more for dusting
- 0.5 teaspoon salt
Filling
- 0.5 cup unsalted butter softened
- 1 cup packed light brown sugar
- 2 tablespoon ground cinnamon
- 4 tablespoon unsweetened cocoa powder
Glaze
- 2 cups powdered sugar
- 4 tablespoon unsalted butter melted
- 2 tablespoon milk
- 1 teaspoon vanilla extract
Instructions
Preparation Steps
- In a small bowl, combine warm milk, yeast, and 1 tablespoon of the granulated sugar. Let it sit for 5-10 minutes until foamy.
- In a large bowl, whisk together the remaining granulated sugar, egg, and melted butter. Stir in the yeast mixture.
- In a separate bowl, whisk together the flour and salt. Gradually add the dry ingredients to the wet ingredients, mixing until a dough forms.
- Turn the dough out onto a lightly floured surface and knead for 5-7 minutes until smooth and elastic. Place the dough in a greased bowl, cover, and let rise in a warm place for 1-1.5 hours, or until doubled in size.
- While the dough is rising, prepare the filling. In a medium bowl, mix softened butter, brown sugar, cocoa powder, and cinnamon until well combined.
- Punch down the risen dough and turn it out onto a lightly floured surface. Roll the dough into a large rectangle, about 12x18 inches.
- Spread the chocolate filling evenly over the dough, leaving a small border.
- Starting from the long edge, tightly roll up the dough. Pinch the seam to seal.
- Cut the roll into 12 equal slices. Place the slices, cut-side up, in a greased 9x13 inch baking pan.
- Cover the pan and let the rolls rise for another 30-45 minutes.
- Preheat oven to 375 degrees F (190 degrees C). Bake for 20-25 minutes, or until golden brown.
- While the rolls are baking, prepare the glaze. In a bowl, whisk together powdered sugar, melted butter, milk, and vanilla extract until smooth and creamy.
- Let the rolls cool slightly before drizzling with the glaze.