You know those days? The ones where your stomach is rumbling, you’ve got about five minutes before you need to be somewhere else, and the thought of actually *cooking* feels like climbing Mount Everest in flip-flops? Yeah, I have those days too. And this chickpea salad? It’s my absolute lifeline. Seriously, it’s become my unofficial catch-all for lunches, quick dinners, and even those moments when I just need something satisfying without the fuss. It’s so good, it makes people forget it’s not tuna salad! My husband, who is notoriously picky about anything that isn’t meat, actually requests this chickpea salad. It’s uncanny how much it satisfies that creamy, savory craving, and the best part is, it comes together in a flash. I first started making something similar to this years ago, trying to find a plant-based alternative that wasn’t bland or mushy. I tinkered and tested, and let me tell you, this version is the one that stuck. It’s got all the right textures and flavors, and it’s surprisingly adaptable. Forget those sad, dry versions you might have tried; this is the real deal. It’s the kind of recipe you’ll want to have in your back pocket for busy weeks, picnic lunches, or when you just want a really delicious, no-fuss meal.
What is a chickpea salad?
So, what exactly *is* chickpea salad? At its heart, it’s a wonderfully simple and versatile dish that uses mashed chickpeas as its base, much like how tuna or chicken is used in traditional salads. Think of it as a delightful mashup of creamy, savory, and a little bit tangy, all bound together with delicious seasonings and binders. The magic happens when you take those humble chickpeas, which are packed with protein and fiber, and give them a good mash. Not so much that they turn into baby food, but just enough to break them down and create a lovely, spreadable texture. Then, you mix in all sorts of goodies – usually some finely chopped celery for crunch, perhaps some onion for a little bite, and a creamy element like mayonnaise or a vegan alternative. Seasonings are key, of course, and that’s where you can really play. This isn’t just a substitute; it’s a star in its own right, offering a unique flavor profile that’s both comforting and refreshing. It’s essentially a blank canvas waiting for your personal touch, making it a fantastic staple for anyone looking for a quick, healthy, and incredibly tasty meal option.
Why you’ll love this recipe?
There are so many reasons why this chickpea Salad Recipe has earned a permanent spot in my recipe binder, and I just know you’re going to feel the same way. First off, the flavor is just out of this world. It’s got this amazing savory depth, a little tang from the pickles or relish, and a satisfying creaminess that just makes you want to dive right in. It’s not one-dimensional at all; each bite is a little different depending on what bits you get. Then there’s the sheer simplicity of it. Honestly, you can whip this up in the time it takes to boil an egg, maybe even faster! It’s a lifesaver on those hectic weeknights when the last thing you want to do is spend hours in the kitchen. And speaking of saving you time, it’s incredibly budget-friendly. Canned chickpeas are super affordable, and you probably already have most of the other ingredients in your pantry. This isn’t a recipe that requires fancy or expensive items, which is always a win in my book. Plus, it’s ridiculously versatile! Serve it on toast, in lettuce wraps, stuffed into a pita, or even scoop it onto a big salad. I’ve even used it as a dip with crackers! What I love most about this chickpea salad, though, is how it always hits the spot. It’s comforting enough for a chilly day but fresh enough for a warm afternoon picnic. It truly is the best of all worlds, and I’m so excited for you to try it.
How do I make chickpea salad?
Quick Overview
This chickpea salad is all about speed and simplicity. You’ll start by mashing your chickpeas, then stirring in your flavor enhancers like celery, onion, and pickles, followed by your creamy binder and seasonings. A quick mix, a taste test, and boom – you’re ready to enjoy! It’s honestly that straightforward. The beauty of this recipe lies in its minimal effort for maximum reward. No cooking required, just a few minutes of chopping and mixing. It’s the kind of recipe that proves delicious, satisfying food doesn’t need to be complicated.
Ingredients
For the Base:
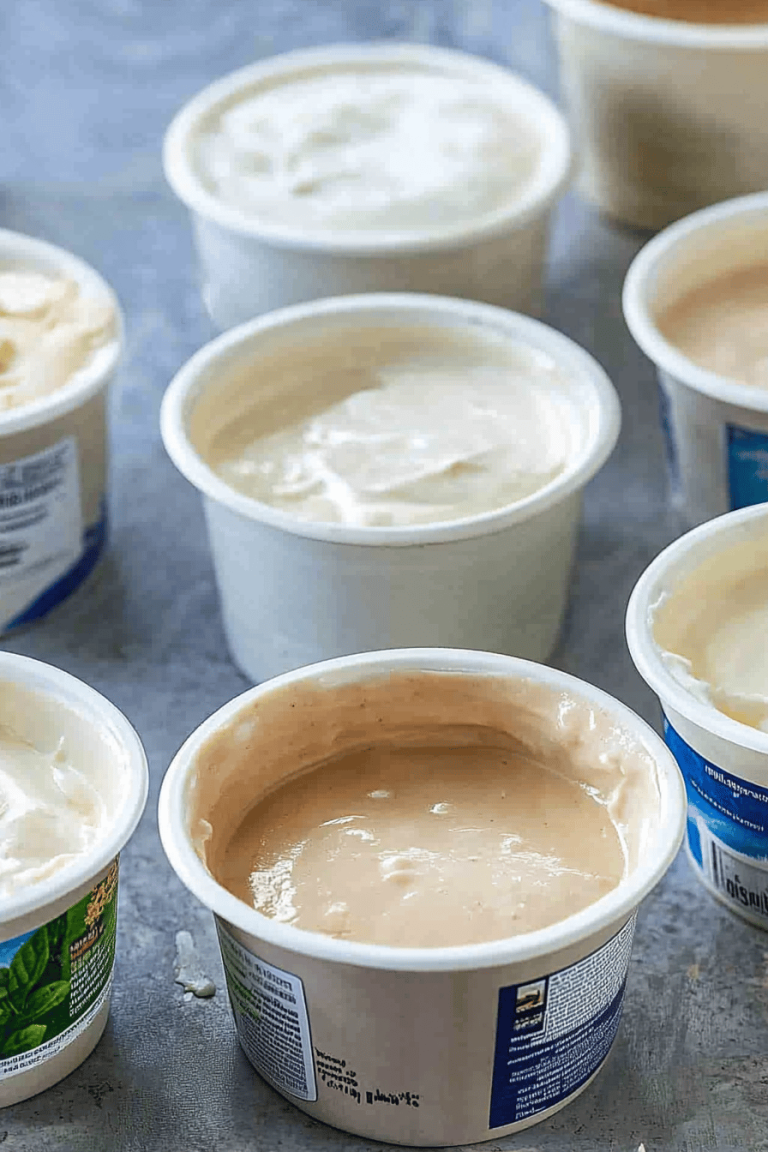
Two (15-ounce) cans of chickpeas, drained and rinsed. Make sure they’re well-rinsed to get rid of that canning liquid; it can sometimes add an off-flavor. I always give them a good rinse under cold water until the water runs clear.
For the Crunch and Flavor: For the Crunch and Flavor:
One-half cup finely diced celery. Celery is non-negotiable for me; it adds that perfect, fresh crunch. I prefer the inner ribs because they’re more tender.
One-quarter cup finely diced red onion. Red onion gives a nice little zip without being overpowering, and its color is pretty too! If you’re not a fan of raw onion, you can soak the diced onion in cold water for about 10 minutes, then drain well – this mellows its bite significantly.
For the Creaminess and Tang:
One-third cup mayonnaise. I usually use a good quality full-fat mayo for the best texture and flavor, but feel free to use a lighter version or even a vegan mayo if that’s your preference. I’ve tested this with avocado-based mayo, and it was surprisingly delicious!
One tablespoon Dijon mustard. This adds a lovely tang and depth. Don’t skip it!
One tablespoon sweet pickle relish (or finely chopped dill pickles). This is where a lot of the classic “deli salad” flavor comes from. Sweet relish adds a touch of sweetness, while dill pickles give it a sharper tang. Use whatever you love! I sometimes use finely chopped dill pickles if I’m out of relish, and it’s fantastic.
For Seasoning:
One-half teaspoon salt, or to taste.
One-quarter teaspoon black pepper, or to taste.
A pinch of smoked paprika (optional, but highly recommended for a lovely depth). This is my little secret ingredient that adds a subtle smokiness.
A squeeze of fresh lemon juice (optional, for brightness).
Step-by-Step Instructions
Step 1: Prepare the Chickpeas
Start by draining and thoroughly rinsing your canned chickpeas. Pat them dry with a paper towel – this helps them mash better and not get too mushy. You can do this by spreading them on a clean kitchen towel and gently rubbing them. Let them sit for a few minutes to dry a bit more.
Step 2: Mash the Chickpeas
In a medium-sized bowl, add the dried chickpeas. Use a potato masher or a fork to mash them. You’re looking for a texture that’s mostly mashed but still has some whole or partially broken chickpeas for texture. I like to leave some bits intact so it doesn’t get too paste-like. Don’t overdo it; just a good, hearty mash is perfect.
Step 3: Add the Veggies and Flavorings
To the mashed chickpeas, add your finely diced celery, finely diced red onion, mayonnaise, Dijon mustard, and sweet pickle relish (or chopped dill pickles). Make sure your veggies are chopped quite finely so they integrate nicely into the salad.
Step 4: Season and Mix
Add the salt, black pepper, and the optional smoked paprika and lemon juice. Now, gently stir everything together until it’s well combined. Be thorough but don’t overmix to the point of mushing the chickpeas further. You want to see distinct bits of celery and onion throughout.
Step 5: Taste and Adjust
This is the most important step! Taste the chickpea salad and adjust the seasonings as needed. Does it need more salt? A bit more tang from the mustard or relish? Maybe another squeeze of lemon? This is where you make it perfectly yours.
Step 6: Chill (Optional but Recommended)
For the best flavor, cover the bowl and refrigerate the chickpea salad for at least 30 minutes. This allows the flavors to meld together beautifully. Honestly, it tastes even better the next day!
Step 7: Serve!
Your delicious chickpea salad is ready to be served! Spoon it onto your favorite bread, into a pita, or however you prefer.
What to Serve It With
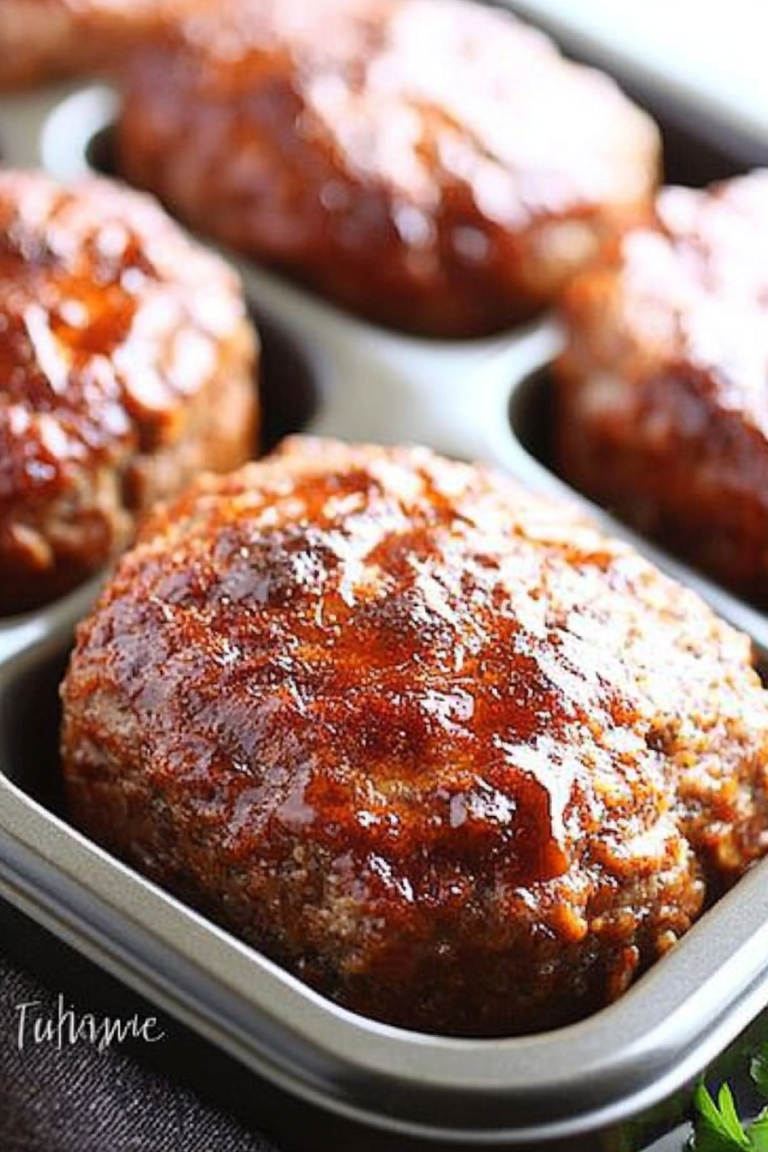
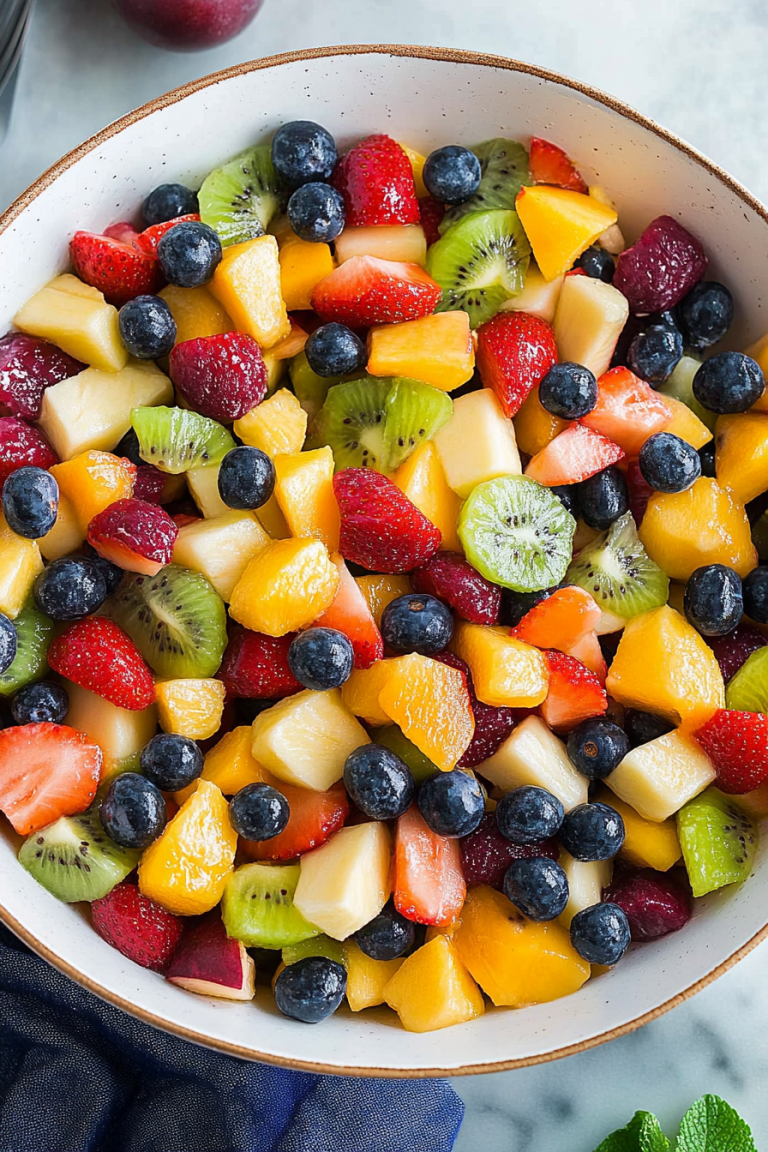
This chickpea salad is so versatile, it’s become my go-to for all sorts of meals. For a quick and easy breakfast, I love to toast a slice of whole-wheat bread, spread a generous layer of chickpea salad on top, and maybe add a slice of tomato or a sprinkle of everything bagel seasoning. It’s surprisingly satisfying and keeps me full until lunch. On a leisurely Sunday morning, it’s perfect for brunch. I’ll serve it alongside some fresh fruit salad, maybe some scrambled eggs or vegan tofu scramble, and a nice mimosa or a freshly brewed cup of coffee. It adds a lovely savory element to the spread. As a light dessert option, though this might sound unusual, I sometimes serve a small dollop of it with some crisp apple slices. The creamy texture and savory notes are a surprisingly delightful contrast to the sweet apple. And for those cozy, relaxed evenings, it’s wonderful for snacks. I’ll serve it in a bowl with a variety of crackers, some crunchy veggie sticks like carrots and cucumber, and maybe a side of olives. My kids actually love scooping it up with pretzels. The key is just having fun with it and pairing it with things that offer a nice contrast in texture or flavor.
Top Tips for Perfecting Your Chickpea Salad
I’ve made this chickpea salad more times than I can count, and over the years, I’ve picked up a few tricks that make it even better. First, when it comes to the chickpeas, don’t just dump them straight from the can. Give them a really thorough rinse under cold water until the water runs clear. This gets rid of any metallic or starchy taste from the canning liquid, which can really affect the final flavor. Then, give them a good pat down with a paper towel. A little dryness helps them mash better without becoming a gummy paste. For the veggies, the finer you chop them, the better they integrate into the salad. I like to use a sharp knife and dice the celery and onion as small as I possibly can. This ensures you get that nice crunch and flavor in every bite, rather than big chunks. I’ve learned that over-mashing the chickpeas is a common mistake. You want some texture! Leave some whole or half chickpeas in there; it makes the salad much more interesting to eat. My kids actually prefer it when I leave a few more whole chickpeas in. When it comes to the mayo, don’t be afraid to experiment! I’ve found that using a good quality, full-fat mayonnaise makes a world of difference in creaminess and richness. If you’re going vegan, a good vegan mayo or even a mashed avocado can work, though avocado will change the color and flavor slightly. I’ve tested this with a tahini-based dressing too, and it was fantastic! It gives it a nutty depth. For the relish, you can go sweet or dill – it really depends on your preference. If you’re using fresh dill pickles, chop them very, very finely. A lot of people ask about adding other ingredients. I’ve found that adding things like chopped bell peppers or even a little bit of finely grated carrot can be nice, but keep it simple for the classic version. The most important tip I can give you is to let it chill. Seriously, don’t skip this step if you can help it. Chilling allows all those delicious flavors to meld and marry. It transforms from ‘just mixed’ to ‘truly delicious’ after a few hours in the fridge. I often make a batch the night before, and it’s even better the next day. Don’t be afraid to adjust the salt, pepper, and tang to your liking. Taste it, tweak it, and make it your own!
Storing and Reheating Tips
Keeping this chickpea salad fresh is pretty straightforward, and it’s great for meal prep. At room temperature, it’s best to keep it covered and consume it within two hours, just like any other creamy salad. For refrigerator storage, this is where it truly shines. I like to store it in an airtight container – glass containers are my favorite because they don’t hold onto odors. It will stay wonderfully fresh in the fridge for about 3 to 4 days. I’ve honestly eaten it on day 5, and it was still perfectly fine, but the texture might start to change a little. If you plan on making a big batch to have on hand for the week, this is the way to go. Freezing is also an option, though I find it’s best enjoyed fresh. If you do want to freeze it, make sure it’s in a freezer-safe airtight container or bag. It should last for about 1 to 2 months. When you’re ready to thaw it, transfer it to the refrigerator overnight. You might notice it’s a little more watery after thawing; just give it a good stir, and you can even drain off any excess liquid if needed. I usually don’t add the glaze until just before serving, especially if I’m storing it for a while. If you’re making it for sandwiches and plan to eat it within a day or two, you can mix it in, but for longer storage, keeping the glaze separate ensures the bread doesn’t get soggy.
Frequently Asked Questions
Final Thoughts
So there you have it – my absolute favorite chickpea salad recipe! It’s honestly more than just a recipe for me; it’s a little bit of kitchen magic that saves the day time and time again. The blend of creamy, crunchy, and tangy is just spot on, and the fact that it’s so quick and easy to make is the cherry on top. It’s the kind of dish that makes you feel good about what you’re eating, both because it’s delicious and because it’s packed with wholesome ingredients. If you love this recipe, you might also enjoy my [Link to another related recipe, e.g., “Hearty Lentil Soup”] or my [Link to another related recipe, e.g., “Quick Black Bean Burgers”] for more simple and satisfying meal ideas. I truly hope you give this chickpea salad a try. I can’t wait to hear what you think! Let me know in the comments below how it turns out for you, or if you have any fun twists or variations you’ve tried. Happy cooking, and even happier eating!
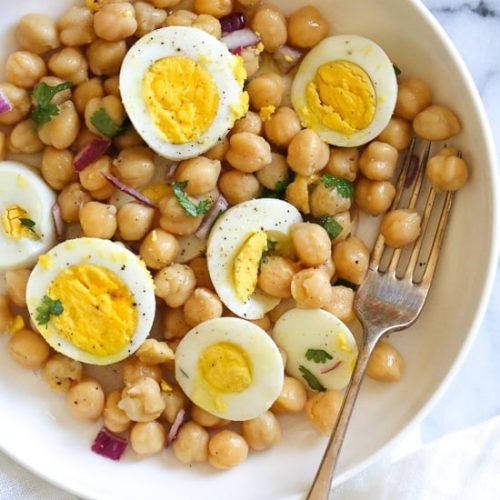
chickpea salad
Ingredients
Main Ingredients
- 2 cans chickpeas (15 oz each, rinsed and drained)
- 6 large hard-boiled eggs sliced crosswise
- to taste kosher salt
- to taste black pepper
- 2 tablespoons red onion chopped
- 2 tablespoons extra virgin olive oil
- 2 tablespoons apple cider vinegar
- 1 tablespoon fresh cilantro or parsley chopped
Instructions
Preparation Steps
- Toss all the ingredients in a medium bowl.
- Serve immediately or store in an airtight container in the refrigerator for up to 3-4 days.