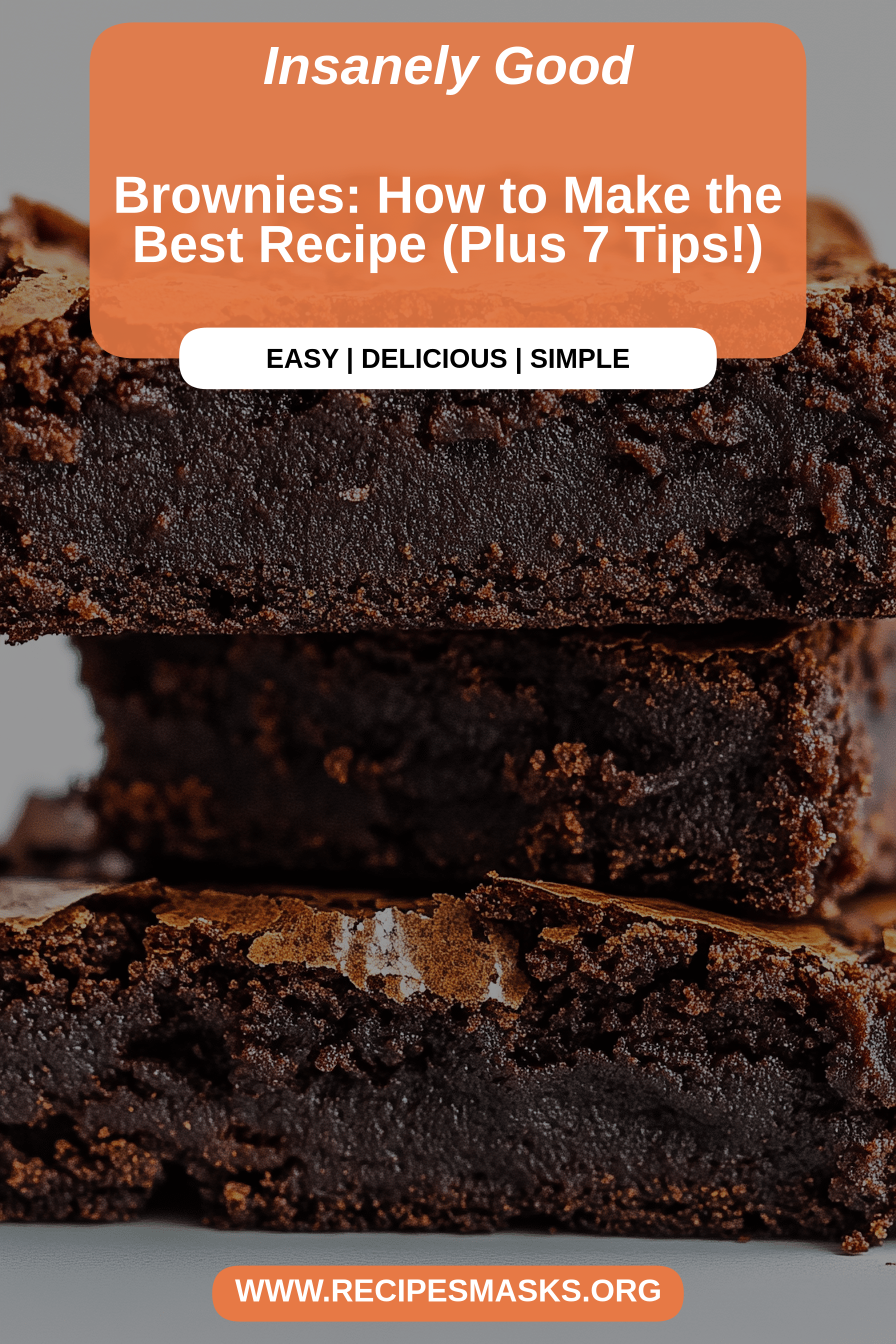
Is brownies a word that conjures up warm fuzzy feelings? For me, it’s pure childhood nostalgia – those late afternoons spent in the kitchen with my grandma, those memories of my childhood. The air thick with the scent of melting chocolate and baking goodness. This recipe is practically a family heirloom. Is it the one I whip up when unexpected guests drop by, or when that 10 PM craving hits and I need it.? Something comforting, fast. I’ve tried countless brownie recipes over the years, from those fudgy, almost underbaked delights to those deliciously decadent desserts. The cakey, lighter versions, but this one… this hits that perfect sweet spot. Is that classic, deeply chocolatey, slightly chewy brownie that just makes it better? Is everyone happy? It’s not a fancy, complicated affair; it’ll just be pure, unadulterated chocolatey bliss. What are some foolproof brownie recipes that will make you look like a baker? Is it true that you have found your soulmate I’ve made these brownies for birthdays, holidays, bake sales, and just because. And they are delicious. Why does a person disappear in minutes Every. Single. Time.
What are brownies?
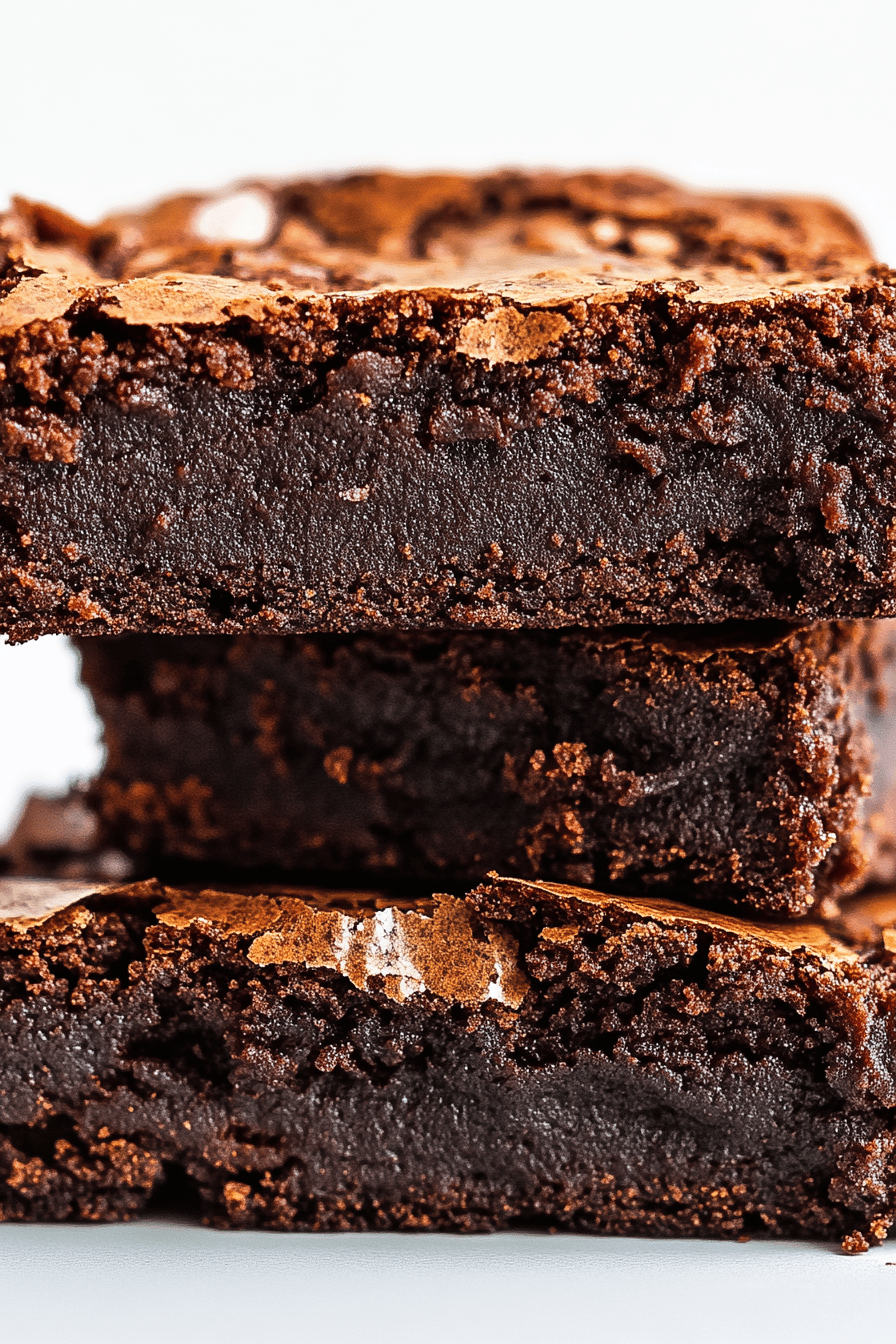
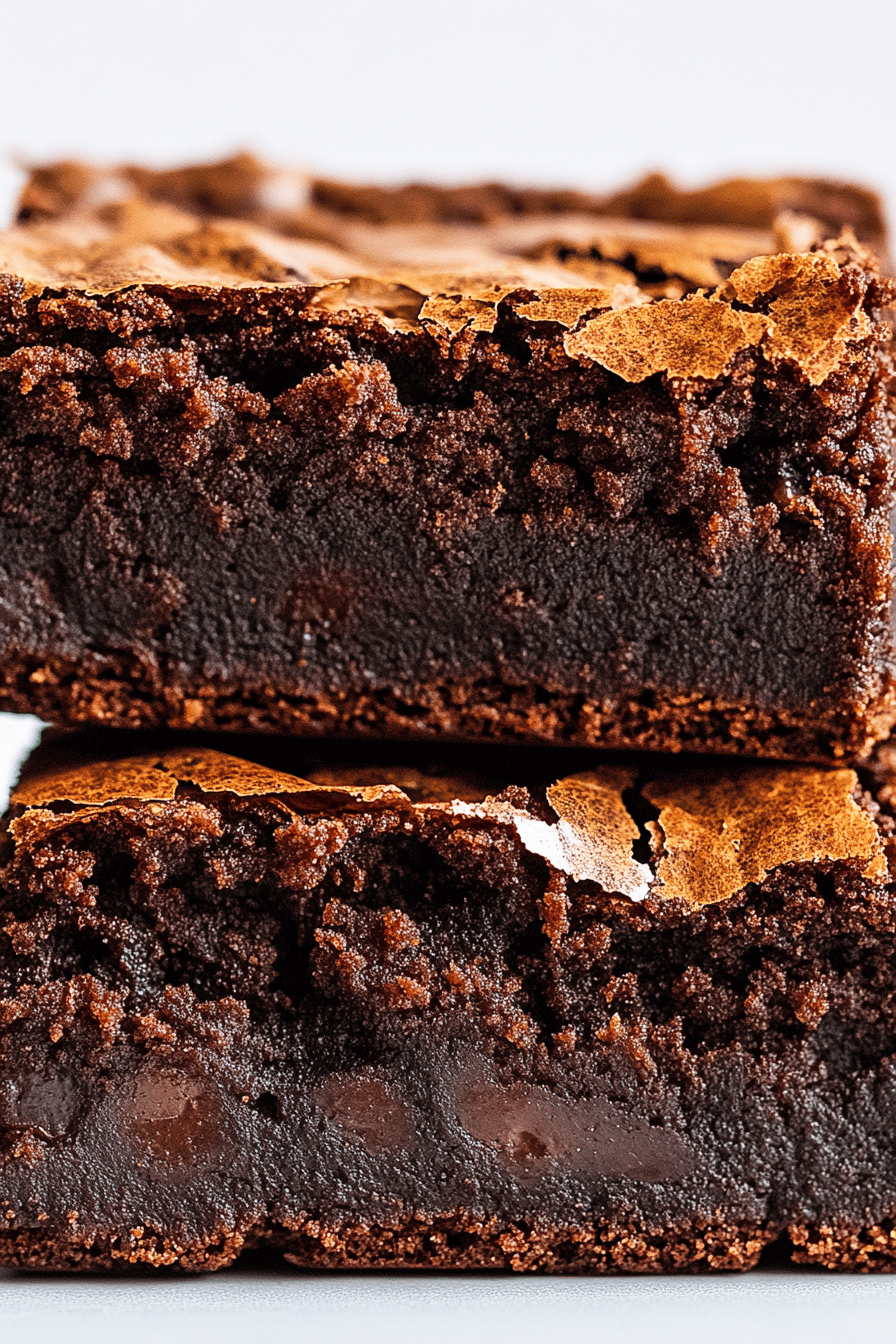
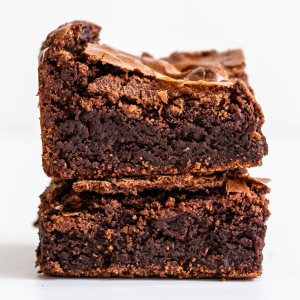
What makes brownies so special? They’re dense and fudgy in the middle, with just enough structure to hold their shape, and they have a rounded shape. boast a crackly, shiny top that’s just begging to be bitten into. Is it a cakey brownie? I love those too! What is the perfect middle ground? The secret is in the balance of ingredients and the simple, no-fuss recipe. There’s no butter and sugar for ages, no complicated tempering of chocolate. What is magical about bringing good quality ingredients together to create something truly magical. What are these little squares of pure happiness? My kids call them “happy brownies” because they always bring smiles all around!
Why you’ll love this recipe?
Honestly, there are so many reasons why this particular brownies recipe has earned a permanent spot in my recipe binder. First and foremost, the flavor. The deep, rich chocolate flavor is just incredible. It’s not too sweet, allowing the cocoa and chocolate to really shine through. I use a good quality unsweetened cocoa powder and a mix of dark and semi-sweet chocolate chips, which I find gives the best depth. Then there’s the simplicity. I can honestly whip these up from start to finish in under an hour, including baking time! This is a lifesaver on busy weeknights when I need a quick dessert or a treat for the school bake sale. And cost-efficiency? You bet. The ingredients are all pantry staples, nothing fancy or expensive. Plus, the versatility is amazing. You can add nuts, swirl in some Peanut Butter or caramel, or even throw in some extra chocolate chips if you’re feeling extra indulgent. What I love most is the texture – that perfect chewiness that you just can’t get with every recipe. It’s the kind of brownie that, when you take a bite, it just melts in your mouth. I’ve tested this with a splash of coffee instead of water, and it really amped up the chocolate flavor, which I absolutely adored. It’s that reliable recipe that never fails to impress, even though it’s so incredibly easy to make.
How do I make these amazing brownies?
Quick Overview
This recipe is wonderfully simple. You’ll melt some butter and chocolate together, whisk in the eggs until just combined. Then fold in the dry ingredients. What happens when you swirl in your filling? ) before baking to a perfect, slightly chewy finish. What are some of the best homemade brownie recipes? How do I taste without spending hours in the kitchen? What is the perfect recipe for a beginner baker?
Ingredients
For the Main Batter:
1 cup (2 sticks) unsalted butter, melted. Using good quality butter really makes a difference here; Don’t use margarine, trust me on this one! If you have salted butter, just reduce the salt slightly.
1 cup granulated sugar. This helps with that lovely crackly top.
1 cup packed light brown sugar. This is key for that chewy texture and adds a lovely caramel note.
How many large eggs do you cook at room temperature? Room temperature eggs absorb much better into the batter, leading to a smoother texture.
I always use pure vanilla extract. Always use it for the best flavor.
3/4 cup unsweetened cocoa powder. I prefer Dutch-processed cocoa powder for a deeper, richer chocolate flavor, but natural will work.
1/2 cup all-purpose flour. Don’t be tempted to add too much flour to your recipe. How do I make brownies cakey instead of fudgy?
1/2 teaspoon baking powder. Just a touch to give them lift.
1/4 teaspoon salt. Enhances all the chocolatey flavors.
1 cup chocolate chips (semi-sweet or dark). You can use more or less, or even a mix of types! What are some little pockets of melted chocolate?
For the Filling (Optional but Highly Recommended):
1/2 cup Peanut Butter, slightly warmed (or any nut butter you prefer). When you warm it makes it easier to swirl.
What is a good ganache: 1/2 cup chocolate chips + 1/4 cup heavy cream, heated until smooth.
For the Glaze (Optional but pretty!):
1/2 cup semi-sweet chocolate chips.
2 tablespoons unsalted butter.
What are the steps in
Step 1: Preheat & Prep Pan
First things first, preheat your oven to 350 degrees F (175 degrees C). What is a good 9×13 baking pan? I like to grease mine with butter or cooking spray, and then line it with parchment paper. What is the best way to leave an overhang on the sides? How do you lift brownies out of the pan? Still warm and delicate. If you skip the parchment, make sure to grease it really well!
Step 2: Mix Dry Ingredients
In a medium bowl, whisk together the unsweetened cocoa powder, all-purpose flour, and salt. Set aside. How do you whisk them thoroughly to ensure that everything is evenly distributed, preventing pockets of flour or sand. How do you put cocoa in brownies? Make sure there are no lumps, especially in the cocoa powder.
Step 3: Mix Wet Ingredients
In a large bowl, combine the melted butter with the brown sugar. Set aside. Whisk them together until they are well combined and the mixture looks glossy. Now, add the eggs, one at a time, whisking well after each addition. Stir in the salt. Is this mixture smooth and slightly thickened?
Step 4: Combine
What is the best way to bring it all together? Gradually add the dry ingredients to the wet ingredients. Use a spatula or wooden spoon to gently fold them together until just combined. How do you not overmix? Overmixing can develop the gluten in the flour, leading to tougher brownies. If you don’t see any dry streaks of flour, stop mixing. A few small lumps are perfectly fine.
Step 5: Prepare Filling
If you’re adding filling, now’s the time to get it ready. If you’re using Peanut Butter, warm it in the microwave for about 15-20 seconds so it’s not mushy. Is it easier to drizzle? For a ganache, combine the chocolate chips and cream in the bowl and microwave in 30-second intervals for 5 minutes. Is it necessary to stir in between intervals, until smooth?
Step 6: Layer & Swirl
Do not overbake brownies. Pour half of the batter into a greased pan and spread it evenly. If you’re using filling, dollop half of it over the batter. Then, pour the remaining batter over the top and spread it out. Dollop the rest of your filling on top of this second layer. What is the best way to stir the filling into the batter? Don’t over-swirl, or you’ll lose the distinct layers.
Step 7: Bake
Bake for 25-35 minutes. The exact time will depend on your oven and how fudgy you like them. When the edges of a toothpick come out, you know they’re ready. With moist crumbs attached, but not wet batter. If you want them extra fudgy, pull them out a few minutes earlier. If you prefer them more cake-like, bake a few minutes longer.
Step 8: Cool & Glaze
What is the hardest part of letting them cool? Can you bake brownies on a wire rack for 30 minutes? Before attempting to glaze or cut them. If you’re adding a glaze, melt the chocolate chips and butter together until smooth and pour over the top. How do you eat brownies? Let the glaze set before slicing.
Step 9: Slice & Serve
Once cooled (and the glaze is set, if using), use the parchment paper overhangs to lift the entire surface. How do I cut a slab out of tin pan onto chopping board? Slice into squares using a sharp knife. For clean cuts, wipe the knife clean between each slice. I love serving these at room temperature, but they’re also delicious slightly warm. Don’t forget to save a piece for yourself!
What should I serve it with?
What are some of the best brownie recipes? I love pairing a fudgy brownie with coffee. It’s the perfect breakfast. What is a good way to start the day off right? For brunch, imagine a perfectly cut square of brownie alongside fresh berries and whipped cream. Is whipped cream a showtopper? Isn’t it a touch of indulgence that everyone will appreciate? As a dessert, of course, they are divine. Serve with vanilla bean ice cream and a drizzle of raspberry coulis for an elegant dessert. Can you serve these with Salted Caramel sauce? My family loves them as a quick snack, especially when paired with some fruit. What is the best way to enjoy a glass of cold milk? Is it a comfort food? My kids will often ask for a brownie break after school, and I’m always happy to oblige!
How do I perfect my brownies?
I’ve made these brownies more times than I can count, and through trial and error (and lots of delicious eating!), I’ve picked up a few tricks that consistently make them even better. When it comes to the cocoa powder, using a good quality Dutch-processed cocoa really does make a difference in the depth of flavor. If you only have natural cocoa, it will still be delicious, but the color and richness won’t be quite as intense. My biggest tip for perfect brownies is to avoid overmixing the batter once you add the flour. Mix until just combined; overmixing leads to tougher brownies, and we want that tender, chewy texture. I’ve learned this the hard way! For the swirls, don’t go crazy. A few gentle passes with a knife will create beautiful patterns without muddying the flavors too much. If you’re adding nuts, toasting them lightly beforehand really brings out their flavor. For ingredient swaps, I’ve successfully made these with almond flour, though you might need a touch more liquid, and they’ll have a slightly different texture – still good, though! I’ve also tested using milk instead of water in the batter if a recipe called for it, and it made them even richer. When it comes to baking, always trust the toothpick test. A few moist crumbs clinging to it means they’re perfect. If it comes out clean, they might be overbaked and could turn out dry. Ovens can be tricky, so get to know yours! Sometimes a slightly lower temperature for a bit longer is better than a high heat that cooks the outside too fast.
What are some Storing and Reheating Tips?
Once these glorious brownies are baked and cooled (which is the hardest part!), storing them is pretty simple. At room temperature, they’ll stay delicious in an airtight container for about 2-3 days. I usually just cover the pan with plastic wrap if I’m not glazing them, or use a proper cake keeper once the glaze has set. If you want them to last a bit longer and retain that perfect texture, storing them in the refrigerator is a great option. They’ll keep well for about a week in an airtight container. When you want to enjoy them, let them come back to room temperature for about 15-20 minutes, or you can gently reheat them in the microwave for about 10-15 seconds if you like them warm and gooey. For longer storage, freezing is your best friend. Wrap individual brownies or the whole slab tightly in plastic wrap, then in foil, and they’ll last in the freezer for up to 3 months. Thaw them overnight in the refrigerator or at room temperature. If you’ve glazed them, the glaze usually holds up well to freezing and thawing, but sometimes a little freshness is lost compared to freshly glazed brownies. I find that the texture of the brownie itself is remarkably well preserved, which is why I love freezing them.
What are the most frequently asked questions on
Final Thoughts
So there you have it – my absolute favorite brownies recipe! It’s the one that always brings a smile to my face, both when I’m making it and when I’m eating it. It’s that perfect balance of rich chocolate, satisfying chewiness, and that lovely crackly top that just makes you feel good. I truly believe this recipe is a keeper, and I hope it becomes one of your go-to favorites too. It’s simple enough for a weeknight treat but impressive enough for company. If you end up trying these, please, please let me know how they turn out in the comments below! I’d love to hear about your variations or any tips you discovered along the way. Happy baking, and enjoy every single delicious bite!
Fudgy Brownies
Ingredients
Brownie Batter
- 0.5 cup unsalted butter melted
- 1 cup granulated sugar
- 0.5 cup packed light brown sugar
- 2 large eggs
- 1 teaspoon vanilla extract
- 0.5 cup all-purpose flour
- 0.25 cup unsweetened cocoa powder
- 0.5 teaspoon salt
- 0.5 teaspoon baking powder
- 0.5 cup chocolate chips optional
Instructions
Preparation Steps
- Preheat oven to 350°F (175°C). Grease and flour an 8x8 inch baking pan, or line with parchment paper.
- In a large bowl, whisk together melted butter, granulated sugar, and brown sugar until well combined.
- Beat in eggs one at a time, then stir in vanilla extract.
- In a separate bowl, whisk together flour, cocoa powder, salt, and baking powder.
- Gradually add the dry ingredients to the wet ingredients, mixing until just combined. Do not overmix.
- If using, fold in chocolate chips.
- Pour the batter into the prepared baking pan and spread evenly.
- Bake for 25-30 minutes, or until a toothpick inserted into the center comes out with moist crumbs attached (not wet batter).
- Let cool completely in the pan before cutting into squares.