Oh, you are going to LOVE this. Seriously. It’s one of those recipes that sounds a little wild at first, but trust me, it’s pure magic. I still remember the first time I whipped up a batch of these apple pie nachos. It was one of those chaotic Tuesday evenings where dinner was late, homework was looming, and everyone seemed to be simultaneously asking for a snack. I was staring into the fridge, feeling completely uninspired, when inspiration struck. I had some leftover Pie crust dough, a couple of apples that were *just* about to go soft, and a craving for something sweet and comforting that wasn’t a whole cake. The result? These incredible apple pie nachos. They’re like all the best parts of a warm apple pie, but in a fun, shareable, and surprisingly quick format. Forget those complicated dessert recipes for a minute; this is your new go-to for a little slice of happy.
What are Apple Pie Nachos?
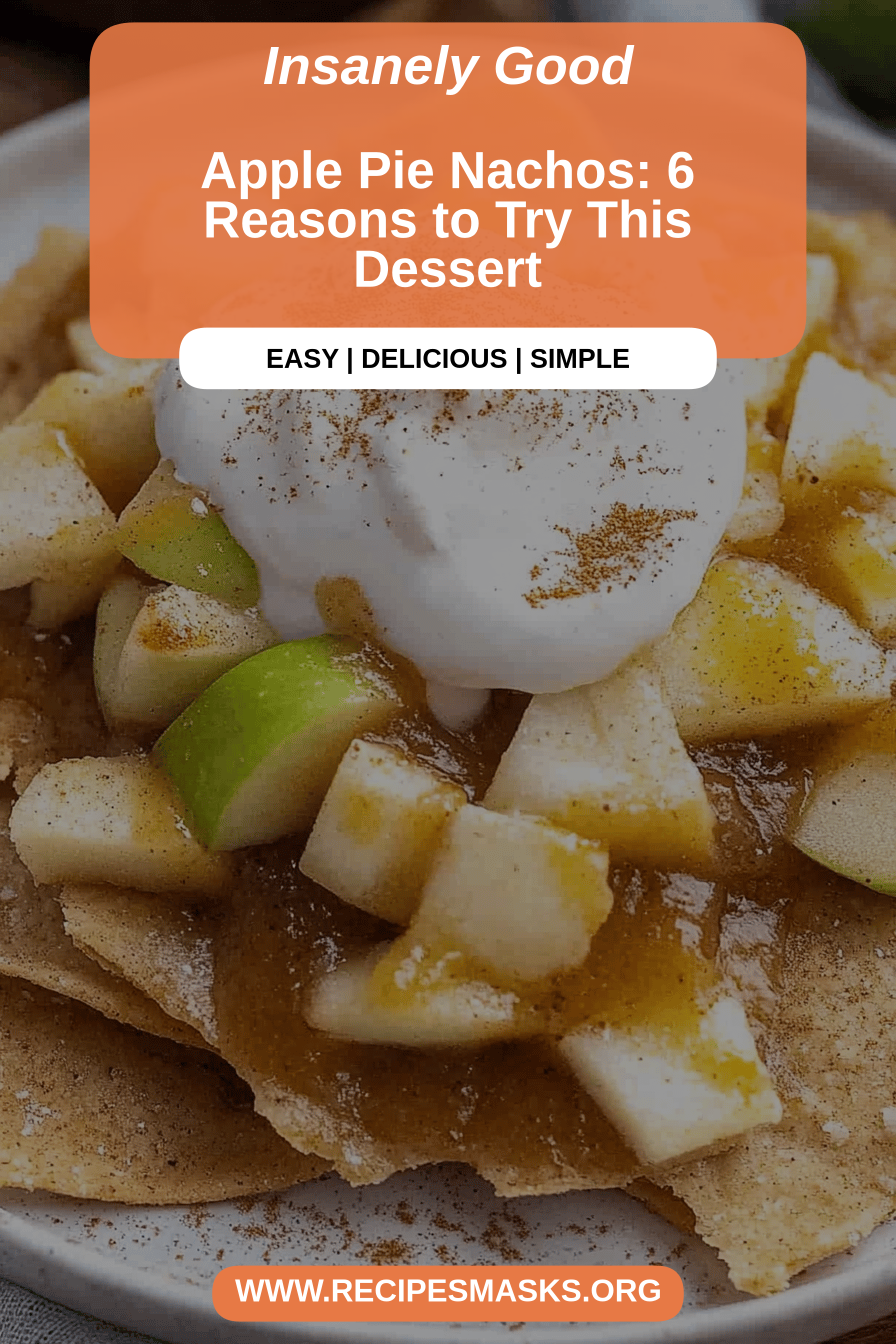
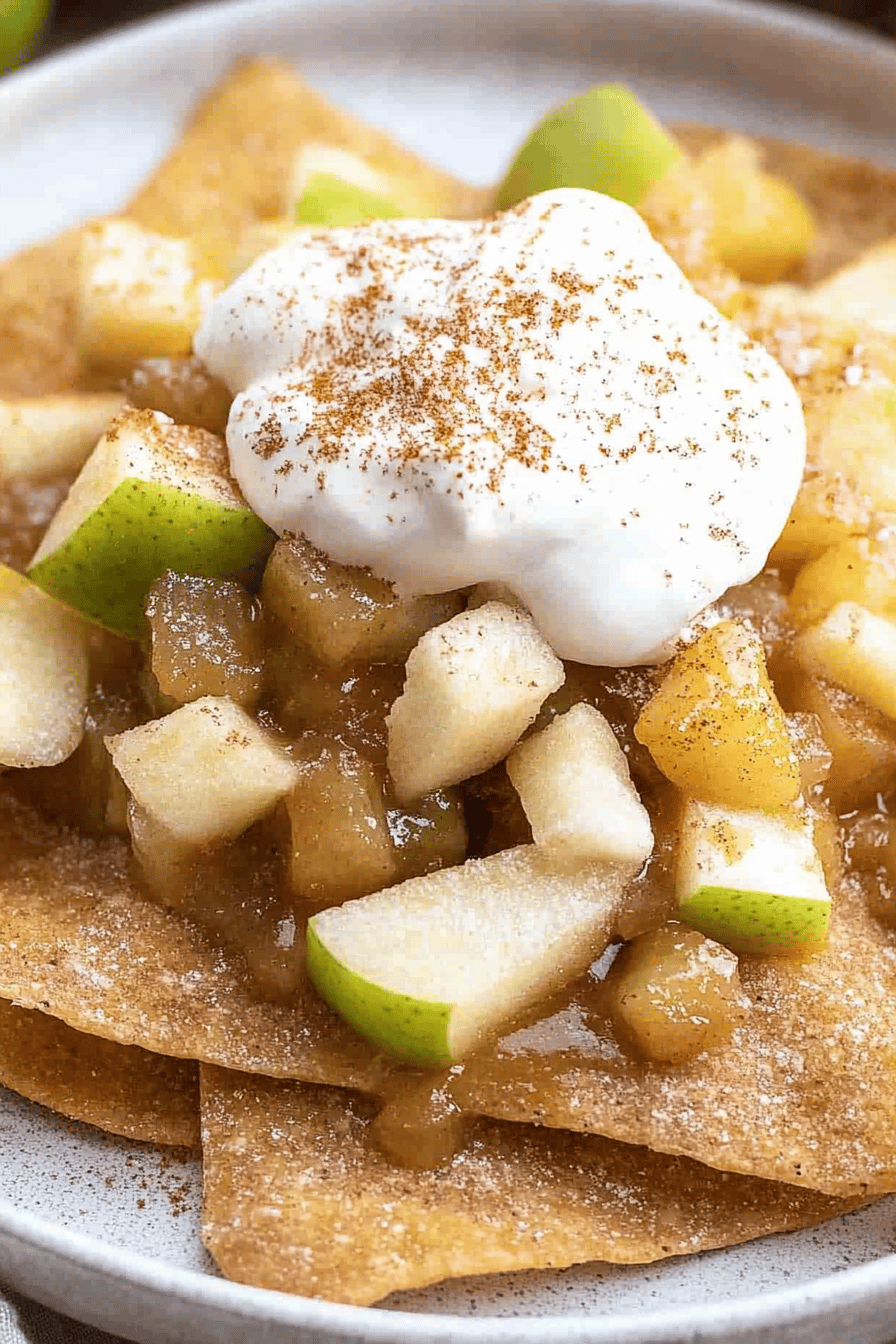
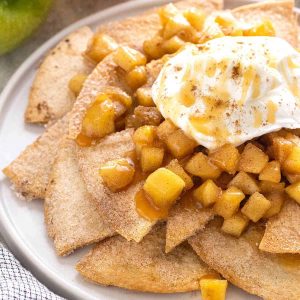
So, what exactly are apple pie nachos? It’s exactly what it sounds like! Instead of tortilla chips, we’re using crispy, baked pieces of pie crust. These golden triangles are then loaded up with a warm, spiced apple filling – think classic apple pie vibes – and then drizzled with a sweet, creamy glaze and maybe even a dollop of whipped cream or ice cream. It’s essentially deconstructed apple pie meets the fun of nachos. It’s the perfect marriage of sweet and savory, warm and cool, all in one delightful bite. I like to call them “nachos” because the way you load them up and share them just feels so casual and fun, like a good batch of actual nachos. It’s dessert that doesn’t take itself too seriously!
Why you’ll love this recipe?
There are so many reasons why this recipe has become a staple in my kitchen, and I bet it will in yours too. First off, the flavor is just out of this world. You get that buttery, flaky crunch from the pie crust, then the tender, sweet-tart apples bursting with cinnamon and spice, all topped with that luscious glaze. It’s pure autumn comfort, no matter the season. And the simplicity? Oh, it’s a lifesaver. Most of the ingredients are pantry staples, and the actual prep time is surprisingly short. If you have a store-bought pie crust or a little homemade dough lying around, you’re already halfway there. What I love most is how budget-friendly it is. Using apples and pie crust is so much more economical than buying fancy desserts. Plus, it’s incredibly versatile. You can adjust the sweetness, add different spices, or even swap out the apples for pears. It’s a crowd-pleaser for sure – my kids ask for these apple pie nachos practically every week, and they’re always gone in minutes! It’s a treat that feels indulgent but is easy enough to whip up on a whim.
How do I make nachos?
Quick Overview
The process is wonderfully straightforward. We’ll start by cutting pie crust into dippable shapes and baking them until golden and crisp. While those bake, we’ll quickly sauté some apples with warm spices until they’re tender and fragrant. Once the crust pieces are ready, we layer them with the warm apple mixture and finish with a simple, sweet glaze. It’s a layered approach that ensures every bite is a perfect combination of textures and flavors. It’s designed to be as fuss-free as possible, making it perfect for busy weeknights or last-minute dessert emergencies.
Ingredients
For the Pie Crust “Chips”: For the Pie Crust “Chips”: For the Pie Crust “Chips”: For
We’re talking about good old-fashioned pie crust here. You can absolutely use a store-bought refrigerated one for ultimate ease, or if you’re feeling ambitious, your favorite homemade recipe. I usually get two crusts out of a standard package. For the best crispness, make sure your dough is well-chilled before you cut it.
For the Spiced Apple Filling:
This is where the apple pie magic happens. I prefer using firm, slightly tart apples like Honeycrisp, Gala, or Granny Smith. They hold their shape well and balance the sweetness. You’ll need about 2-3 medium apples, peeled, cored, and diced into small, bite-sized pieces. For the spice, ground cinnamon is a must, and a pinch of nutmeg adds that extra warmth. A little butter to sauté them in, and a touch of sugar (brown sugar is my favorite here for its caramel notes) to bring out their natural sweetness. A tiny squeeze of lemon juice brightens everything up and prevents the apples from browning too quickly. Some people like to add a splash of vanilla extract here too, which is delicious!
For the Sweet Glaze:
This is the crowning glory! It’s incredibly simple – just powdered sugar whisked with a little milk or cream until it’s smooth and pourable. I usually start with about a cup of powdered sugar and add milk a tablespoon at a time until I get the right consistency. For a little extra flavor boost, you can add a tiny drop of vanilla extract or even a sprinkle of cinnamon right into the glaze. If you want it a bit richer, a touch of melted butter can be added.
Step-by-Step Instructions
Step 1: Preheat & Prep Pan
First things first, get your oven preheated to a nice and warm 375°F (190°C). While the oven is heating up, grab a large baking sheet. If you want to make cleanup a breeze (which I always do!), line your baking sheet with parchment paper. This recipe is so forgiving, but a little prep goes a long way.
Step 2: Mix Dry Ingredients
If you’re using homemade pie dough, now’s the time to roll it out. For both homemade and store-bought, gently unroll your pie crust onto a lightly floured surface. You want to cut it into shapes that will bake up nicely like chips. I like to cut mine into triangles, roughly 2-3 inches wide at the base. You can use a pizza cutter or a sharp knife for this. Don’t worry about perfection; rustic edges are part of the charm!
Step 3: Mix Wet Ingredients
In a medium saucepan, melt the butter over medium heat. Add your diced apples, brown sugar, cinnamon, nutmeg, and a pinch of salt. Stir everything together until the apples are coated. Cook for about 5-7 minutes, stirring occasionally, until the apples are tender but still hold their shape. You don’t want them to turn to mush! Stir in the lemon juice and vanilla extract (if using) and then remove from heat. This is when your kitchen starts to smell absolutely divine.
Step 4: Combine
This step is more about assembly than mixing. Lay your pie crust triangles in a single layer on the prepared baking sheet. Make sure they aren’t overlapping too much so they can get nice and crispy. You can brush them lightly with a little melted butter or egg wash for extra golden color, but it’s totally optional if you’re short on time. Just pop them into the preheated oven.
Step 5: Prepare Filling
While the pie crust “chips” are baking, you’ll be preparing your apple filling. In a medium saucepan, melt 2 tablespoons of butter over medium heat. Add your peeled and diced apples (about 2-3 medium apples), 1/4 cup of brown sugar, 1 teaspoon of cinnamon, and 1/4 teaspoon of nutmeg. Cook, stirring occasionally, for about 5-7 minutes, until the apples are tender but still have a slight bite. Stir in 1 teaspoon of lemon juice and a splash of vanilla extract if you like. Set aside.
Step 6: Layer & Swirl
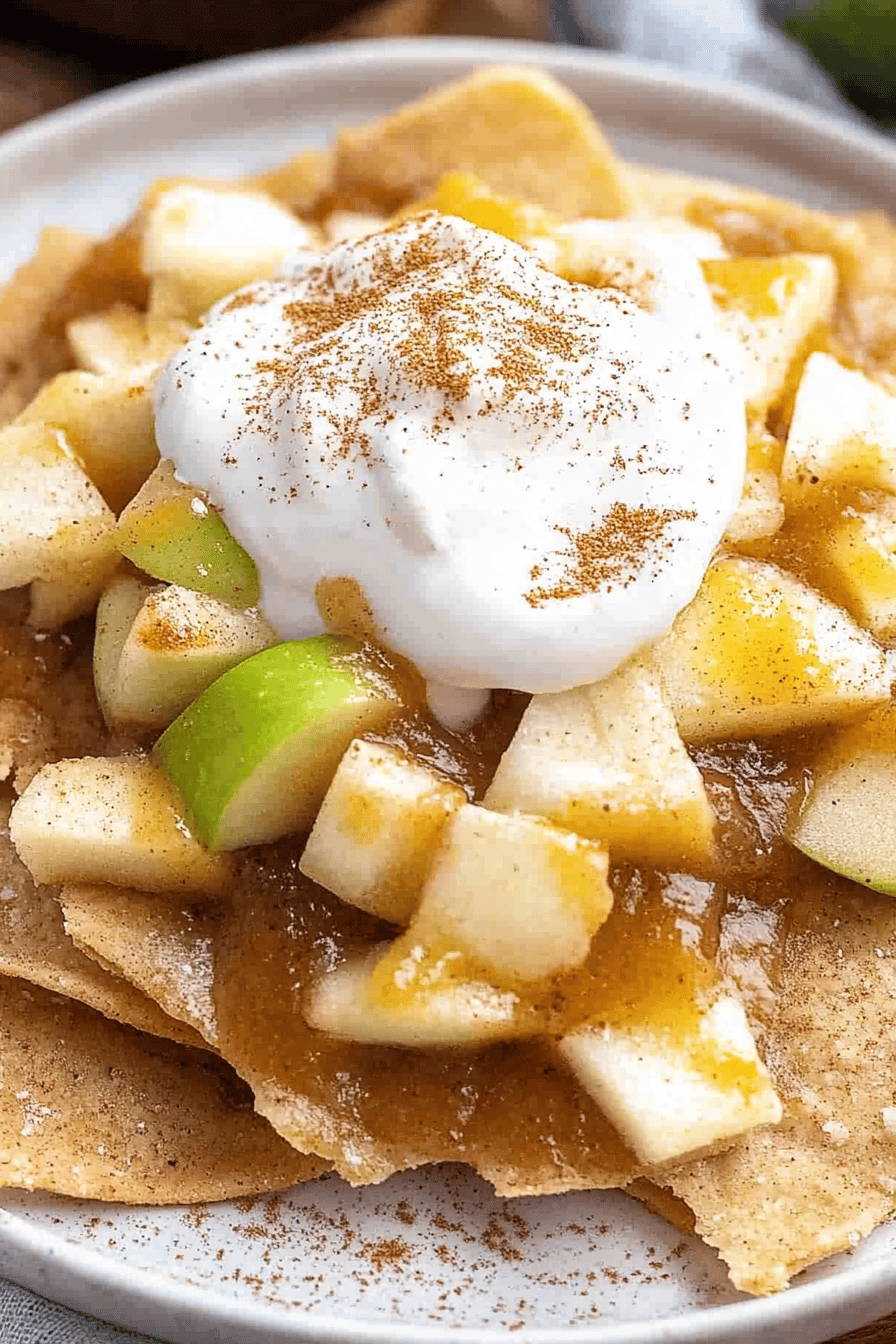
Once your pie crust pieces are golden brown and crisp – this usually takes about 10-15 minutes, keep an eye on them! – carefully remove the baking sheet from the oven. Let them cool on the baking sheet for a few minutes until they’re firm enough to handle. Then, arrange them on a serving platter or in a shallow bowl. Spoon the warm apple filling generously over the pie crust chips. You can spread it out evenly or just dollop it on.
Step 7: Bake
Bake your pie crust triangles for about 10-15 minutes, or until they’re golden brown and beautifully crisp. Keep a close eye on them, as pie crust can go from golden to burnt pretty quickly! You want them to be sturdy enough to hold the toppings.
Step 8: Cool & Glaze
While your pie crust is baking, whisk together the glaze ingredients: 1 cup of powdered sugar with 2-3 tablespoons of milk (or cream for extra richness), plus 1/2 teaspoon of vanilla extract. Whisk until smooth and pourable. Once the pie crust chips are out and slightly cooled, artfully drizzle the glaze all over the top of the apple filling and the chips. Don’t be shy with the glaze!
Step 9: Slice & Serve
These are best served warm, right after they’re assembled. You can serve them as a platter for everyone to dig into, or on individual plates. If you’re feeling extra decadent, a scoop of vanilla ice cream or a dollop of whipped cream on top is an absolute must! Enjoy the wonderful combination of warm apples, crispy crust, and sweet glaze.
What to Serve It With
These apple pie nachos are wonderfully versatile and can be a star at many occasions. For a truly special breakfast, serve them with a hot cup of strong coffee and maybe a side of fresh berries. The sweet and spiced apples are a delightful wake-up call! For a more elegant brunch spread, arrange them on a tiered stand and pair with mimosas or a sparkling cider. The visual appeal is just gorgeous. As a dessert, they’re a showstopper. Serve them after dinner with a scoop of vanilla bean ice cream or a drizzle of caramel sauce. They’re also perfect for cozy nights in. Honestly, any time you crave something sweet and comforting, these apple pie nachos hit the spot. My family loves them as an after-school treat – it feels like a special occasion without any of the fuss. I’ve also made them for casual get-togethers with friends, and they disappear so fast!
Top Tips for Perfecting Your Apple Pie Nachos
I’ve made these apple pie nachos more times than I can count, and along the way, I’ve picked up a few tricks that I think make all the difference. For the pie crust, I always stress keeping it cold. If it gets warm and sticky, it’s harder to cut and won’t bake up as crisp. If you’re using store-bought, just work with it quickly. When preparing the apple filling, don’t overcook the apples. You want them tender, but with a little texture still remaining – mushy apples just don’t give you that satisfying bite. I’ve found that about 5-7 minutes of cooking time is perfect. If your apples are super juicy, you might want to drain off some of the excess liquid before spooning them over the crusts, otherwise, it can make the crust a little soggy. For the glaze, consistency is key. Start with less liquid than you think you’ll need and add more gradually until it’s pourable but not too thin. If it gets too thin, just whisk in a bit more powdered sugar. If it’s too thick, a tiny splash more milk will fix it. I’ve experimented with different apple varieties, and while Honeycrisp and Gala are my favorites for their flavor and texture, Granny Smith gives a lovely tartness that’s also fantastic. You can even mix them! For the swirl effect, don’t over-mix the glaze into the apples; just a gentle drizzle creates a beautiful visual and allows you to get both apple and glaze in every bite. If you want to add nuts, toasted pecans or walnuts sprinkled over the apples before the glaze is a divine addition. And for baking the crust, make sure your oven is truly preheated. A properly hot oven is crucial for that perfect crispness. I also find that rotating the baking sheet halfway through helps ensure even browning.
Storing and Reheating Tips
Honestly, these apple pie nachos are at their absolute best when they’re fresh and warm. I recommend serving them immediately after assembly for the optimal crispy crust and warm apple experience. If you happen to have any leftovers, and I’m talking about the pie crust chips with apple filling *before* the glaze, you can store them in an airtight container in the refrigerator for up to 2 days. The crust might lose a little of its crispness, but it will still be delicious. To reheat, spread them on a baking sheet and pop them into a 300°F (150°C) oven for about 5-7 minutes, just until warmed through and a little crispness returns. If you have the whole assembled nachos, glaze and all, I find they don’t store as well. The glaze can make the crust soggy over time. It’s really best to make them right before you plan to eat them. However, if you absolutely must, store any leftovers in an airtight container in the fridge for up to a day. Reheat gently as described above, but don’t expect them to be as perfectly crisp. For the glaze, if you store leftover glaze separately in an airtight container in the fridge, it should last for about 3-4 days. You might need to whisk it again or add a tiny bit more liquid to get it to the right pouring consistency before drizzling.
Frequently Asked Questions
Final Thoughts
So there you have it – apple pie nachos! I truly believe this is one of those simple recipes that brings a huge amount of joy. It’s the perfect blend of familiar flavors in a fun, unexpected format. Whether you’re looking for a quick dessert, a fun weekend treat, or just something to satisfy that sweet craving, these nachos deliver every single time. They’re easy enough for even the most novice baker, and impressive enough to make you look like a dessert superstar. If you love this recipe, I think you might also enjoy my {{< res.link_to_apple_crumble >}} or my {{< res.link_to_caramel_apple_bars {{link_to_apple_crumble}} {{link_to_caramel_apple_bars}} >}} for more cozy apple goodness. I can’t wait to hear what you think of these apple pie nachos! Please leave a comment below and let me know how yours turned out, or if you tried any fun variations. Happy baking, and even happier eating!
Apple Pie Nachos
Ingredients
Apple Topping
- 4 medium apples Granny Smith apples peeled, cored, and thinly sliced
- 2 tablespoons unsalted butter
- 0.25 cup brown sugar packed
- 1 teaspoon ground cinnamon
- 0.25 teaspoon ground nutmeg
- 1 tablespoon lemon juice
Nachos
- 1 large cinnamon sugar tortillas cut into wedges
- 0.5 cup chopped pecans
Caramel Drizzle
- 0.5 cup caramel sauce
Whipped Cream Topping
- 1 cup heavy whipping cream
- 2 tablespoons powdered sugar
- 0.5 teaspoon vanilla extract
Instructions
Preparation Steps
- Preheat your oven to 375°F (190°C). Line a baking sheet with parchment paper.
- In a large skillet, melt the butter over medium heat. Add the sliced apples, brown sugar, cinnamon, nutmeg, and lemon juice. Cook, stirring occasionally, until the apples are softened, about 8-10 minutes.4 medium apples Granny Smith apples
- Spread the cinnamon sugar tortilla wedges on the prepared baking sheet in a single layer. Bake for 8-10 minutes, or until lightly golden and crisp. If not using pre-made cinnamon sugar tortillas, you can brush regular tortillas with melted butter and sprinkle with cinnamon sugar before baking.4 medium apples Granny Smith apples
- While the tortillas are baking, prepare the whipped cream. In a medium bowl, whip the heavy cream with an electric mixer on medium-high speed until soft peaks form. Gradually add the powdered sugar and vanilla extract, and continue whipping until stiff peaks form.4 medium apples Granny Smith apples
- Arrange the baked tortilla chips on a serving platter. Spoon the warm apple mixture over the chips. Sprinkle with chopped pecans.4 medium apples Granny Smith apples
- Drizzle generously with caramel sauce and top with dollops of whipped cream.4 medium apples Granny Smith apples
- Serve immediately and enjoy!