It all started one chilly winter evening when I was craving something light, sweet, and just a little dreamy—something that felt like biting into a fluffy cloud. I wanted an icing that wasn’t the typical heavy buttercream but still had that creamy, melt-in-your-mouth magic everyone loves. Enter: white cloud icing. I stumbled upon this gem years ago and have been hooked ever since. To me, it’s like the frosting equivalent of a soft lullaby, the kind that can gently turn any ordinary cake or cupcake into an unforgettable treat. If you’ve ever been overwhelmed by rich, super-sweet frostings, this icing will feel like a breath of fresh air—lighter, still indulgent, and ridiculously satisfying. I always keep this recipe in my back pocket because it’s so quick and forgiving, perfect for last-minute parties or spontaneous bake nights with the kids.
What is white cloud icing?
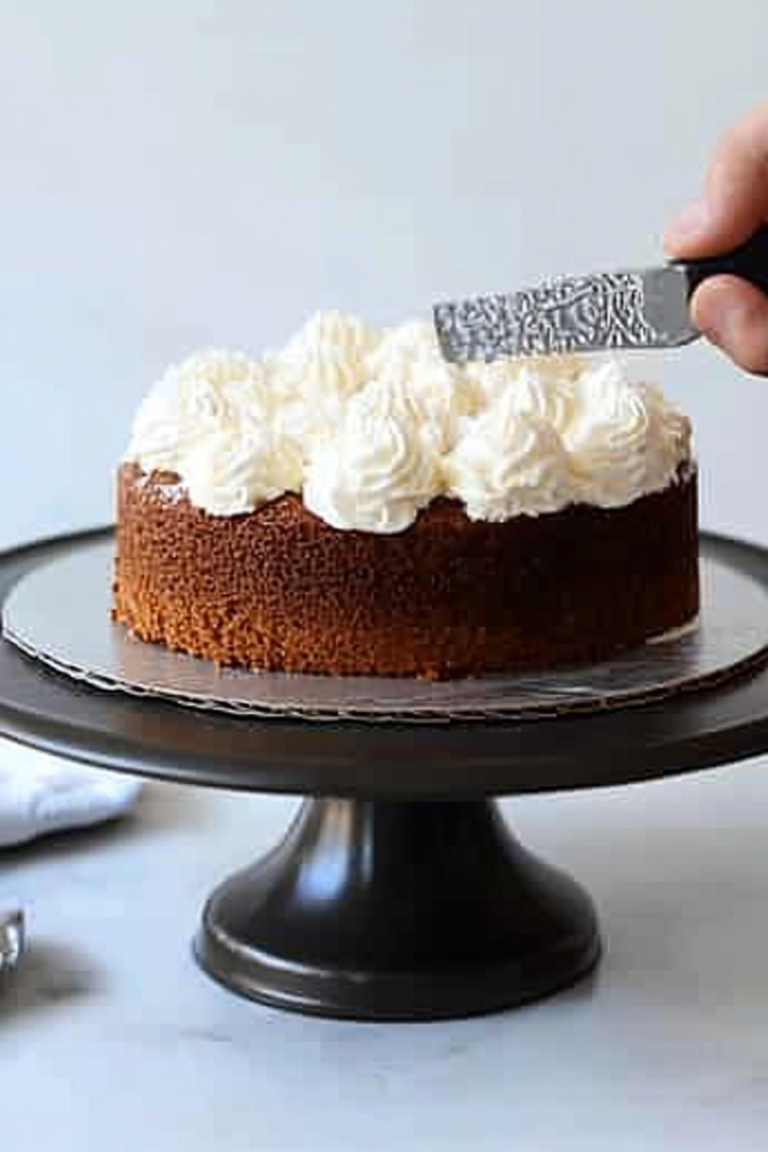
Think of white cloud icing as the delicate cousin of classic buttercream, but with an airy, whipped texture that makes it feel almost ethereal. It’s essentially a smooth, fluffy frosting made typically with powdered sugar, a touch of cream or milk, and a bit of butter or cream cheese for richness—but what really sets it apart is how light and cloud-like it becomes when whipped just right. The name “white cloud” comes from that heavenly white color and pillowy softness, which kind of reminds me of little clouds floating on your dessert. It’s not too heavy or dense, making it surprisingly easy to spread or pipe, and works wonders on everything from cupcakes to layer cakes and even cookies. If you love a frosting that’s sweet but doesn’t overwhelm, this one’s for you.
Why you’ll love this recipe?
First off, the flavor is fantastic—light with just the right touch of vanilla sweetness and a hint of buttery richness that isn’t cloying. What I love most about this icing is that it balances perfectly between fluffy and creamy, so you get that satisfying melt without feeling weighed down. Its simplicity is another major win. You only need a handful of pantry staples—powdered sugar, butter, a splash of milk or cream, and vanilla extract. I actually tested swapping almond milk here and there, and honestly, it just adds a little extra creaminess without changing the lightness. This is a lifesaver when you want something fresh but don’t have heavy cream on hand or want to keep dairy light.
Cost-wise, it won’t break the bank, either. No fancy ingredients or specialty sugars, just everyday basics you probably already have. Plus, it’s crazy versatile. Use it to frost carrot cake, coffee cake, cinnamon rolls (yes, really!), or just plain old sugar cookies. I even dolloped it on fresh fruit when the kids wanted something sweet but a little less guilty. When I’m in a hurry, it’s my go-to icing because it whips up in minutes, no fuss. Honestly, this one’s been a crowd-pleaser at birthday parties and weekend baking marathons alike, disappearing in minutes every time. If you’re a fan of other frostings like cream cheese or Swiss meringue, you’ll find this something equally delightful but less intimidating.
How do I make white cloud icing?
Quick Overview
Making white cloud icing is like a little cloud dance in your mixing bowl—light, airy, and just a tiny bit magical. The process is refreshingly simple: first you measure and sift your powdered sugar, cream your butter till soft and fluffy, whisk everything together with just the right splash of milk, and finally whip it high speed to get that billowy texture. It doesn’t require any fancy equipment—just a hand mixer and a bowl. The best part? It’s forgiving; if it feels too thick, add a little milk, too thin, add more sugar. No stress, just pure enjoyment as you watch it puff up into a perfect white cloud.
Ingredients
For the White Cloud Icing:
- 1 cup (2 sticks) unsalted butter, softened – choose quality butter for creamier flavor
- 3–4 cups powdered sugar, sifted – adjust for your preferred sweetness and consistency
- 3–4 tablespoons whole milk or heavy cream – for that silky, smooth finish (almond milk works great too!)
- 1 tablespoon pure vanilla extract – trust me, vanilla makes all the difference
- A pinch of salt – to balance sweetness and enhance flavor
Step-by-Step Instructions
Step 1: Preheat & Prep Pan
While the icing itself doesn’t require baking, if you’re pairing it with cakes or cupcakes, start by preheating your oven to 350°F (175°C) and prepping your pans with parchment or grease. Quick prep here means you can get the whole dessert going while making the icing.
Step 2: Mix Dry Ingredients
Since this isn’t a baked product but a frosting, your main dry ingredient is powdered sugar. Make sure you sift it well before adding—this avoids clumps and ensures your icing stays silky and smooth with no surprises. I can’t stress enough how much difference sifting makes here.
Step 3: Mix Wet Ingredients
Start by beating the softened butter on medium speed until it’s creamy and pale—usually 3 to 4 minutes. You’ll see it lighten in color and get nice and fluffy, signaling it’s ready to embrace the powdered sugar and liquid. Then add your vanilla extract right into the butter so the flavor infuses evenly.
Step 4: Combine
Slowly add the powdered sugar, one cup at a time, mixing on low to start so the flour dust doesn’t fly everywhere. With each addition, switch to medium speed to blend it well. Pour in the milk or cream one tablespoon at a time, adjusting for your desired consistency. The texture should be thick but spreadable and whip up light and airy after a few minutes on high speed. Trust me, that household mixer of yours will do wonders here.
Step 5: Prepare Filling
If you’re using this icing as a filling or layering between cakes, you can make it a bit thicker by reducing the milk or chilling for 10 minutes to firm it up. For an extra personal touch, I sometimes stir in finely grated lemon zest or a touch of cinnamon—just enough to add a little surprise without overpowering the vanilla cloudiness.
Step 6: Layer & Swirl
When using this icing for cakes, layer it generously and don’t be shy! The texture is forgiving so you can spread it smoothly or swirl it with a spatula for a rustic, homemade look. If you want a little visual flair, add a few drops of natural food coloring before whipping for pastel effects—my kids love helping with this part.
Step 7: Bake
If your icing is for cakes, bake your base separately. This icing isn’t meant for baking itself but pairs beautifully with all kinds of baked goods. The smell from freshly baked vanilla or chocolate cake together with this icing is something that never fails to bring everyone into the kitchen.
Step 8: Cool & Glaze
Always wait for your cake or cupcakes to cool completely before icing to prevent melting. Once cool, spoon or pipe your white cloud icing on top and spread quickly before it sets. You could also drizzle with a touch of melted white chocolate or sprinkle with edible glitter for special occasions. The softness of this icing makes it ideal for delicate glazing without overpowering your baked treats.
Step 9: Slice & Serve
When serving, use a sharp knife to slice cakes carefully—this icing stays fluffy but can compress a bit under pressure otherwise. Room temperature is perfect for the best melt-in-your-mouth experience. Bowls of fresh berries or a warm cup of tea really complement the sweetness and softness of the white cloud icing. My kids usually grab it straight off the spoon when they think I’m not looking!
What to Serve It With
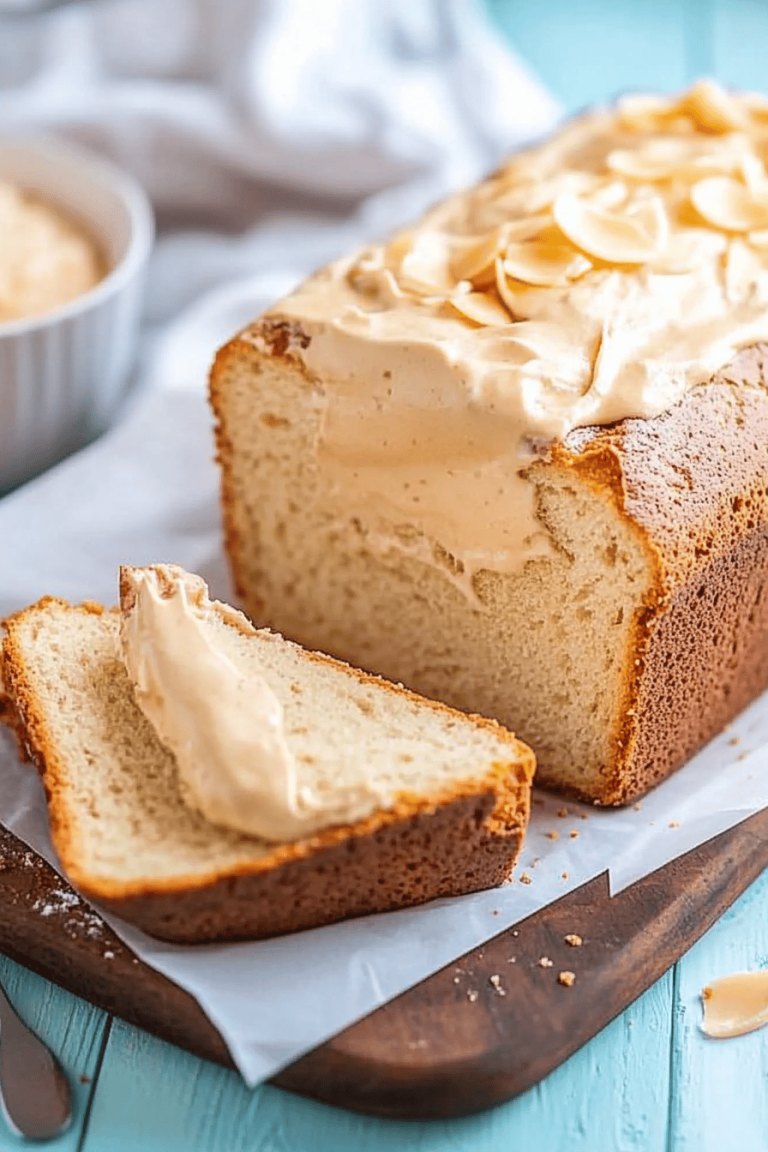
For Breakfast: Pair slices of buttery coffee cake topped with white cloud icing alongside your morning brew. The light sweetness mingled with hot coffee is one of those little moments of joy that jumpstarts the day for me and my family.
For Brunch: Spread this icing over warm cinnamon rolls and garnish with chopped pecans for a rustic, inviting vibe. A mimosa or freshly squeezed juice adds a splash of festivity that makes any brunch feel like a treat.
As Dessert: Frost a classic vanilla layer cake or lemon pound cake with white cloud icing and add a side of whipped cream and seasonal fruit for a refreshing yet indulgent finish. It’s never too heavy, so it’s perfect after a big meal.
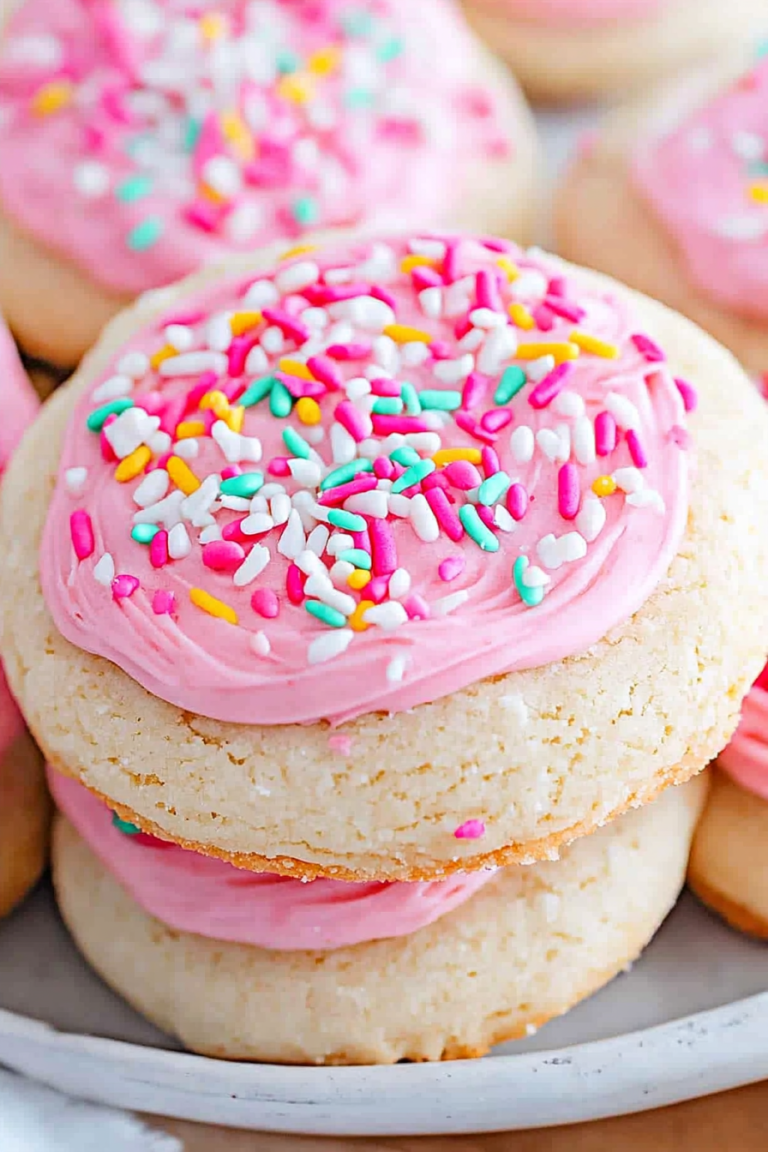
For Cozy Snacks: Dollop this icing over homemade sugar cookies, sprinkle with festive colored sugar, and serve with hot chocolate during movie nights. It adds just the right touch of sweetness without overwhelming your snack.
Family traditions are a big part of why I love white cloud icing. Every birthday cake I’ve ever made for my kids has had this frosting, and seeing their eyes light up at that first fluffy bite has become my favorite kitchen memory. It’s simple, cozy, and fills the house with warmth every time.
Top Tips for Perfecting Your White Cloud Icing
Butter Quality: Softened, but not melted, butter is crucial for the perfect texture. I’ve learned that soft butter whips easier and creates a lighter icing. Too cold or too melted, and you’ll lose that fluffy cloud feel.
Mixing Advice: Start slow when incorporating powdered sugar to avoid a sugar storm in your kitchen! Mix well before upping the speed for fluffiness. Overmixing won’t happen until after whipping it at high speed, so don’t be shy with the final whip.
Swirl Customization: Want some fun in your frosting? Gently fold in some fresh berries or natural food coloring before whipping for soft pastel clouds or speckled shades. Less is more here to keep it airy.
Ingredient Swaps: I’ve tried this with various milks—plain, almond, oat—and they all work but change the texture subtly. Coconut milk adds sweetness, while oat milk keeps it extra creamy. Use gluten-free powdered sugar for special diets, no problem.
Baking Tips: Always icing completely cooled cakes. I position my oven rack in the center, and if my oven runs hot, I lower temperature by 10 degrees to ensure even bake so the base pairs perfectly with the icing.
Glaze Variations: If you want a thinner glaze, add more milk or cream but know it will lose some of the “cloud” thickness. For a tangier twist, substitute some butter with cream cheese—my kids adore this version, though it’s less fluffy.
I remember the first time I made it too thin and my frosting slid right off the cupcakes. Lesson learned: it’s better to start thicker and thin out with little milk than rush with too much at once. Patience and gentle folding are the secrets to that iconic white cloud fluffiness.
Storing and Reheating Tips
Room Temperature: You can leave frosted cakes covered on the counter comfortably for up to 24 hours. Keep it covered with a cake dome or loose foil to prevent drying, but avoid airtight containers because the icing needs to breathe.
Refrigerator Storage: For longer storage, place cakes or cupcakes in an airtight container in the fridge. White cloud icing keeps well for up to 5 days chilled. Bring to room temperature before serving for that perfect softness and flavor.
Freezer Instructions: Wrap frosted cakes tightly in plastic wrap, then foil, and freeze for up to 2 months. Thaw overnight in the fridge before bringing to room temperature. The texture and flavor remain surprisingly fresh this way—just don’t try to freeze it without wrapping carefully or the icing can dry out.
Glaze Timing Advice: If freezing, it’s best to add the glaze after thawing to preserve the airy texture. For short-term storage, go ahead and glaze immediately. This icing handles storage better than most creamy frostings, but it’s still best eaten fresh.
Frequently Asked Questions
Final Thoughts
White cloud icing isn’t just a frosting—it’s a little cloud of joy that has graced every memorable cake in my kitchen. There’s something about its airy softness and subtle sweetness that feels like a hug in frosting form. It’s easy enough for weeknight treats yet elegant enough for celebrations. If you’ve ever been intimidated by the idea of making frosting or tired of the same old buttercream, this recipe will surprise you with how effortlessly it lifts your baked goods to the next level. I can’t wait for you to try it and hear how your family reacts—my kids always beg for seconds and sometimes grab a spoonful before the cake even makes it to the table! Don’t forget to leave a comment or rate if you make it, and definitely share your own fun variations. Happy baking, friend! May your kitchen always be filled with sweet clouds.

white cloud icing
Ingredients
Main Ingredients
- 2 large egg whites at room temperature
- 0.25 teaspoon salt
- 0.25 cup granulated sugar
- 0.75 cup light corn syrup
- 1 teaspoon pure vanilla extract
Instructions
Preparation Steps
- In a clean bowl free of any grease, beat the egg whites and salt on high speed using a stand mixer until foamy.
- With the mixer running, slowly add the granulated sugar and beat the mixture until soft peaks form.
- Bring the light corn syrup to a boil over medium heat in a small saucepan, then remove from heat.
- Slowly pour the hot corn syrup into the egg white mixture while mixing on high. Beat until stiff peaks form, about 5 minutes. Add vanilla extract and mix to combine.
- Use the icing immediately to frost cakes or cupcakes.