I still remember the smell of this carrot cake wafting through my grandmother’s kitchen every Easter Sunday—warm spices mingled with freshly grated carrots, hinting at something wonderful soon to come. It never lasted long once it hit the table. Honestly, this Easter treat has been my go-to for decades. My kids beg for it every year, and the secret’s out: it’s as simple to make as it is delicious. If you love a sweet, lightly spiced cake that feels like a hug from the inside, this one’s for you. Unlike the fussier layered cakes some people pull out for Easter, this carrot cake is simple, comforting, and just the right kind of special for family gatherings or a quiet breakfast with coffee.
What is Grandma’s Carrot Cake?
Think of this carrot cake as the quintessential Easter treat that has earned its spot on countless holiday tables. It’s essentially a moist, tender cake studded with grated carrots that keep it wonderfully soft and sweet without being overpowering. The “classic” part comes from the gently spiced batter with cinnamon and nutmeg, balanced out by a luscious cream cheese glaze that’s not just decoration but part of the cake’s charm. It’s been around forever, but what I love is how it blends old-fashioned comfort with a just-right sweetness and texture. Whether you call it carrot cake or just a “special cake,” it’s the kind of recipe that makes you think of family, warmth, and those slow afternoons spent together. If you’ve ever wondered what makes an Easter treat truly memorable, this cake captures it in every bite.
Why you’ll love this recipe?
What I adore about Grandma’s carrot cake—and this might be my favorite thing—is how every forkful feels like a little surprise. First off, the flavor. It’s got that perfect balance of cozy spice and natural carrot sweetness, with hints of vanilla and just the right tang from the cream cheese glaze. The smell alone brings everyone running to the kitchen—I can’t tell you how many times I’ve had to hide a slice or two just to keep them around!
Simplicity is another win here. This recipe doesn’t ask for fancy techniques or weird ingredients. I love that it uses pantry staples and fresh, straightforward veggies—you can probably whip it up next time you’re short on time but craving something festive. My method cuts down fuss without losing any charm, making it a lifesaver when Easter weekends get hectic.
And honestly, it’s a budget-friendly winner. Carrots are affordable and pumpkin-spice fans will appreciate how you don’t have to drop a fortune on imported flavorings or specialty baking goods. Plus, it’s one of those recipes you can twist into different shapes—muffins, loaf, even cupcakes—so it’s super versatile. If you ever fancied an easy Easter treat just as tasty but less formal, this can do that, too.
Oh, and I have to add – the texture! It’s moist without being soggy, light but substantial enough to feel like a proper indulgence. What I love most about this cake is how it’s never dry or crumbly, a problem I’ve struggled with in other carrot cake recipes. I tested this one with almond milk once, and it actually made it into something even creamier and more mellow. It’s become a permanent part of my Easter tradition – a recipe that makes me feel like I’m passing down a slice of my own family’s memories.
How do I make a Carrot Cake?
Quick Overview
Making this carrot cake is a joy because it’s straightforward yet satisfying. You start with prepping your ingredients, especially the carrots, then mix together your dry and wet ingredients separately so everything blends just right without overworking the batter. Next, you layer in the grated carrots and fold in any optional nuts or raisins (if you’re feeling adventurous). The whole batter goes into a prepared pan and bakes to golden perfection. Once cooled, you smooth over the cream cheese glaze, which is the finishing touch that turns this cake from “good” to “can’t stop eating.” It’s a recipe that doesn’t ask for much fiddling with gadgets or tools—just your trusty mixing bowls, a grater, and patience while it bakes.
Ingredients
For the Main Batter:
- 2 cups all-purpose flour – I always sift it once for an airy crumb
- 1 ½ tsp baking soda – don’t skip, it’s key for that light texture
- 1 tsp baking powder
- 1 tsp ground cinnamon – fresh ground if you can, it makes a huge difference
- ½ tsp nutmeg – a pinch goes a long way here
- ¼ tsp salt – balances the sweetness beautifully
- 1 cup brown sugar, packed – I prefer brown sugar for that rich molasses undertone
- ¾ cup vegetable oil – keeps things moist without heaviness
- 3 large eggs – room temperature gives better mixing
- 1 tsp vanilla extract – real vanilla, not imitation, please!
- 1 ½ cups grated carrots – washed, peeled, and grated finely
For the Filling (Optional but Recommended):
- ½ cup chopped walnuts or pecans – toasted for the best flavor
- ½ cup golden raisins – soak them in warm water if you’re worried about dryness
For the Glaze:
- 8 oz cream cheese, softened – this is why patience is key; it needs to be smooth for glazing
- ½ cup unsalted butter, softened
- 2 cups powdered sugar – sifted to avoid lumps
- 1 tsp vanilla extract
- 2–3 tbsp milk (any kind) – to get just the right creamy consistency
Step-by-Step Instructions
Step 1: Preheat & Prep Pan
Start by heating your oven to 350°F (175°C). I always pop my rack in the middle position to ensure even baking. Grease and flour a 9×13-inch baking pan, or line it with parchment paper for easy removal. If I’m feeling fancy, I sprinkle a little cinnamon sugar on the bottom to give a subtle caramelized crust—it’s a game changer.
Step 2: Mix Dry Ingredients
In a large bowl, whisk together the flour, baking soda, baking powder, cinnamon, nutmeg, and salt until evenly combined. This helps distribute the leavening evenly, so the cake rises consistently without any weird pockets.
Step 3: Mix Wet Ingredients
In a separate bowl, beat the eggs with the brown sugar until glossy and slightly thickened—this usually takes about two minutes if you use an electric mixer. Then slowly drizzle in the oil and add the vanilla extract. The mixture will look shiny and smooth. If your ingredients are too cold, the oil might separate slightly, so I always let eggs sit out for a bit beforehand.
Step 4: Combine
Gently fold the dry ingredients into the wet mixture using a spatula. Here’s the golden rule: mix just until you no longer see dry flour. Overmixing can toughen the cake, so trust me and stop at a fluffy, slightly lumpy batter—that’s the sweet spot.
Step 5: Prepare Filling
Stir in your grated carrots, then fold in walnuts and raisins if you’re adding them. The carrots add moisture and natural sweetness, while the nuts provide a welcome crunch contrast. I love the texture contrast—last Easter, my aunt called these carrot bits “little bursts of sunshine!”
Step 6: Layer & Swirl
Pour the batter into the prepared pan and smooth the top with a spatula. If you want to get creative, sprinkle a handful of nuts on top for decoration. I like to give the pan a little tap on the counter to release any trapped air bubbles—does wonders for an even bake.
Step 7: Bake
Bake for about 40–45 minutes. I usually check at 40 minutes using a toothpick: a few moist crumbs are perfect, but no wet batter. Ovens vary, so keep an eye on it after 35 minutes. If you find the top is browning too fast, loosely cover it with foil midway through baking. The strong spice fragrance fills the air—my family always starts hovering around the kitchen at this point!
Step 8: Cool & Glaze
Let the cake cool completely in the pan on a rack. Cooling is essential—the glaze will melt if the cake is still warm, and no one wants a drip disaster. Once cooled, beat together the cream cheese and butter until smooth, then gradually add the powdered sugar and vanilla. Add milk by the tablespoon until the glaze spreads easily but isn’t runny. Spread the glaze generously over the cake, letting it naturally drip down the edges for that homemade look.
Step 9: Slice & Serve
Use a sharp serrated knife to slice, wiping it off between cuts for clean edges. This cake’s better at room temp or just slightly chilled, so don’t rush to the fridge right after glazing. I love serving it with a cup of strong coffee or a light tea to balance the richness. The cream cheese glaze always gets the “best part” shout-out—it’s like frosting and filling all at once.
What to Serve It With
For Breakfast: Slice your carrot cake alongside a frothy latte or a bright citrus tea. I sometimes add a dollop of Greek yogurt and a drizzle of honey on the side to balance the sweetness—it’s a cozy way to start an Easter morning with minimal fuss.
For Brunch: Pair it with fresh berries or a light fruit salad to cut through the richer flavors. A mimosa or a sparkling elderflower soda really elevates the spread, making it feel like a small celebration without turning the table into a dessert overload.
As Dessert: Serve warm slices with a scoop of vanilla ice cream or whipped cream. I’ve also tried it with a drizzle of homemade caramel sauce for a decadently rich finish—trust me, it turns this simple cake into something really special to impress guests.
For Cozy Snacks: Just a thick slice with a mug of hot cocoa or milk does the trick on lazy afternoons. My kids ask for this all the time as a “reward” after playing outside or on school holidays. It’s comfort food with a seasonal twist.
Top Tips for Perfecting Your Grandma’s Classic Carrot Cake
Carrot Prep: Always peel your carrots before grating if you want a smoother texture. I use a fine grater for a tender crumb, but if you prefer a bit of chew, a coarser grate works, too. Just make sure to squeeze out any excess moisture using a clean towel to avoid a soggy cake.
Mixing Advice: Resist the urge to overmix your batter. The moment you see no pockets of flour, stop stirring. Overworking can develop gluten and lead to a denser cake instead of the light, fluffy texture we want. It’s a tough habit to break—I learned this the hard way after a few tough cakes!
Swirl Customization: For fun, try swirling a bit of cinnamon sugar or a simple cinnamon glaze into the batter before baking. Use a knife to create delicate patterns that give the cake visual appeal without any fancy decorations.
Ingredient Swaps: If you’re short on oil, unsweetened applesauce is a great half replacement; it adds moisture and cuts fat but can change the crumb slightly. I’ve swapped brown sugar for coconut sugar to add a deeper caramel flavor and it’s lovely. Almond milk works wonderfully in the glaze for a creamier finish.
Baking Tips: I often rotate my pan halfway through baking for even color. If your oven runs hot, lower the temperature by 10 degrees and extend baking time a little rather than risk burning the edges. A toothpick check is your best friend here—aim for moist crumbs, not a dry poke.
Glaze Variations: You can lighten the glaze by swapping half the butter for softened cream cheese only, or add a splash of lemon juice for a tangy kick. For a rustic look, sprinkle chopped nuts or finely grated carrot bits on top immediately after glazing before it sets.
Storing and Reheating Tips
Room Temperature: Store the cake covered loosely with foil or in a cake dome for up to 2 days. I’ve found that glazing right before serving keeps it fresh and prevents sogginess in the short term. If you plan to keep it out, protect it well from heat and moisture.
Refrigerator Storage: Wrap leftovers tightly in plastic wrap or an airtight container; it will last up to 5 days. The cool temperature helps the flavors meld beautifully. Remember to bring slices to room temperature before serving; refrigerated glaze can feel a bit firm.
Freezer Instructions: Wrap individual slices tightly in plastic wrap and place in a freezer bag for up to 3 months. Thaw overnight in the fridge, then bring to room temp before enjoying. I recommend adding the glaze fresh if you plan to freeze the plain cake, as frozen glaze can get a bit watery upon thawing.
Glaze Timing Advice: If freezing or storing long term, hold off on the glaze until right before serving. This keeps the cake’s texture intact and prevents the glaze from weeping or cracking.
Frequently Asked Questions
Final Thoughts
This carrot cake isn’t just an Easter treat; it’s a slice of nostalgia that has traveled across generations to make holiday moments a little sweeter. The simple, comforting flavors combined with the tender crumb remind me every year why I keep coming back to it—alongside the dandelion-filled yards and the laughter of family around the table. Whether you’re baking it for a big crowd or just a quiet afternoon, it feels like a recipe that hugs you back. I hope when you try it, it brings you as much joy as it’s brought me and mine over the years. Don’t forget to drop a comment below or share your own twists—I’m always curious how this humble cake grows in new kitchens! Happy baking!

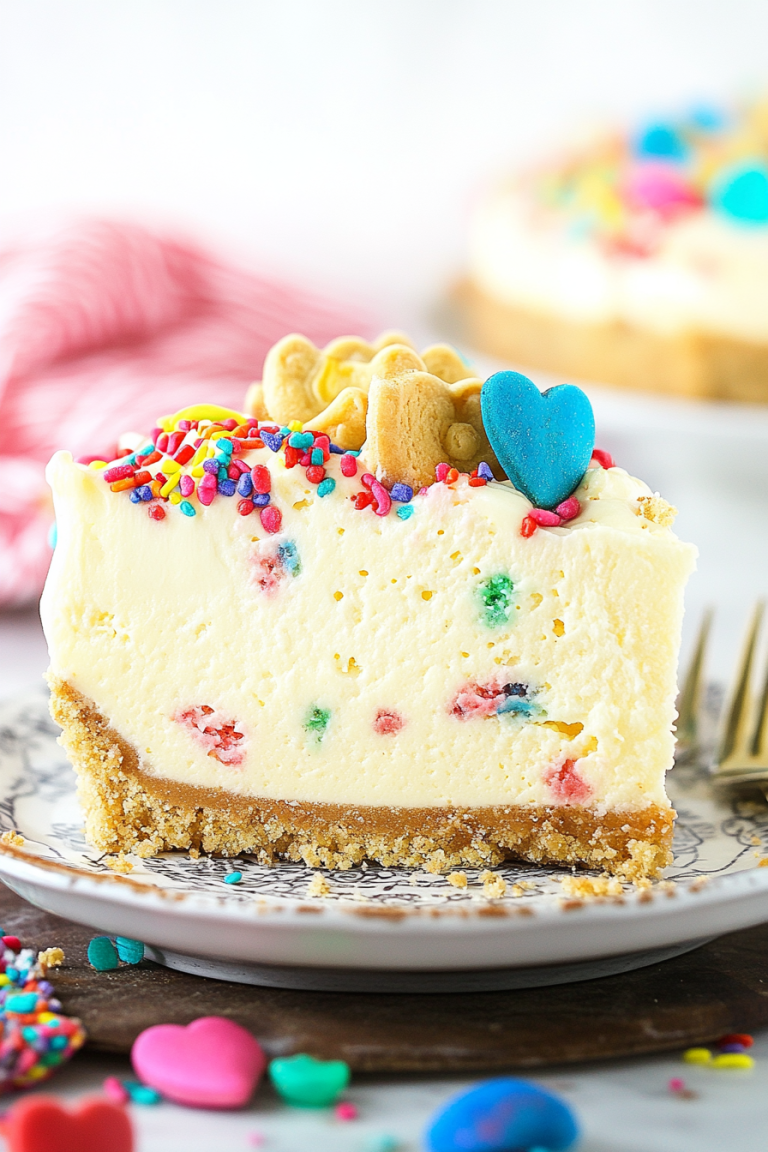
Easter treats
Ingredients
Main Ingredients
- 2 cups all-purpose flour
- 1 cup granulated sugar
- 0.5 cup unsalted butter softened
- 3 large eggs
- 1.5 tsp vanilla extract
- 1 tsp baking powder
- 0.25 tsp salt
- 1 cup colored chocolate chips
Instructions
Preparation Steps
- Preheat the oven to 350°F (175°C). Line a baking sheet with parchment paper.
- In a large bowl, cream together the butter and sugar until light and fluffy.
- Beat in the eggs one at a time, then stir in the vanilla extract.
- In a separate bowl, whisk together the flour, baking powder, and salt. Gradually blend into the wet mixture.
- Fold in colored chocolate chips for a festive touch.
- Drop rounded spoonfuls of dough onto the prepared baking sheet.
- Bake for 15-20 minutes or until the edges are lightly golden. Allow cookies to cool on a rack before serving.