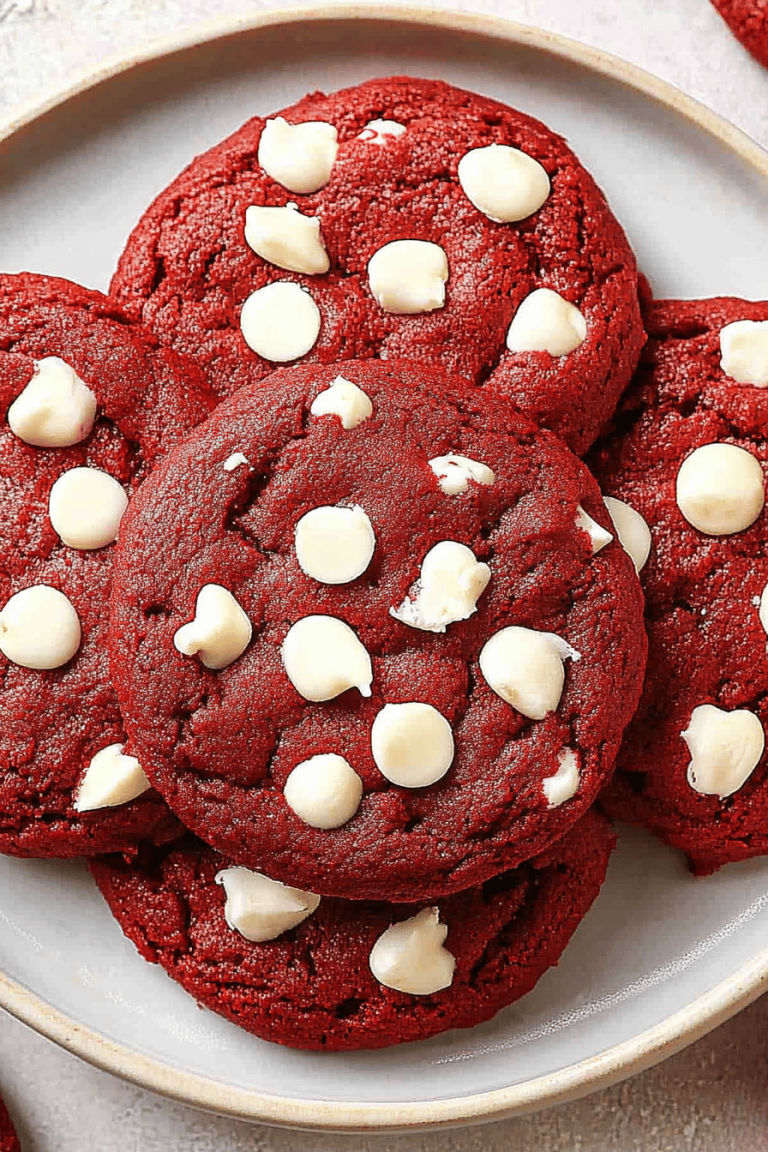
You know, there’s something truly magical about Easter. It’s not just about the pastel colors and the hunt for hidden eggs; for me, it always brings back such vivid memories of my grandmother’s kitchen. She had this way of making everything feel special, especially her baking. This year, I’ve been tinkering with a recipe that captures that same spirit, a batch of Easter cookies that are so tender, so perfectly spiced, and honestly, so ridiculously easy to make. They’re like a hug in cookie form. Forget those store-bought ones that always taste a bit… well, like cardboard. These are the real deal, the kind that disappear from the cooling rack faster than you can say “bunny hop.” If you’ve ever tried to make those elaborate iced Sugar Cookies and ended up with a sticky mess and a frustrated sigh, you’re going to love these. They have all the charm and flavor without any of the fuss. I’ve found that these are the cookies that truly mark the season for my family, a sweet tradition I’m so excited to share with you.
What are Easter cookies?
So, what exactly are these “Easter cookies” I’m raving about? Think of them as the perfect blend between a soft, chewy cookie and a delicate shortbread, but with a delightful hint of citrus and spice that just screams springtime. They aren’t your typical hard, crunchy sugar cookies that require a serious jaw workout, nor are they overly cakey. They strike that perfect middle ground – tender, melt-in-your-mouth deliciousness with just enough structure to hold their shape beautifully. I like to call them my “Sunshine Spice Cookies” because they bring such a bright, cheerful feeling to any gathering. They’re versatile too, which is why I love them so much. You can decorate them simply with a dusting of powdered sugar, a light drizzle of glaze, or go all out with colorful sprinkles to really get into the Easter spirit. They’re essentially a warm, inviting hug baked into a delightful little disc, perfect for sharing the joy of the season.
Why you’ll love this recipe?
Honestly, where do I even begin with why this recipe is a keeper? First off, the flavor. It’s subtle yet absolutely divine. There’s a whisper of orange zest that brightens everything up, a touch of cinnamon and nutmeg that adds that cozy warmth, and the base cookie itself is just buttery perfection. It’s not an overpowering flavor, but one that complements any Easter meal or coffee break beautifully. Secondly, and this is a big one for me, the simplicity. I’ve made this recipe when I’ve had barely an hour to spare, and it still comes out perfectly. There’s no complicated chilling of dough for hours, no finicky rolling and cutting. You mix, scoop, bake, and voilà! It’s a lifesaver when you’re juggling a million other things during the busy spring season. Plus, the ingredients are all pantry staples, so you likely won’t need to make a special trip to the store. They’re incredibly cost-effective too, meaning you can make a generous batch to share without breaking the bank. And versatility? Oh yes! They are wonderful plain, but also act as a perfect canvas for decorating. You can roll them in colored sugar, make a simple lemon glaze, or even add some sprinkles for a pop of fun. What I love most about this recipe is that it feels special enough for a holiday but is so easy to whip up that it becomes a regular treat. It’s the kind of cookie that my kids ask for not just at Easter, but practically year-round!
How do I make these Easter cookies?
Quick Overview
Making these delightful Easter cookies is a breeze! The whole process involves mixing your dry ingredients, then your wet ingredients, combining them gently, and shaping them into little mounds on your baking sheet. They bake up quickly to a beautiful golden hue. The key is not to overmix, which keeps them wonderfully tender. Once cooled, a simple glaze or dusting of powdered sugar makes them festive and ready to impress. It’s really that straightforward – a few simple steps for a truly spectacular cookie that will have everyone asking for the recipe.
Ingredients
For the Main Batter:
2 ½ cups all-purpose flour, plus more for dusting: I always use unbleached all-purpose flour for the best texture. Make sure your flour is fresh; old flour can make baked goods a bit flat.
1 teaspoon baking powder: This is what gives our cookies their lovely, slight lift. Don’t skip it!
½ teaspoon salt: Essential for balancing out the sweetness and bringing out the flavors.
1 teaspoon ground cinnamon: For that hint of warmth and spice that feels so comforting.
¼ teaspoon ground nutmeg: Just a pinch to add a little extra depth. Don’t go too heavy-handed here!
1 cup (2 sticks) unsalted butter, softened: Make sure your butter is truly softened, not melted. It should give slightly when you press it.
¾ cup granulated sugar: For that classic cookie sweetness.
1 large egg: At room temperature, if you can. It incorporates better.
1 teaspoon vanilla extract: Pure vanilla extract makes a world of difference. Trust me on this!
Zest of 1 medium orange: This is my little secret for that bright, Easter-y flavor. It really elevates the cookie.
For the Glaze:
1 ½ cups powdered sugar, sifted: Sifting is key here to avoid lumps in your glaze. It makes it so much smoother!
2-3 tablespoons milk (or orange juice for extra flavor!): Start with 2 tablespoons and add more very slowly until you reach your desired drizzling consistency. Using orange juice instead of milk adds a fantastic subtle citrus punch that complements the zest in the cookies.
½ teaspoon vanilla extract (optional): If you want a little extra vanilla goodness in your glaze.
Step-by-Step Instructions
Step 1: Preheat & Prep Pan
First things first, let’s get our oven ready. Preheat it to 350°F (175°C). While that’s heating up, line your baking sheets with parchment paper. This is a lifesaver for cleanup and ensures your cookies don’t stick. Parchment paper is your best friend here; I rarely bake cookies without it anymore.
Step 2: Mix Dry Ingredients
In a medium bowl, whisk together the all-purpose flour, baking powder, salt, cinnamon, and nutmeg. Give it a good whisk until everything is evenly distributed. This ensures your leavening and spices are spread out properly, preventing any pockets of bitterness or a lack of rise. The aroma of the spices already starts to fill the kitchen, which is always a good sign!
Step 3: Mix Wet Ingredients
In a large bowl, cream together the softened unsalted butter and granulated sugar using an electric mixer (or a sturdy whisk and some elbow grease!) until light and fluffy. This usually takes about 2-3 minutes. Beat in the room temperature egg, vanilla extract, and the orange zest until just combined. Make sure to scrape down the sides of the bowl to get everything incorporated.
Step 4: Combine
Gradually add the dry ingredients to the wet ingredients, mixing on low speed (or stirring with a spatula) until just combined. Be careful not to overmix! Overmixing can lead to tough cookies. You want to stop as soon as you don’t see any dry streaks of flour. The dough will be soft but should hold together.
Step 5: Prepare Filling
This recipe doesn’t technically have a “filling” in the traditional sense of a stuffed cookie, but we’re going to prep for the glaze which acts as our topping. Sift your powdered sugar into a bowl. This step is non-negotiable if you want a smooth glaze!
Step 6: Layer & Swirl
Using a cookie scoop or two spoons, drop rounded tablespoons of dough onto your prepared baking sheets, leaving about 2 inches between each cookie. They’ll spread a little, but not too much. I like to gently flatten them just a tiny bit with the bottom of a glass or my hand so they bake more evenly.
Step 7: Bake
Bake for 9-12 minutes, or until the edges are lightly golden and the centers look set. The exact time will depend on your oven and how big you make your cookies. I usually start checking around the 9-minute mark. You want them to be firm to the touch but not brown on top.
Step 8: Cool & Glaze
Let the cookies cool on the baking sheets for about 5 minutes before transferring them to a wire rack to cool completely. This is crucial! Trying to glaze warm cookies will result in a melty, messy disaster. Once completely cool, whisk together the sifted powdered sugar with 2 tablespoons of milk (or orange juice) and the vanilla extract (if using). Add more liquid, a tiny bit at a time, until you get a glaze that’s thick enough to drizzle but thin enough to flow. Drizzle generously over the cooled cookies. Let the glaze set for at least 30 minutes before stacking or serving.
Step 9: Slice & Serve
These cookies are best served at room temperature, once the glaze has set nicely. You can also enjoy them without the glaze, perhaps with a light dusting of powdered sugar, which is also lovely. They’re perfect for enjoying with a cup of tea or a glass of milk.
What to Serve It With
These Easter cookies are so wonderfully versatile! They’re not just for dessert; they can really grace any occasion. For breakfast, imagine them sitting pretty on a platter alongside fresh fruit and yogurt, or paired with a strong cup of coffee to start your day with a little sweetness. My kids adore them as a special morning treat before the Easter egg hunt. For a proper Easter brunch, they’re a must-have on the dessert table. I like to arrange them artfully with some fresh flowers or a few strategically placed chocolate eggs. They pair beautifully with a sparkling cider or even a light moscato. As a dessert, of course, they’re a winner. Serve them with a scoop of vanilla bean ice cream or a dollop of whipped cream for an extra decadent touch. They’re also my go-to for cozy afternoon snacks. On a rainy afternoon, a warm cookie with a glass of milk is pure comfort. My family tradition is to have a plate of these ready when guests arrive on Easter Sunday, and they always disappear so quickly!
Top Tips for Perfecting Your Easter Cookies
Over the years, I’ve picked up a few tricks that really make these cookies shine, and I’m happy to share them with you! When it comes to the orange zest, make sure you’re only getting the bright orange part of the peel and not the bitter white pith underneath. A microplane grater is perfect for this. For the butter, it needs to be softened, not melted. If it’s too cold, it won’t cream properly with the sugar, and if it’s melted, your cookies will spread too much and become flat and greasy. I learned that the hard way a long time ago! When combining the wet and dry ingredients, resist the urge to beat it into submission. A gentle mix until *just* combined is key for that tender crumb. Overmixing develops the gluten in the flour, which leads to tougher cookies. If you’re looking for swirl customization, though this recipe is a simple drop cookie, you could certainly divide the dough in half and color one half with a tiny bit of gel food coloring before combining them gently for a marbled effect. For ingredient swaps, if you don’t have oranges, lemon zest works beautifully too, or you can even omit the zest entirely if you prefer. For baking, ovens can be so different! Keep an eye on your first batch. If they’re browning too quickly on the bottom, try moving your oven rack to the middle position. If they’re not spreading, a slightly lower rack might help. Don’t rely solely on the time; look for those golden edges and set centers. For glaze variations, don’t be afraid to experiment! A little almond extract in the glaze can be lovely, or even a touch of finely chopped pistachios sprinkled on top while the glaze is still wet for a bit of crunch and color.
Storing and Reheating Tips
One of the best things about these Easter cookies is how well they keep, making them perfect for baking ahead. If you’re storing them at room temperature, make sure they are completely cool and the glaze is set. You can store them in an airtight container for up to 3-4 days. I like to place parchment paper between layers if I’m stacking them to prevent the glaze from sticking, though honestly, they rarely last that long! If you need them to last a bit longer, refrigerator storage is an option. They’ll stay fresh in an airtight container in the fridge for up to a week. Just a heads-up, the texture might firm up slightly in the fridge, but they’ll soften again at room temperature. For longer storage, you can absolutely freeze these cookies. Wrap them well in plastic wrap, then place them in a freezer-safe bag or container. They can stay frozen for up to 2-3 months. To thaw, simply transfer them to the refrigerator overnight, and then let them come to room temperature. If you’ve frosted them, it’s best to add the glaze or frosting *after* thawing if you’re freezing unfrosted cookies, or make sure the glaze is completely set before freezing. If you freeze glazed cookies, the glaze might get a little sticky upon thawing, but they’ll still taste delicious!
Frequently Asked Questions
Final Thoughts
I really hope you give these Easter cookies a try. They’re more than just a recipe to me; they’re a little piece of happiness, a way to bring warmth and sweetness to the spring season. The way they just melt in your mouth, with that perfect hint of orange and spice, is truly something special. They’re proof that you don’t need complicated techniques or fancy ingredients to create something truly memorable. They’re simple, they’re joyful, and they’re perfect for making those Easter moments even sweeter. If you loved these, you might also enjoy my recipe for Lemon Poppy Seed Muffins or my Easy Carrot Cake Bundt Cake – they’re all wonderful for spring celebrations! I can’t wait to hear what you think, and if you try them, please share your creations and any fun variations you come up with in the comments below. Happy baking, everyone!

Easter cookies
Ingredients
Cookie Dough
- 1 cup unsalted butter, softened
- 0.75 cup granulated sugar
- 2 large eggs room temperature
- 1 teaspoon vanilla extract
- 2.25 cups all-purpose flour
- 1 teaspoon baking powder
- 0.5 teaspoon salt
Decoration
- 0.5 cup Easter sprinkles
Instructions
Preparation Steps
- Preheat your oven to 375°F (190°C). Line two baking sheets with parchment paper or silicone mats.
- In a large bowl, cream together the softened unsalted butter and granulated sugar with an electric mixer until light and fluffy.
- Beat in the eggs one at a time, mixing well after each addition. Stir in the vanilla extract.
- In a separate medium bowl, whisk together the all-purpose flour, baking powder, and salt.
- Gradually add the dry ingredients to the wet ingredients, mixing on low speed until just combined. Do not overmix.
- Place the Easter sprinkles in a shallow bowl. Scoop rounded tablespoons of dough and roll each ball in the sprinkles to coat thoroughly. Place the coated dough balls about 2 inches apart on the prepared baking sheets.
- Bake for 8-10 minutes, or until the edges are lightly golden and the centers are set. The cookies will be soft.
- Let the cookies cool on the baking sheets for 5 minutes before transferring them to a wire rack to cool completely.