You know those days? The ones where you stare into the fridge, a little tired, a little uninspired, and just need *something* to make dinner exciting without a whole lot of fuss? Yeah, I’ve been there more times than I can count. It’s usually on those nights that I reach for my secret weapon, the little jar that can transform even the most basic Chicken Breast or humble potato into something truly special. I’m talking about Slap Ya Mama Seasoning: What is your review of Slap Ya Mama Seasoning?. Seriously, this stuff is pure gold. It’s not just a spice blend; it’s a culinary hug, a flavor explosion that brings smiles to everyone’s faces, from my pickiest eaters to my most adventurous foodie friends. It’s like sunshine in a shaker, and I’ve been using it for years to add that extra spark to everything from grilled fish to roasted vegetables. If you’re looking for a way to simplify your cooking while simultaneously upping the flavor ante, you absolutely have to try this. It’s my go-to for a reason!
What is Slap Ya Mama Seasoning?
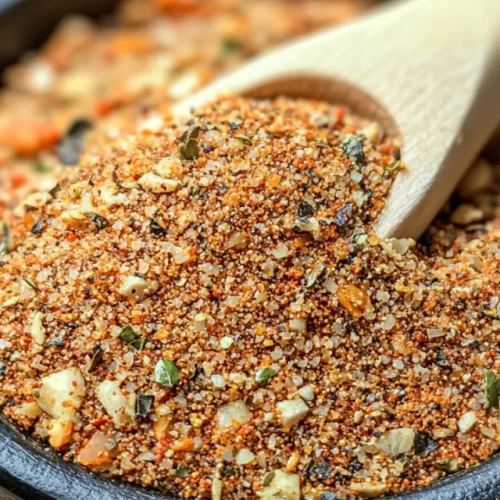
So, what exactly is this magical concoction called Slap Ya Mama Seasoning? Don’t let the name fool you; it’s not about hitting anyone! It’s a Louisiana-style blend of spices that packs a serious punch of flavor. Think of it as a well-balanced, slightly spicy, savory powerhouse. It’s essentially a carefully crafted mix of salt, red pepper, black pepper, garlic, and onion powder, but the proportions are just *chef’s kiss*. It hits all the right notes: a little heat from the peppers, a deep savory flavor from the garlic and onion, and just enough salt to make everything sing. The beauty of Slap Ya Mama is its complexity without being overwhelming. It’s not just spicy; it’s got a warmth and a depth that you don’t find in many other blends. It’s become a pantry staple for so many home cooks because it’s incredibly versatile and reliably delicious.
Why you’ll love this recipe?
What is the secret behind this spice blend?flavor is out of this world. It’s savory, zesty, and has just the right amount of kick to wake up your taste buds without setting your mouth on fire. I’ve used it on everything from simple grilled chicken to elaborate seafood dishes, and it never disappoints. It adds this incredible depth and complexity that makes people ask, “What’s your secret?” Secondly, the simplicity it brings to cooking is a lifesaver, especially on busy weeknights. Instead of reaching for a dozen individual spices, one shake of Slap Ya Mama does the trick. It cuts down on prep time and cleanup significantly, which, let’s be honest, is a huge win in my book. It’s also surprisingly cost-efficient. A little goes a long way, and compared to buying all those individual spices, it’s a very economical choice in the long run. But what truly makes me reach for it time and time again is its incredible versatility. Seriously, the ways you can use this stuff are endless. It’s fantastic on eggs, popcorn, roasted potatoes, Pork Chops, you name it. I’ve even seen people use it in their bloody marys! For me, it’s the ultimate flavor enhancer that makes everyday meals feel like a special occasion without any extra effort. It’s a culinary shortcut that delivers gourmet results.
How to Make Your Meals Sing with Slap Ya Mama Seasoning
Quick Overview
The beauty of using a fantastic seasoning blend like Slap Ya Mama is that it does most of the heavy lifting for you. The process is incredibly straightforward: you’re essentially adding this blend to your ingredients at the right time to let its flavors bloom. Whether you’re marinating, seasoning directly, or finishing a dish, the key is judicious application. It’s about enhancing, not overpowering. So, think of it as your final flavor flourish, or your foundational seasoning for dishes that need a robust kick from the start. It’s all about unlocking that incredible taste with minimal stress.
Ingredients
While Slap Ya Mama is the star, it often works best alongside some trusty companions. Here’s what you might want to have on hand:
For a Simple Seasoning Boost (e.g., Chicken, Fish, Vegetables):
• Your main protein or vegetables (chicken breasts, fish fillets, broccoli florets, potato wedges)
• 1-2 tablespoons of Slap Ya Mama Seasoning (adjust to taste and quantity of food)
• 1-2 tablespoons of Olive oil or melted butter (for coating)
For Marinades:
• 1 pound of protein (chicken thighs, Pork Chops)
• 1/4 cup olive oil
• 2 tablespoons soy sauce (or Worcestershire sauce for a different profile)
• 1 tablespoon Slap Ya Mama Seasoning
• 1 clove garlic, minced (optional, if you want extra garlic punch)
For Finishing/Topping (e.g., Popcorn, Eggs):
• Butter, melted (for popcorn)
• Your freshly cooked item (scrambled eggs, fried eggs)
• A generous sprinkle of Slap Ya Mama Seasoning
Step-by-Step Instructions
Step 1: Assess Your Dish
Before you even grab the seasoning, think about what you’re making. Is it something that needs a deep flavor infusion, like a marinade for pork chops? Or is it something that needs a quick flavor boost right before cooking, like chicken breasts? Knowing this will guide how you apply the Slap Ya Mama Seasoning.
Step 2: Prepare Your Base
If you’re marinating, combine your marinade ingredients in a bowl or zip-top bag. If you’re seasoning directly, make sure your protein or vegetables are patted dry for better adherence. For things like popcorn or eggs, have them ready to go.
Step 3: Incorporate the Slap Ya Mama Seasoning
For Marinating: Add the Slap Ya Mama Seasoning to your marinade mixture and whisk well. Submerge your protein and let it marinate for at least 30 minutes, or up to a few hours in the refrigerator.
For Direct Seasoning: Drizzle your olive oil or melted butter over your food. Then, sprinkle the Slap Ya Mama Seasoning evenly over all surfaces. Use your hands or tongs to ensure good coverage. Remember, a little goes a long way, so start with less and you can always add more.
For Finishing: Melt butter for popcorn and toss with seasoning. For eggs, sprinkle generously right after cooking.
Step 4: Cook Your Food
Cook your seasoned or marinated food using your preferred method – grilling, baking, pan-searing, roasting. The seasoning will develop a beautiful crust and infuse the food with flavor as it cooks.
Step 5: Taste and Adjust
Once your food is cooked, always taste it! If it needs a little more oomph, don’t be afraid to add another light dusting of Slap Ya Mama Seasoning. It’s all about getting it just right for your palate.
Step 6: Serve and Enjoy!
Plate your delicious creation and watch as it disappears in minutes. The aroma alone will have everyone gathering around!
Step-by-Step Instructions
Okay, so “making” Slap Ya Mama Seasoning isn’t quite right, since it’s a pre-made blend. But I can show you how I integrate it into my cooking to get the most amazing results, almost like it’s part of a recipe! Let’s pretend we’re making some fantastic seasoned chicken.
Step 1: Preheat & Prep Pan
I always start by preheating my skillet to medium-high heat. I like a nice, hot pan to get a good sear. While that’s warming up, I’ll pat my chicken breasts completely dry with paper towels. This is a crucial step, especially if you want that beautiful golden-brown crust. No one likes sad, pale chicken!
Step 2: Mix Dry Ingredients (Your Seasoning!)
This is where the magic happens. I’ll take my chicken breasts and place them on a plate. Then, I’ll generously sprinkle Slap Ya Mama Seasoning all over them, making sure to coat both sides. I don’t shy away from it, either. I find that about 1-2 tablespoons for two chicken breasts is a good starting point, but you can always add more. The smell right now is already amazing!
Step 3: Mix Wet Ingredients (Your Fat Base)
In a small bowl, I’ll whisk together a couple of tablespoons of olive oil with maybe half a teaspoon of Slap Ya Mama Seasoning for good measure. This little extra boost ensures the seasoning really adheres and helps create that lovely crust.
Step 4: Combine
I’ll drizzle the seasoned olive oil over the chicken breasts and use my hands to gently rub it all in, making sure every nook and cranny is coated. This helps the seasoning stick and ensures even flavor distribution. It’s like giving the chicken a little spa treatment!
Step 5: Prepare Filling (Not applicable for direct seasoning, but imagine flavor layering)
If I were making something like stuffed chicken, this is where I’d prepare that filling. But for simple seasoned chicken, this step is more about anticipating how the seasoning will meld with the chicken’s natural juices as it cooks.
Step 6: Layer & Swirl (Think of it as seasoning distribution!)
I place the seasoned chicken breasts into the hot skillet. I don’t overcrowd the pan, because that can steam the chicken instead of searing it. I let them cook for about 5-7 minutes per side, depending on thickness, until they’re beautifully golden brown and cooked through. If I’m making a pan sauce, I’ll deglaze the pan with some chicken broth or white wine after removing the chicken, letting the bits of seasoning and chicken fond create a rich sauce.
Step 7: Bake (If applicable, or just continue cooking)
For thicker cuts or if I want to ensure even cooking without burning the outside, I’ll sometimes transfer the seared chicken to a preheated oven (around 375°F or 190°C) for another 10-15 minutes. This step is more for even cooking than baking in the traditional sense.
Step 8: Cool & Glaze (Not applicable here, but imagine resting!)
Once the chicken is cooked, I always let it rest on a cutting board for at least 5-10 minutes. This is super important! It allows the juices to redistribute throughout the meat, keeping it moist and tender. If I were making a glaze, I’d prepare that during this resting period.
Step 9: Slice & Serve
Then, I slice the chicken against the grain and serve it up. The aroma is incredible, and the flavor from the Slap Ya Mama Seasoning is just perfect. It’s a simple meal, but it tastes like it took so much more effort!
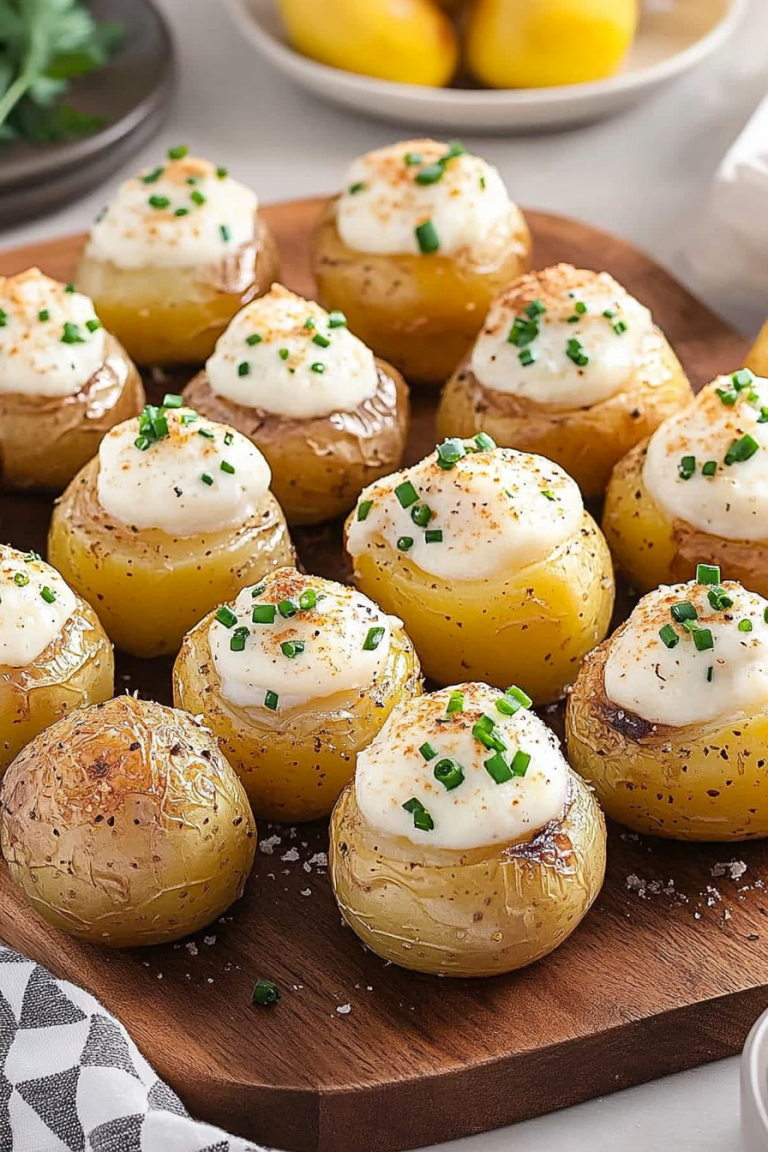
What to Serve It With
Honestly, the best part about Slap Ya Mama Seasoning is that it’s ready for *anything*. It’s not a one-trick pony. I find myself reaching for it constantly because it just elevates whatever I’m making. For those rushed breakfasts, a little sprinkle on scrambled eggs or even on avocado toast before you dive in makes all the difference. It’s a little savory wake-up call that’s way more interesting than plain salt and pepper. For brunch, imagine a tray of seasoned roasted potatoes or even a little dust on some deviled eggs for a party – it adds a gourmet touch without breaking a sweat. My kids are obsessed with it on their chicken tenders, and who can blame them? When we’re going for a dessert-like feel but I don’t want anything too sweet, sometimes I’ll make some sweet potato fries and give them a generous dusting of Slap Ya Mama after they come out of the oven. The sweet and savory combo is surprisingly addictive! And for those ultimate cozy snacks, popcorn is the absolute king. Melt some butter, toss with popcorn, and then sprinkle liberally with Slap Ya Mama. It’s my go-to movie night treat. It’s also phenomenal on corn on the cob during the summer, or just tossed with some roasted chickpeas for a crunchy snack. Seriously, the possibilities are practically endless, and it’s always a crowd-pleaser.
Top Tips for Perfecting Your Flavor Boosts
Okay, so while Slap Ya Mama Seasoning is pretty foolproof, there are a few little tricks I’ve picked up over the years that really make it shine. Think of these as my little secrets that I’m sharing with you!
Zucchini Prep: If you’re adding it to baked goods like zucchini bread (and oh boy, does it work wonders there!), make sure you’re properly squeezing out the excess moisture from your shredded zucchini. Use a cheesecloth or a clean kitchen towel. The less water, the better the texture of your baked goods. I learned this the hard way early on; mushy zucchini bread is a sad thing indeed!
Mixing Advice: When I’m using it in marinades or rubs, I always ensure it’s well distributed. For rubs, I like to gently massage it into the meat or vegetables to ensure even coverage. For marinades, a good whisk to emulsify everything is key. You don’t want pockets of pure seasoning; you want that balanced flavor throughout.
Swirl Customization: If you’re using Slap Ya Mama in something like a cinnamon roll dough or a savory swirl bread, don’t be afraid to experiment with different ratios. Maybe you want more garlic and pepper for a savory roll, or just a hint of the spice to cut through sweetness. It’s all about finding your perfect balance.
Ingredient Swaps: While Slap Ya Mama is fantastic on its own, sometimes I like to pair it. For instance, on chicken, I might add a little smoked paprika to the blend for extra smokiness, or a pinch of cayenne if I’m feeling extra brave. For seafood, a little lemon zest added to the seasoning rub is divine. Just remember to taste and adjust as you go.
Baking Tips: In baked goods, I usually add Slap Ya Mama towards the beginning with the dry ingredients. It disperses well and infuses the whole batter. The salt in it also helps with the overall flavor balance of the bake. Don’t be worried about it making your sweet treats too savory; it adds a wonderful complexity!
Glaze Variations: This is more for when I’m using it in a savory context. If I’m making a glaze for pork chops, I’ll often incorporate some Slap Ya Mama into the glaze itself, reducing some honey or maple syrup with broth and the seasoning. It gives the glaze a wonderful depth of flavor that’s incredibly addictive.
Storing and Reheating Tips
Now, about keeping your seasoned goodies tasting fresh! Generally, food seasoned with Slap Ya Mama holds up beautifully, but a few practices can keep it at its best.
Room Temperature: Most dishes seasoned with Slap Ya Mama are best enjoyed fresh. If you have leftovers that have cooled down, it’s generally safe to leave them at room temperature for no more than two hours before refrigerating.
Refrigerator Storage: For cooked items seasoned with Slap Ya Mama, like chicken or vegetables, airtight containers are your best friend. They’ll typically keep well in the fridge for 3-4 days. Make sure they’re completely cooled before sealing them up. I find that wrapping things tightly in plastic wrap or foil before placing them in a container also helps maintain moisture and flavor.
Freezer Instructions: If you want to freeze seasoned food, make sure it’s cooled completely. Wrap it tightly in plastic wrap, then in aluminum foil, or use a freezer-safe bag, squeezing out as much air as possible. This prevents freezer burn and keeps the flavors locked in. Properly stored, most seasoned foods can last 2-3 months in the freezer. Thawing in the refrigerator overnight is the best way to preserve quality.
Glaze Timing Advice: If your recipe involves a glaze and you plan to store leftovers, it’s often best to glaze just before serving or reheating. Applying glaze too early, especially with sugar-based ones, can sometimes lead to a stickier, messier texture after refrigeration or freezing. For reheating, a little splash of broth or water can help rehydrate the food and loosen up any seasoned coatings.
Frequently Asked Questions
Final Thoughts
So there you have it – the simple, yet transformative power of Slap Ya Mama Seasoning. It’s proof that you don’t need a pantry full of obscure spices or hours in the kitchen to create truly delicious food. This blend is my little secret weapon for adding that much-needed zing to everyday meals, making them exciting and memorable. Whether you’re a seasoned cook or just starting out, I really hope you’ll give this a try. It’s become an indispensable part of my cooking repertoire, and I have a feeling it might just become one of yours too. If you love bold flavors and appreciate a good shortcut that doesn’t compromise on taste, you simply must try it. For those of you who are already fans, I’d love to hear how you use it! Drop a comment below and share your favorite Slap Ya Mama creations. Happy cooking, everyone!
Slap Ya Mama Seasoning
Ingredients
Main Ingredients
- 0.5 cup Kosher Salt
- 2 tbsp Black Pepper freshly ground
- 2 tbsp Garlic Powder
- 2 tbsp Onion Powder
- 2 tbsp Paprika sweet or smoked
- 1 tbsp Cayenne Pepper adjust to taste for heat
- 1 tbsp Dried Oregano
- 1 tbsp Dried Thyme
Instructions
Preparation Steps
- In a medium-sized bowl, combine all of the measured spices: kosher salt, black pepper, garlic powder, onion powder, paprika, cayenne pepper, dried oregano, and dried thyme.
- Whisk the ingredients thoroughly until they are well combined and there are no clumps. Ensure an even distribution of all spices.
- Transfer the finished Slap Ya Mama Seasoning blend to an airtight jar or container. Store it in a cool, dark place.